
Snapcase WordPress Theme Documentation
- Created On: 7 Aug 2014
- Last Changed: 26 Aug 2024
- Current Version: 2.0.0
- Developed By: SCube Themes
- Theme Support: https://www.scube.co/support/
Introduction
Snapcase is a WordPress Photoblogging theme built for images and captions. Choose a photo, write a caption, and Snapcase will display in an awesome typographic display. Whether you are a professional photographer or an enthusiast, Snapcase can display your photos and captions beautifully.
Thank you for purchasing the theme. We provide support for all of our themes at https://www.scube.co/support/, but please make sure you read this documentation in it's entirety first. Thanks again!
Theme Installation
Download Theme
At first, you need to download Snapcase theme from ThemeForest website.
To download the theme:
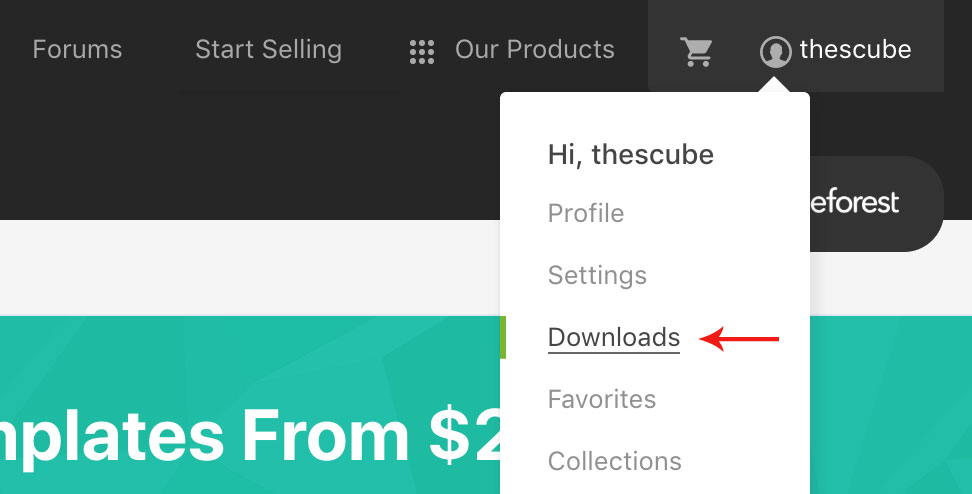
- Go to ThemeForest and login into your account.
- In the upper right corner, hover over your username and click on Downloads.
- Scroll down to snapcase and click on Download All files .
- Extract the downloaded .zip file into a folder. These files will be needed for the next steps.
Installing the Theme
There are few methods to upload and install a theme on your WordPress website. We explain about two easy installation methods here.
Installing through WordPress
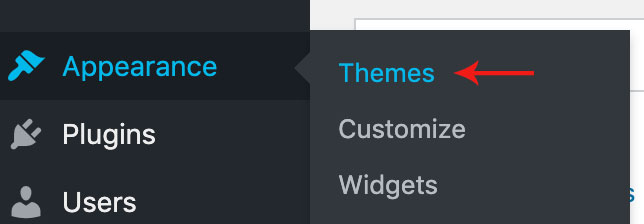
- On WordPress left menu, go to Appearance > Themes.
- Click on Add New Theme.
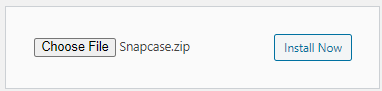
- Click on Upload Theme button.
- Click on Choose File button and select Snapcase.zip that you have extracted from the themeforest downloaded file then click on Install Now button and wait for the install to complete.
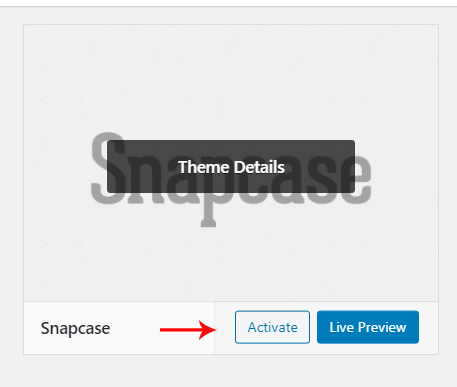
- After the theme installed successfully, click on Activate button.


Uploading Through FTP
Alternatively, you can upload the theme through file transfer protocol. Keep in mind that this will only upload the theme to your website, it will not activate it.
- Use a FTP (for example Filezilla) to access your host web server.
- In the files browser navigate to /wp-content/themes.
- Extract Snapcase.zip and transfer it into the directory.
Installing The Child Theme
If you plan on customizing and editing the theme’s files, it is always recommended to install a child theme. Having child theme guarantees that your changes will not be deleted on each update of the theme and they will stay intact.
Use the same process of Installing the theme to install the child theme.
Install Required Plugins
After successfully activated the child theme. Its important to install and activate the required plugins for the theme.
There are four plugins required for Snapcase theme [version 2.0.0.]
- Contact Form-7
- One Click Demo Import
- Option Frame Work
- Snapcase Addons
Install & Activate Required Plugins
- When theme is activated, Notice to install the required plugins will appear on the WordPress backend.
- Click on the Begin installing plugins link to install and then activate the plugins.

Theme Recommended Plugins
- One Click Demo Import: This plugin is used to import the demo content. It includes pages, posts, media, menus and widgets. You need to install and activate this plugin to import the demo content.
- Contact form 7: We used Contact form 7 (CF7) plugin to add contact form on contact page. You need to install and activate this plugin before importing the demo file Click here to see the plugin.
- Option Framework: The Options Framework Plugin makes it easy to include a full featured options panel in any WordPress theme. It’s free to use in both commercial and personal projects, just like WordPress itself.
- Snapcase-Addons: This plugin is used for adding additional widgets and metaboxes in post.
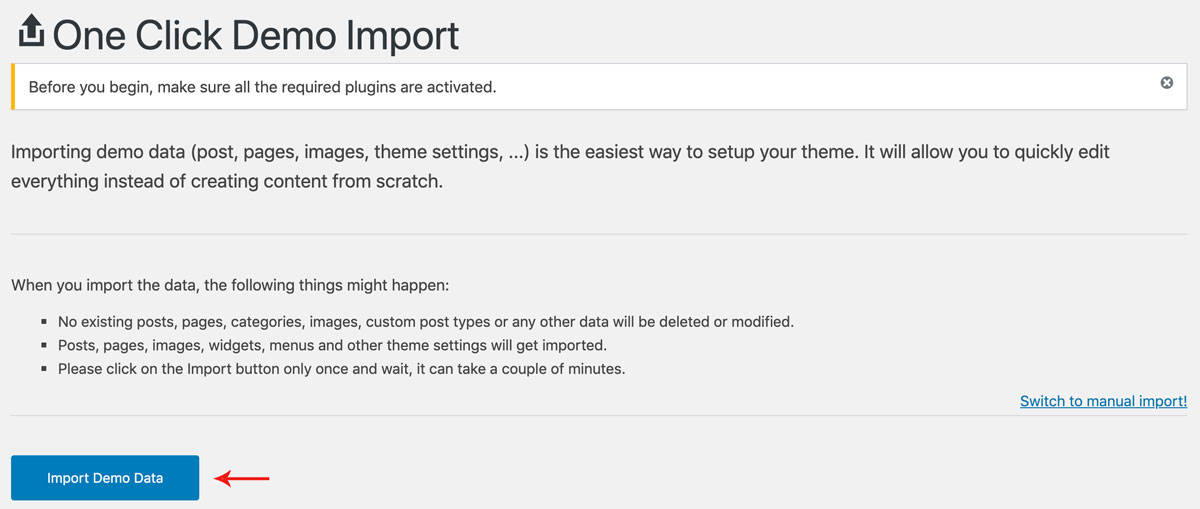
Import Demo Content
When you first install Snapcase, it won’t contain all the extra content that you might have seen in the live demo. Before importing the content make sure all the plugins are activated. You need to install and activate One Click Demo Import plugin to import the demo content.
Steps
- On WordPress left menu, go to Appearance > Import Demo Data.
- On the One Click Demo Import page. Click on the Import Demo Data button only once and wait, it can take a couple of minutes to import all the demo data.
- Please be patient while importing all the content.
- It will import pages, posts, media, menus and widgets.
Theme Options Setup
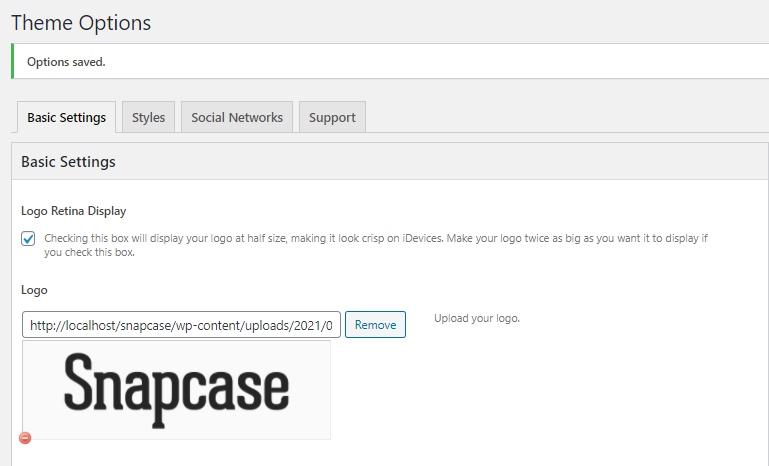
Theme Options is the main section of Snapcase, which you can use to change your global settings for your website. You can access theme options on WordPress left menu, go to Appearance > Theme Options.
Basic Settings
- Logo Retina Display: This enables display your logo at half size, making it look crisp on iDevices.
- Upload Logo
- Upload a favicon for the website (Browsers that provide favicon support typically display a page's favicon in the browser's address bar, sometimes in the history as well and next to the page's name in a list of bookmarks).
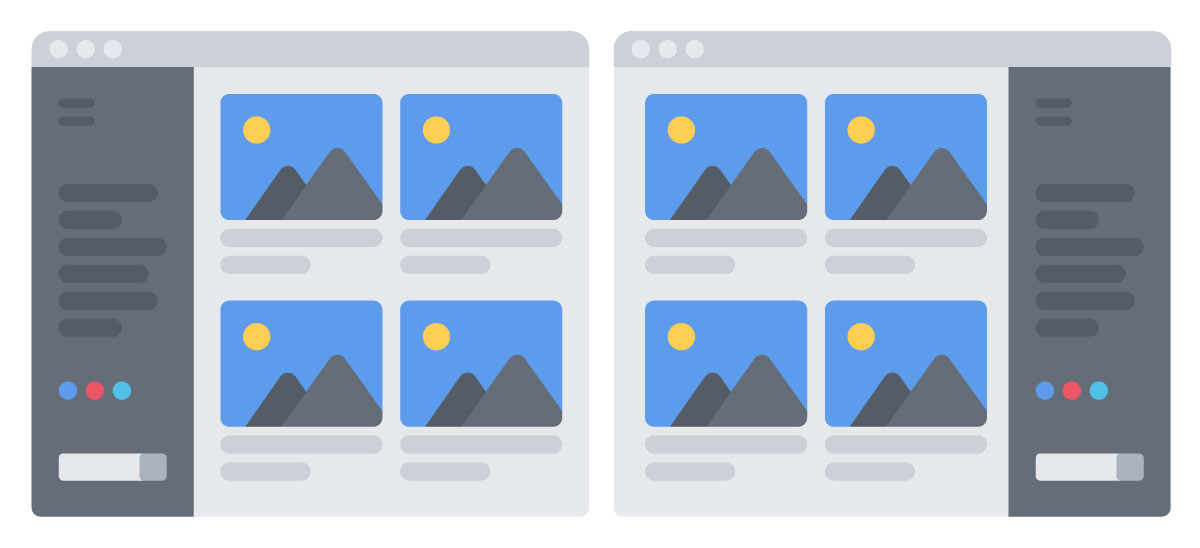
- Site Layout: Left & Right layouts. Choose the layout to set.
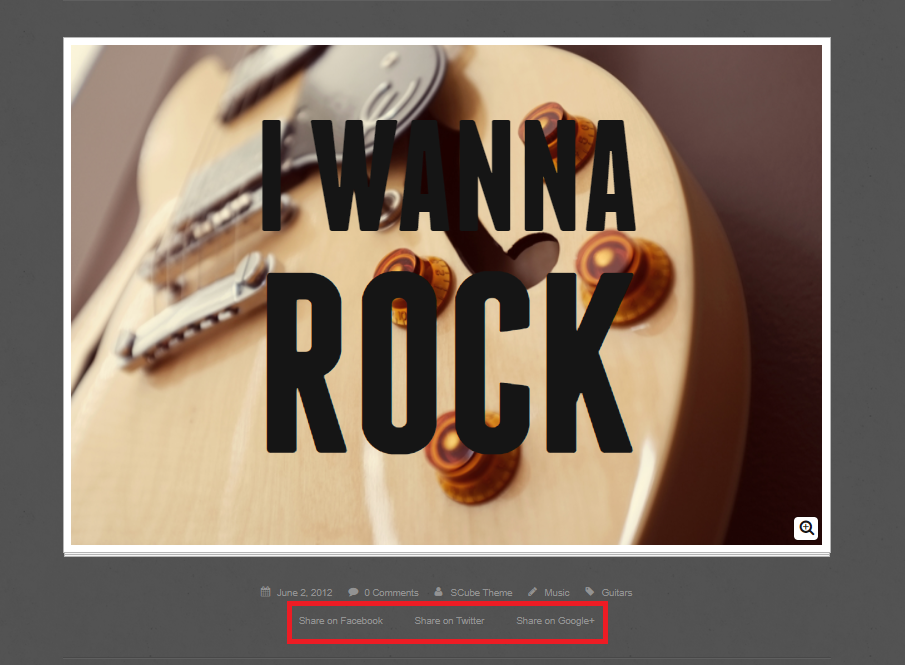
- Social Media Post Sharing
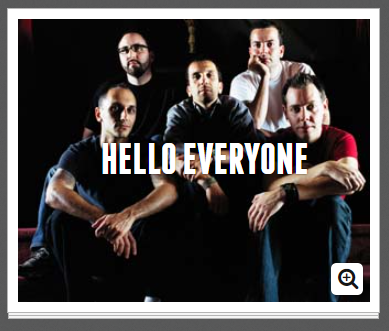
- Text Overlay On Single Post Pages
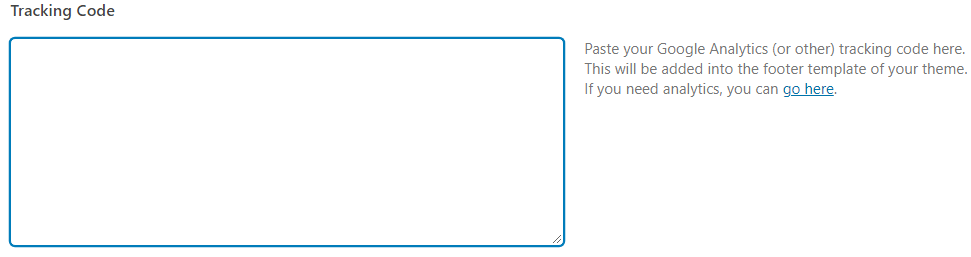
- Tracking Code: A tracking code is a small snippet of code that is usually implemented as HTML source code of a website. As a rule, exactly one tracking code is used for each web page and each html document. It is universal tracking with analytics. Global site tag allows for cross-channel tracking, cross-device tracking and event tracking.
- Credit Where Credit Is Due: Enabling this option will give credit to the snapcase theme. It will be shows in a footer section.

If you choose 'ON' You can share the links on Twitter, Facebook, and Google+. It will appear on every post.
If you choose 'OFF' You cannot share the post.
It shows as,
If you choose 'ON' the overlays will appear on the image, only if you hover on it.
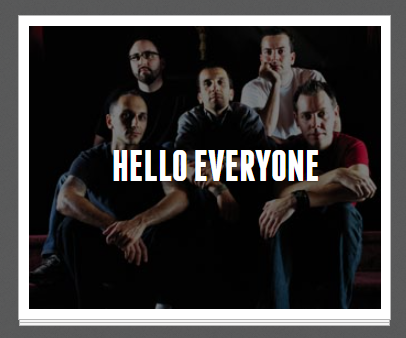
If you choose 'OFF' the overlays will not appear on the image.

Style Settings
This section has basic style settings of the website.
- Color Scheme
- Background Pattern: Select the overall background pattern for the site. Note: This only works with the "Boxed" body display style.
- Header-Font: Choose the color of your choice for the heading from dropdown-list.
- Link Color: Select the color for your link.
- Header Drawer & Footer Link Color: Select the color for links in the header drawer and the footer. These appear on a darker color than the rest of the site.
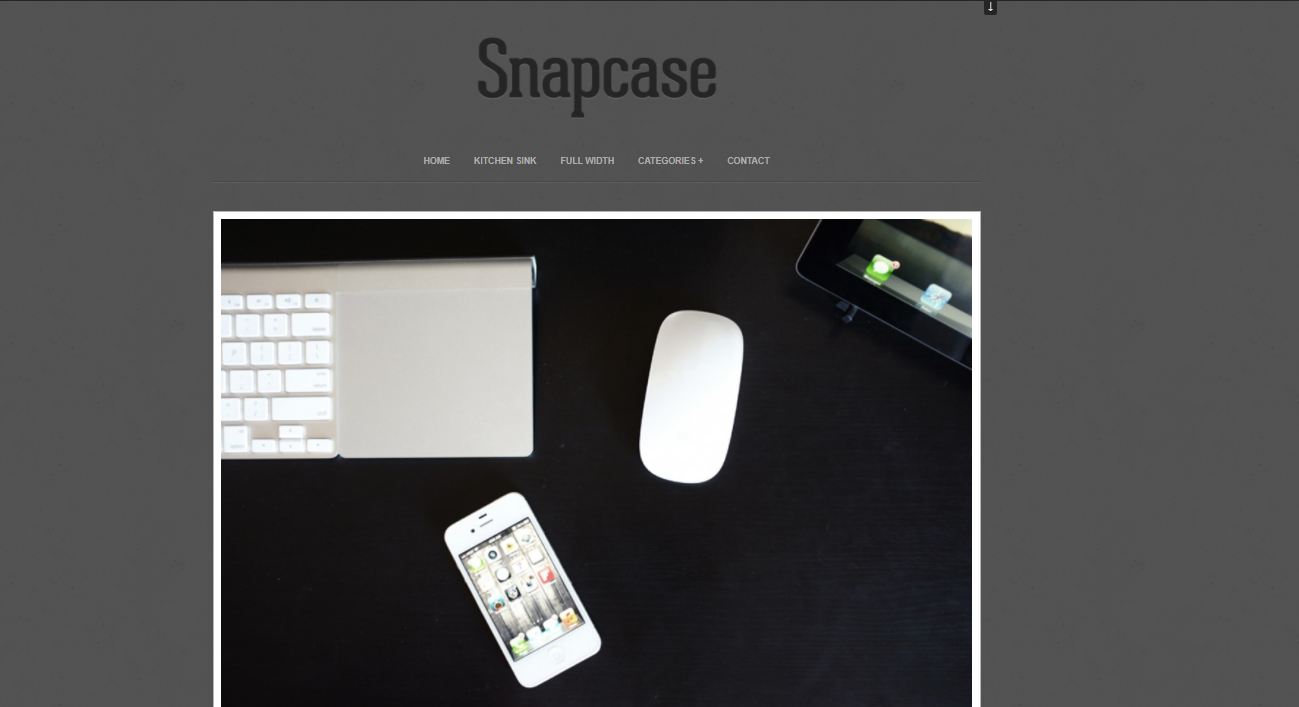
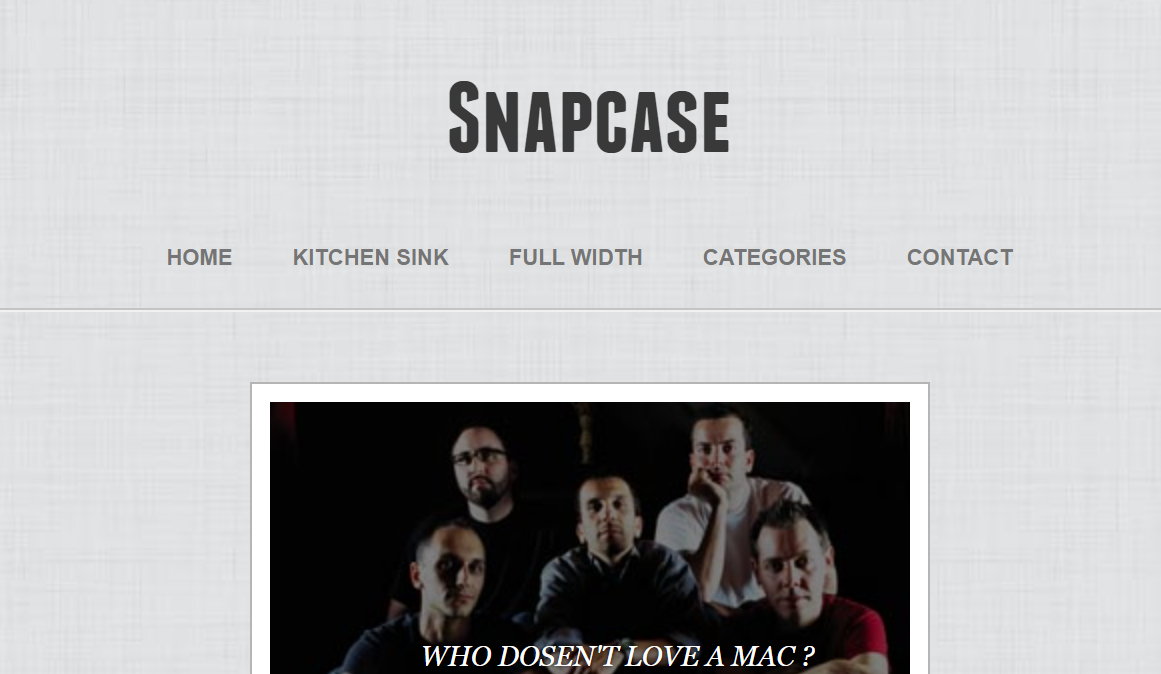
If you choose 'Light Color Scheme' the page will appear in white background.
If you choose 'Dark Color Scheme' the page will appear in black background.
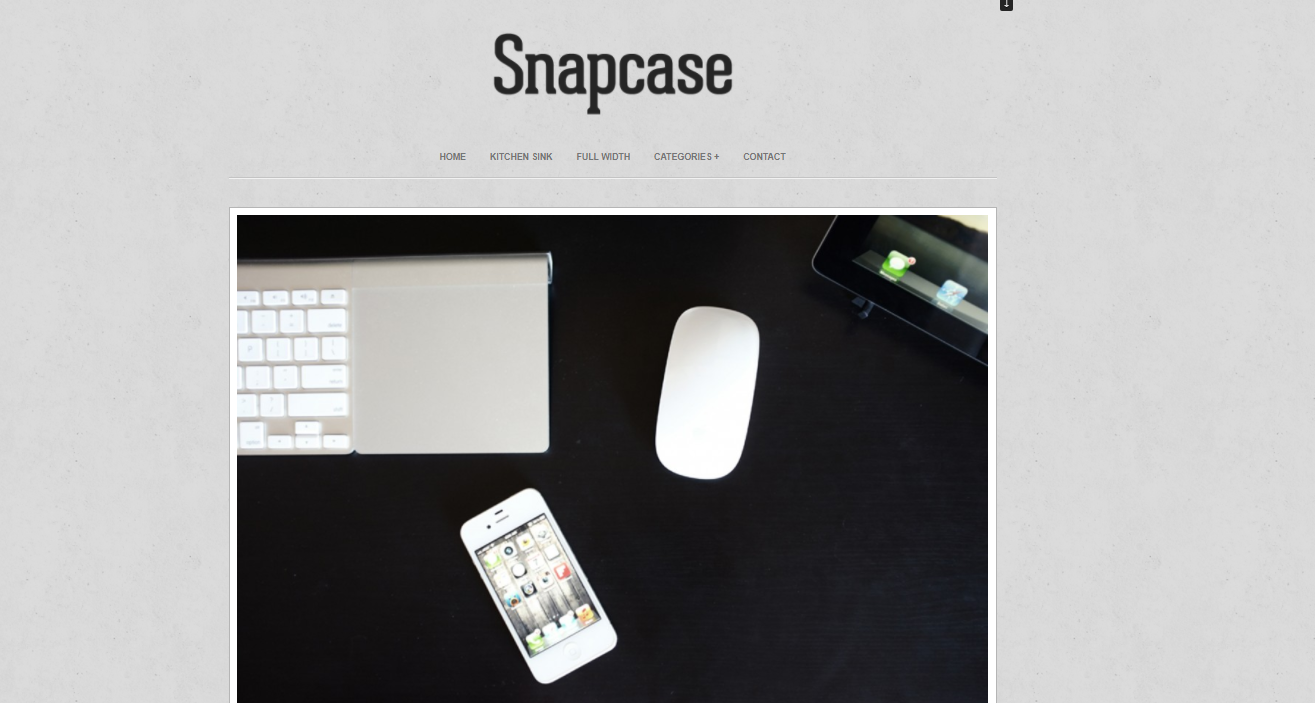
Header
Snapcase header consists of 2 items: Logo/Site Title & Menu
- Logo/Site Title: You can add logo in Appearance > Theme Options > Basic Settings tab. If the logo is not provided Site Title will be used. Click here for more information.
- Menu: To add header menu, Assign any menu to Main Menu Theme Location. Click here for more information.
Menu
How to Create Menu
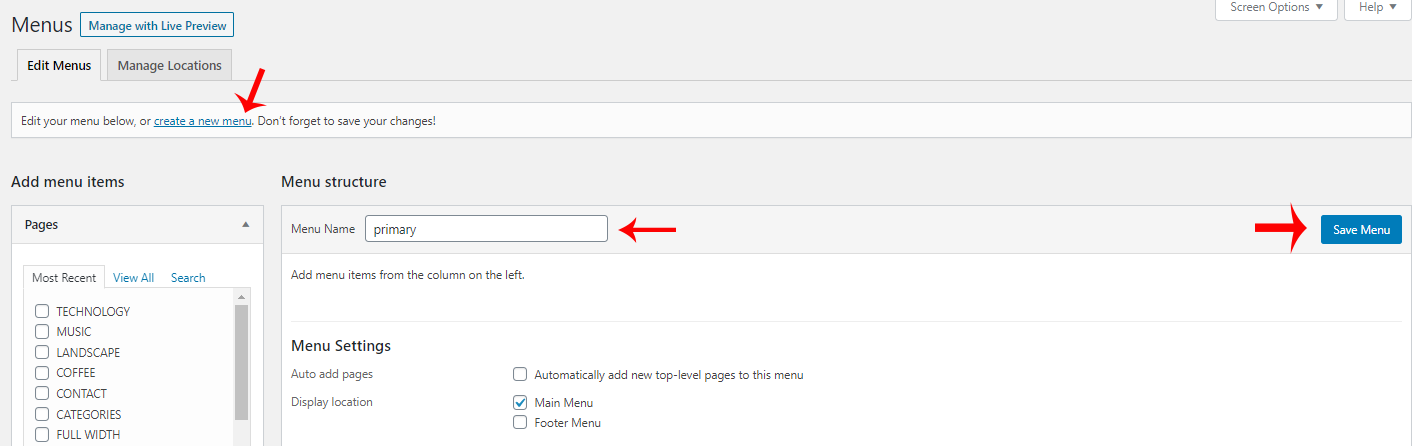
- To create Menu, On WordPress left menu, go to Appearance > Menus and click on 'create a new menu' link.
- Enter the Menu name.
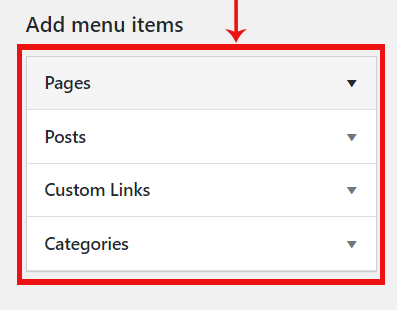
- Add pages, posts, etc from Add Menu Items.
- Finally, Click the Create Menu button to save your changes.
Header Menu
- The Header Menu is placed on the top of the header.
- They are usually presented as a horizontal bar of links at the top of every page on a website.
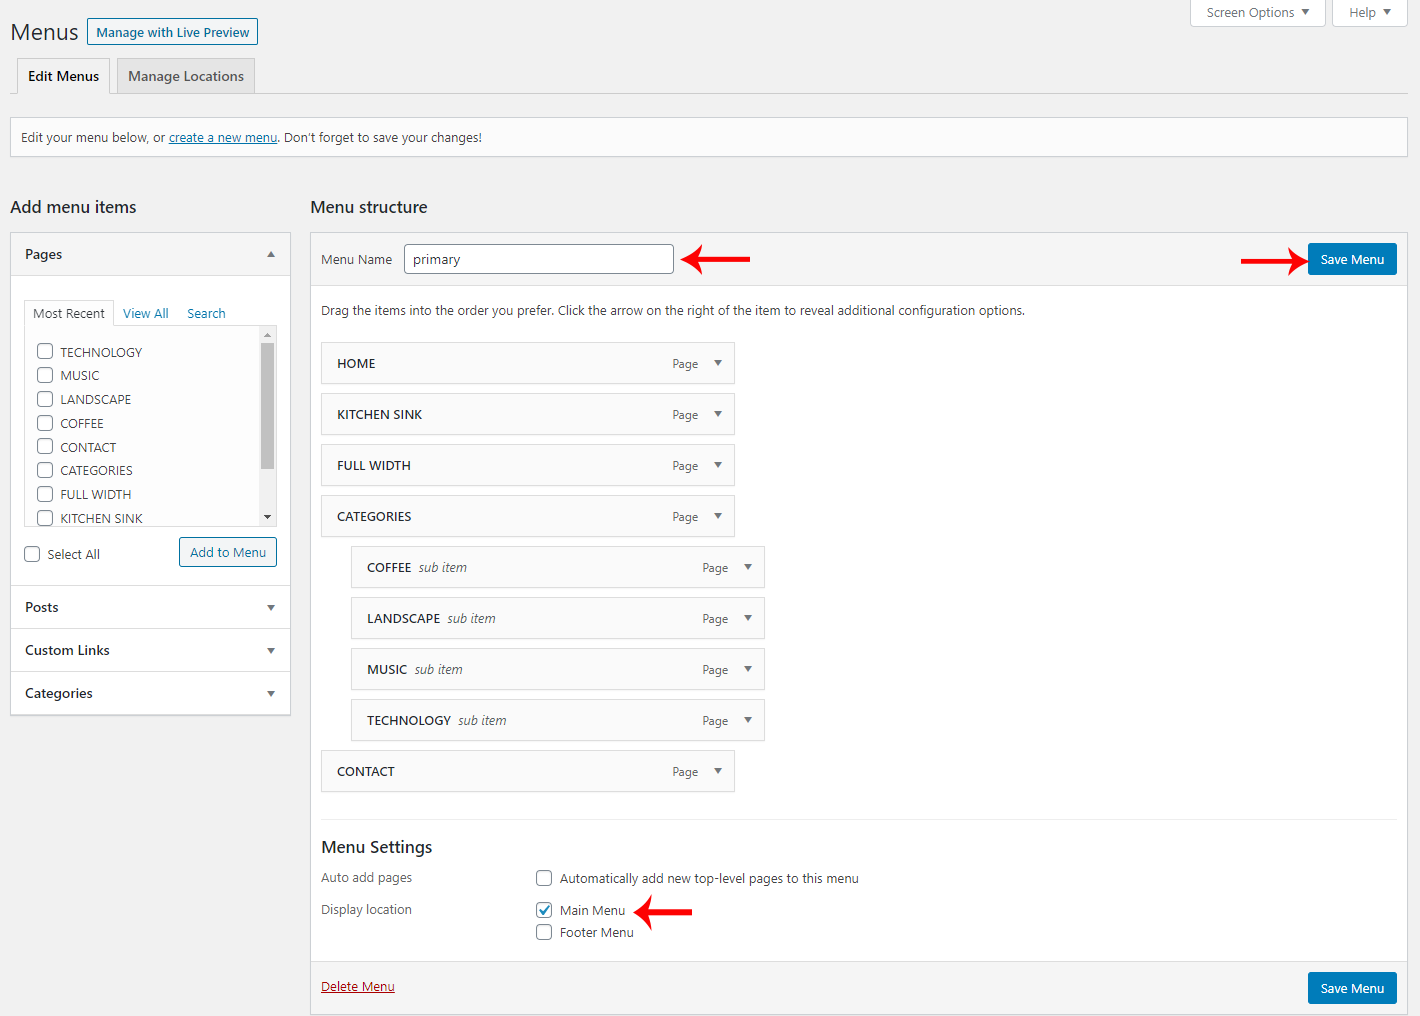
- Setup Header Menu: On WordPress left menu, go to Appearance > Menus
- You can create a menu or if you downloaded the demo content, It has the menu named 'Primary'. Select the menu. On the Edit Menus tab, below the Menu Structure. It has Menu Settings, Tick the checkbox 'Main Menu'. Finally save the changes.
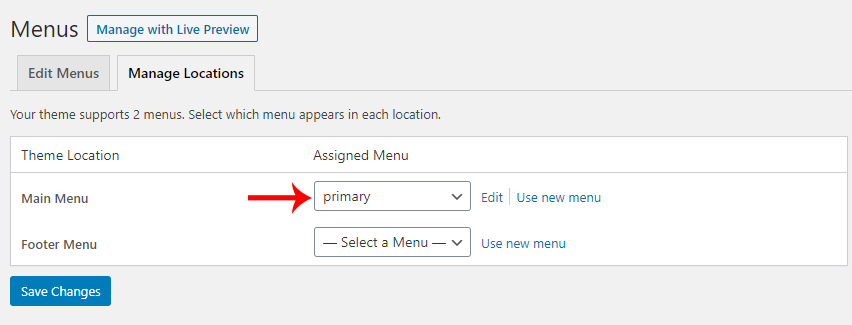
- Alternatively, on Manage Locations tab, Assign the Menu to Primary Theme Location.
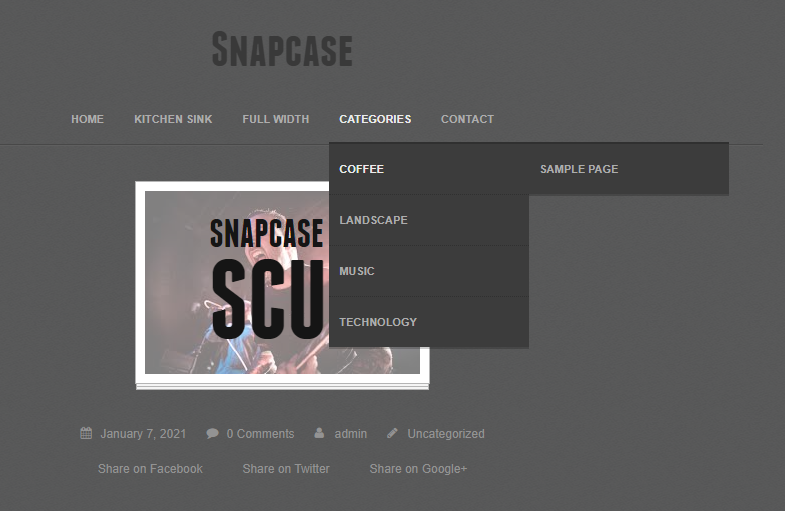
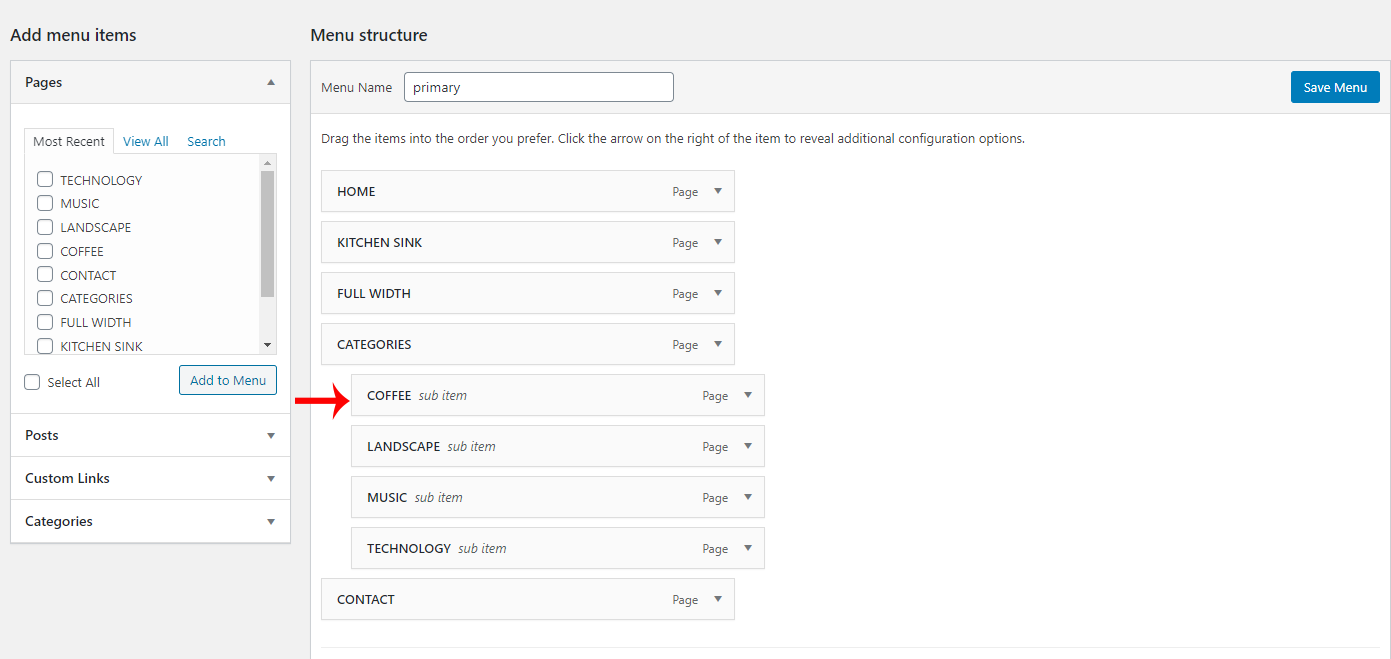
- Header menu supports 2-level sub menus.
- On Menu Structure, Drag a menu item towards right under another menu item to make it as sub item.
Footer
Footer is the Bottom section of the website, in which you may add your Menus, Social networks and other functions available in WordPress widgets. It normally appears on all pages on your website.
Credit Section
- Credit text will appear only when the option 'Credit Where Credit Is Due' on Basic Settings of the Theme Options ( Appearance > Theme Options > Basic Settings tab) is enabled.

Social Network
- The Social networks are available in the footer section. Click here to know more about the social networks.

Widgets
How to Add Widgets
- On WordPress left menu, go to Appearance > Widgets. You can see available widgets on the left and widget areas on the right.
- Choose a Widget and either drag it to the sidebar where you wish it to appear, or click the widget, (select a destination sidebar) and click the Add Widget button.
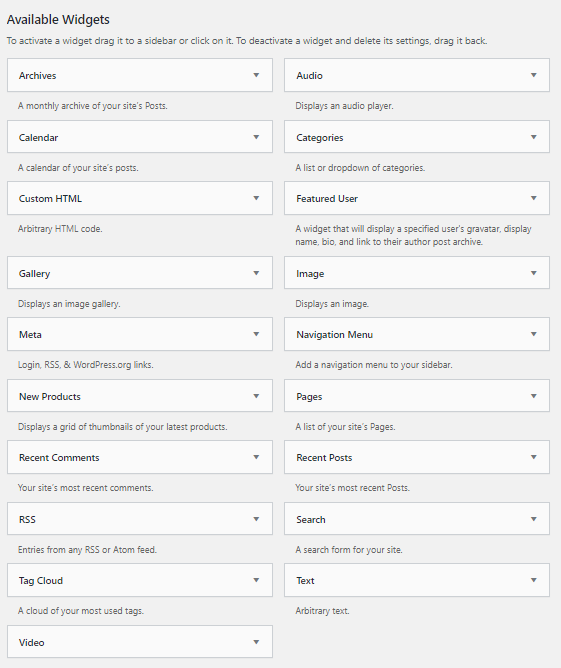
Available Widgets
- WordPress has lots of widgets available to add in widget areas. Click here to know more about WordPress widgets.
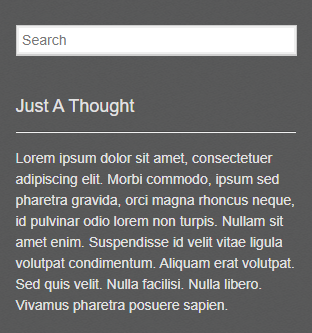
Overall Sidebar
- Overall Sidebar widgets will show upon every page and post, including to the side of the home page.
- Choose a Widget and drag it into the sidebar from left side widgets area.
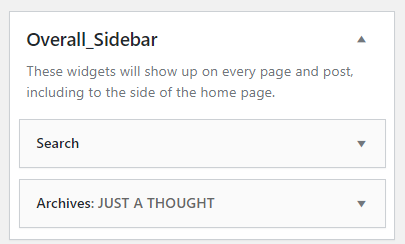
It Shows as,
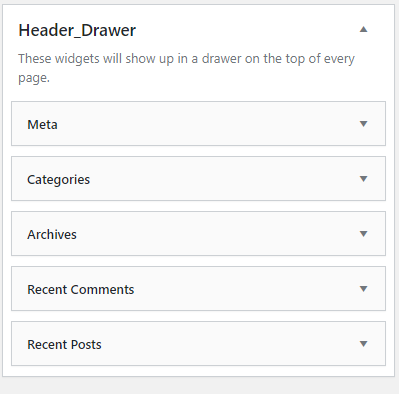
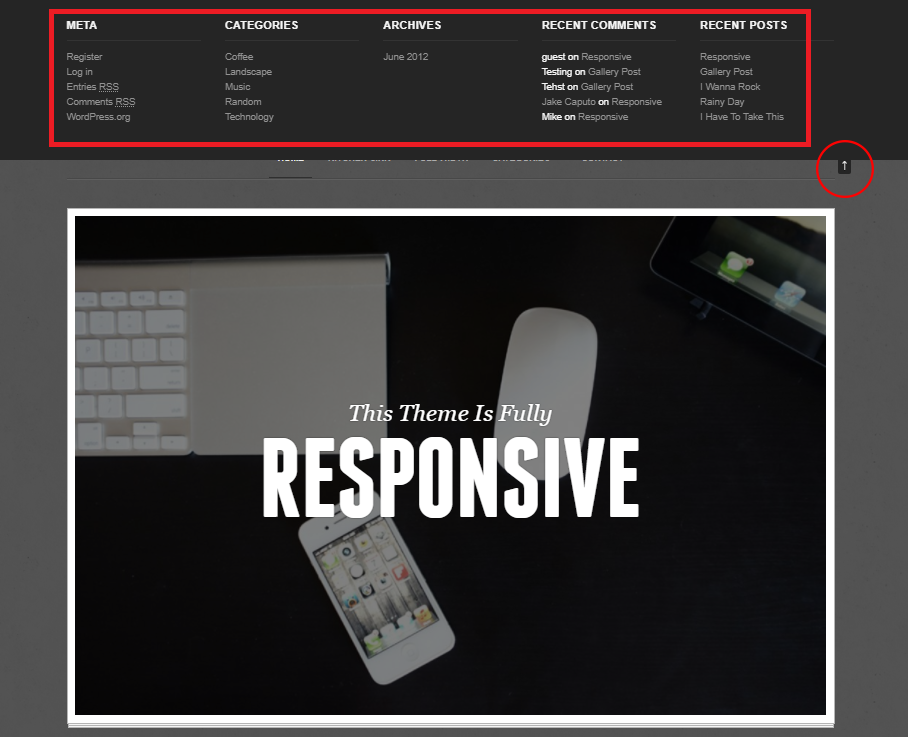
Header Drawer
- This widget will show up in a drawer on the top of the every page.
- Choose a Widget and drag it into the sidebar from left side widgets area. It shows as.
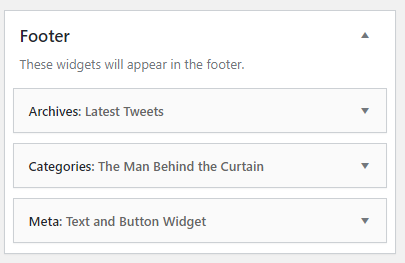
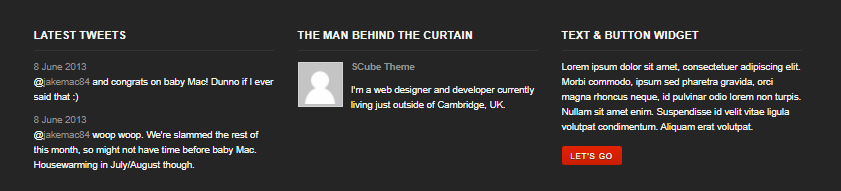
Footer Widget Section
- Widgets added in this widget area will be visible on footer section.
- Every widget will be displayed in a column. The column layout will resize based on the number of widgets used.
- Feel free to use what you want, and as many as you want. The demo website displays 3 widgets (Latest Tweets, The man behind the curtain and Text & Button Widget)
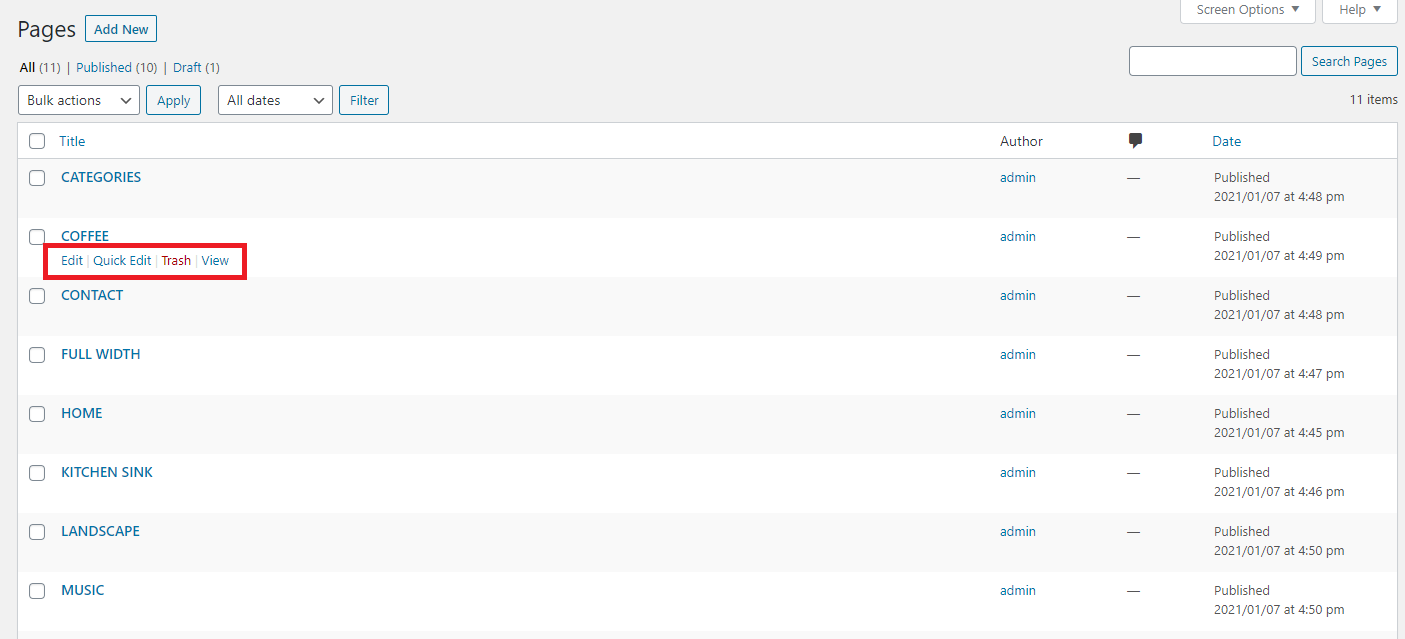
Pages
- To view/access all available pages on the website, on WordPress left menu, go to Pages. It will list all the available pages.
- If you downloaded the demo content, you can see demo pages.
- When hover on the available page on the list, you can see the options for each page.
How to Create a Page
- To create a page, on WordPress left menu, go to Pages > Add New.
- Snapcase supports Block (Gutenburg) Editor. Click here to see how to add content using Block (Gutenburg) Editor.
- Add Page title, content, choose 'page template' (if required), choose 'parent page' (if required) and publish it.
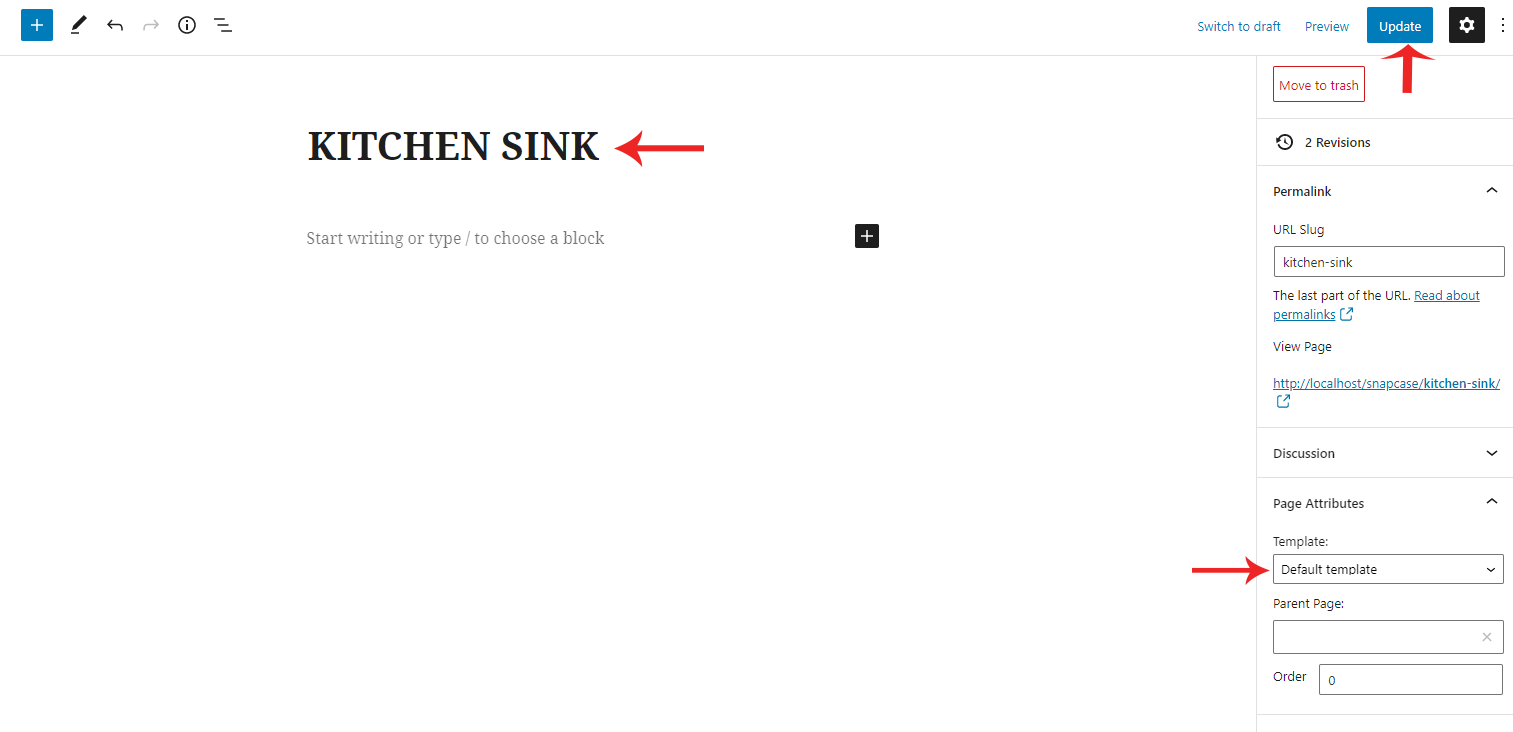
Page Templates
Snapcase provides 2 page templates. They are Default and full width templates
How to setup Page Template
- While creating a page, you can choose the page template or you can change the page template anytime while editing the page.
- It is important to choose correct page template for each page.
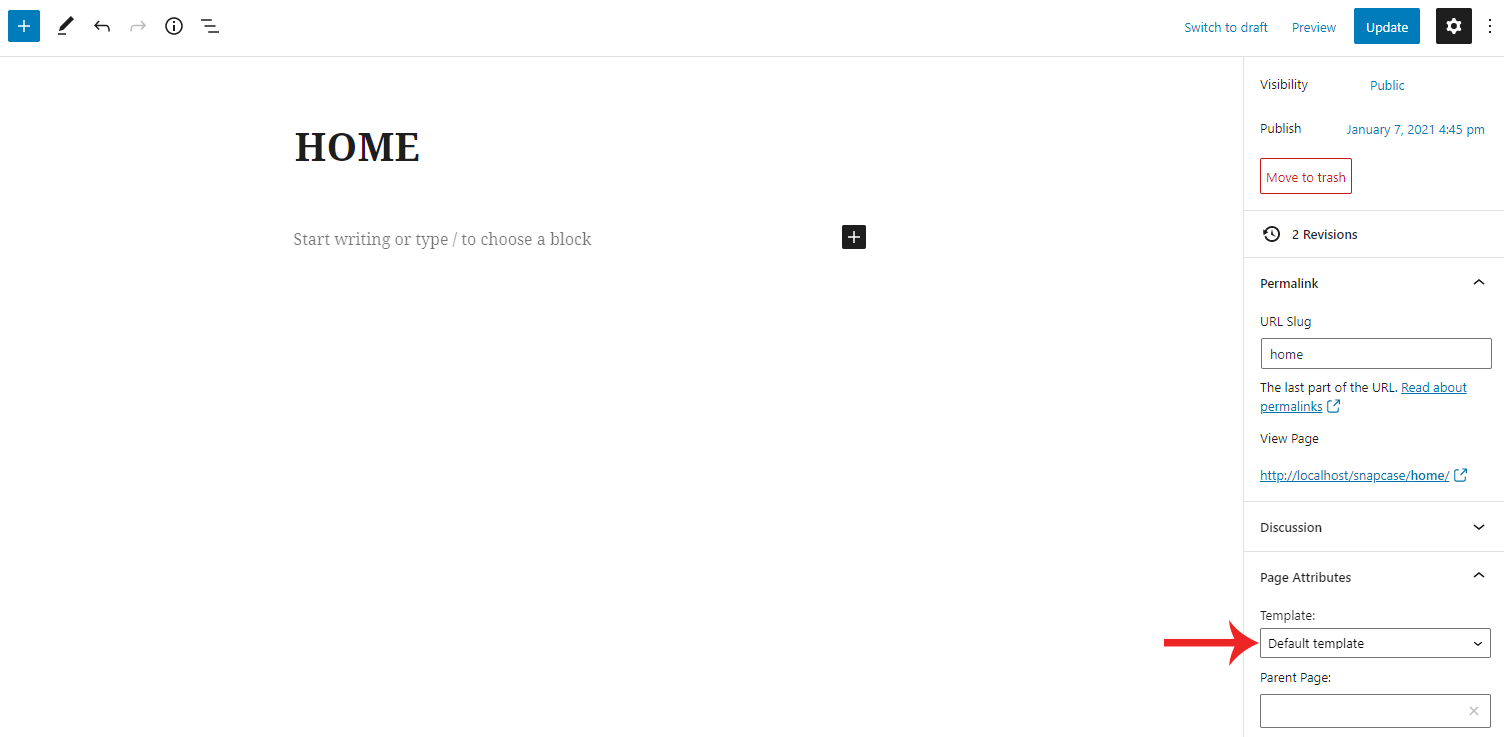
Default Page Template
- This is the default template for pages & posts.
- This template has sidebar (Left or Right). You can setup the sidebar using Site Layout option on Theme Options > Basic Settings. Click here to know more about it.

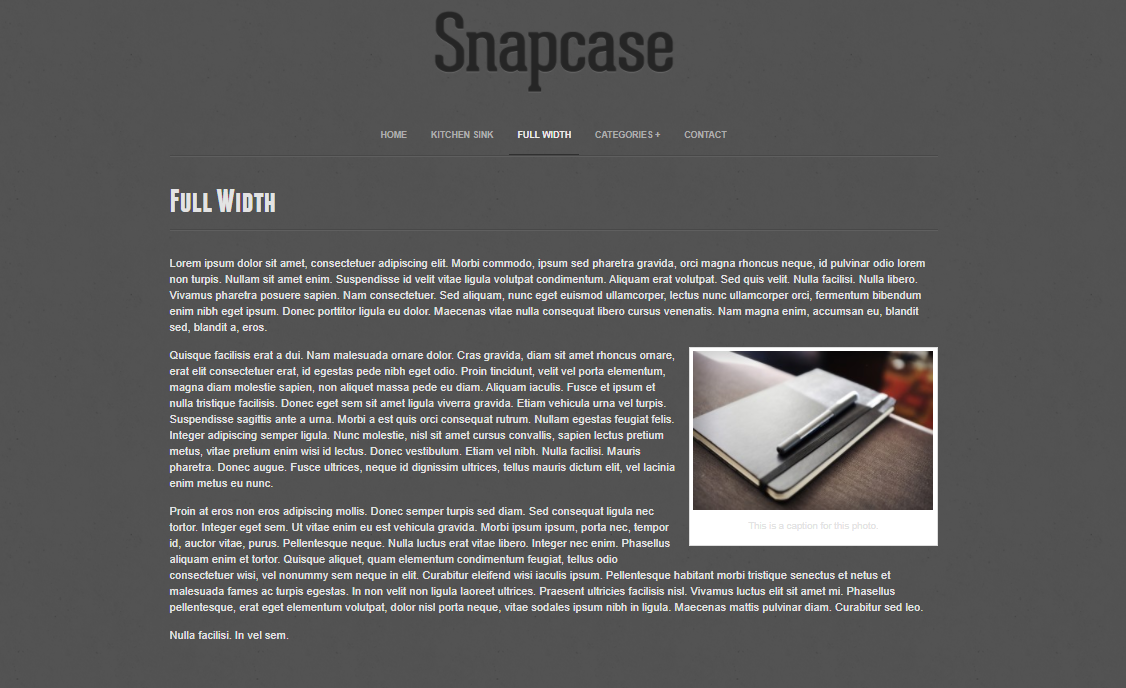
Full Width Page Template
- This template has no sidebar. The content of the page is stretched to the full width of the page container.
Blogs
Blog Single
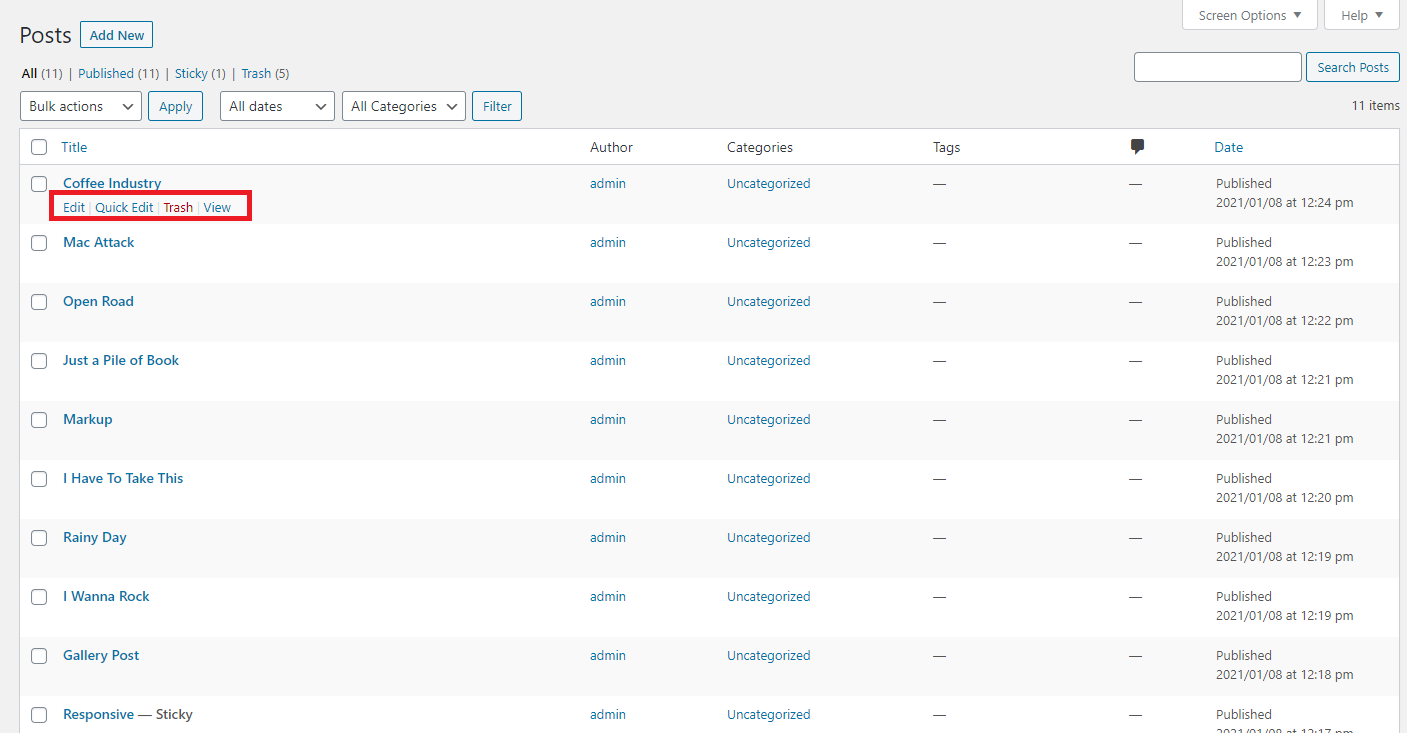
- To view/access all available post on the website, on WordPress left menu, go to Posts. It will list all the available posts.
- If you downloaded the demo content, you can see three blogs on the backend posts page.
- When hover on the available blog (post), you can see the options for each blog.
How to Create a Blog
- To create a blog, on WordPress left menu, go to Posts > Add New.
- Snapcase supports Block (Gutenburg) Editor. Click here to see how to add content using Block (Gutenburg) Editor.
- Add Post title - The title is displayed when you hover the image the title will appear.
- Set Featured image.
- If enable stick to the top of the particular post, It shows as the first blog.
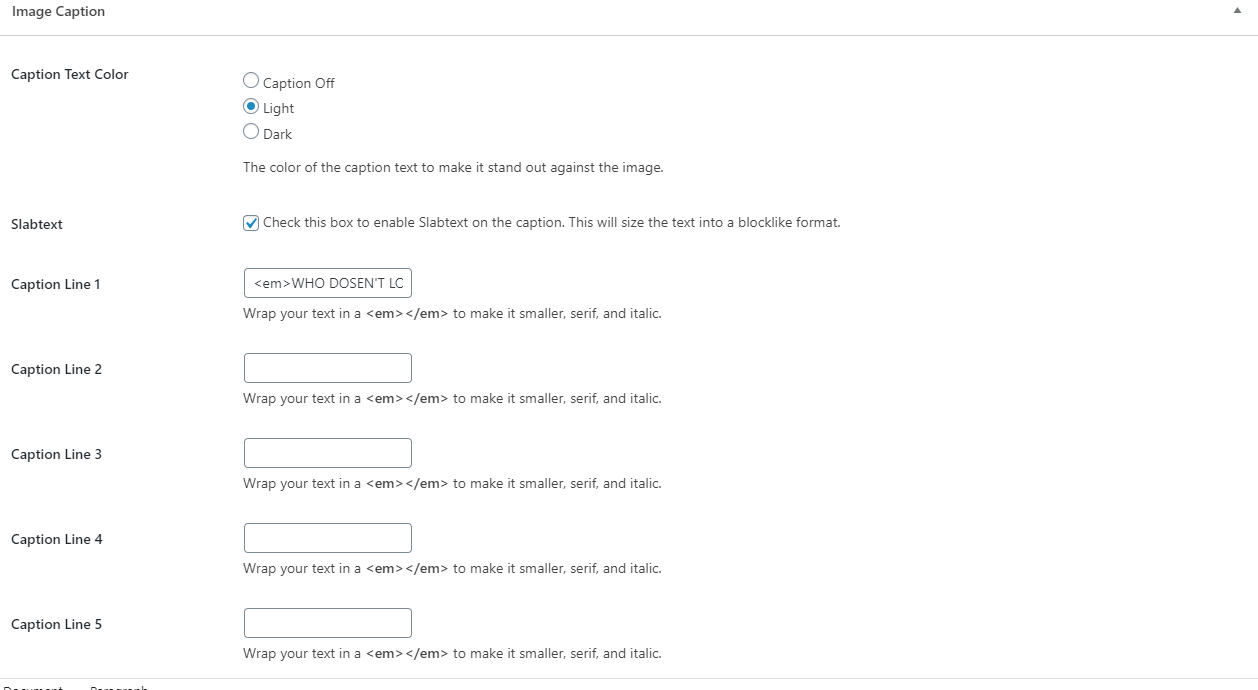
- Caption Text Color : The color of the caption text to make it stand out against the image, It contains 3 options caption off, light color and dark color.
- Slab Text : If you enable slabtext on the caption the text is into block like format.
- Caption Lines : There are five caption lines in image caption. If you can use the code (em /em to make it smaller, serif and italic) when the text is comes out from the image.
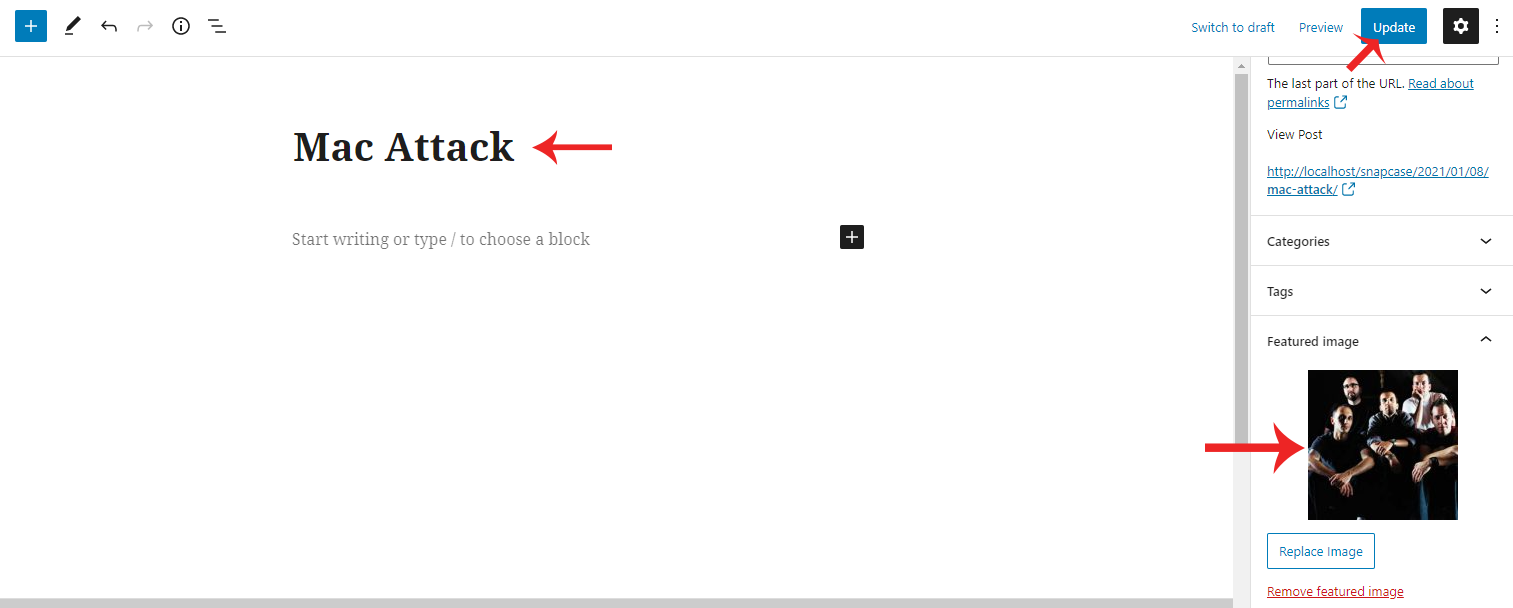
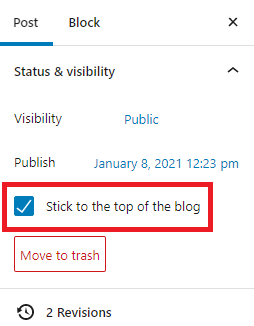
Image Caption
Changelog
Version 2.0.0 (September 2020)
- Theme bug and Wordpress bug updated.
Snapcase- Responsive WordPress Photoblog Theme
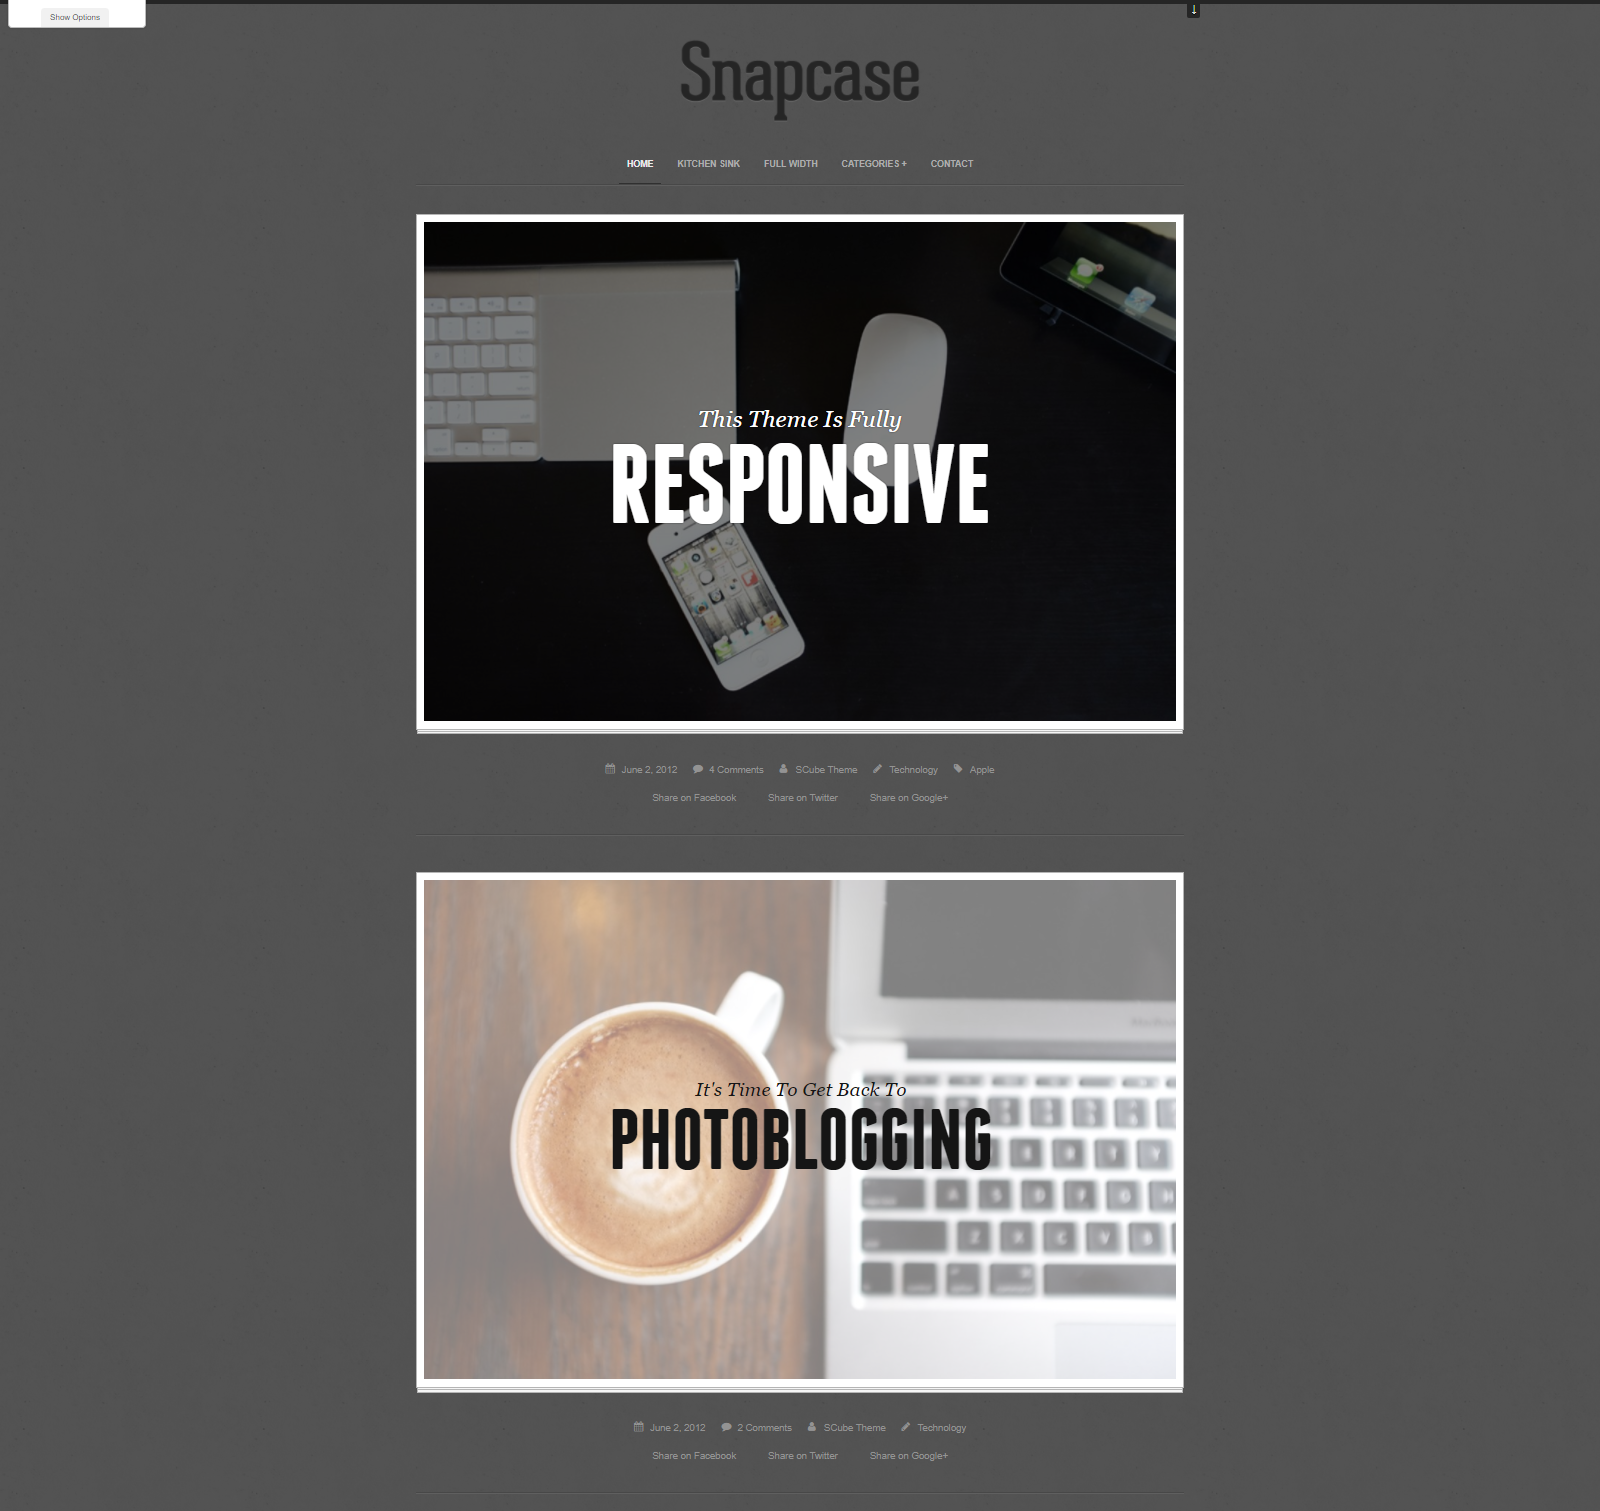
Snapcase is a WordPress theme built for images and captions. Choose a photo, write a caption, and Snapcase will display in an awesome typographic display. Whether your a professional photographer or an enthusiast, Snapcase can display your photos and captions beautifully.
Thank you for purchasing the theme. We provide support for all of our themes at https://www.scube.co/support/, but please make sure you read this documentation in it's entirety first.
Thanks again!
Social Networks
The information in this section will be displayed on the Footer Section.