Skillfully WordPress Theme Documentation
- Created On: 7 Aug 2014
- Last Changed: 26 Aug 2024
- Current Version: 2.0.0
- Developed By: Scube Themes
- Theme Support: https://www.scube.co/support/
Introduction
Skillfully allows you to create a professional online marketplace of online courses to sell courses and lessons, or recruit a whole team of experts to create an Academy of tutors.
Thank you for purchasing the theme. We provide support for all of our themes at https://www.scube.co/support/, but please make sure you read this documentation in it's entirely first. Thanks again!
Theme Installation
Download Theme
At first, you need to download Skillfully theme from ThemeForest website.
To download the theme:
- Go to ThemeForest and login into your account.
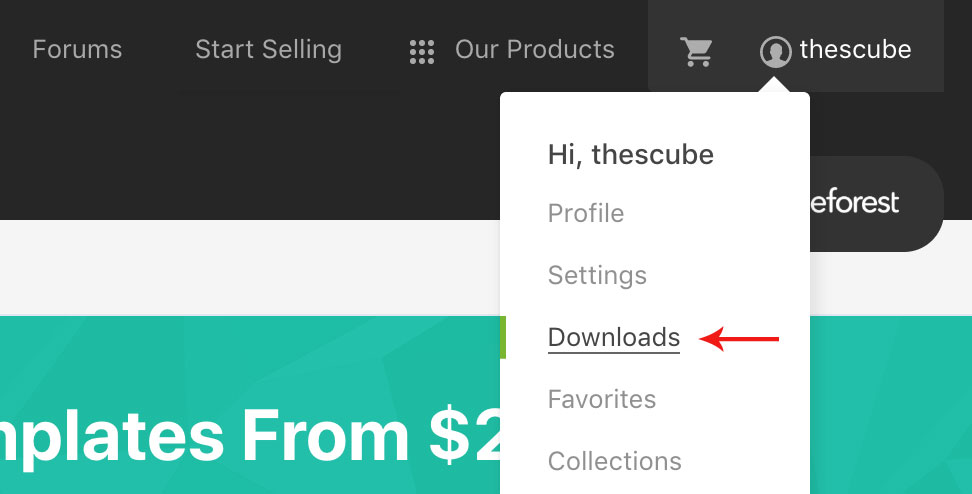
- In the upper right corner, hover over your username and click on Downloads.
- Scroll down to Skillfully and click on Download All files & Documentation .
- Extract the downloaded .zip file into a folder. These files will be needed for the next steps.
Installing The Theme
There are few methods to upload and install a theme on your WordPress website. We explain about two easy installation methods here.
Installing through WordPress
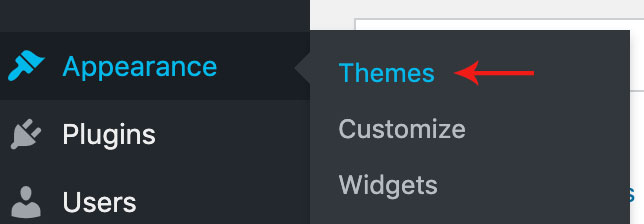
- On WordPress left menu, go to Appearance > Themes.
- Click on Add New Theme.
- Click on Upload Theme button.
- Click on Choose File button and select Skillfully.zip that you have extracted from the ThemeForest downloaded file then click on Install Now button and wait for the install to complete.
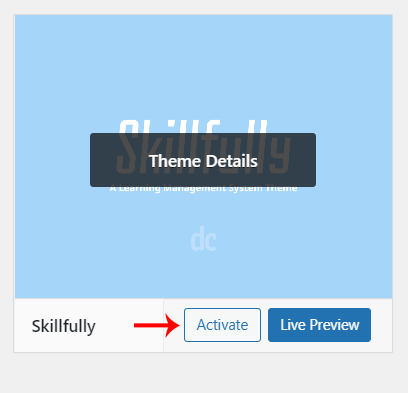
- After the theme installed successfully, click on Activate button.
Uploading Through FTP
Alternatively, you can upload the theme through file transfer protocol. Keep in mind that this will only upload the theme to your website, it will not activate it.
- Use a FTP (for example Filezilla) to access your host web server.
- In the files browser navigate to /wp-content/themes.
- Extract Skillfully.zip and transfer it into the directory.
Installing The Child Theme
If you plan on customizing and editing the theme’s files, it is always recommended to install a child theme. Having child theme guarantees that your changes will not be deleted on each update of the theme and they will stay intact.
Use the same process of Installing the theme to install the child theme.
Install Required Plugins
After successfully activated the child theme. Its important to install and activate the required plugins for the theme.
There are Ten plugins required for Skillfully theme [version 2.0.0.]
- One Click Demo Import
- WooCommerce
- Sensei lms
- Contact Form7
- The Events Calender
- Sensei-Certificates
- Sensei-Course-Progress
- Sensei-Media-Attachments
- Soundcloud
- Testimonials
Install & Activate Required Plugins
- When theme is activated, Notice to install the required plugins will appear on the WordPress backend.
- Click on the Begin installing plugins link to install and then activate the plugins.
Theme Recommended Plugins
- One Click Demo Import: This plugin is used to import the demo content. It includes pages, posts, media, menus and widgets. You need to install and activate this plugin to import the demo content.
- WooCommerce: WooCommerce can be the perfect eCommerce platform for every retailer. Those plugins may expand functionality in regards to shipping, payments, how products are handled, and more. WooCommerce offers detailed order tracking, customer engagement tools which allow merchants to view past and open orders, update delivery statuses, apply discounts, adjust tax settings, manage inventory, adjust shipping options, and setup coupon codes.
- Sensei LMS: Sensei is a learning management system for WordPress from the makers of WooCommerce. Sensei LMS integrates effortlessly with your WordPress site, making it easy to create courses, lessons and quizzes.
- Contact form 7: We used Contact form 7 (CF7) plugin to add contact form on contact page. You need to install and activate this plugin before importing the demo file Click here to see the plugin.
- The Events Calender: Easily create and manage an events calendar on your WordPress site with The Events Calendar free plugin. Whether your events are in-person or virtual events, this WordPress calendar plugin boasts professional features.
- Sensei-Certificates: This Pllugin is used for award your students with a certificate of completion for their completed courses.
- Sensei-Course-Progress: Sensei LMS Course Progress provides a widget that displays the lessons in the current course or module. It lets your students see, at a glance, which lessons they have completed and which lessons they still have to take.
- Sensei-Media-Attachments: Sensei LMS Media Attachments enables you to attach media files to your courses and lessons in Sensei LMS.
- SoundCloud: This plugin converts all SoundCloud Shortcodes into embeddable SoundCloud players. It works for any SoundCloud track, playlist, user, or group. Once you install this plugin, it works for any of your blog posts.
- Testimonials: Testimonials is a WordPress plugin that allows you to manage and display testimonials for your blog, product or service.
Import Demo Content
When you first install Skillfully, it won’t contain all the extra content that you might have seen in the live demo. Before importing the content make sure all the plugins are activated. You need to install and activate One Click Demo Import plugin to import the demo content.
Steps
- On WordPress left menu, go to Appearance > Import Demo Data.
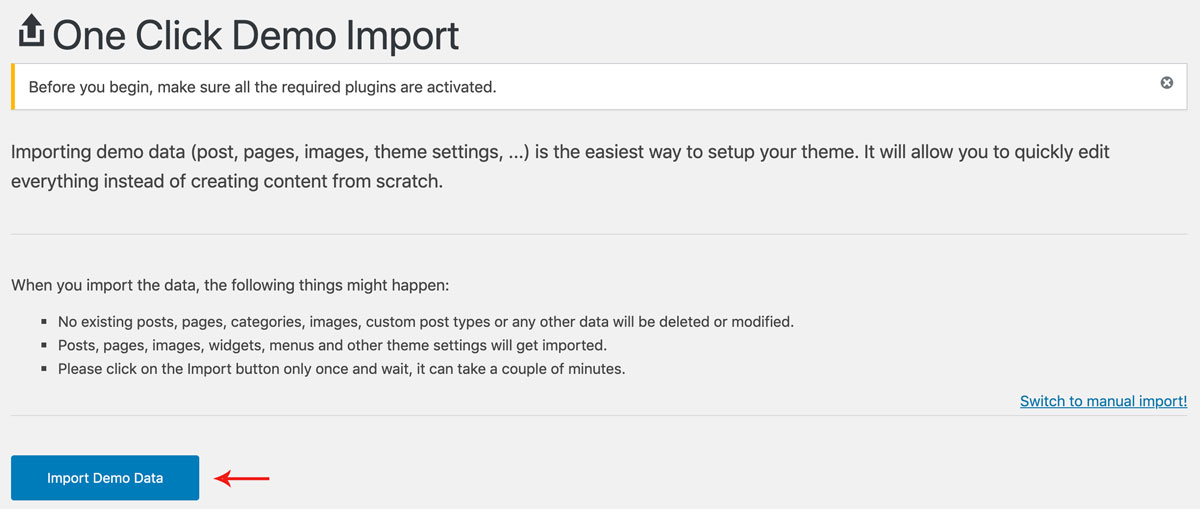
- On the One Click Demo Import page. Click on the Import Demo Data button only once and wait, it can take a couple of minutes to import all the demo data.
- Please be patient while importing all the content.
- It will import Pages, Posts, Media, Menus & Widgets.
Theme Options Setup
Theme Options is the main section of Skillfully, which you can use to change your global settings for your website. You can access theme options on WordPress left menu, go to Appearance > Theme Options.
Basic Settings
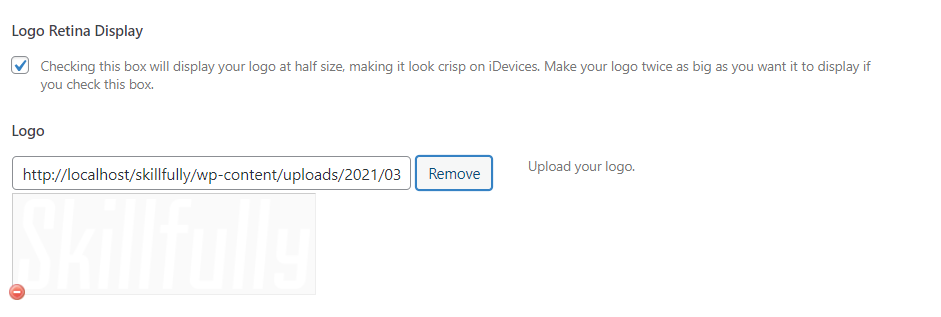
- Logo Retina Display: This enables display your logo at half size, making it look crisp on iDevices.
- Upload Logo
- Site Layout: Left & Right layouts. Choose the layout to set.
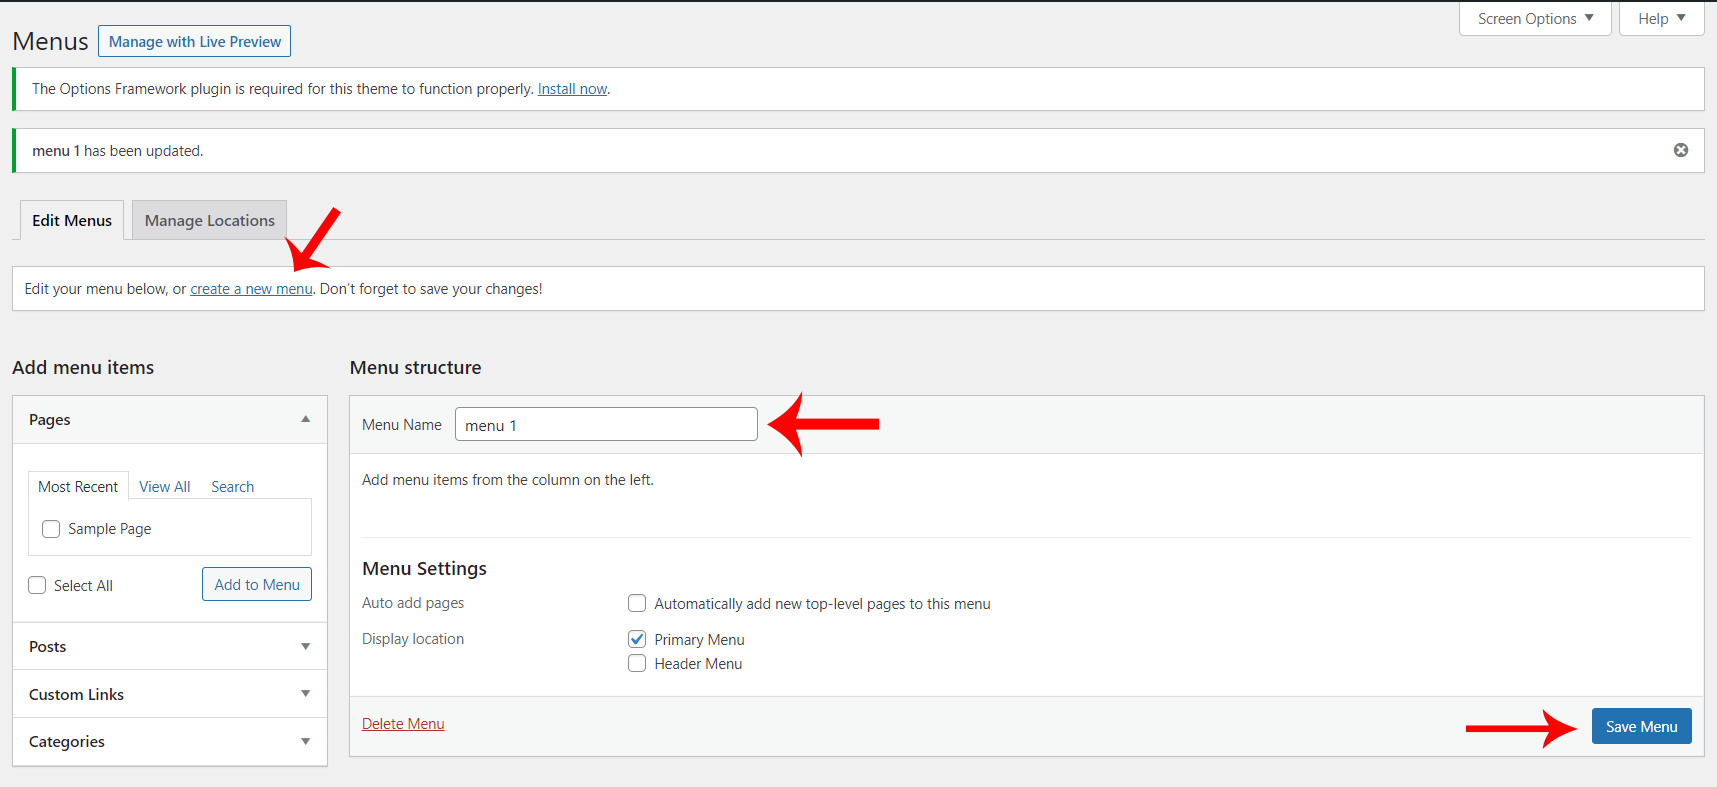
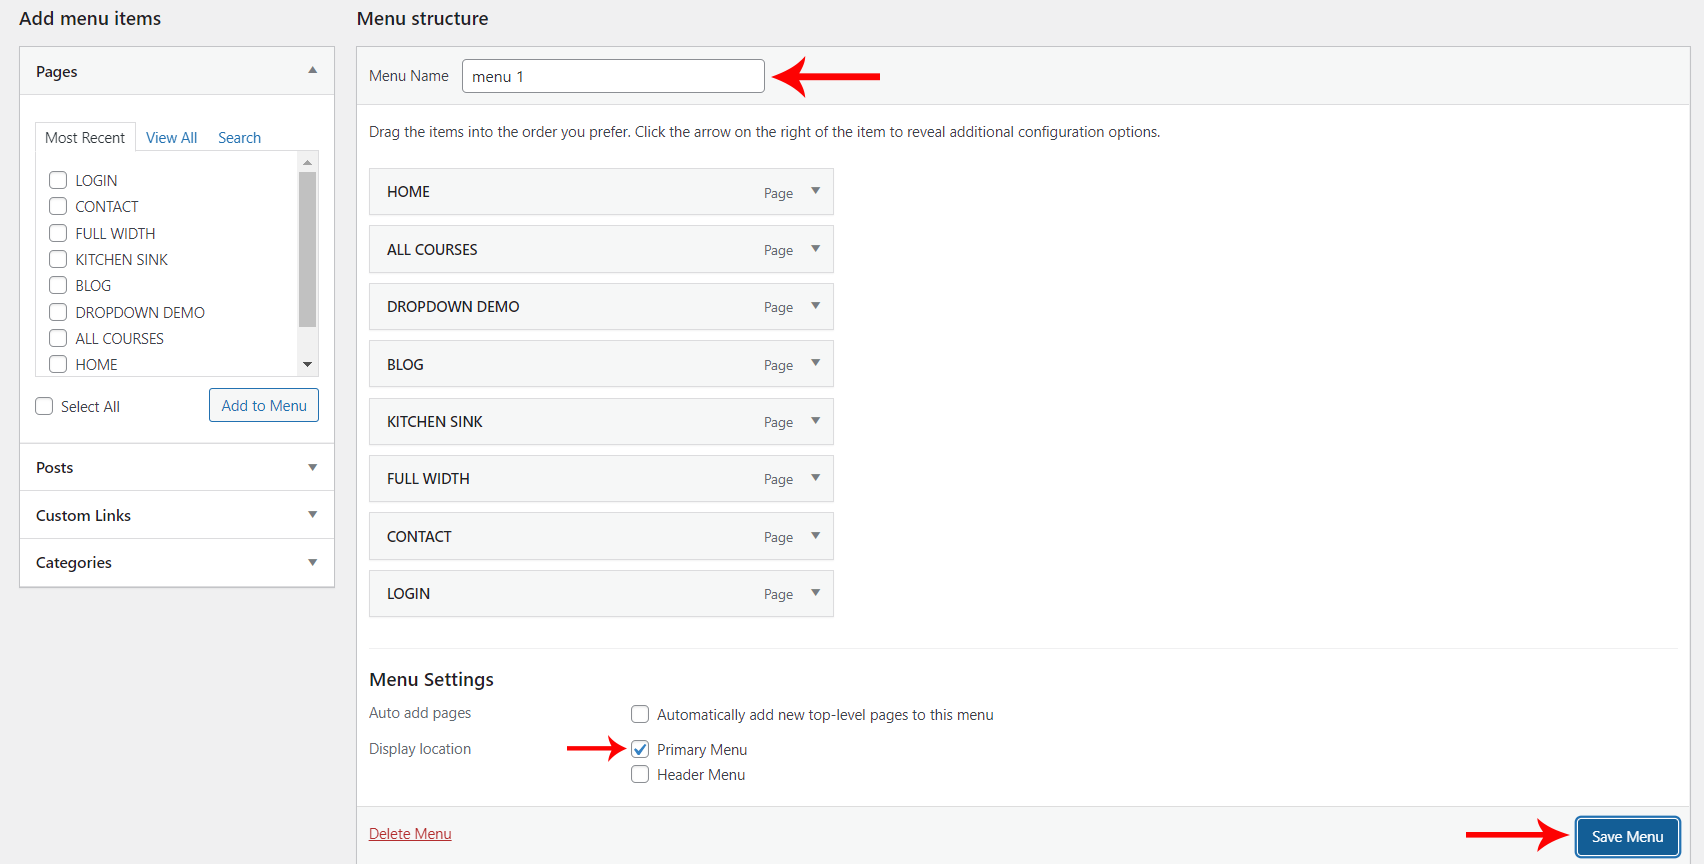
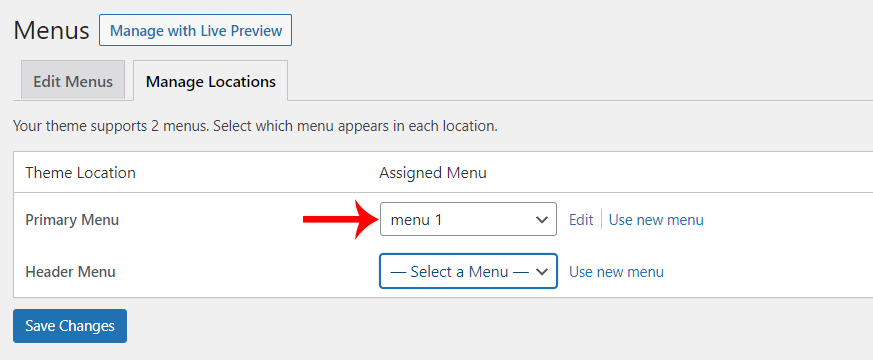
- Menus: Select Your menu Location.
- Credit Where Credit Is Due: Enabling this option will give credit to the skillfully theme. It will be shows in a footer section.
Home page Settings
This section has home page settings of the website.
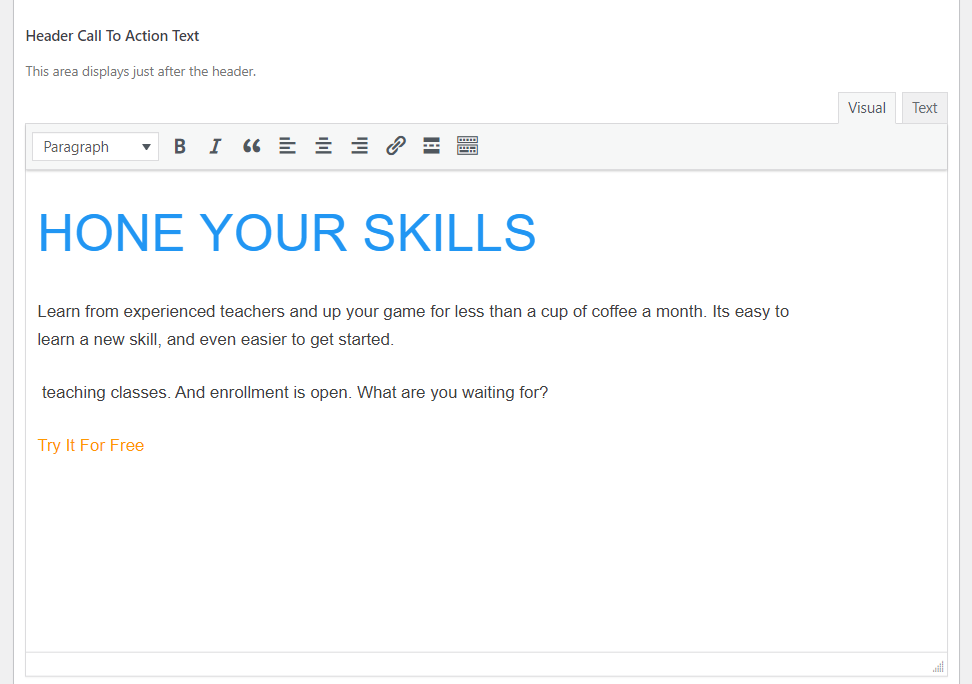
- Header Call To Action Text: This text displays just after the header.
- Header Text Color: Select the color for the text overlaying the image in your header.
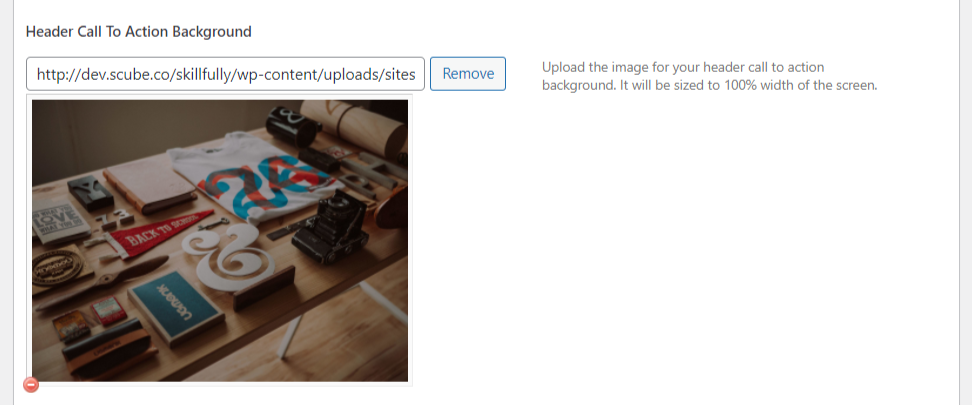
- Header Call To Action Background: Upload the image for your header call to action background.
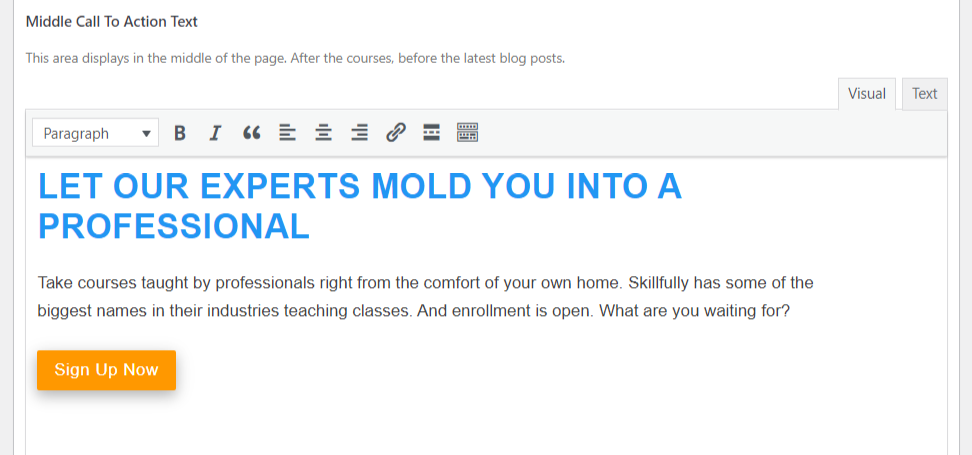
- Middle Call To Action Text: This text displays in the middle of the page inbetween the courses and latest blog posts.
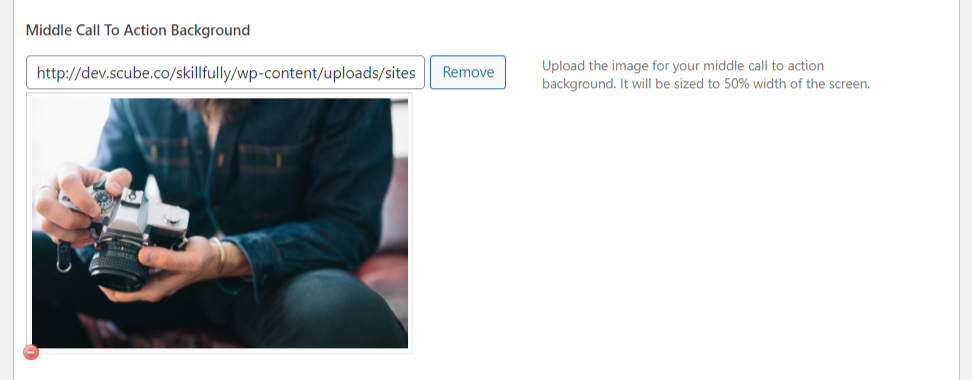
- Middle Call To Action Background: Upload the image for your middle call to action background.
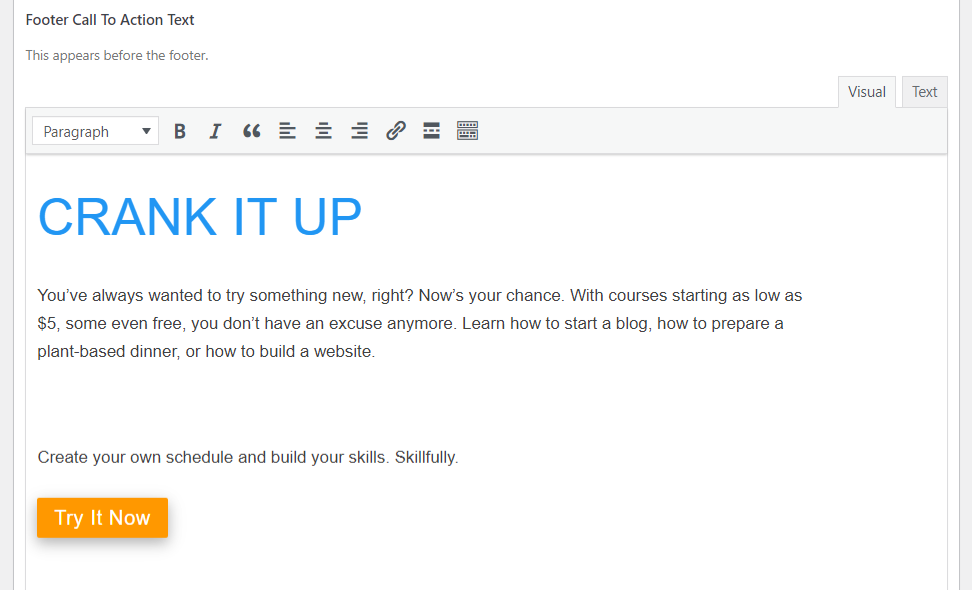
- Footer Call To Action Text: This text appears before the Footer.
- Footer Text Color: Select the color for the text overlaying the image in your footer.
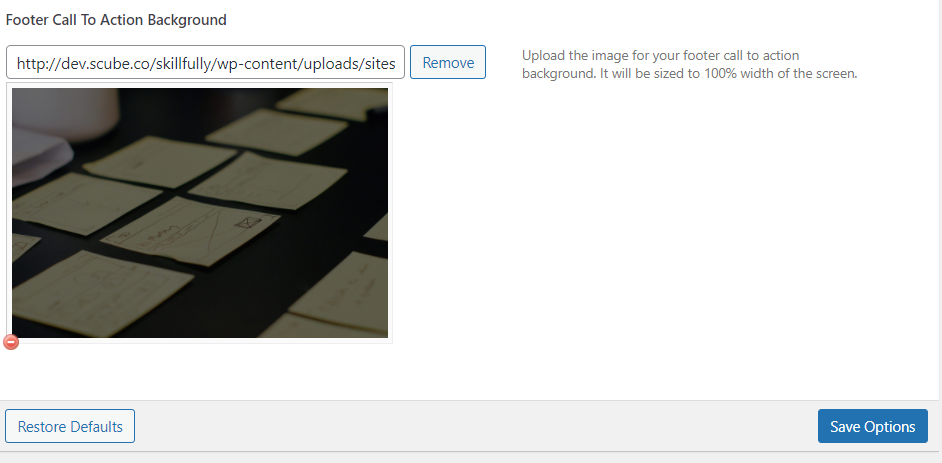
- Footer Call To Action Background: Upload the image for your footer call to action background.
- Finally save the changes.
Style Settings
This section has basic Style settings of the website.
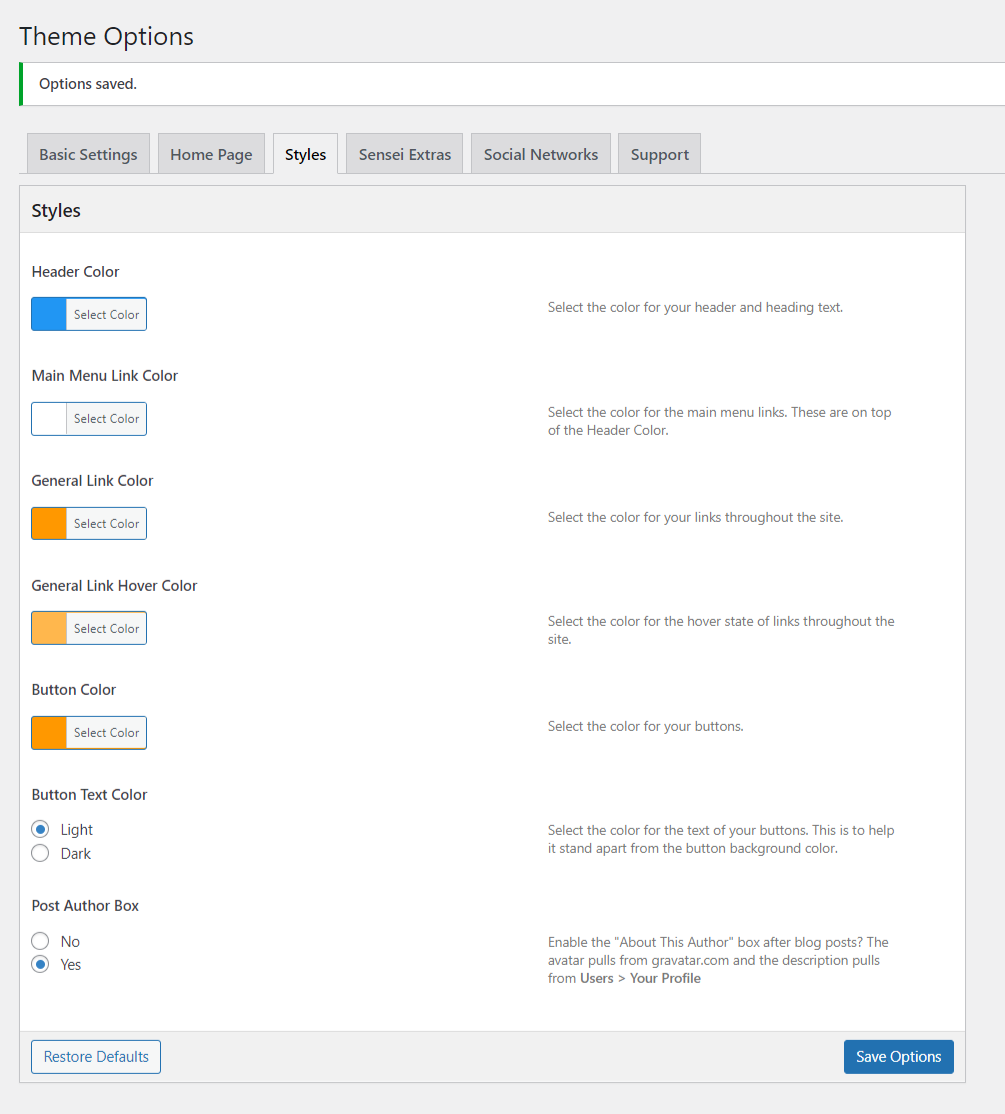
- Header-Color: Choose the color of your choice for the header and heading text from dropdown-list.
- Main Menu Link Color: Select the color for your Menu Menu link. These are on top of the Header Color.
- General Link Color: Select the color for your links throughout the site from color pattern.
- General Link Hover Color:Select the color for the hover state of links throughout the site.
- Button Color: Select the color for your button
- Button Text Color: Select the color for the text of your buttons. This is to help it stand apart from the button background color.
- Post Author Box: if enabled this option, it shows "About This Author" box after post content on post's single page and the description of the author pulls from Users > Your Profile .
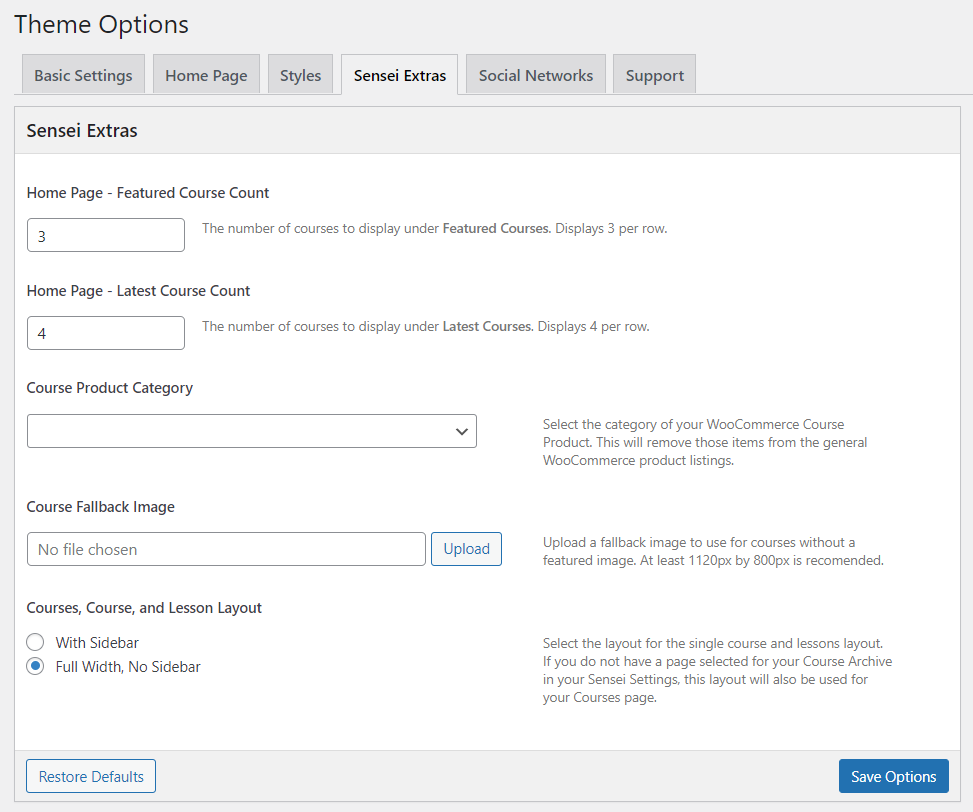
Sensei Extras
This section has Sensei Extras settings of the website.
- Home Page - Featured Course Count: The number of courses to display under Featured Courses.
- Home Page - Latest Course Count: The number of courses to display under Latest Courses.
- Course Fallback Image: Upload a fallback image to use for courses without a featured image.
- Courses, Course, and Lesson Layout: Select the layout for the single course and lessons layout. If you do not have a page selected for your Course Archive in your Sensei Settings, this layout will also be used for your Courses page.
- Finally save the Changes.
Header
Skillfully header consists of 3 items: Menu Button, Searchbar, Log In or Register.
- Menu Button: On your Home screen, all menus are display in one button called menu button. The "menu" button takes the form of an icon that consists of three parallel horizontal lines.
- Searchbar: The search bar is the location within a browser that allows you to search the Internet for what you want to find.
- Log In/Register: Login is a default feature that allows workspace access for users that have been invited to the workspace by and admin. Registration is an optional feature that can be enabled to allow anyone (or specified domains) to join/register to the workspace by themselves.
Widgets
How to Add Widgets
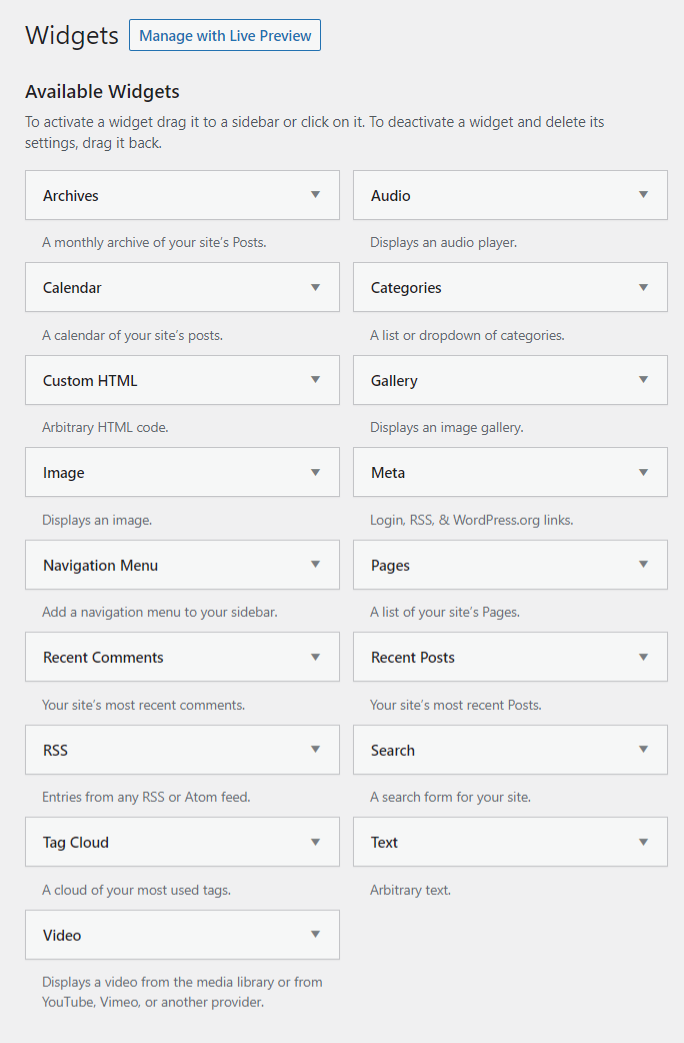
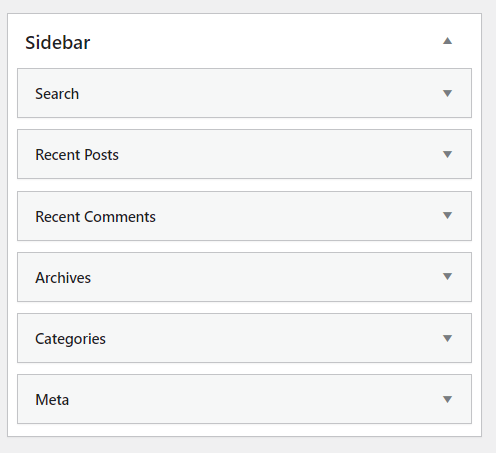
- On WordPress left menu, go to Appearance > Widgets. You can see available widgets on the left and widget areas on the right.
- Choose a Widget and either drag it to the sidebar where you wish it to appear, or click the widget, (select a destination sidebar) and click the Add Widget button.
Available Widgets
- WordPress has lots of widgets available to add in widget areas. Click here to know more about WordPress widgets.
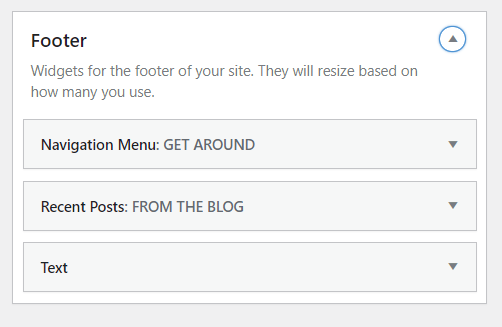
Widget Areas
Pages
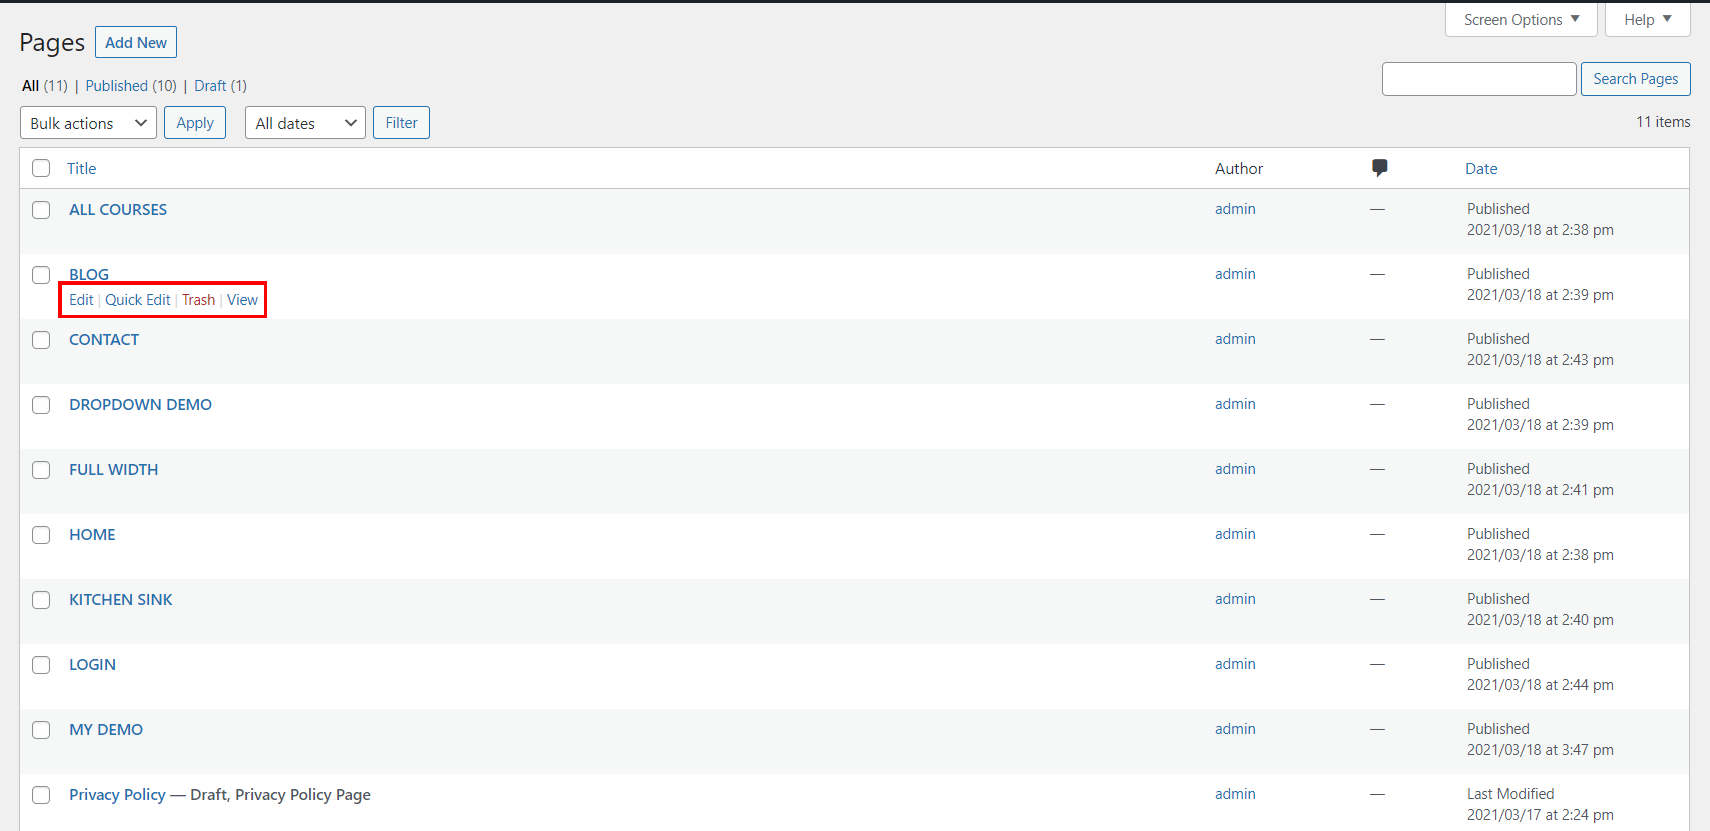
- To view/access all available pages on the website, on WordPress left menu, go to Pages. It will list all the available pages.
- If you downloaded the demo content, you can see demo pages.
- When hover on the available page on the list, you can see the options for each page.
How to Create a Page
- To create a page, on WordPress left menu, go to Pages > Add New.
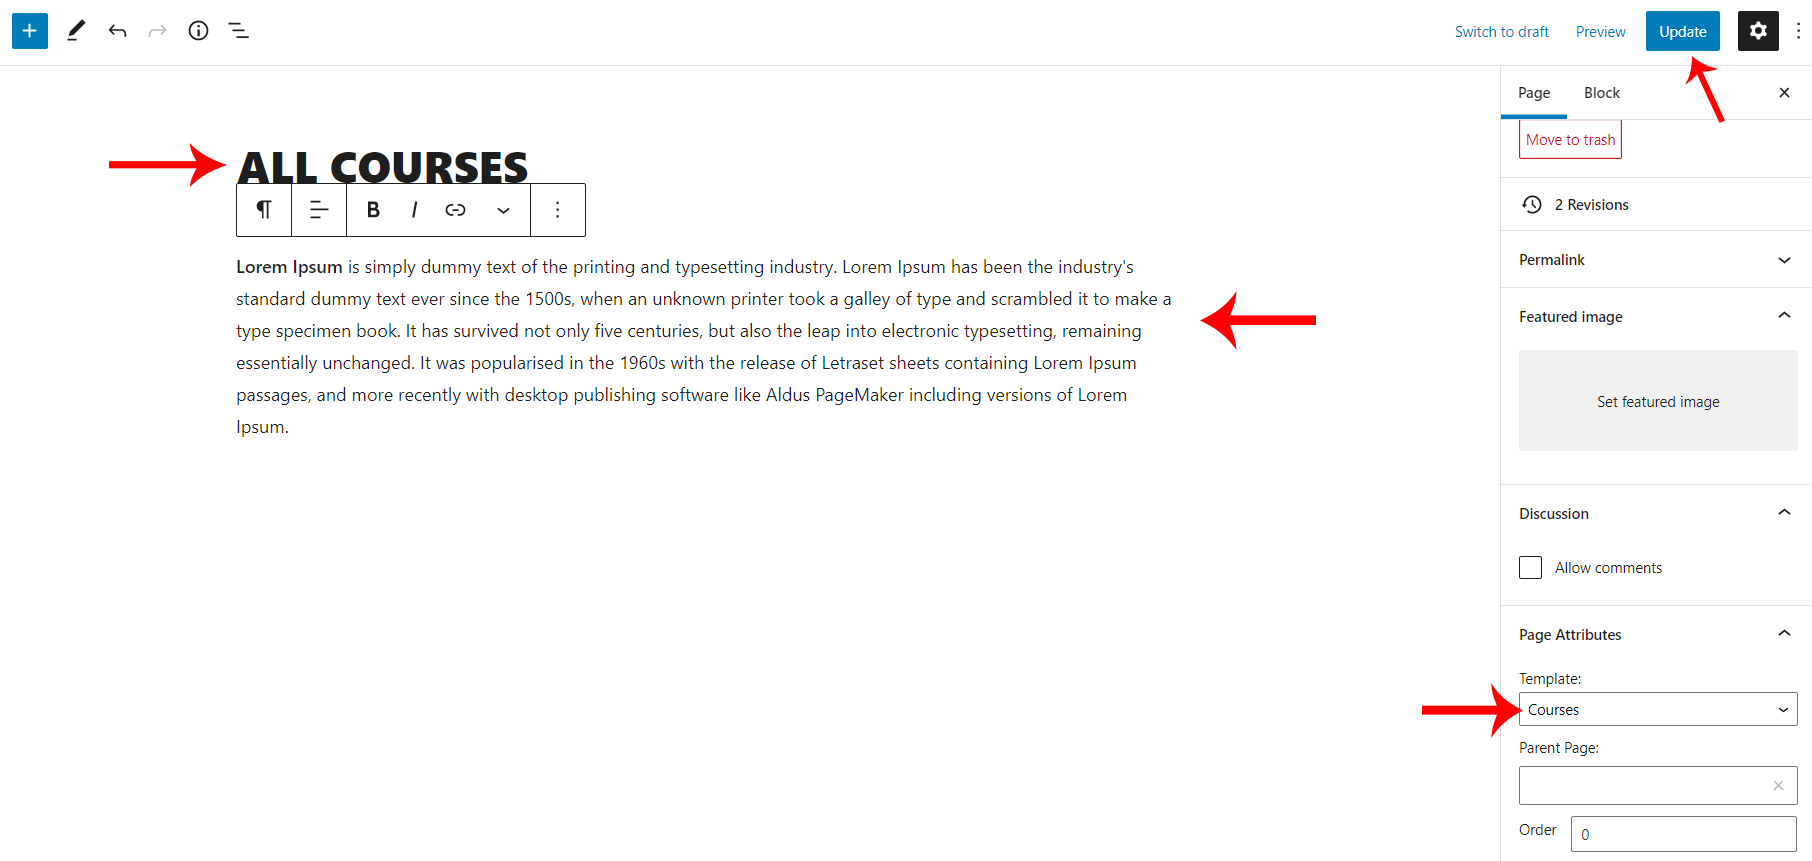
- Skillfully supports Block (Gutenburg) Editor. Click here to see how to add content using Block (Gutenburg) Editor.
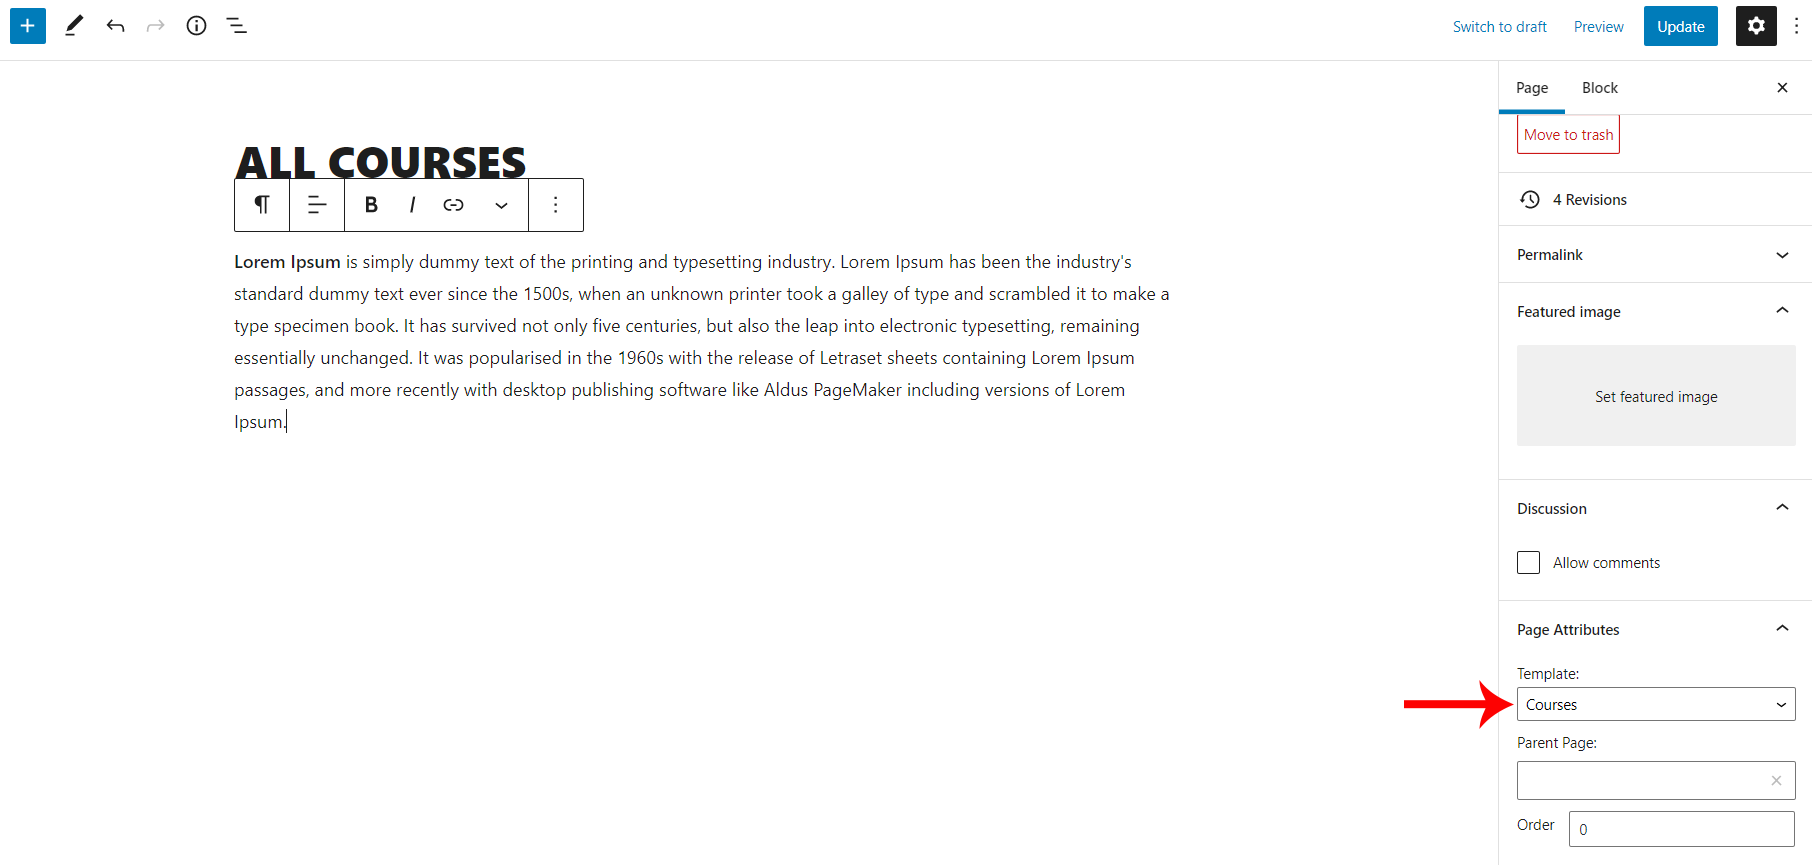
- Add Page title, content, choose 'page template' (if required), choose 'parent page' (if required) and publish it.
How to setup Homepage
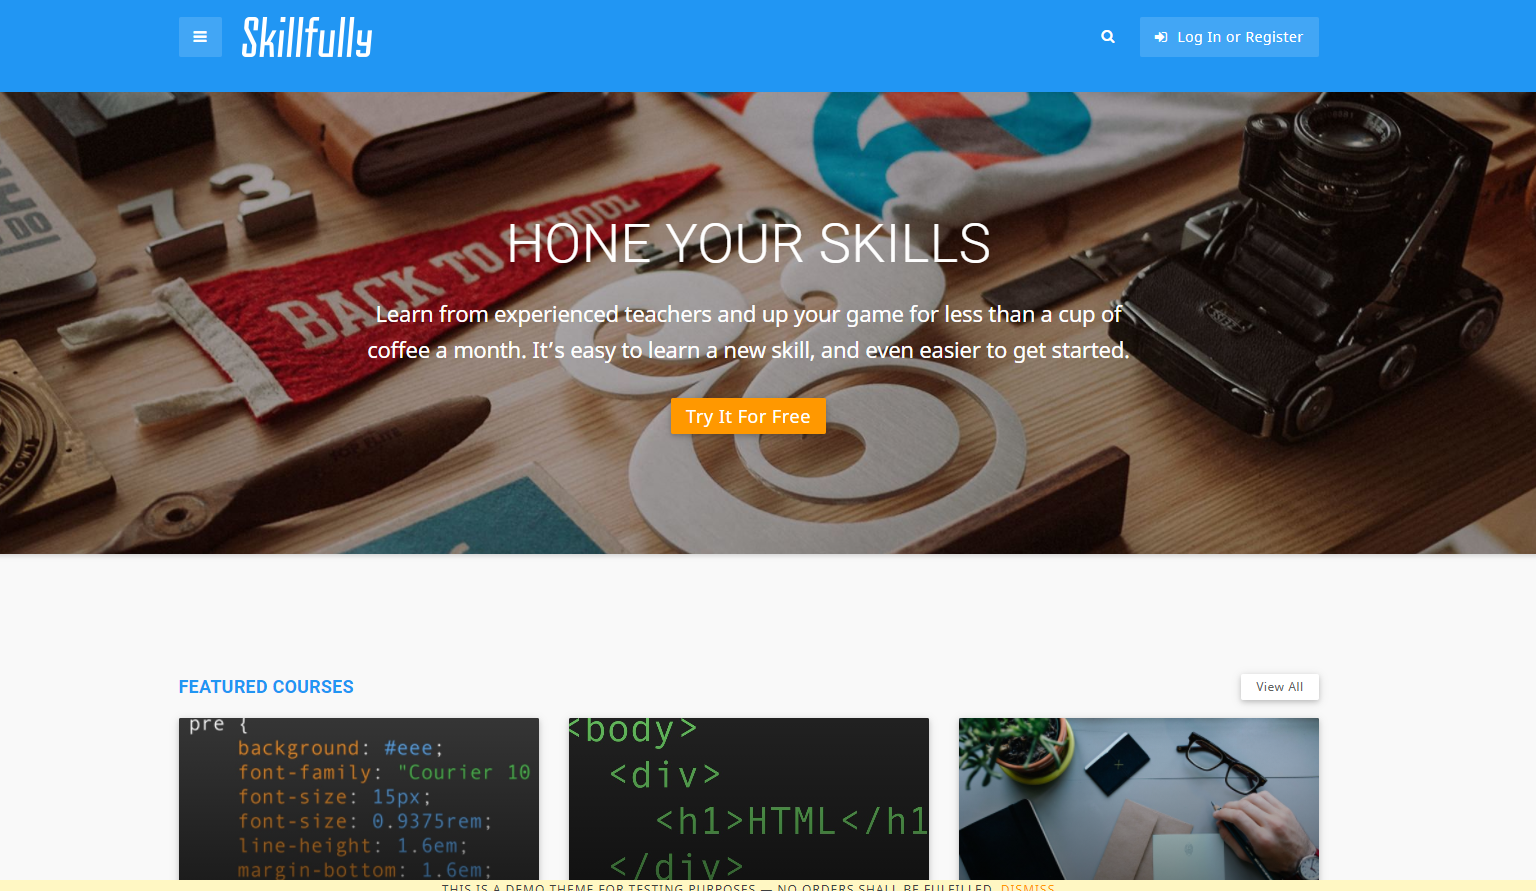
- To setup homepage, Create a page, name it, choose 'Home' page template and publish the page. Click here to know how to create a page.
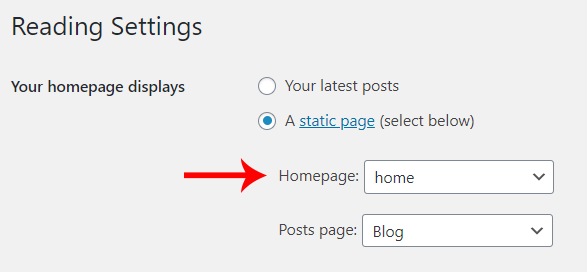
- Then on WordPress left menu, go to Settings > Reading.
- On Reading Settings page, Choose 'A static page' option and select the page from the list to set as home page.
Page Templates
A Page Template is a pre-designed page layout that can be used for creating different pages such as Home, Blog, Contact, etc. Page templates are a specific type of template file that can be applied to a specific page or groups of pages. page templates support all post types.
Skillfully provides 6 page templates. They are Default, full width templates,Home Page, My Courses/ Login & Register and Restrict Content Pro Registration.
How to setup Page Template
- While creating a page, you can choose the page template or you can change the page template anytime while editing the page.
- It is important to choose correct page template for each page.
Default Page Template
- This is the default template for pages & posts.
Full Width Page Template
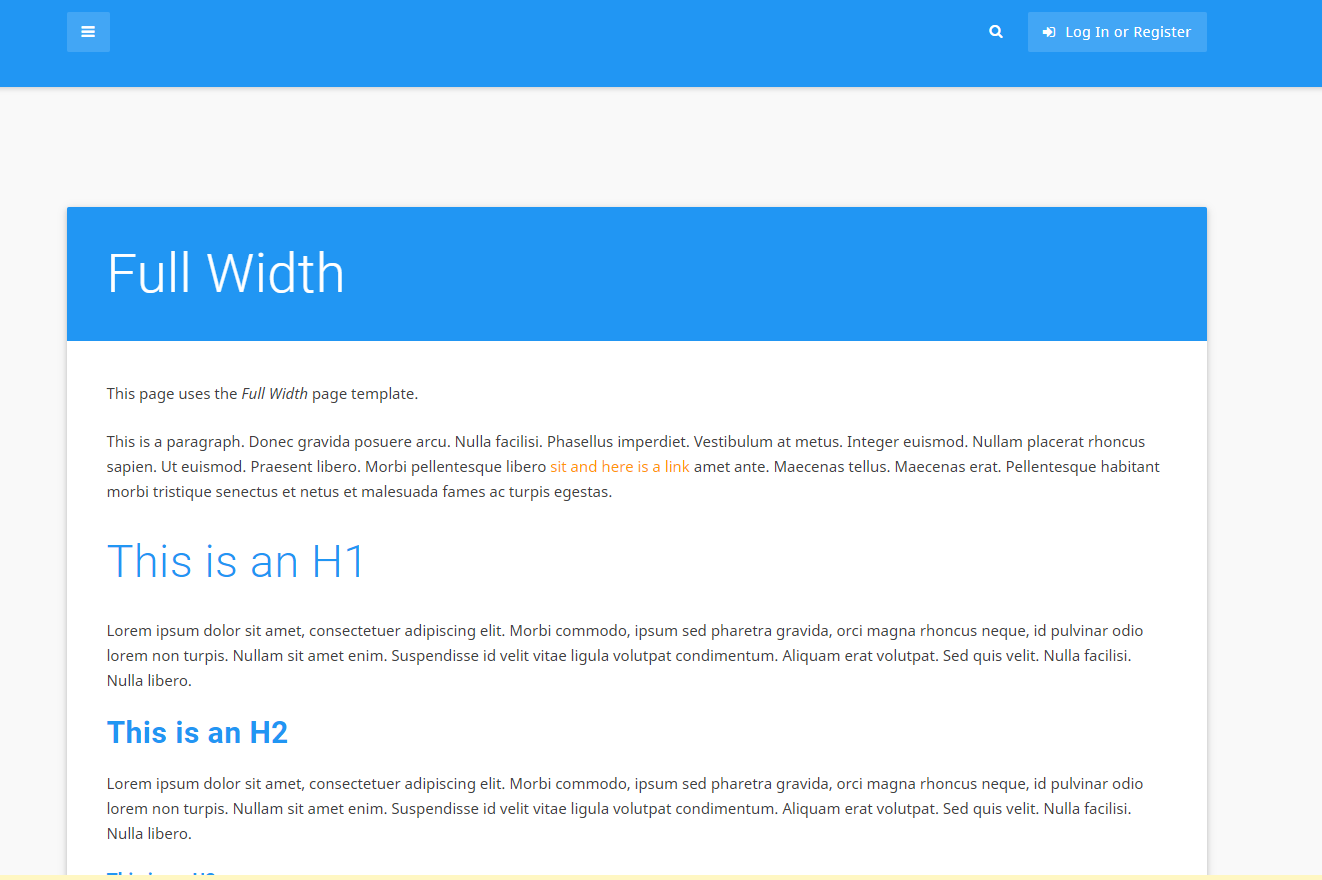
- This template has no sidebar. The content of the page is stretched to the full width of the page container.
Home Page Template
- The home page template refers to the Main Page of a Website. There are several ways to modify your homepage or create a static front page.
My Courses/ Login & Register
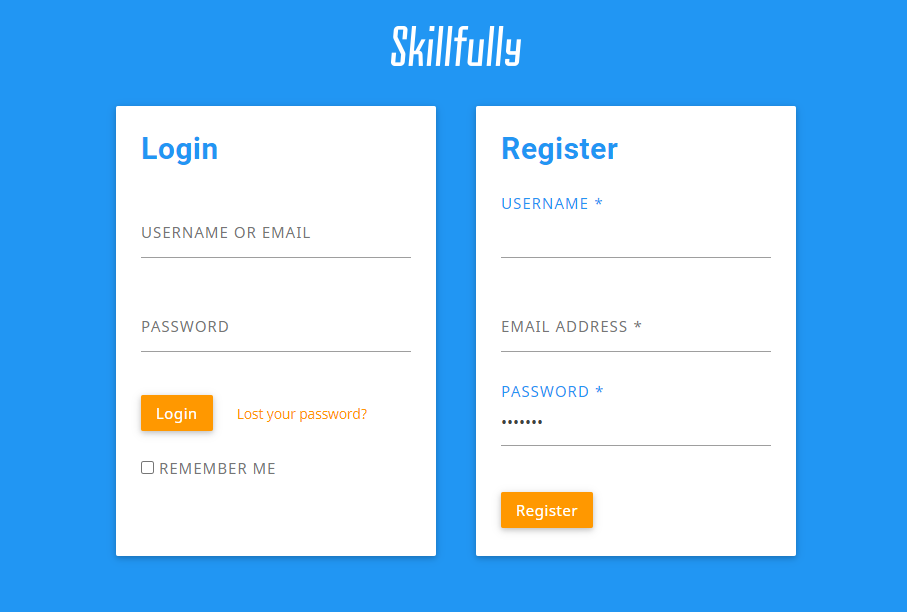
- Skillfully acknowledges that with beautifully simple Login & Registration cards on top of a solid color background. Skillfully makes use of cards to display courses and events. This makes Courses beautifully clean and simple to navigate and review.
Blogs
Blog Archive
How to setup Blog Archive page
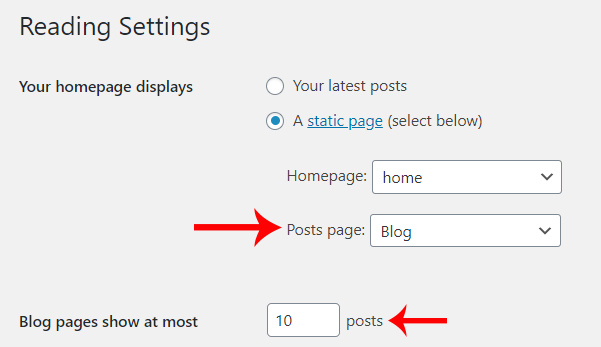
- To setup blog archive page, Create a page, name it and publish the page. Click here to know how to create a page.
- Then on WordPress left menu, go to Settings > Reading.
- On Reading Settings page, From Posts page dropdown, select the created page.
- Then on 'Blog pages show at most' field, enter the number of posts to show on the page before pagination.
- Finally, Click on the Save Changes button.
- Now you can see the page, It will show the blog archives.
Blog Single
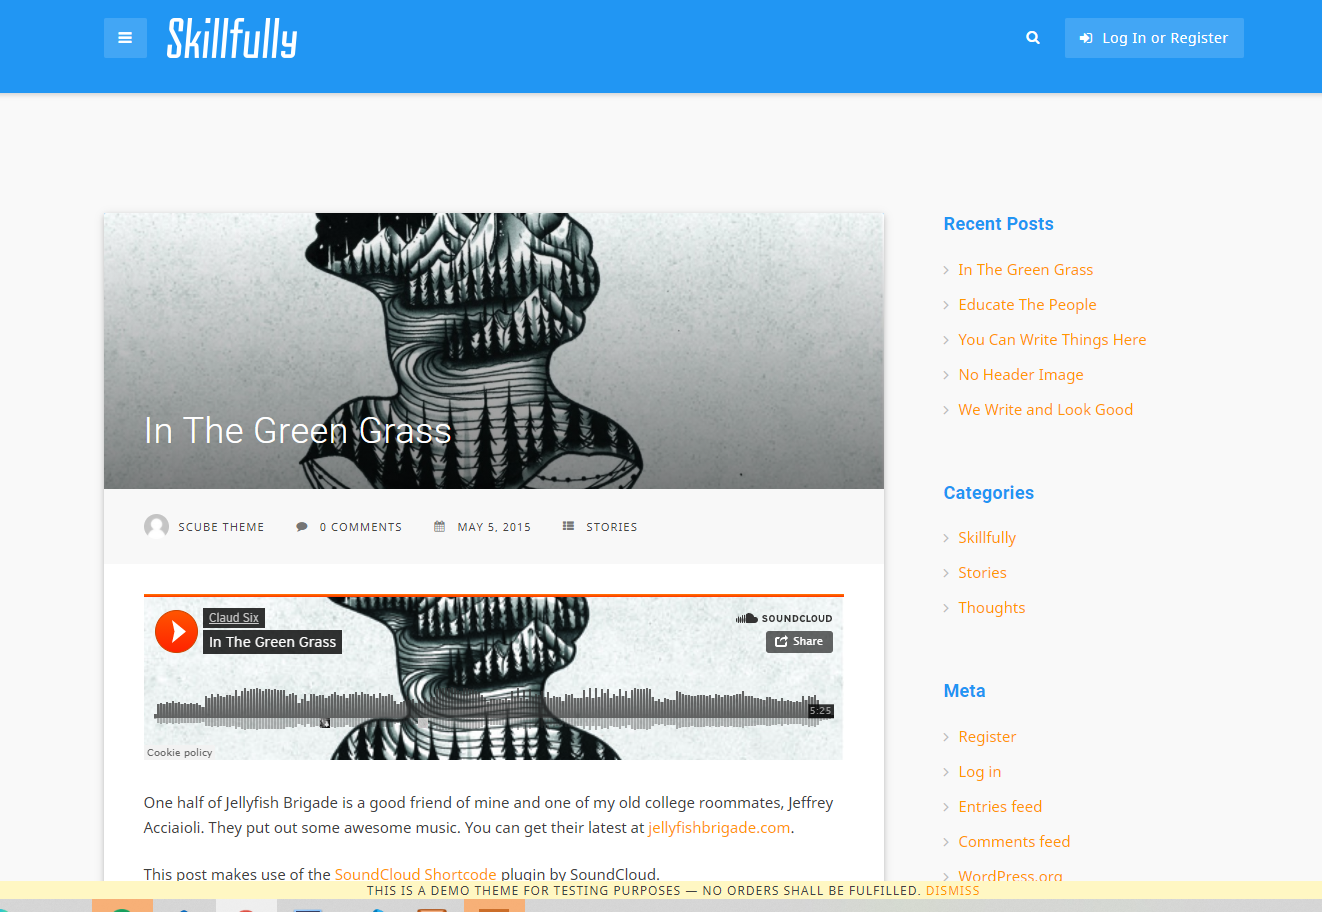
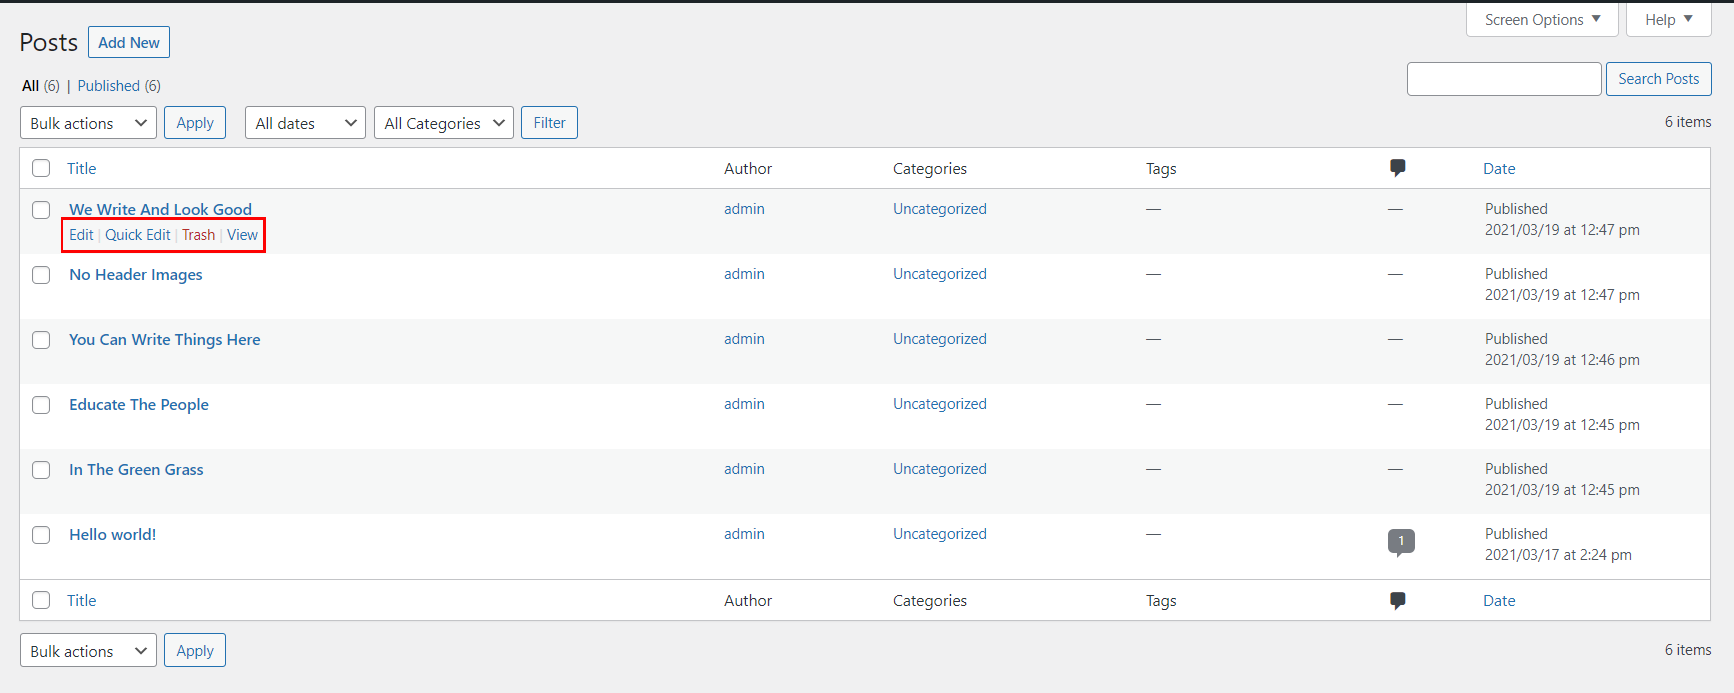
- To view/access all available post on the website, on WordPress left menu, go to Posts. It will list all the available posts.
- If you downloaded the demo content, you can see three blogs on the backend posts page.
- When hover on the available blog (post), you can see the options for each blog.
How to Create a Blog
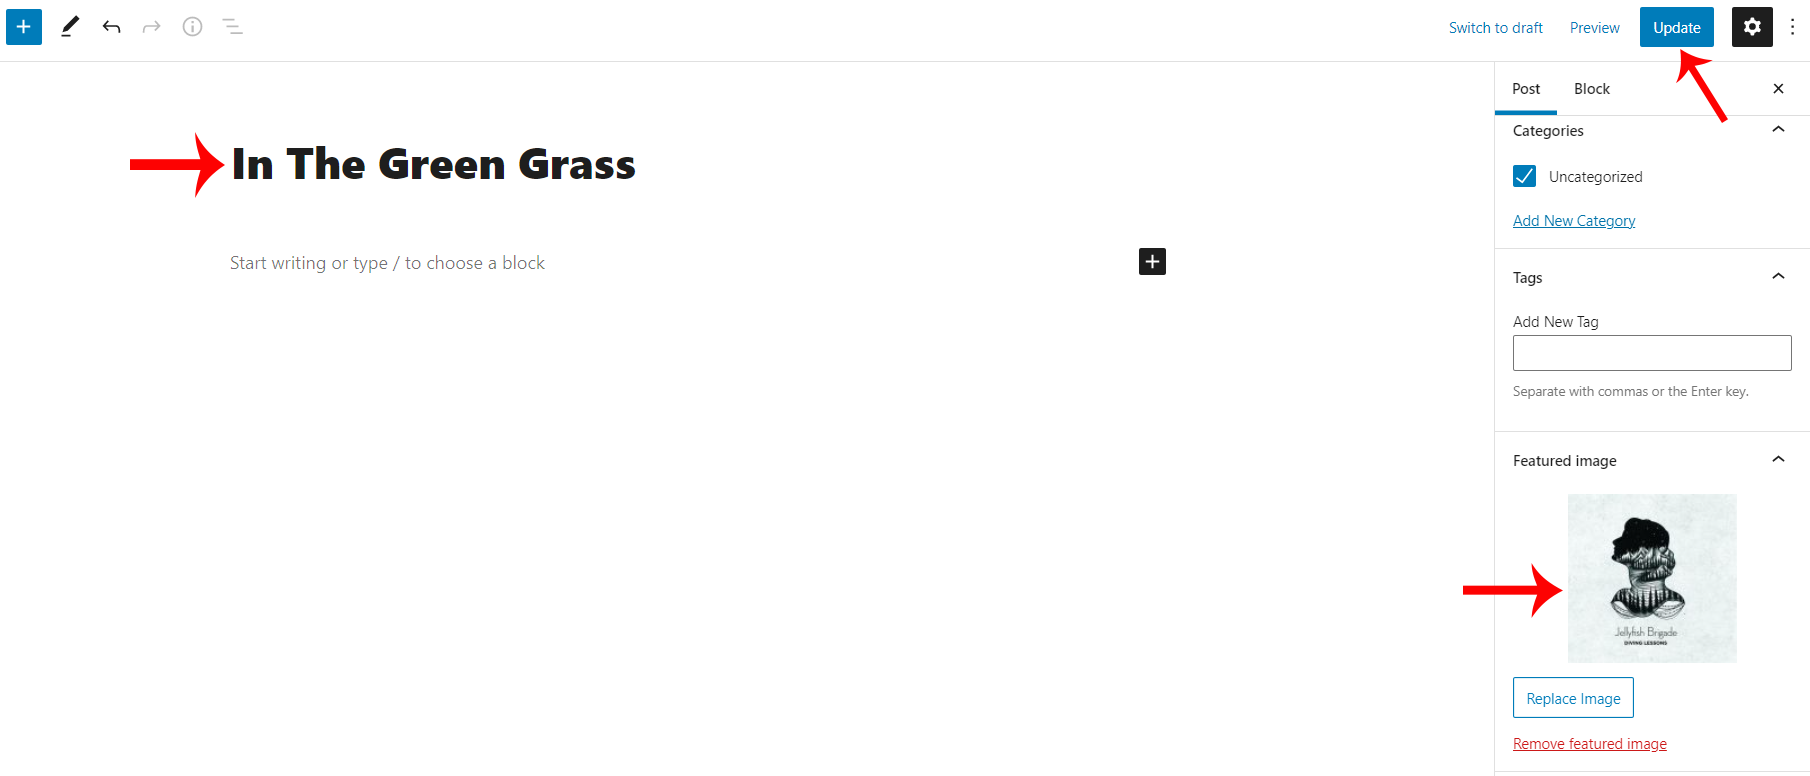
- To create a blog, on WordPress left menu, go to Posts > Add New.
- Skillfully supports Block (Gutenburg) Editor. Click here to see how to add content using Block (Gutenburg) Editor.
- Add Post title - The title is displayed when you hover the image the title will appear.
- Set Featured image.
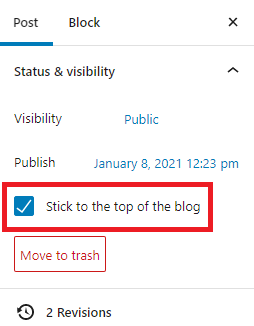
- If enable stick to the top of the particular post, It shows as the first blog.
Post - Testimonials/Events/Courses/Lessons
- Enter the testimonials/events/courses/lessons description.
- Set featured image.
- Testimonials: Enter a Byline and URL for the customer giving this testimonial in testimonial detail.
- Event: You can add Event calender, Location, organizers, Event Website & Event Cost.
- Courses: You can add Course Management, Course Category and tick the featured course option.
- Lesson: Add lesson tag and lesson information.
Changelog
Version 2.0.0 (September 2020)
- Theme bug and Wordpress bug updated.
Skillfully - A Learning Management System Theme
Skillfully allows you to create a professional online marketplace of online courses to sell courses and lessons, or recruit a whole team of experts to create an Academy of tutors.
Thank you for purchasing the theme. We provide support for all of our themes at https://www.scube.co/support/, but please make sure you read this documentation in it's entirely first.
Thanks again!









Social Networks