
Sans WordPress Theme Documentation
- Created On: 7 Aug 2014
- Last Changed: 26 Aug 2024
- Current Version: 2.1
- Developed By: SCube Themes
- Theme Support: https://www.scube.co/support/
Introduction
Sans is a responsive WordPress portfolio theme designed and developed for today’s savvy creative. Complete with audio and video support, this theme gives you the tools to easily manage and publish your work so you can concentrate on what you are best at being creative.
Thank you for purchasing the theme. We provide support for all of our themes at https://www.scube.co/support/, but please make sure you read this documentation in it's entirely first. Thanks again!
Theme Installation
Download Theme
At first, you need to download Sans theme from ThemeForest website.
To download the theme:
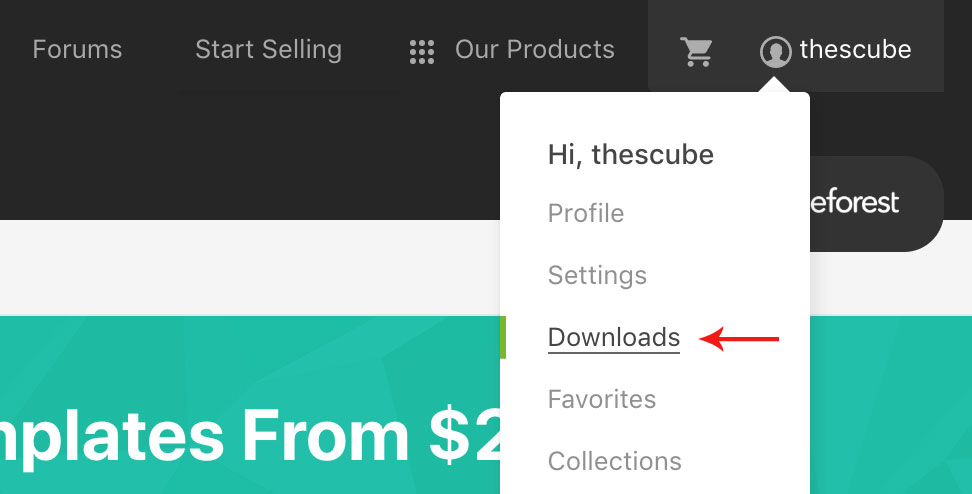
- Go to ThemeForest and login into your account.
- In the upper right corner, hover over your username and click on Downloads.
- Scroll down to sans and click on Download All files & Documentation .
- Extract the downloaded .zip file into a folder. These files will be needed for the next steps.
Installing The Theme
There are few methods to upload and install a theme on your WordPress website. We explain about two easy installation methods here.
Installing through WordPress
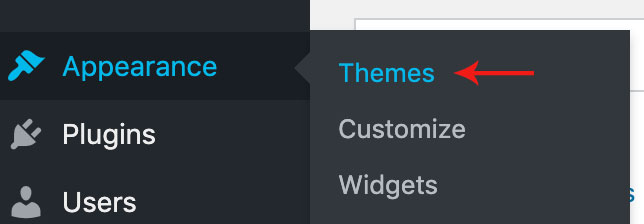
- On WordPress left menu, go to Appearance > Themes.
- Click on Add New Theme.
- Click on Upload Theme button.
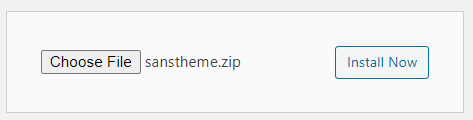
- Click on Choose File button and select Sans.zip that you have extracted from the ThemeForest downloaded file then click on Install Now button and wait for the install to complete.
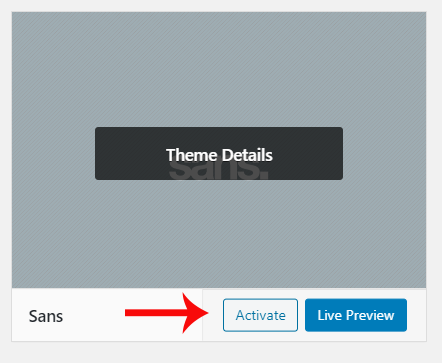
- After the theme installed successfully, click on Activate button.


Uploading Through FTP
Alternatively, you can upload the theme through file transfer protocol. Keep in mind that this will only upload the theme to your website, it will not activate it.
- Use a FTP (for example Filezilla) to access your host web server.
- In the files browser navigate to /wp-content/themes.
- Extract Sans .zip and transfer it into the directory.
Installing The Child Theme
If you plan on customizing and editing the theme’s files, it is always recommended to install a child theme. Having child theme guarantees that your changes will not be deleted on each update of the theme and they will stay intact.
Use the same process of Installing the theme to install the child theme.
Install Required Plugins
After successfully activated the child theme. Its important to install and activate the required plugins for the theme.
There are four plugins required for Sans theme [version 2.1]
- Contact Form-7
- One Click Demo Import
- Option Frame Work
- Sans Addons
Install & Activate Required Plugins
- When theme is activated, Notice to install the required plugins will appear on the WordPress backend.
- Click on the Begin installing plugins link to install and then activate the plugins.

Theme Recommended Plugins
- One Click Demo Import: This plugin is used to import the demo content. It includes pages, posts, media, menus and widgets. You need to install and activate this plugin to import the demo content.
- Contact form 7: We used Contact form 7 (CF7) plugin to add contact form on contact page. You need to install and activate this plugin before importing the demo file Click here to see the plugin.
- Option Framework: The Options Framework Plugin makes it easy to include a full featured options panel in any WordPress theme. It’s free to use in both commercial and personal projects, just like WordPress itself.
- Sans-Addons: This plugin is used for adding additional widgets and metaboxes in post.
Import Demo Content
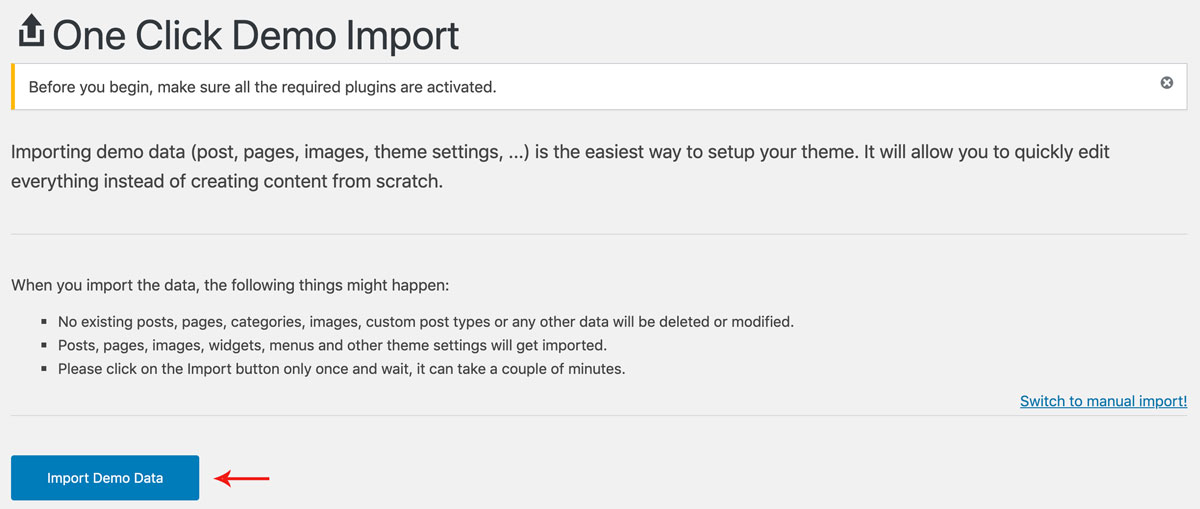
When you first install Sans, it won’t contain all the extra content that you might have seen in the live demo. Before importing the content make sure all the plugins are activated. You need to install and activate One Click Demo Import plugin to import the demo content.
Steps
- On WordPress left menu, go to Appearance > Import Demo Data.
- On the One Click Demo Import page. Click on the Import Demo Data button only once and wait, it can take a couple of minutes to import all the demo data.
- Please be patient while importing all the content.
- It will import Pages, Posts, Media, Menus, Portfolio and Widgets.
Theme Options Setup
Theme Options is the main section of Sans, which you can use to change your global settings for your website. You can access theme options on WordPress left menu, go to Appearance > Theme Options.
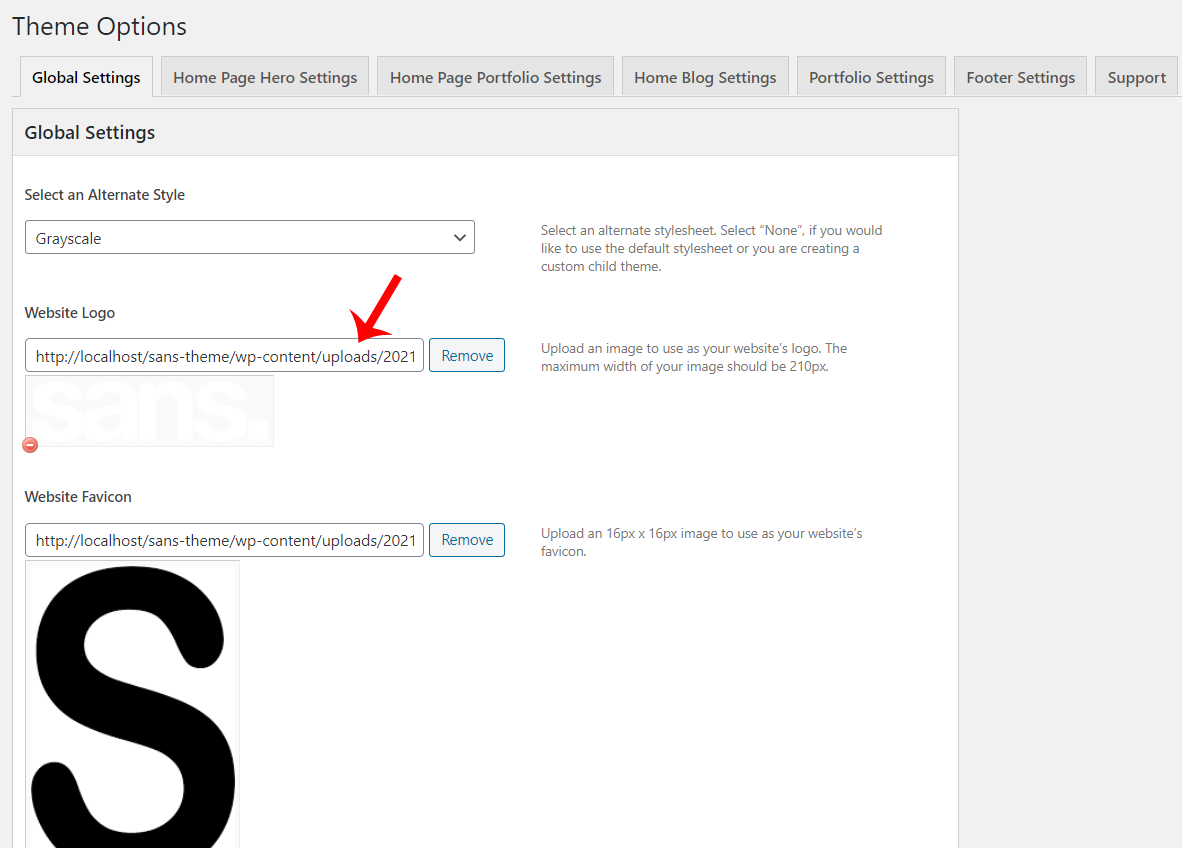
Global Settings
- Alternate stylesheet :
If you choose Grayscale - The Page will appear in grey .
If you Choose None - The Page will appear in default Stylesheet. - Upload Website Logo
- Upload a Website favicon for the website (Browsers that provide favicon support typically display a page's favicon in the browser's address bar, sometimes in the history as well and next to the page's name in a list of bookmarks).
- Apple Touch Icon: It is the icon used in place of favicon in apple devices.
- Finally save the Options.

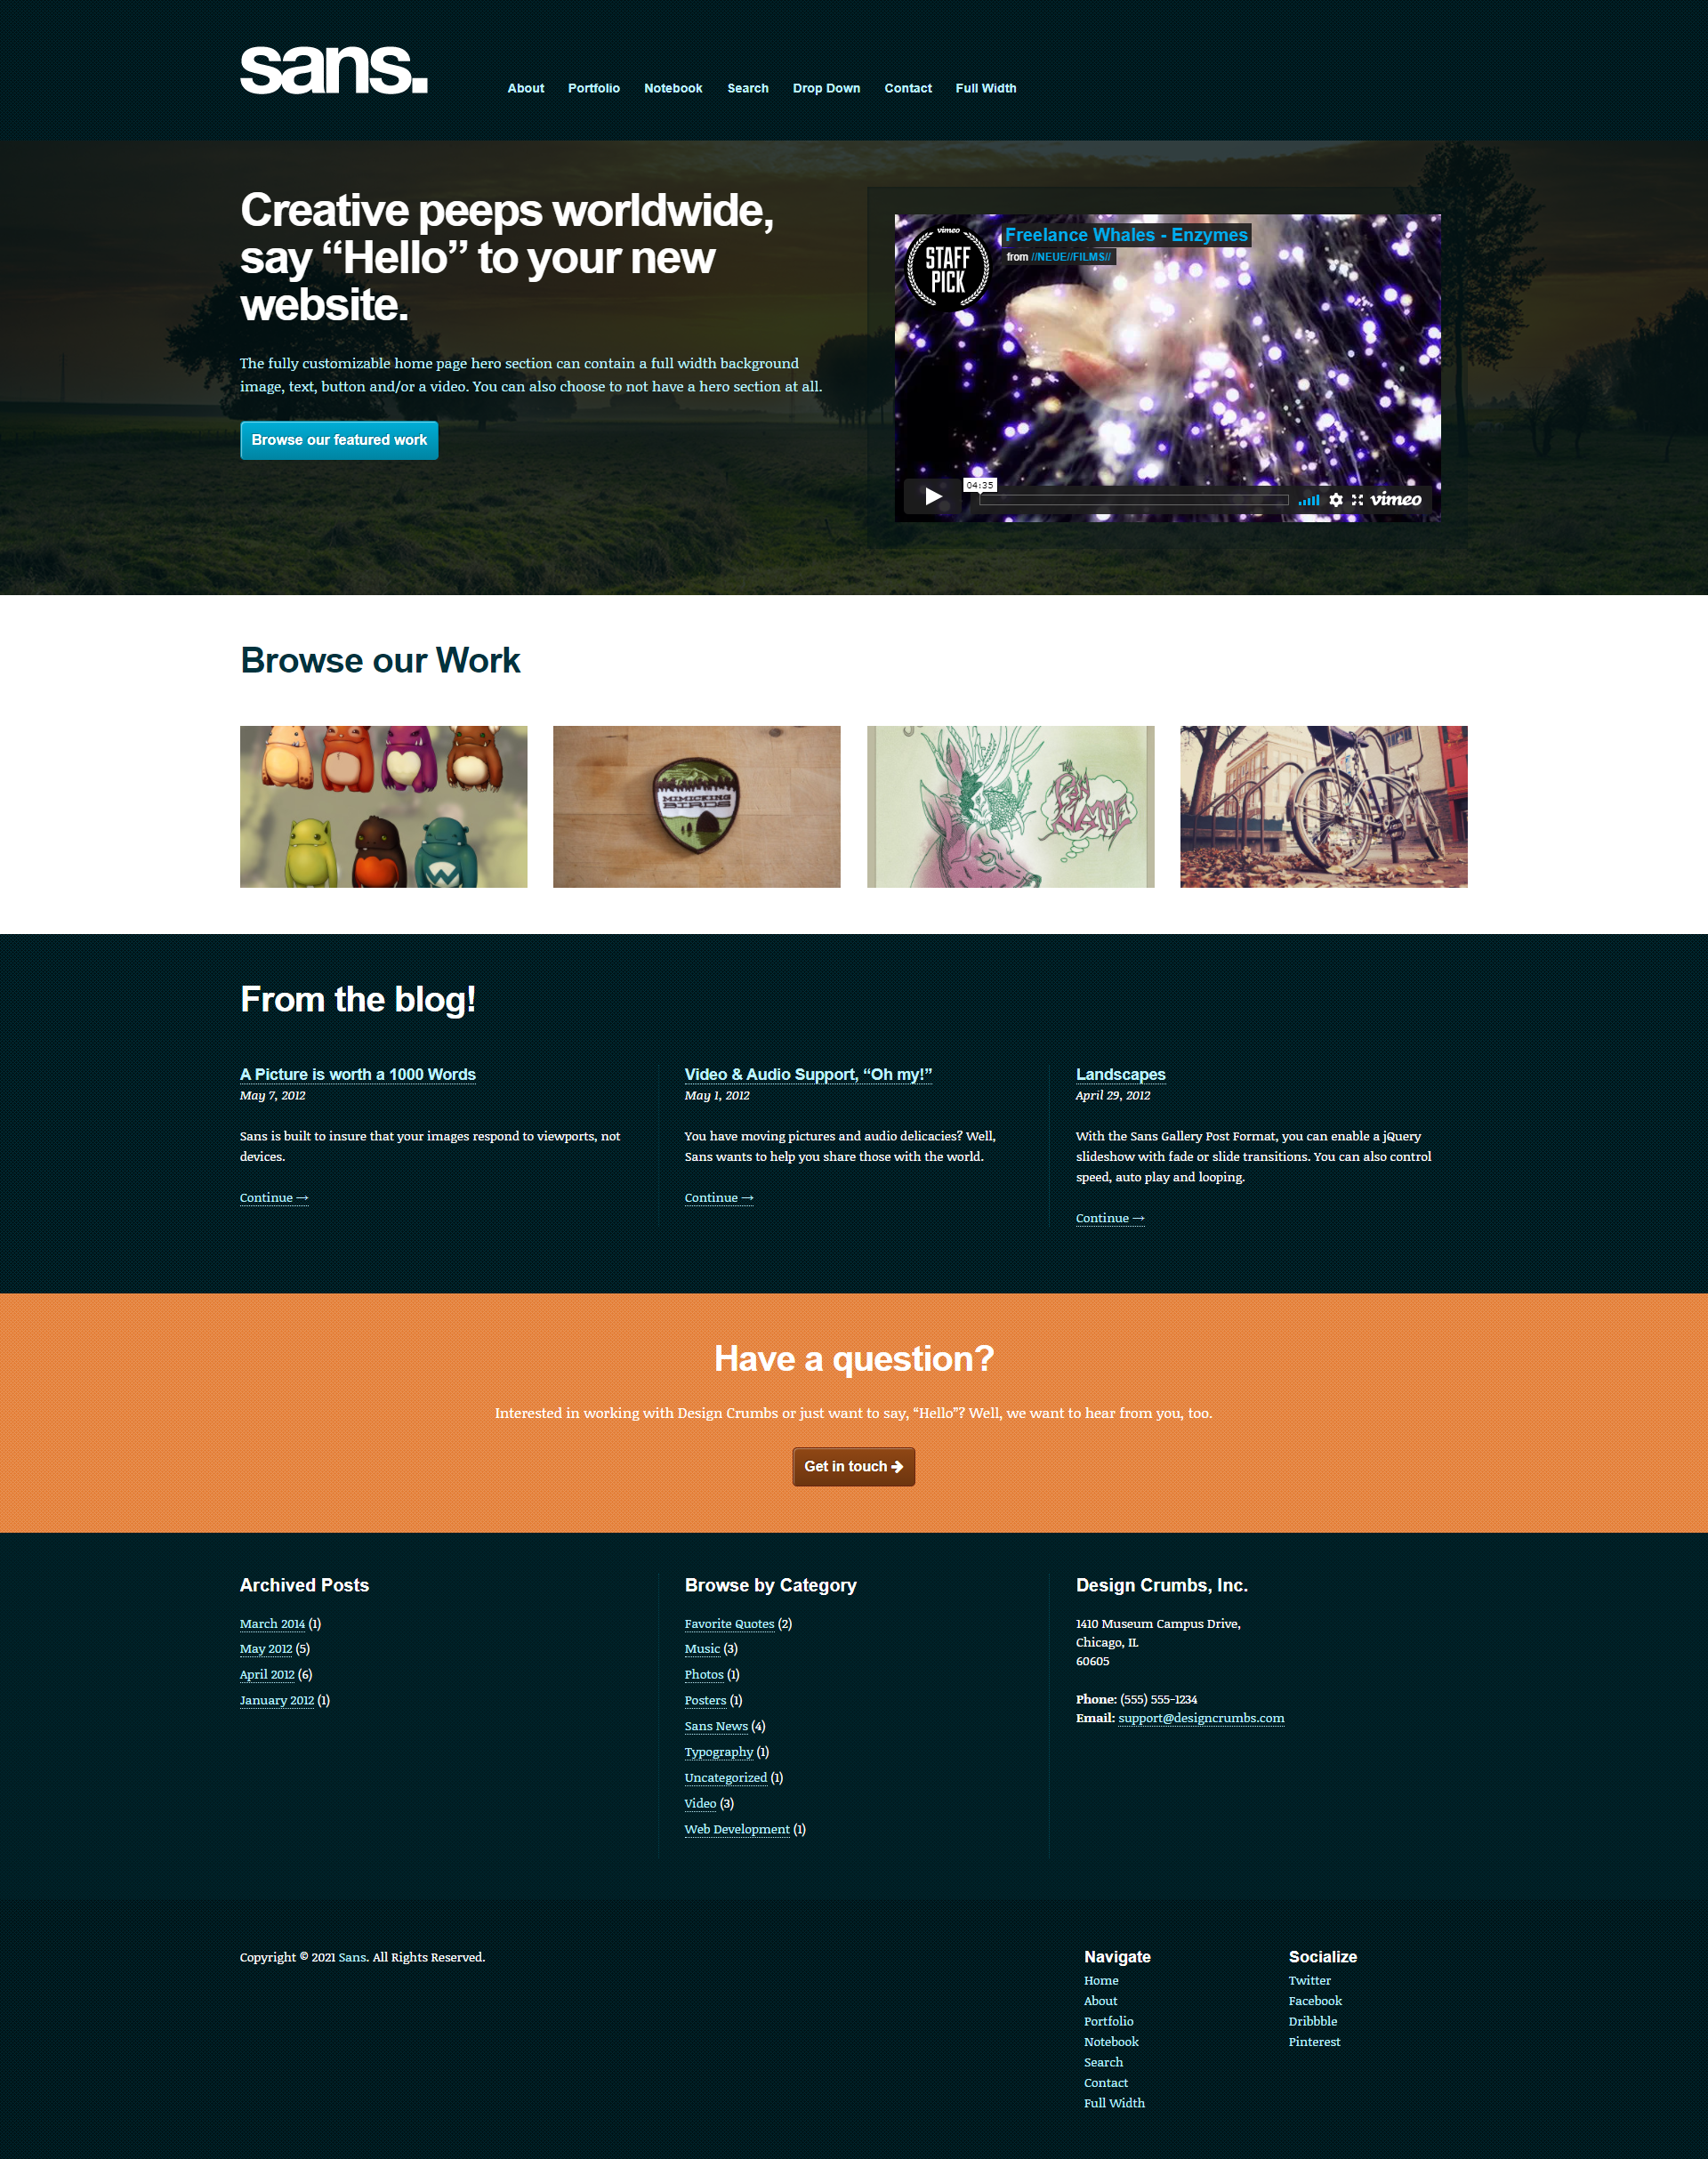
Home Page Hero Setting
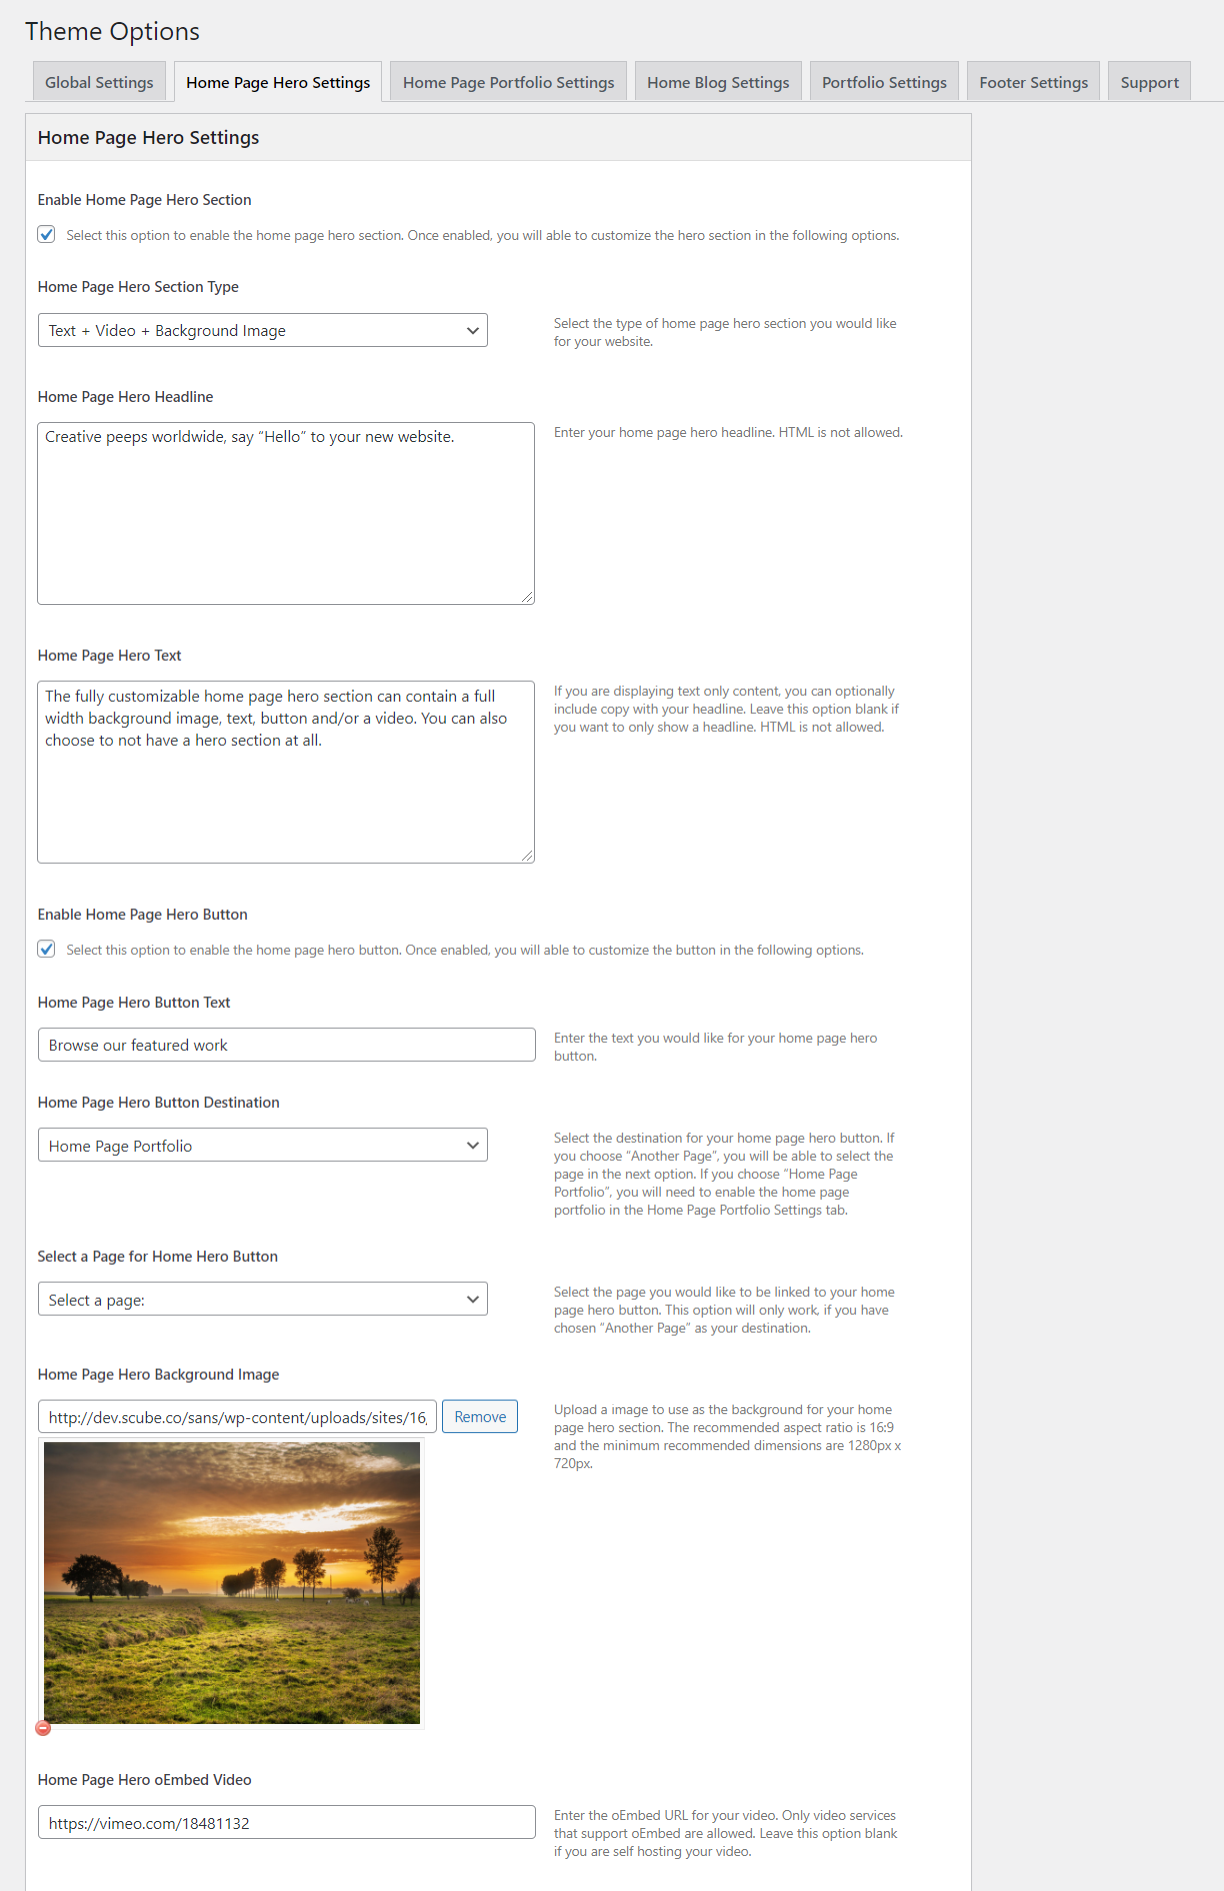
In the customizer, go to HERO -> Front Page Hero. In this section, you are presented with a wide range of possibilities to customize the front page hero image and text.
- If you enable the Home page Hero Section, you will be able to customize the home page
- Home Page Hero Section Type: There are four types of Home Page Hero Section.
- Text only - You will be able to add only the text to the home page without any background.
- Text + Background image - You will be able to add Text along with the background image of your choice.
- Text + Video - You will be able to add video on the home page along with the text content.
- Text + Video + Background - You will be able to add all Text content, Video and background image of your choice for your home page.
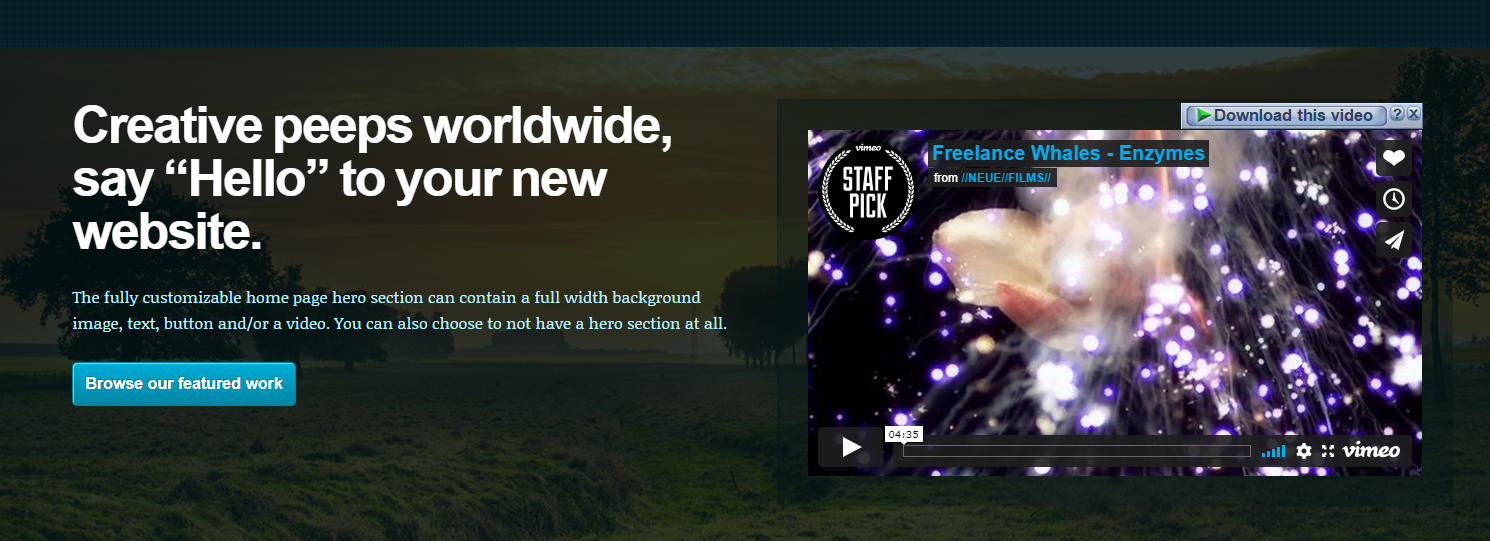
- You can add Home Page Hero Headline, Home page Hero Text, Home Page Hero Button Text, Home Page Hero Background, Image, Home Page Hero Video, Home Page Hero Video Poster. It display as,
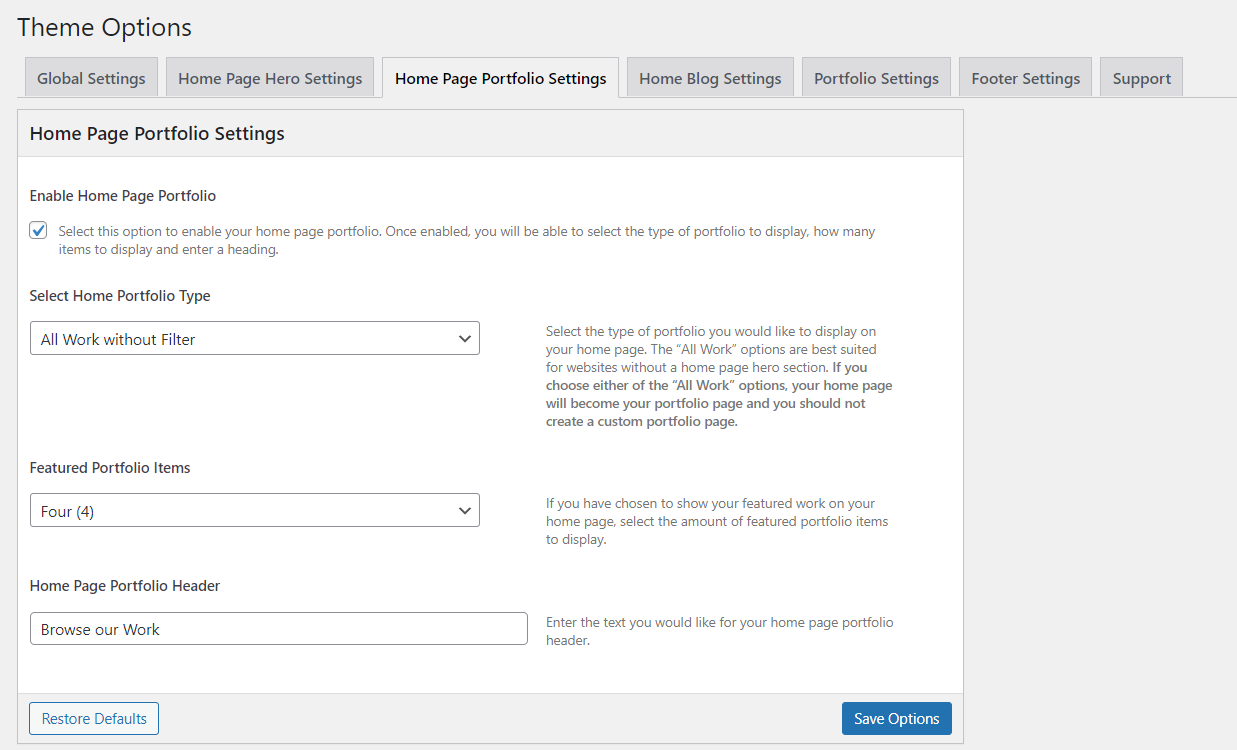
Home Page Portfolio Settings
This section has Portfolio settings of the website.
- If you enable the Home page Portfolio Section, you will be able to select the type of portfolio to display, how many items to display & heading.
- Portfolio Type: Select the type of portfolio you would like to display on your home page.
- Featured Portfolio Items: Select the amount of featured portfolio items to display on your home page.
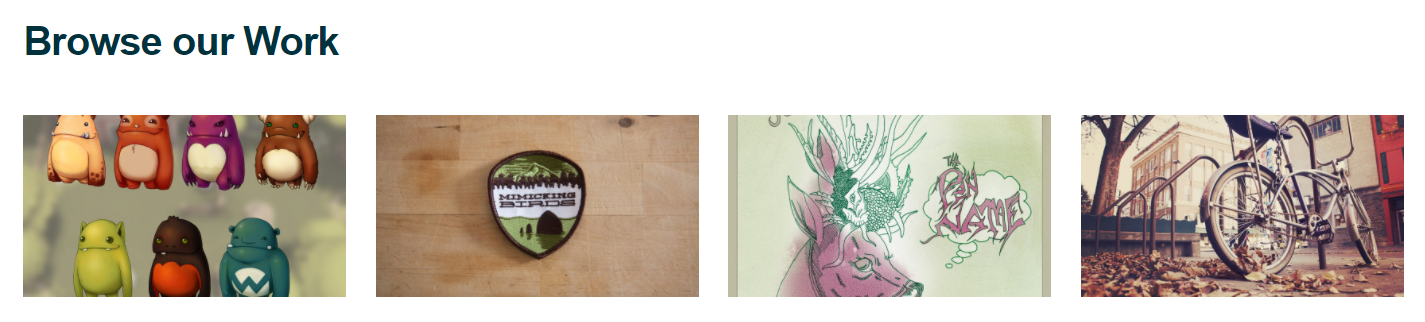
- portfolio Header: Enter the text you would like for your home page portfolio header.
- Finaly save the changes. It show as,
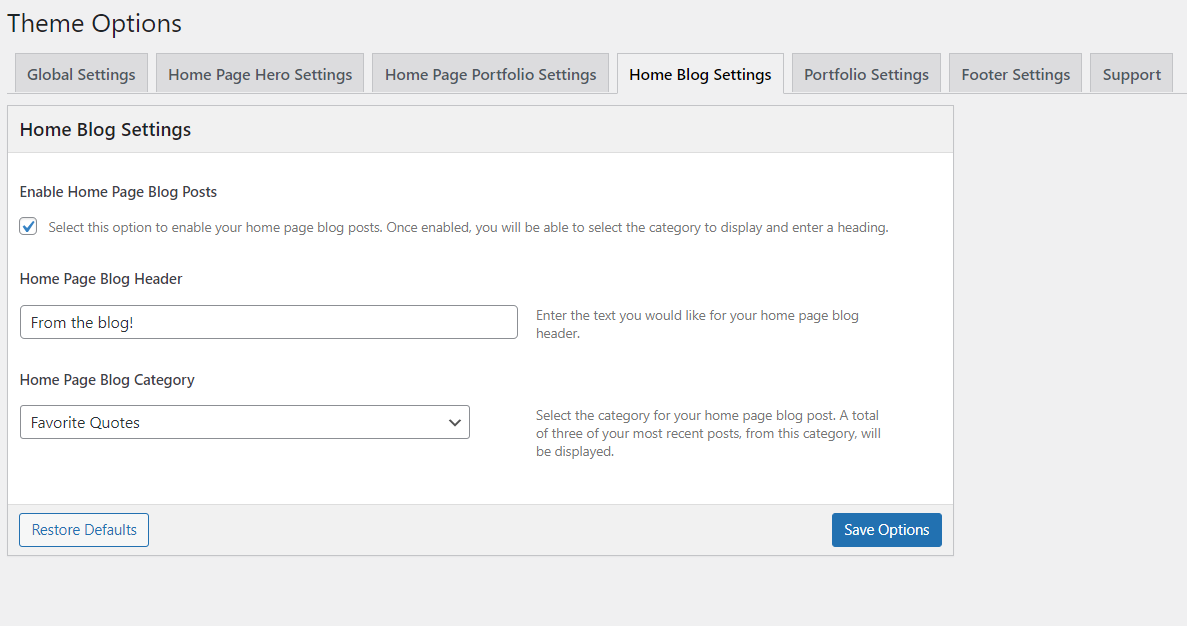
Home Blog Settings
This section has home blog settings of the website.
- If you enable the Home Page Blog you will be able to select the category to display & heading.
- Home Page Blog Header: Enter the text you would like for your home page blog header.
- Home Page Blog Category: Select the category for your home page blog post. A total of three of your most recent posts, from this category, will be displayed.
- Finally save the changes.
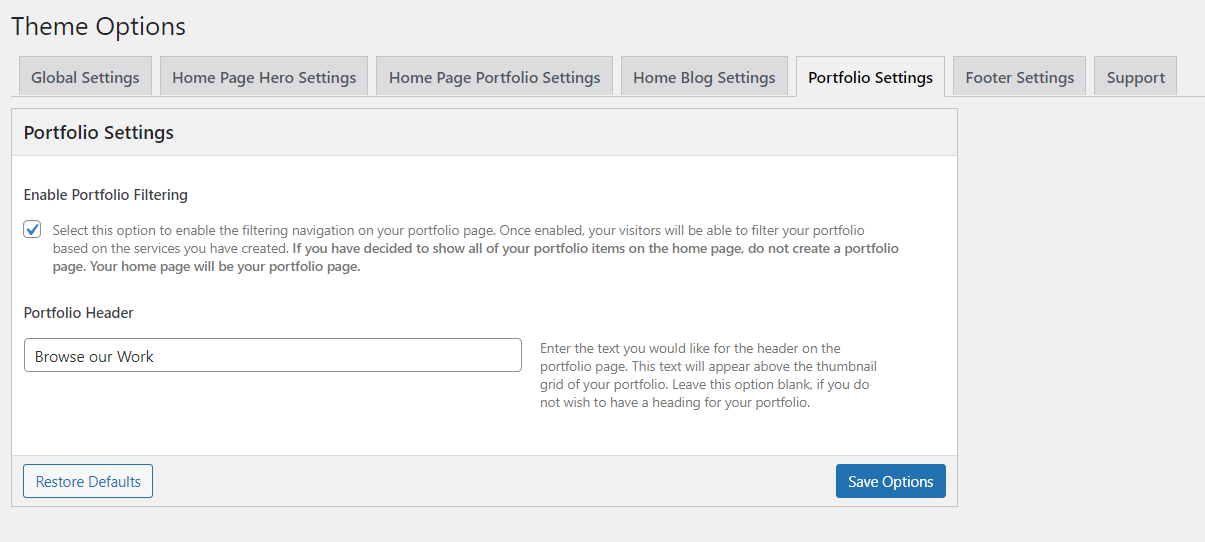
Portfolio Settings
This section has portfolio settings of the website.
- If you enable the Portfolio filtering navigation on your portfolio page. Once enabled, your visitors will be able to filter your portfolio based on the services you have created. If you have decided to show all of your portfolio items on the home page, do not create a portfolio page. Your home page will be your portfolio page.
- Portfolio Header: Enter the text you would like for the header on the portfolio page. This text will appear above the thumbnail grid of your portfolio. Leave this option blank, if you do not wish to have a heading for your portfolio.
- Finally save the changes.
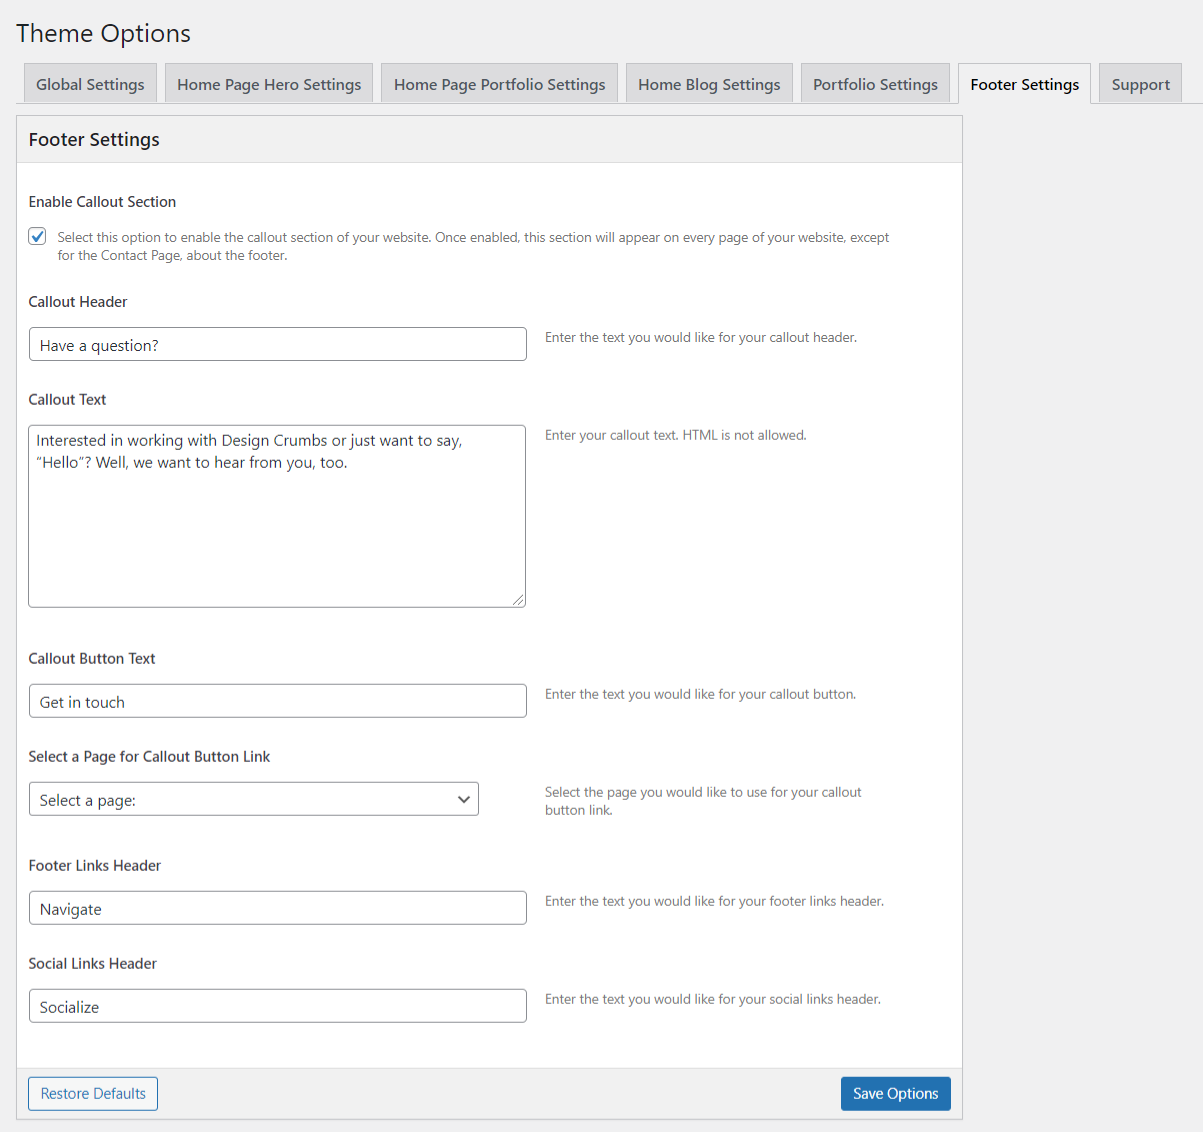
Footer Settings
A callout box can be used to display content in a variety of ways – such as showcasing a quote, highlighting tips and more information, or providing links to additional resources. Callouts are more customizable than buttons and include title, size and color options as well the ability to hyperlink.
This section has Footer settings of the website.
- Select this option to enable the callout section of your website. Once enabled, this section will appear on every page of your website, except for the Contact Page, about the footer.
- Callout Header: Enter the text you would like for your callout header.
- Callout Text: Enter the Callout text.
- Callout Button Text: Enter the Callout button name.
- Callout Button Link: Select the page you would like to use for your callout button link from the dropdown list.
- Footer Links Header: Enter the header for footer link
- Social Links Header: Enter the text for your social links header.
- Finally save the changes. It display as,

Header
Sans header consists of 2 items: Logo/Site Title & Menu
- Logo/Site Title: You can add logo in Appearance > Theme Options > Global Settings tab. If the logo is not provided Site Title will be used. Click here for more information.
- Menu: To add header menu, Assign any Menu to Main Menu Theme Location. Click here for more information.
Menu
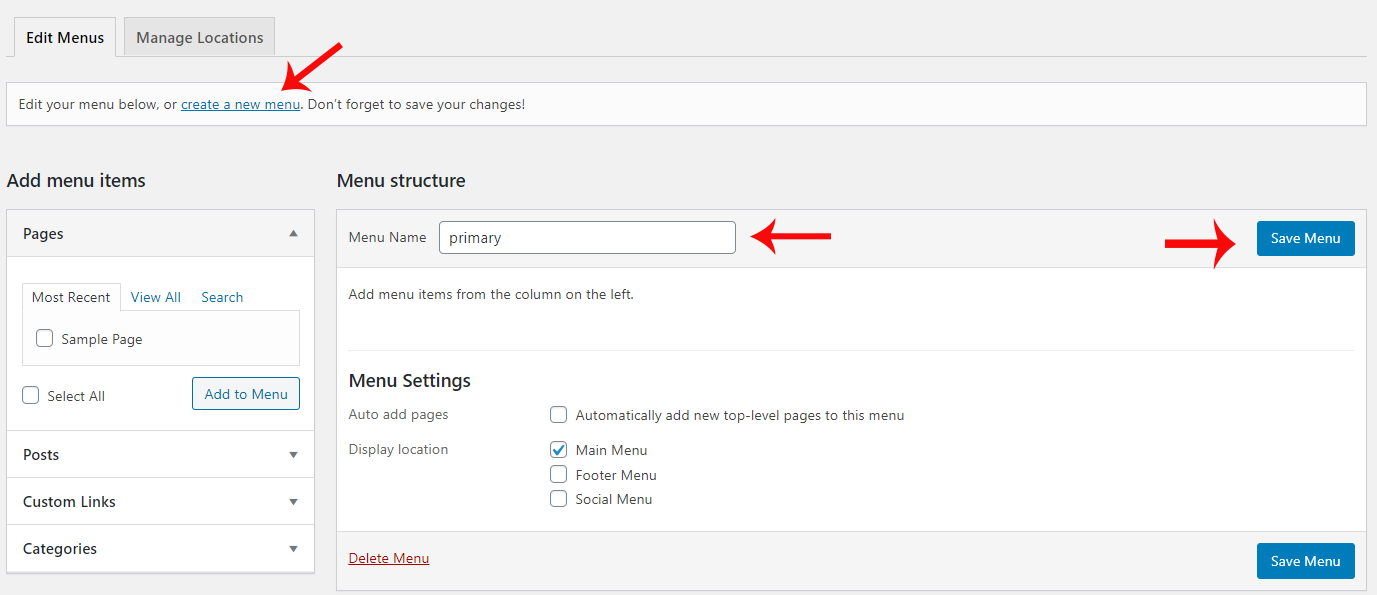
How to Create Menu
- To create Menu, On WordPress left menu, go to Appearance > Menus and click on 'create a new menu' link.
- Enter the Menu name.
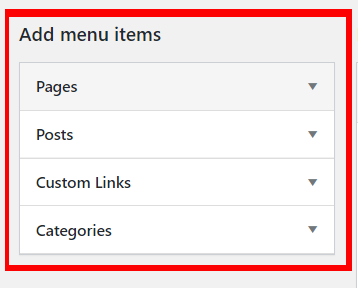
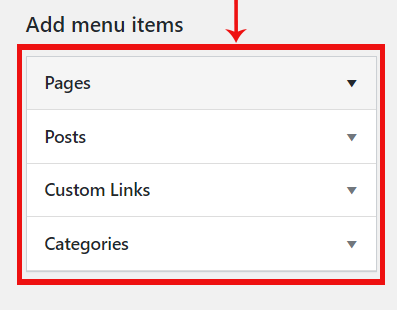
- Add pages, posts, etc from Add Menu Items.
- Finally, Click the Create Menu button to save your changes.
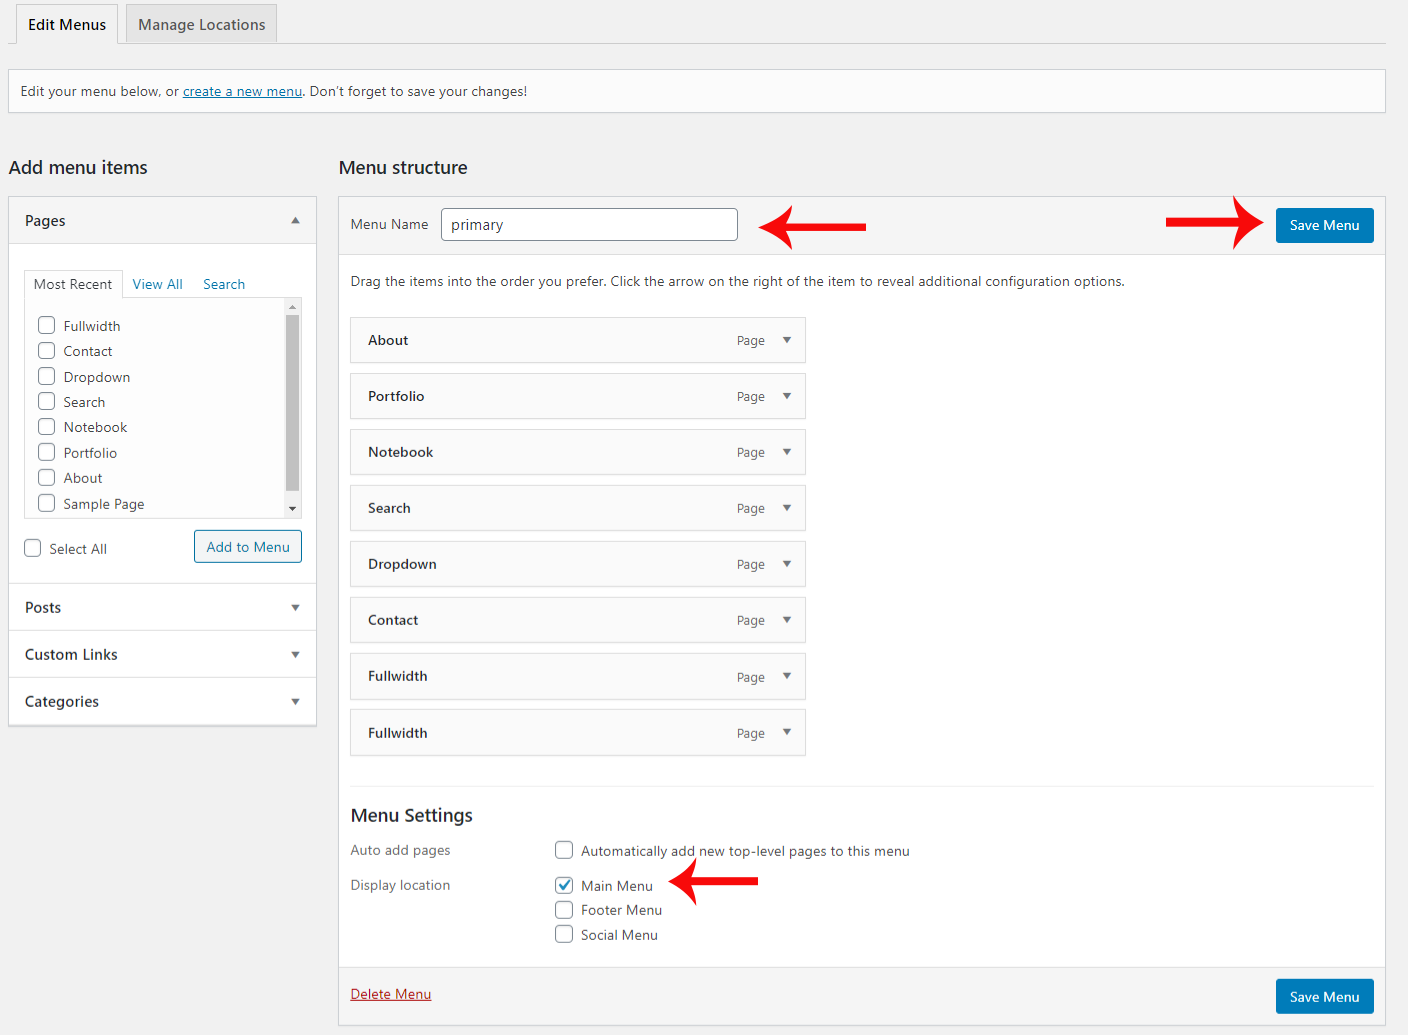
Header Menu
- The Header Menu is placed on the top of the header.
- They are usually presented as a horizontal bar of links at the top of every page on a website.
- Setup Header Menu: On WordPress left menu, go to Appearance > Menus
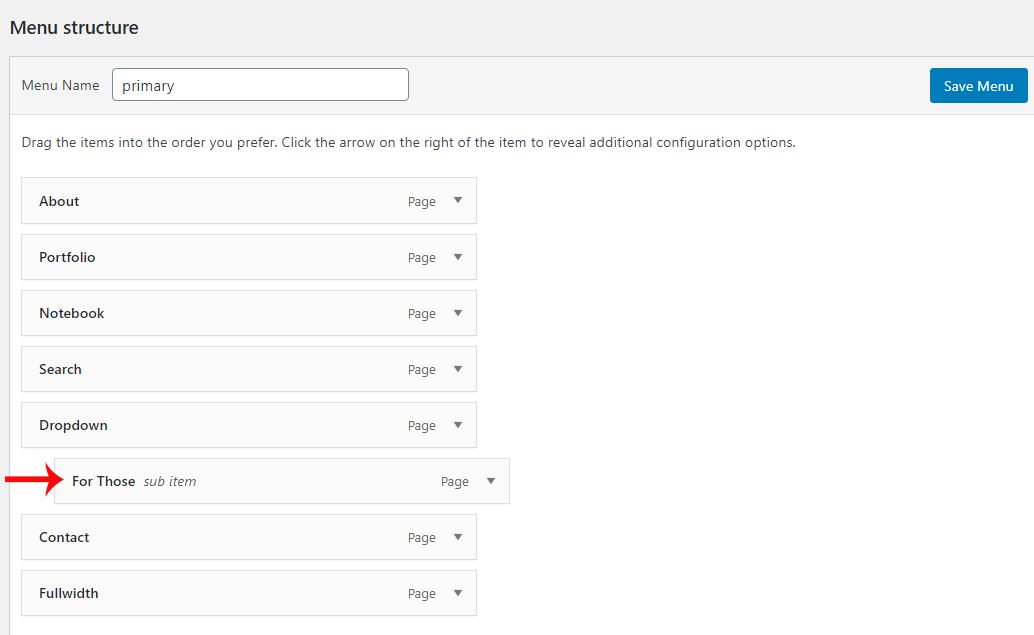
- You can create a menu or if you downloaded the demo content, It has the menu named 'Primary'. Select the menu. On the Edit Menus tab, below the Menu Structure. It has Menu Settings, Tick the checkbox 'Main Menu'. Finally save the changes.
- Alternatively, on Manage Locations tab, Assign the Menu to Primary Theme Location.
- On Menu Structure, Drag a menu item towards right under another menu item to make it as sub item.
Footer
Footer is the Bottom section of the website, in which you may add your Menus, Social networks and other functions available in WordPress widgets. It normally appears on all pages on your website.
Widgets
How to Add Widgets
- On WordPress left menu, go to Appearance > Widgets. You can see available widgets on the left and widget areas on the right.
- Choose a Widget and either drag it to the sidebar where you wish it to appear, or click the widget, (select a destination sidebar) and click the Add Widget button.
Available Widgets
- WordPress has lots of widgets available to add in widget areas. Click here to know more about WordPress widgets.

Widget Areas
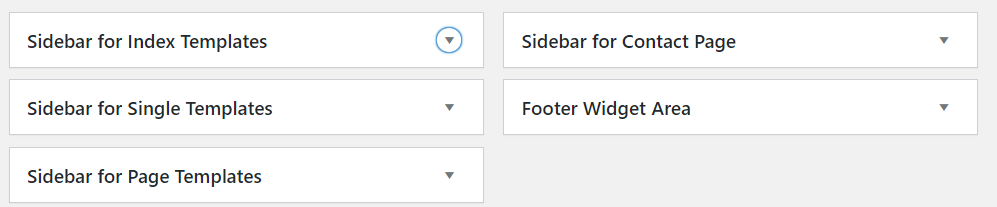
Sans provides Five widget areas: Sidebar for Index Templates, Sidebar for Single Template, Sidebar for Page Template, Sidebar for Contact page, Footer Widget Area.
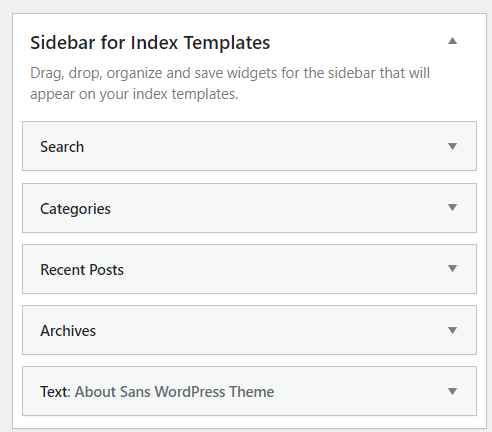
Sidebar for Index Templates
- Sidebar for index template widgets will appear on your Index template.
- Choose a Widget and drag it into the sidebar from left side widgets area.
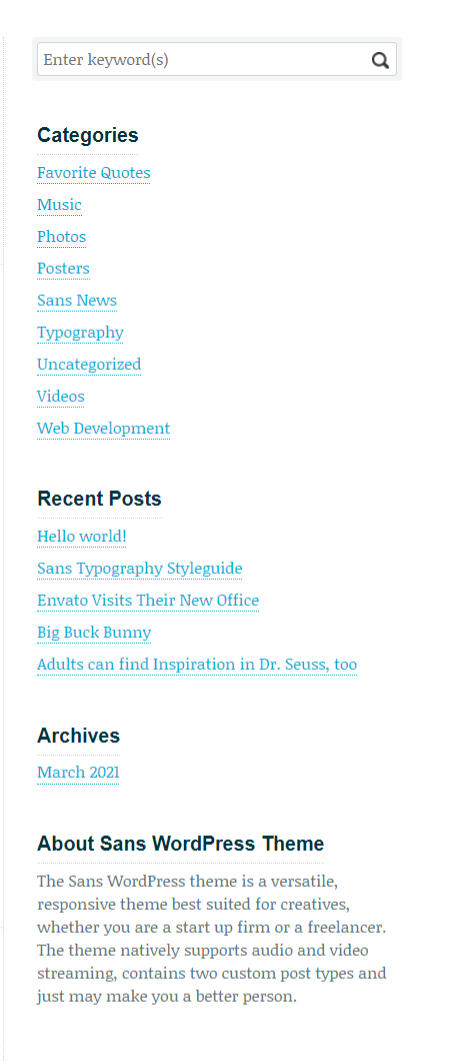
It Shows as,
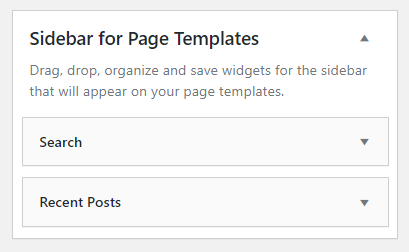
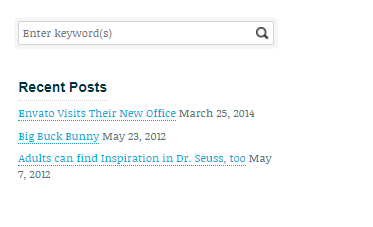
Sidebar for Page Template
- Sidebar for Page template widgets will appear on your Page template.
- Choose a Widget and drag it into the sidebar from left side widgets area. It shows as.
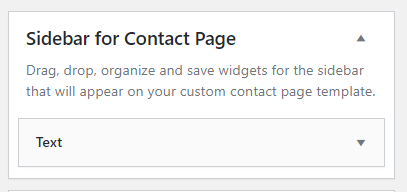
Sidebar for Contact Page
- Sidebar for Contact template widgets will appear on your custom contact Page template.
- Choose a Widget and drag it into the sidebar from left side widgets area. It shows as.
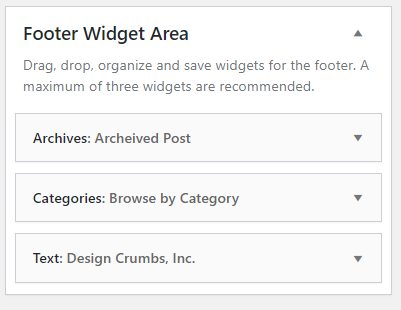
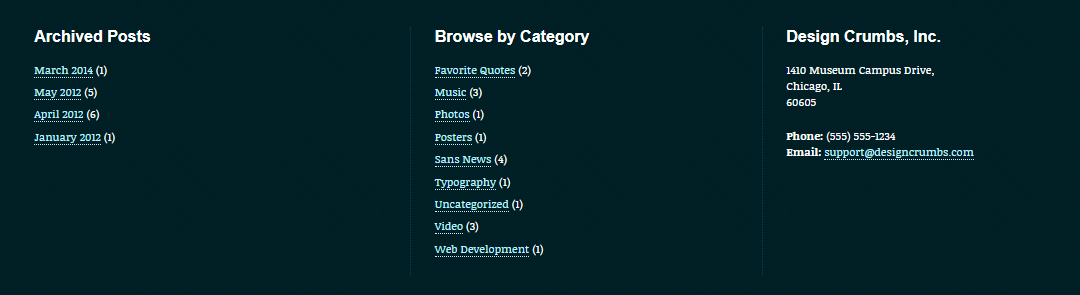
Footer Widget Area
- Widgets added in this widget area will be visible on footer section.
- Every widget will be displayed in a column. The column layout will resize based on the number of widgets used.
- Feel free to use what you want, and as many as you want. The demo website displays 3 widgets (Archived Posts, Browse by Category & Design Crumbs, Inc.)
Pages
- To view/access all available pages on the website, on WordPress left menu, go to Pages. It will list all the available pages.
- If you downloaded the demo content, you can see demo pages.
- When hover on the available page on the list, you can see the options for each page.

How to Create a Page
- To create a page, on WordPress left menu, go to Pages > Add New.
- Sans supports Block (Gutenburg) Editor. Click here to see how to add content using Block (Gutenburg) Editor.
- Add Page title, content, choose 'page template' (if required), choose 'parent page' (if required) and publish it.
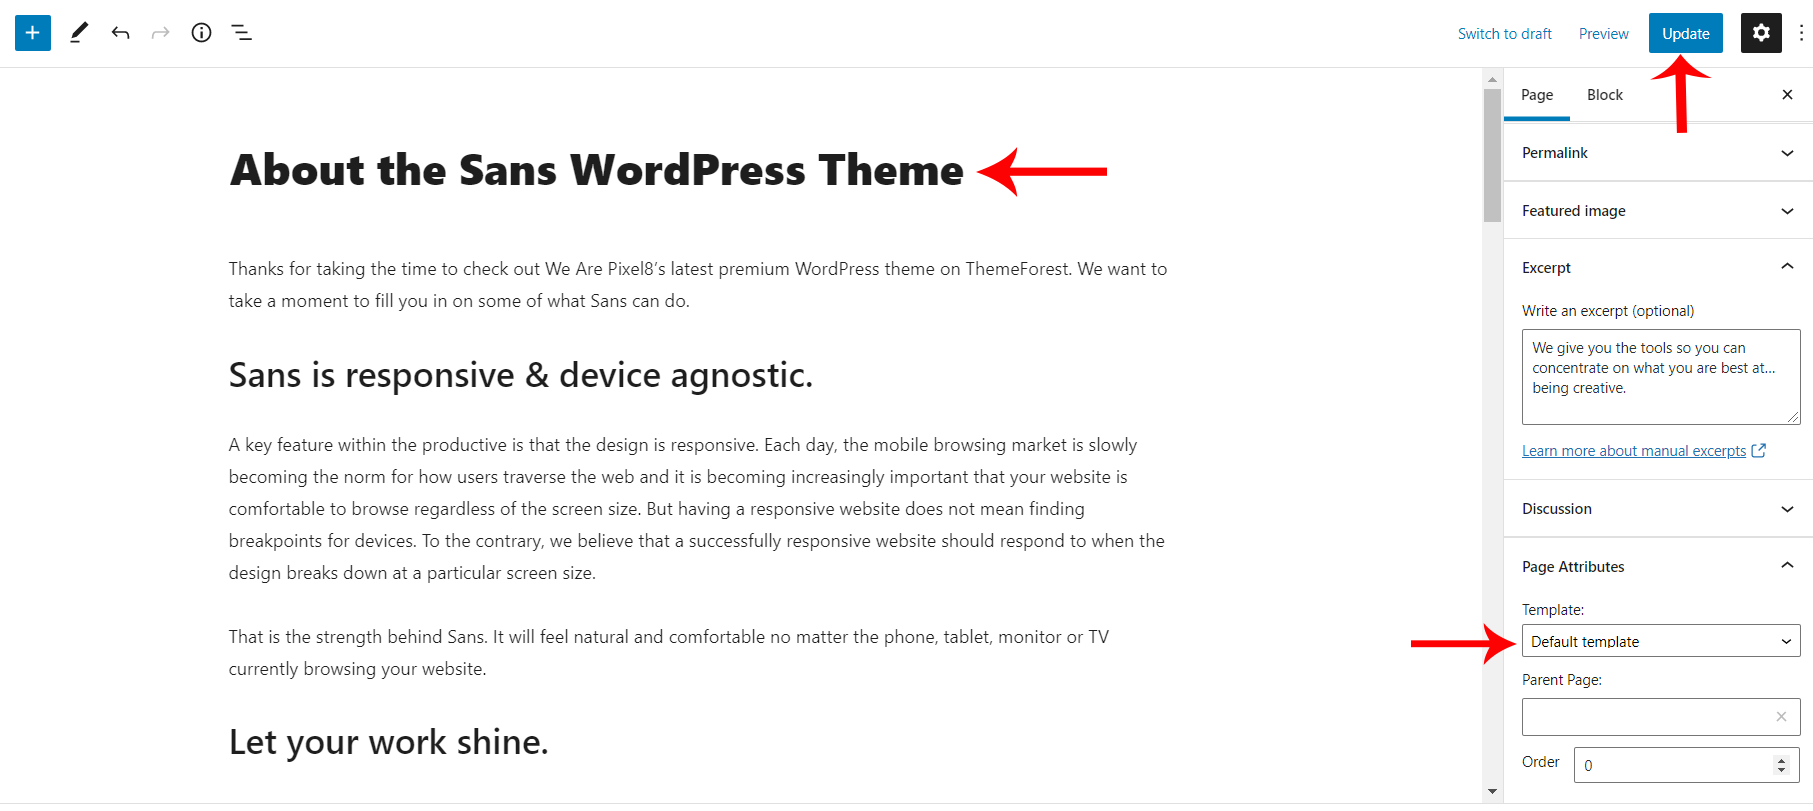
Page Templates
Sans provides six page templates. They are Default, Fullwidth, Contact, Home, Portfolio & Search.
How to setup Page Template
- While creating a page, you can choose the page template or you can change the page template anytime while editing the page.
- It is important to choose correct page template for each page.

Default Page Template
- This is the default template for pages & posts.

Full Width Page Template
- This template has no sidebar. The content of the page is stretched to the full width of the page container.

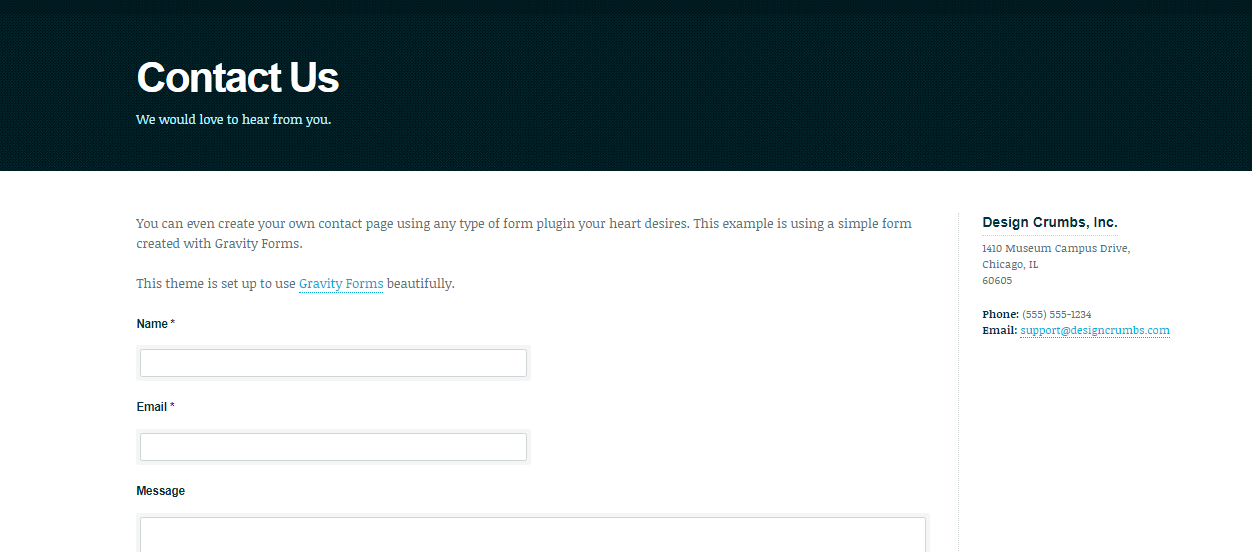
Contact Page Template
- This template will have a side bar at the right and also a contact form at the left.
Home Page Template
- Your front page is the home page of your WordPress site. By default, it displays your blog posts, starting with the most recent entries.
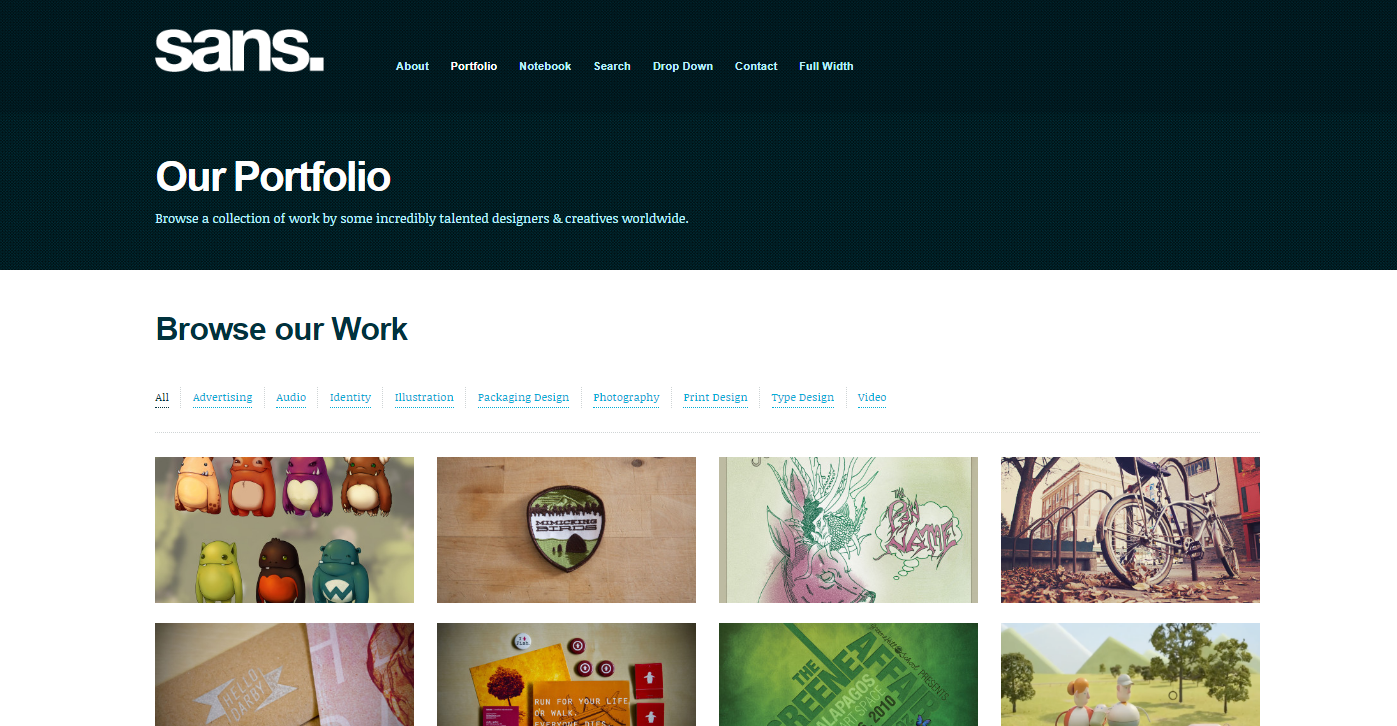
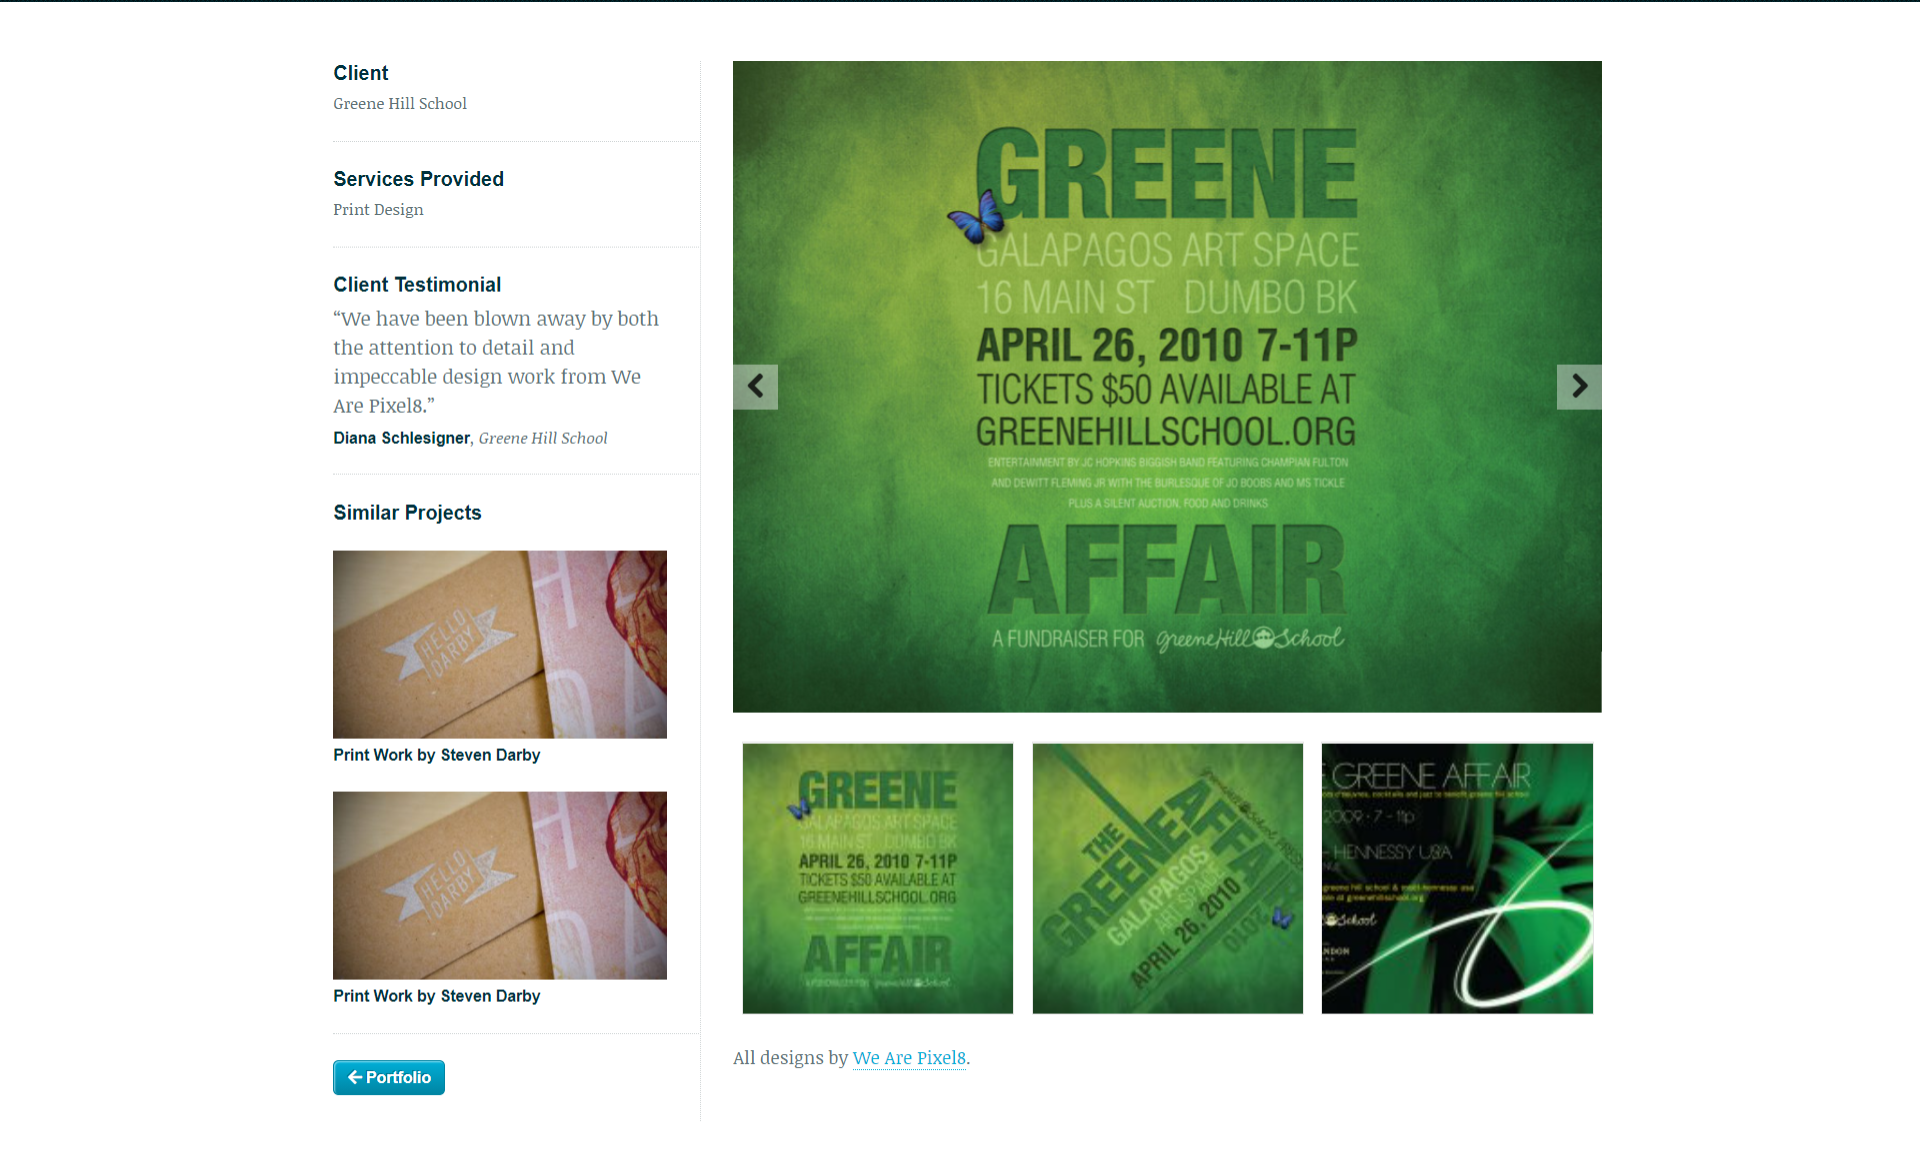
Portfolio Page Template
- This template shows only Portfolio page. Portfolio page can also be called Products, Gallery etc.
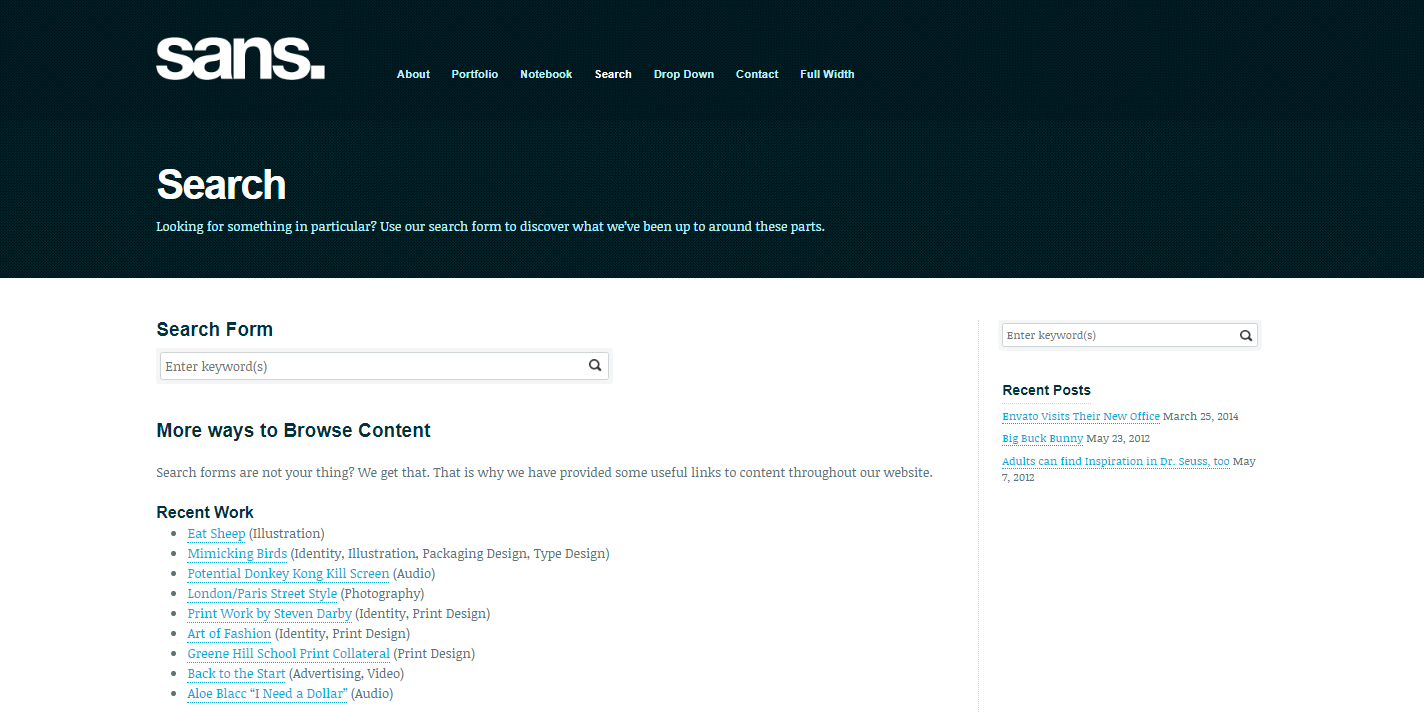
Search Page Template
- A Search Page is a WordPress Page with a custom Page template to give users more information for searching your site.
Blogs
Blog Archive
How to setup Blog Archive page
- To setup blog archive page, Create a page, name it and publish the page. Click here to know how to create a page.
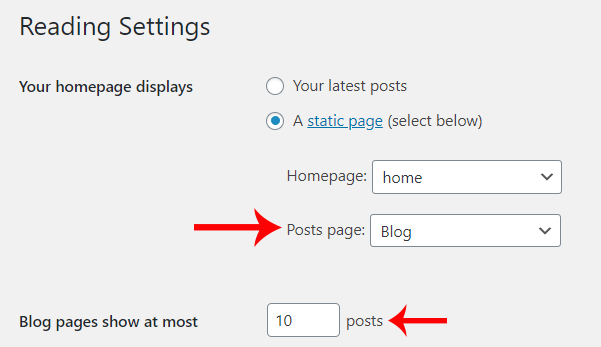
- Then on WordPress left menu, go to Settings > Reading.
- On Reading Settings page, From Posts page dropdown, select the created page.
- Then on 'Blog pages show at most' field, enter the number of posts to show on the page before pagination.
- Finally, Click on the Save Changes button.
- Now you can see the page, It will show the blog archives.
Blog Single
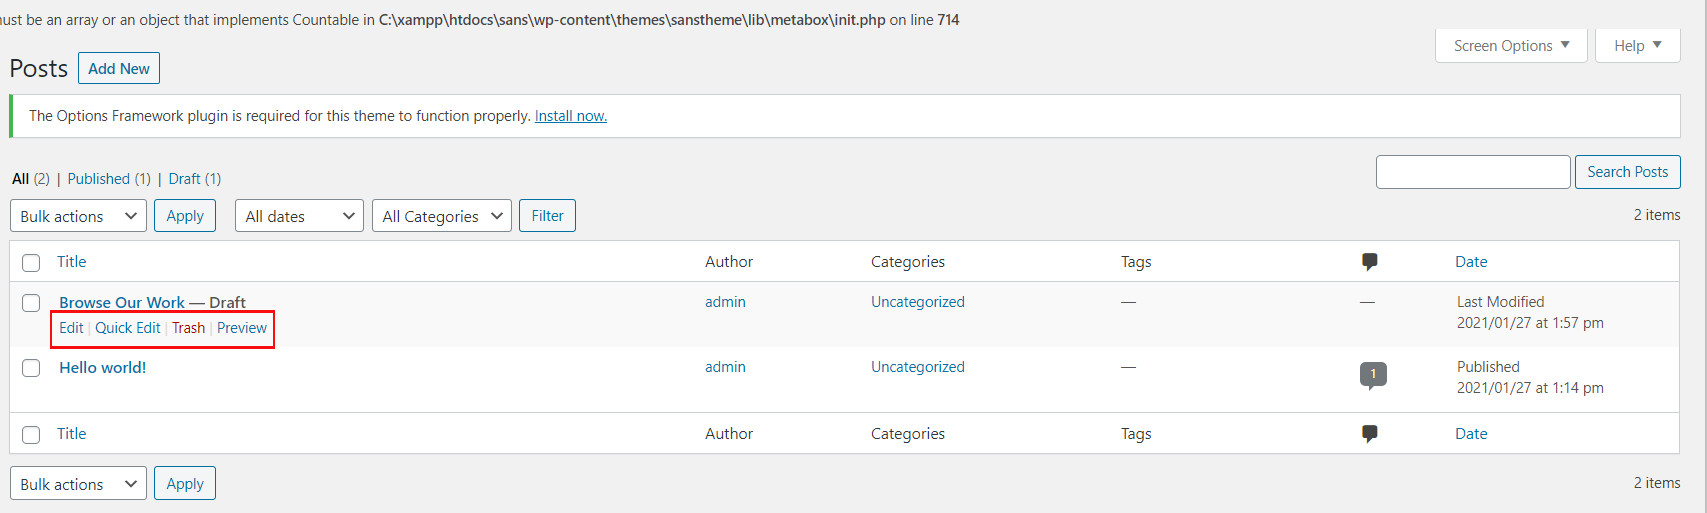
- To view/access all available post on the website, on WordPress left menu, go to Posts. It will list all the available posts.
- If you downloaded the demo content, you can see three blogs on the backend posts page.
- When hover on the available blog (post), you can see the options for each blog.
How to Create a Blog
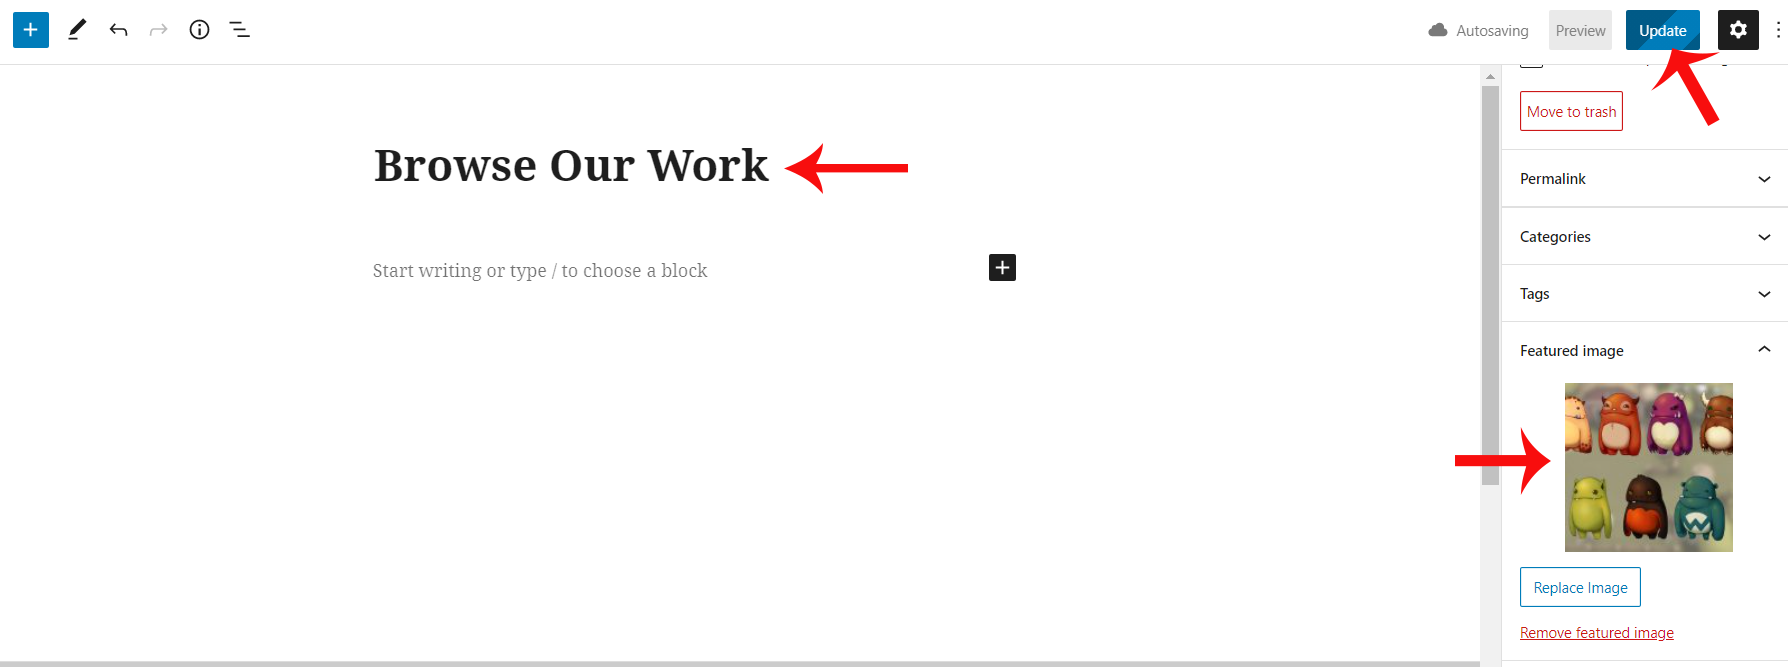
- To create a blog, on WordPress left menu, go to Posts > Add New.
- Sans supports Block (Gutenburg) Editor. Click here to see how to add content using Block (Gutenburg) Editor.
- Add Post title - The title is displayed when you hover the image the title will appear.
- Set Featured image.
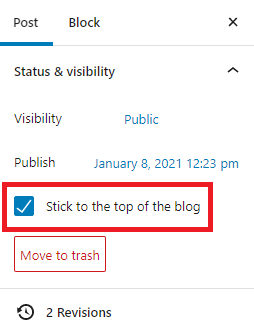
- If enable stick to the top of the particular post, It shows as the first blog.
Post Format
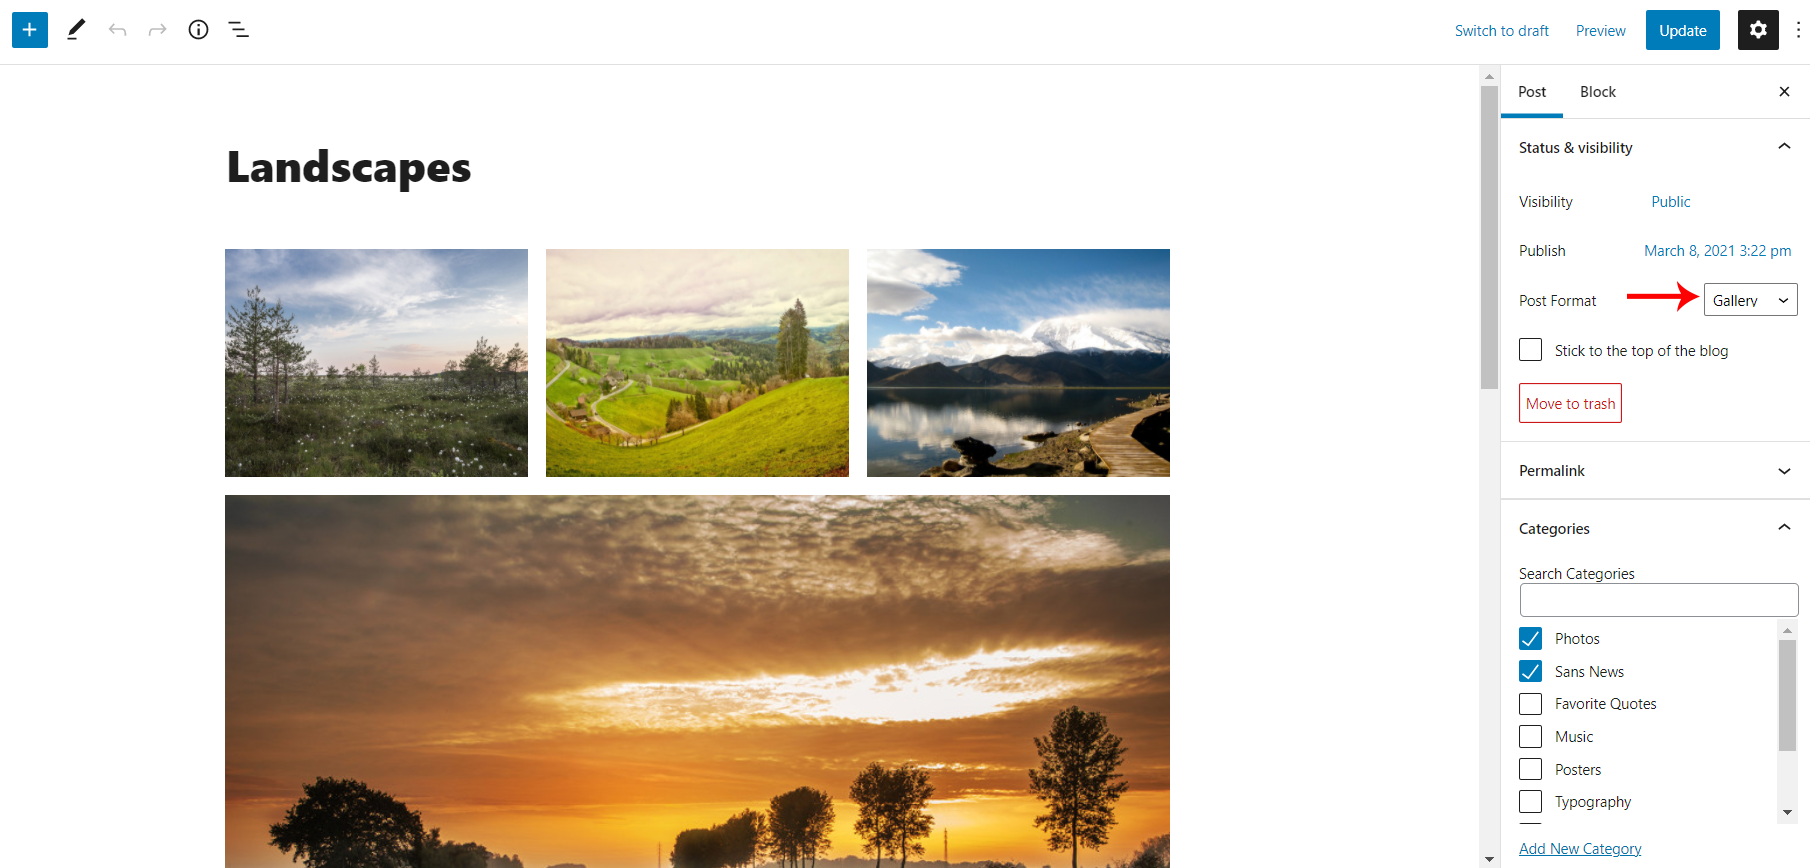
Post format contains 6 categories. They are Gallery, Image, Quote, Standard, Status, Video & Audio
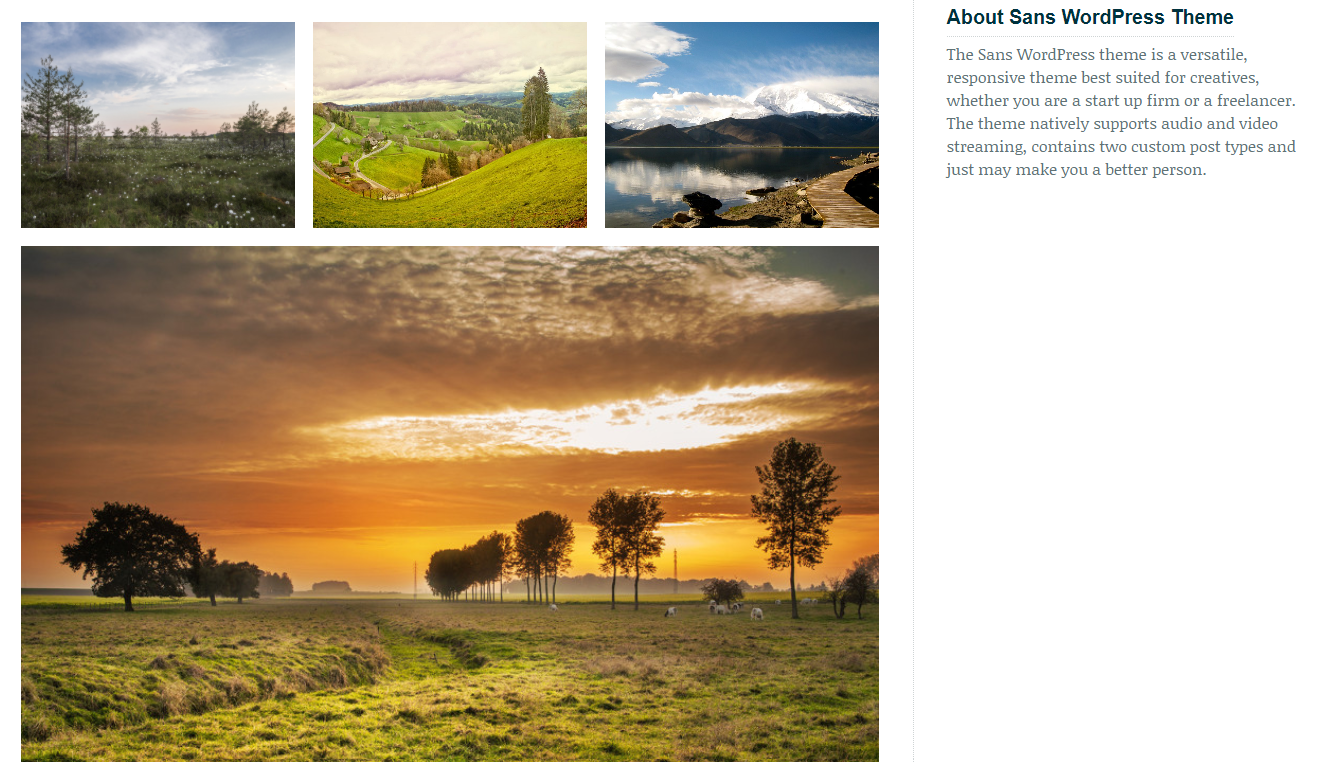
- Gallery: Select the gallery from post format and use gallery in Block (Gutenburg) Editor. You can add multiple images in a single post.
- Gallery Post format has Enable slide show, Enable Slideshow Looping, Set Slideshow timeout and set Animation Speed. It shows as,
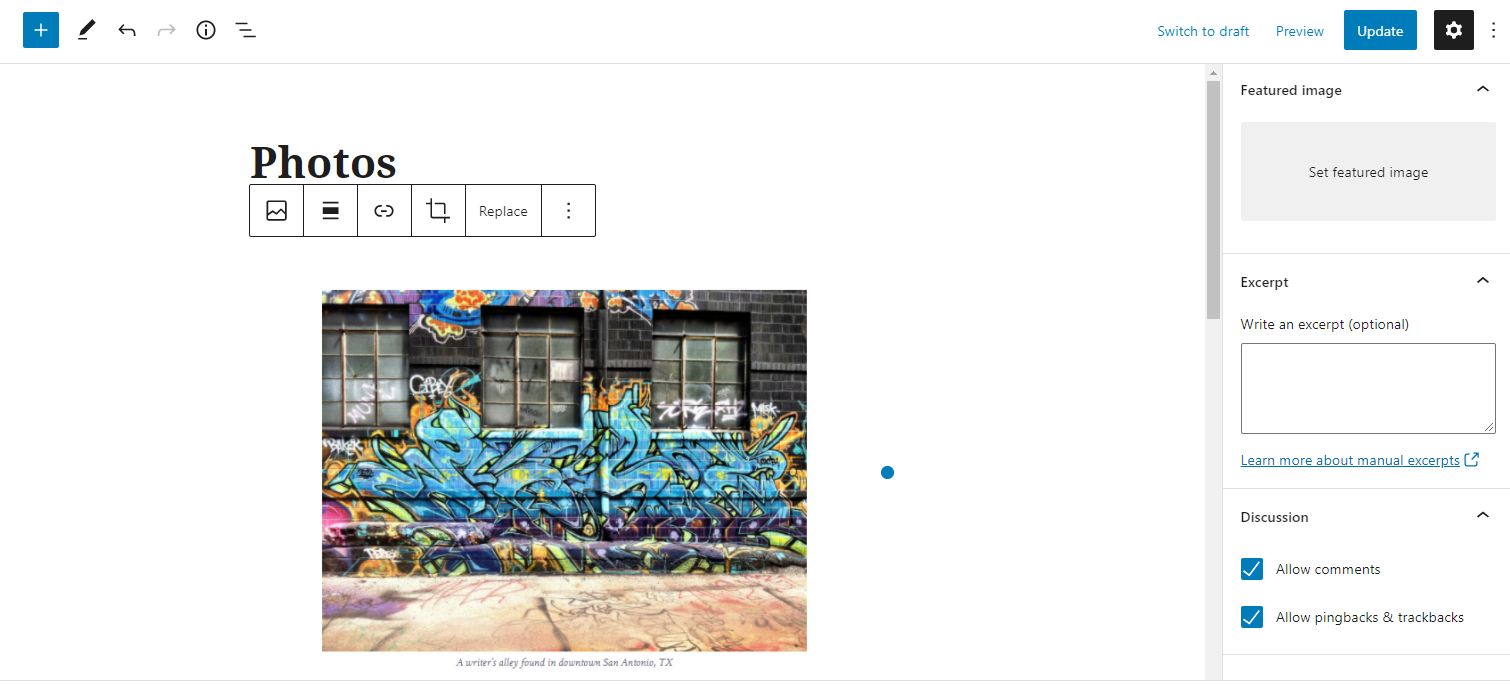
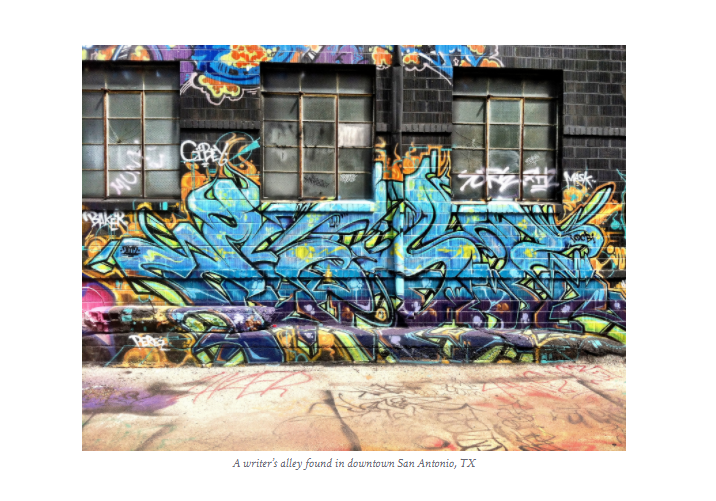
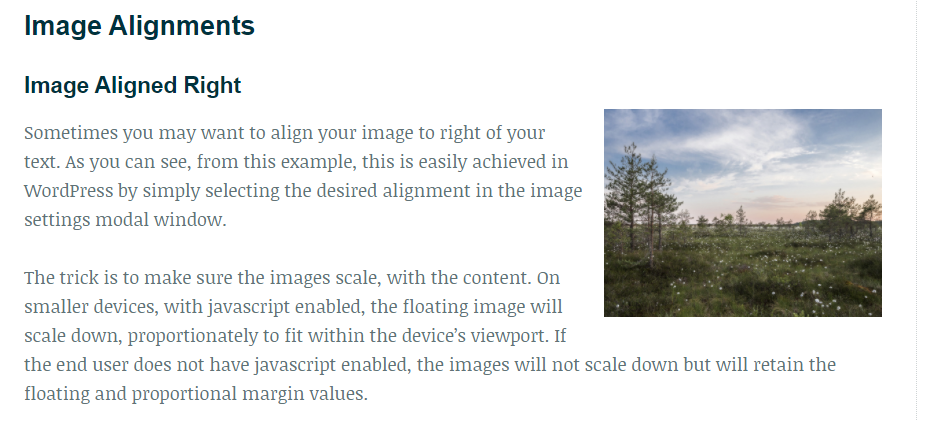
- Image: Select the Image from post format and use image in Block (Gutenburg) Editor. It shows as,
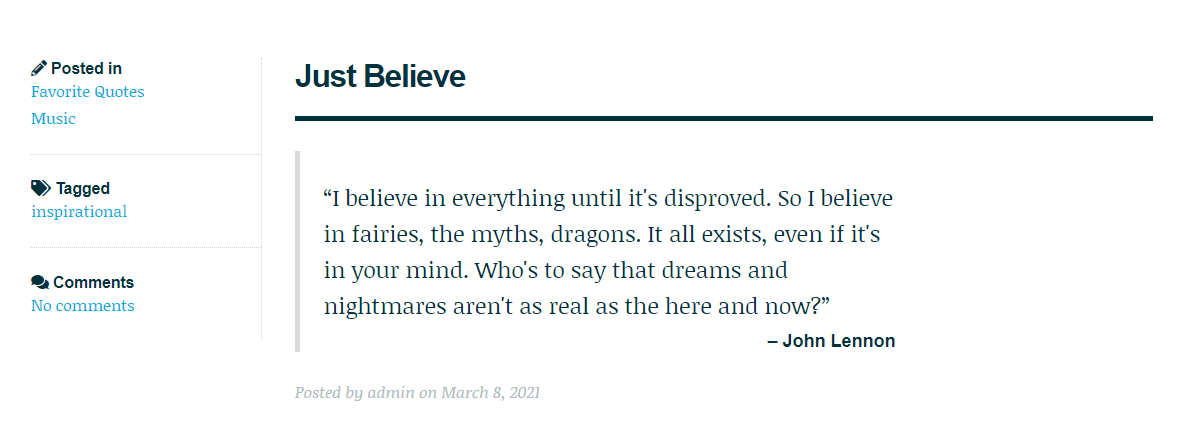
- Quote: Select the Quote from post format and enter the Quote and Quote Author in the Quote post format.
- Standard: Select the Standard from post format. This is a default post format. It shows as,
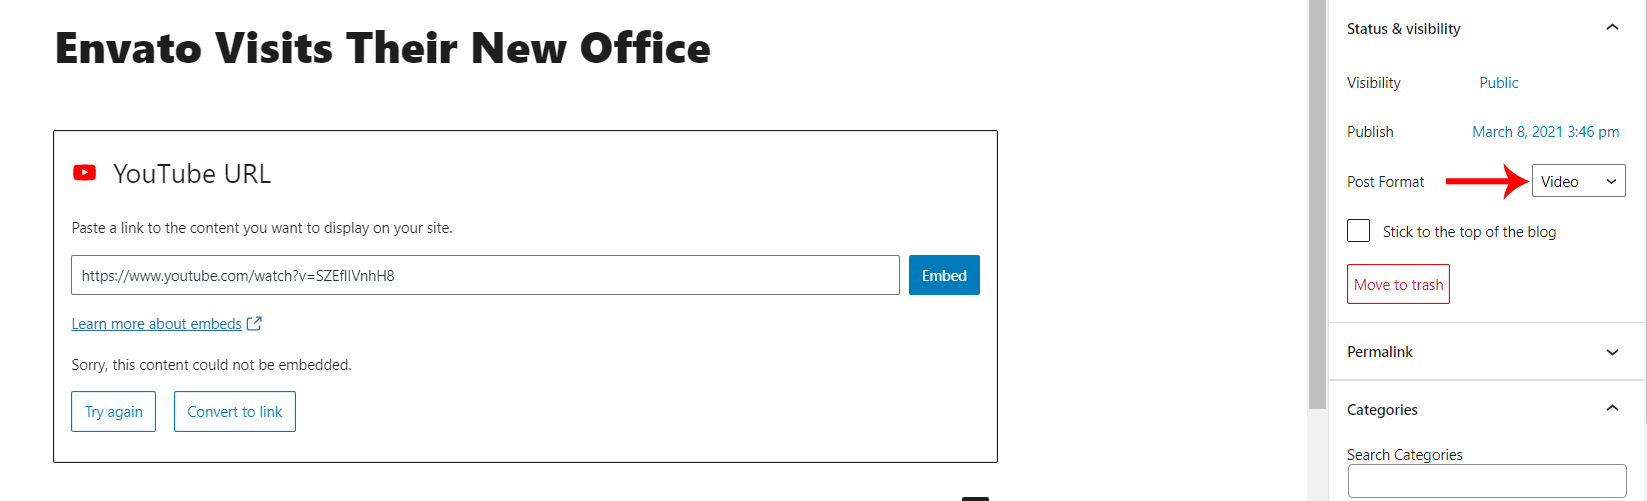
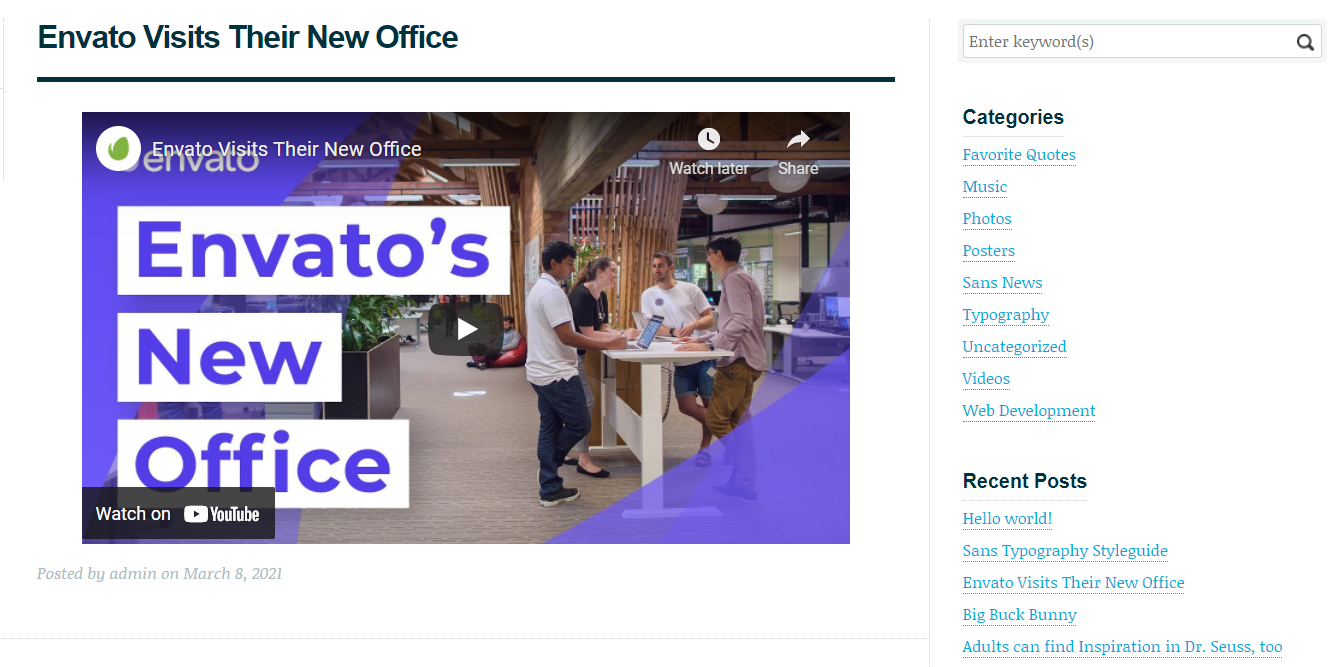
- Video: Select the Video from post format and use video in Block (Gutenburg) Editor. video post format usually contains a video either embedded from a third party video hosting service like YouTube or uploaded and played directly from WordPress. It shows as,
- Audio: Select the Audio from post format. You can add audio file by using (Gutenburg) Editor.

It shows as,

Portfolio
- You can manage your projects under the Portfolio menu item in the sidebar.
- Add new blog posts, you can add a new project using Portfolio → Add New Project button. In these you can add your detail description in your particular post or blog.
- Set featured image.
- You can categorize the blogs based on service. To add a service, go to the service menu item available under portfolio projects and enter the service name & Slug then Add New Service.
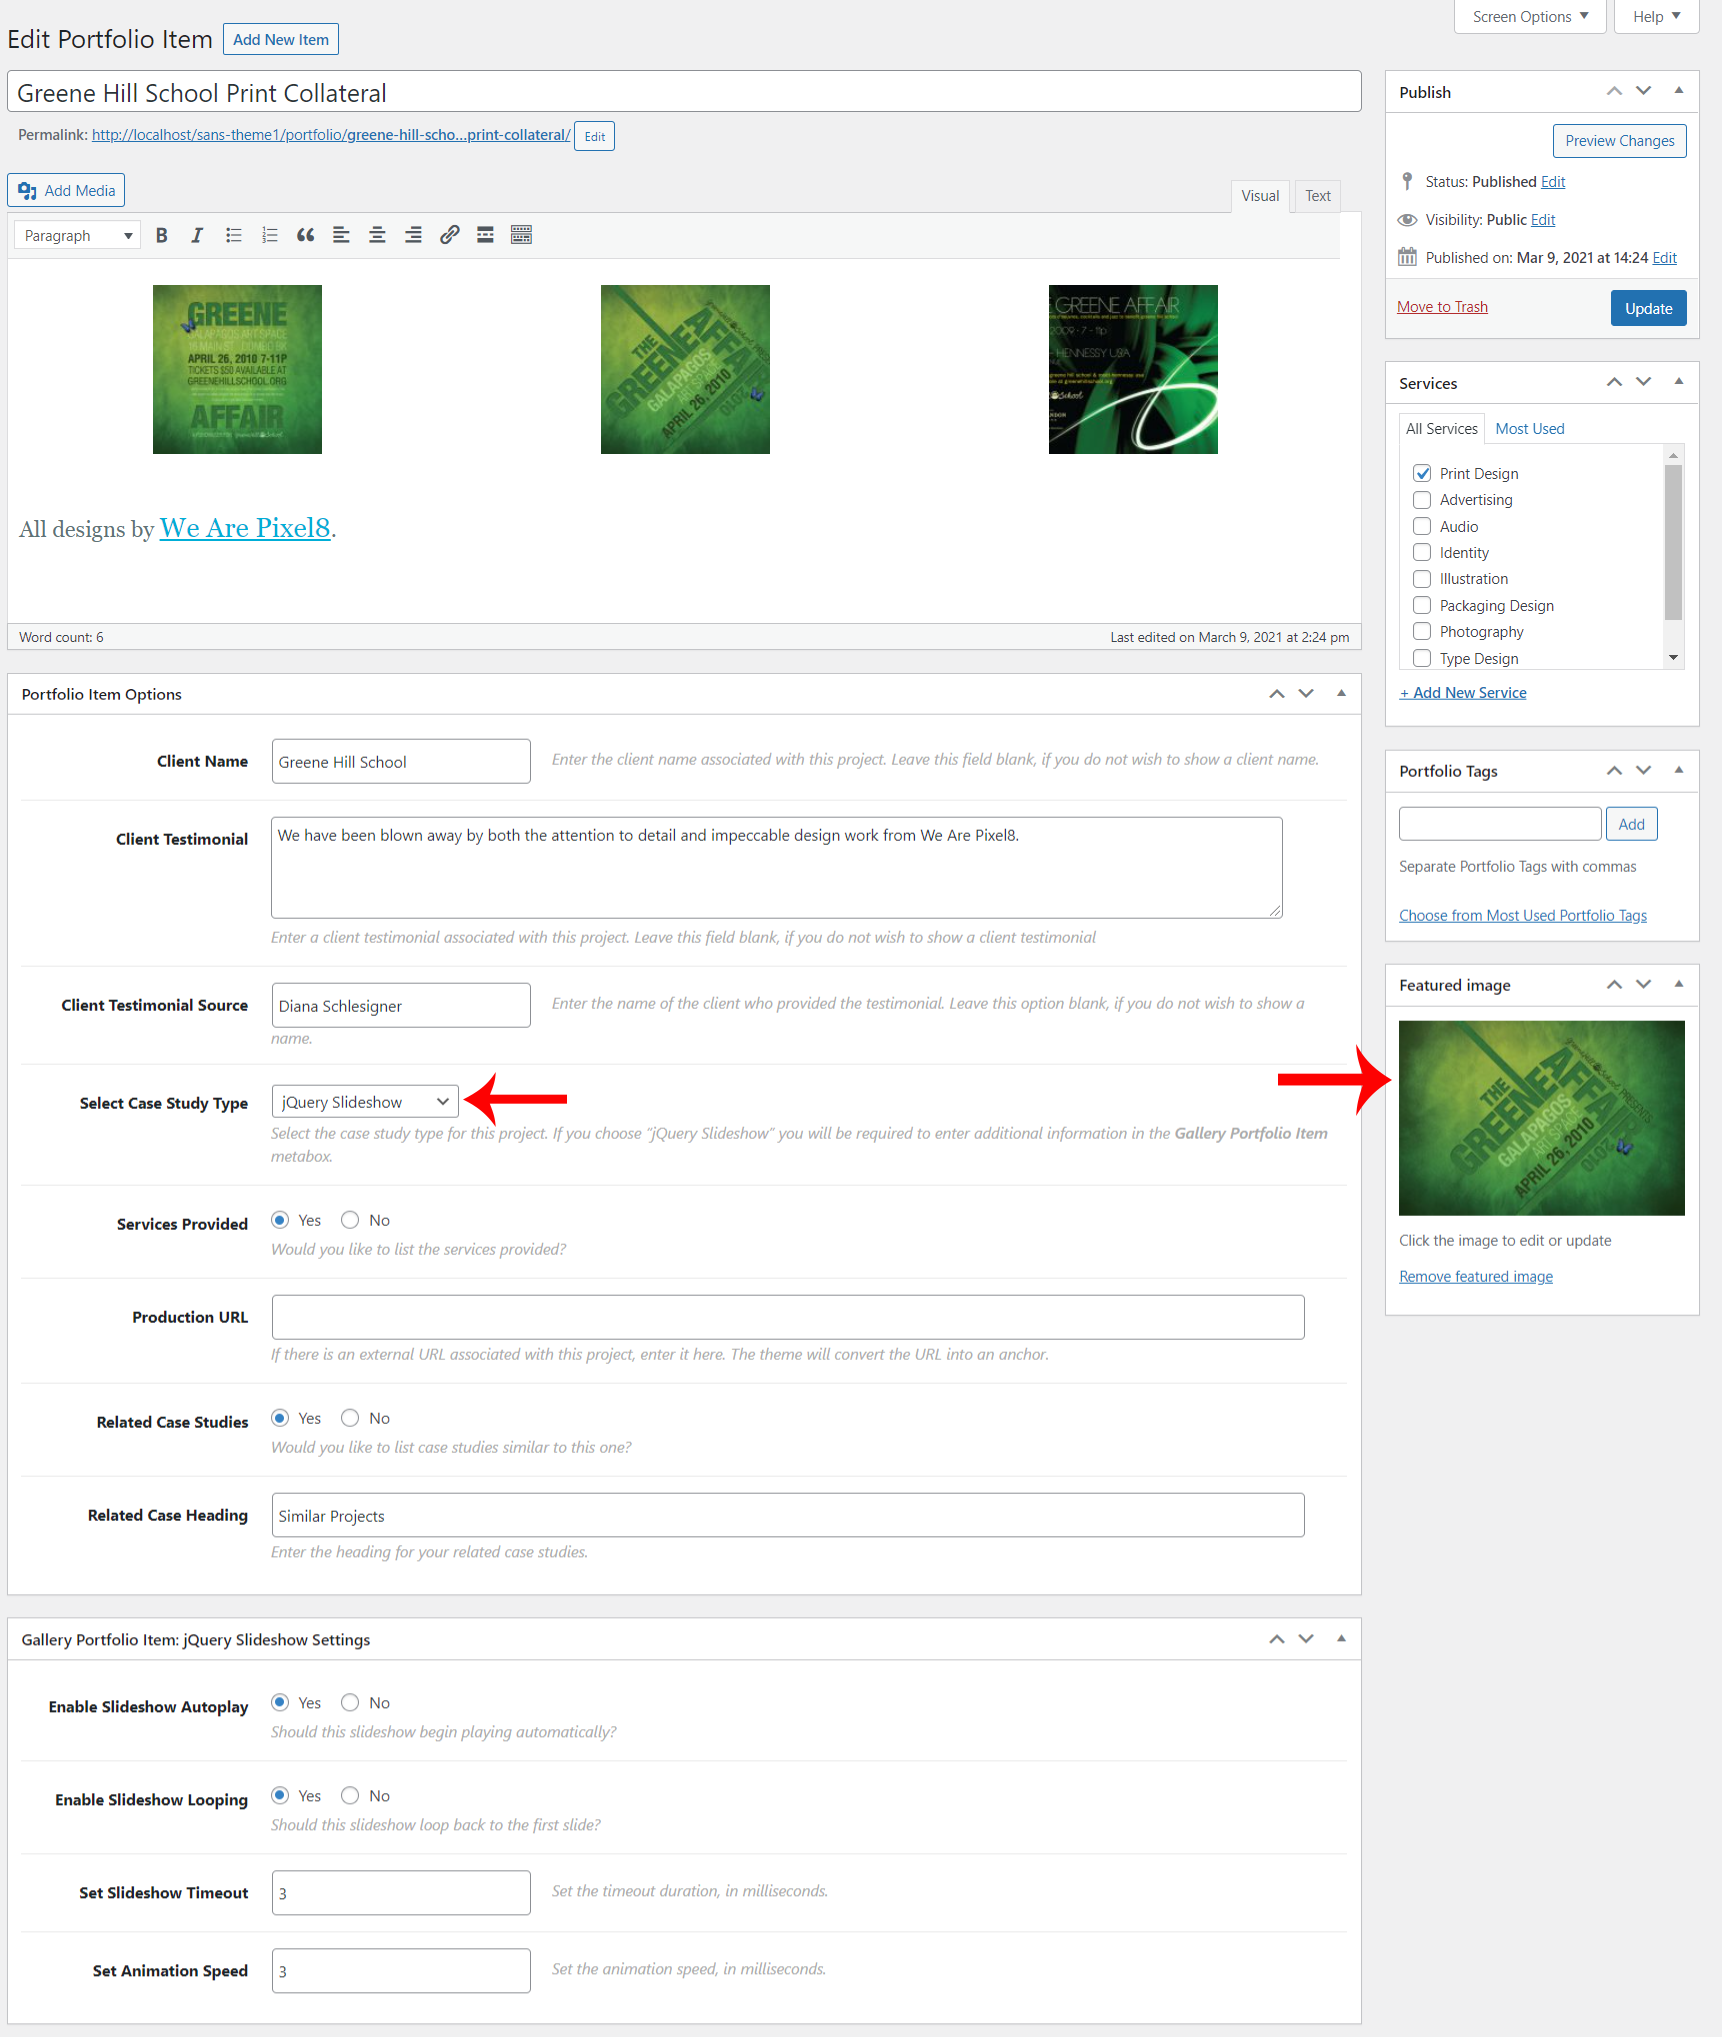
- Portfolio Item Options
- Client name: Enter the client name associated with this project.
- Client Testimonial: Enter a client testimonial associated with this project.
- Client Testimonial Source: Enter the name of the client who provided the testimonial.
- case Study Type: Select the case study type for this project from dropdown list.
- Related case Heading: Enter the heading for your related case studies.
- Gallery portfolio Item : jQuery Slideshow Setting
- Enable Slideshow Autoplay: If you enable Slideshow Autoplay, it begins playing automatically.
- Enable Slideshow Looping: If you enable Slideshow looping, it loops back to the first slide.
- Set Slideshow Timeout: Set the timeout duration, in milliseconds.
- Set Animation Speed: Set the animation speed, in milliseconds.
In this you can add the gallery items in Add Media > Create Gallery > Upload Files then you have to select case study type: jQuery Slideshow and the jQuery Slideshow settings are given below.
Changelog
Version 2.1(December 2022)
- Bug fixing and update for latest wordpress support
- All required plugins tested with latest versions
Sans – A Responsive Portfolio WordPress Theme
Sans is a responsive WordPress portfolio theme designed and developed for today’s savvy creative. Complete with audio and video support, this theme gives you the tools to easily manage and publish your work so you can concentrate on what you are best at being creative.
Thank you for purchasing the theme. We provide support for all of our themes at https://www.scube.co/support/, but please make sure you read this documentation in it's entirety first.
Thanks again!
Social Network