Rescue Wordpress Theme Documentation
- Created On: 7/8/2014
- Last Changed: 10/12/2019
- Current Version: 2.0.0
- Developed By: Scube Themes
- Theme Support: https://www.scube.co/support/
- Plugin Support: https://petfinder.com/support/
Introduction
Built on WordPress, Rescue site allows you to finding the pets to get adopted. And on the plus side, your shelter can now have an awesome looking website. Pets can easily be added or you can pull them from your Petfinder profile with a few clicks. Mainly this theme help you to adopt the pets in Online. It is a pet lovers website.
Thank you for purchasing the theme. We provide support for all of our themes at https://www.scube.co/support/, but please make sure you read this documentation in it's entirety first. Thanks again!
Theme Installation
Download Theme
At first, you need to download Rescue theme from petrescue.
To download the theme:
- Go to petrescue and download the rescue theme.
- Extract the downloaded .zip file into a folder. These files will be needed for the next steps.
Installing The Theme
There are few methods to upload and install a theme on your WordPress website. We explain about two easy installation methods here.
Installing through WordPress
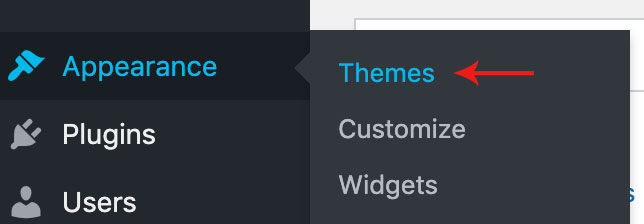
- On WordPress left menu, go to Appearance > Themes.
- Click on Add New Theme.
- Click on Upload Theme button.
- Click on Choose File button and select Rescue.zip that you have extracted from the Petrescue downloaded file then click on Install Now button and wait for the install to complete.
- After the theme installed successfully, click on Activate button.
Uploading Through FTP
Alternatively, you can upload the theme through file transfer protocol. Keep in mind that this will only upload the theme to your website, it will not activate it.
- Use a FTP (for example Filezilla) to access your host web server.
- In the files browser navigate to /wp-content/themes.
- Extract Rescue.zip and Transfer it into the directory.
Installing The Child Theme
If you plan on customizing and editing the theme’s files, it is always recommended to install a child theme. Having a child theme guarantees that your changes will not be deleted on each update of the theme and they will stay intact.
Use the same process of Installing the theme to install the child theme.
Install Required Plugins
After successfully activated the theme. Its important to install and activate the required plugins for the theme.
There are six plugins for Rescue theme version 2.0.0.
- Contact Form-7
- One Click Demo Import
- Option Frame Work
- Pet Finder
- Rescue Meta Box
- Rescue Widgets
Install & Activate Required Plugins
- When theme is activated, Notice to install the required plugins will appear on the Wordpress backend.
- Click on the Begin installing plugins link to install and then activate the plugins.
Theme Recommended Plugins
- One Click Demo Import: This plugin is used to import the demo content. It includes pages, posts, media, Pets, menus and widgets. You need to install and activate this plugin to import the demo content
- Pet Finder: WP Petfinder plugin was designed to integrate Petfinder.com database with your WordPress site via Petfinder v2. It will be useful for pet shelters and volunteers to help Pets to get adopted. Click here to see the plugin. content
- Option Framework: The Options Framework Plugin makes it easy to include a full featured options panel in any WordPress theme. ... upload (an image uploader); images (use images instead of radio buttons); background (a set of options to define a background)
- Contact form 7: We used Contact form 7 (CF7) plugin to add contact form on contact page. You need to install and activate this plugin before importing the demo file Click here to see the plugin.
Import Demo Content
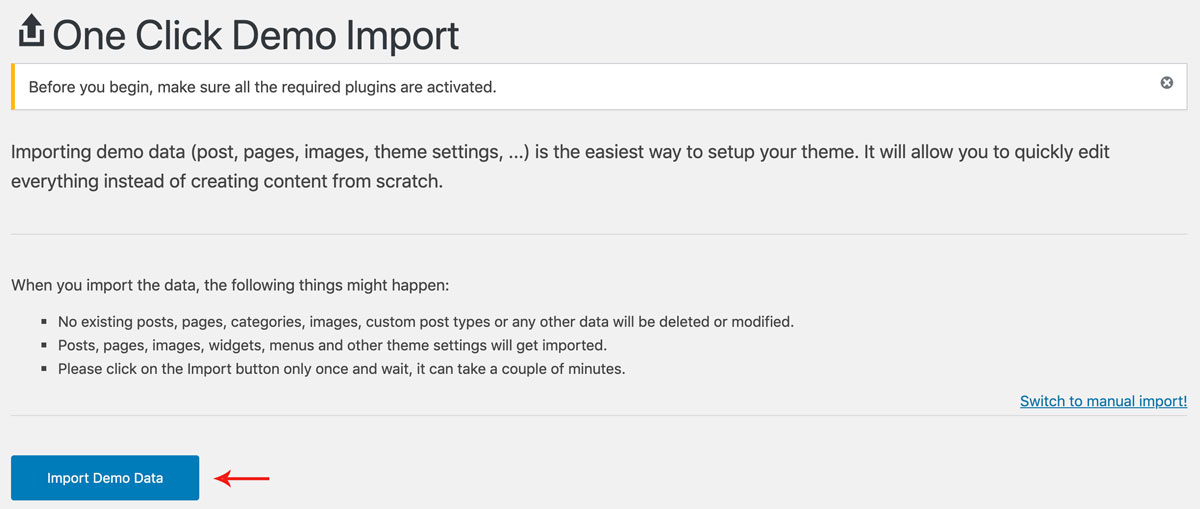
When you first install Rescue, it won’t contain all the demo content that you might have seen in the live demo. Before importing the content make sure all the plugins are imported. You need to install and activate One Click Demo Import plugin to import the demo content.
Steps
- On WordPress left menu, go to Appearance > Import Demo Data.
- On the One Click Demo Import page. Click on the Import Demo Data button only once and wait, it can take a couple of minutes to import all the demo data.
- Please be patient while importing all the content.
- It will import pages, posts, medias, pets, menus and widgets.
Theme Options Setup
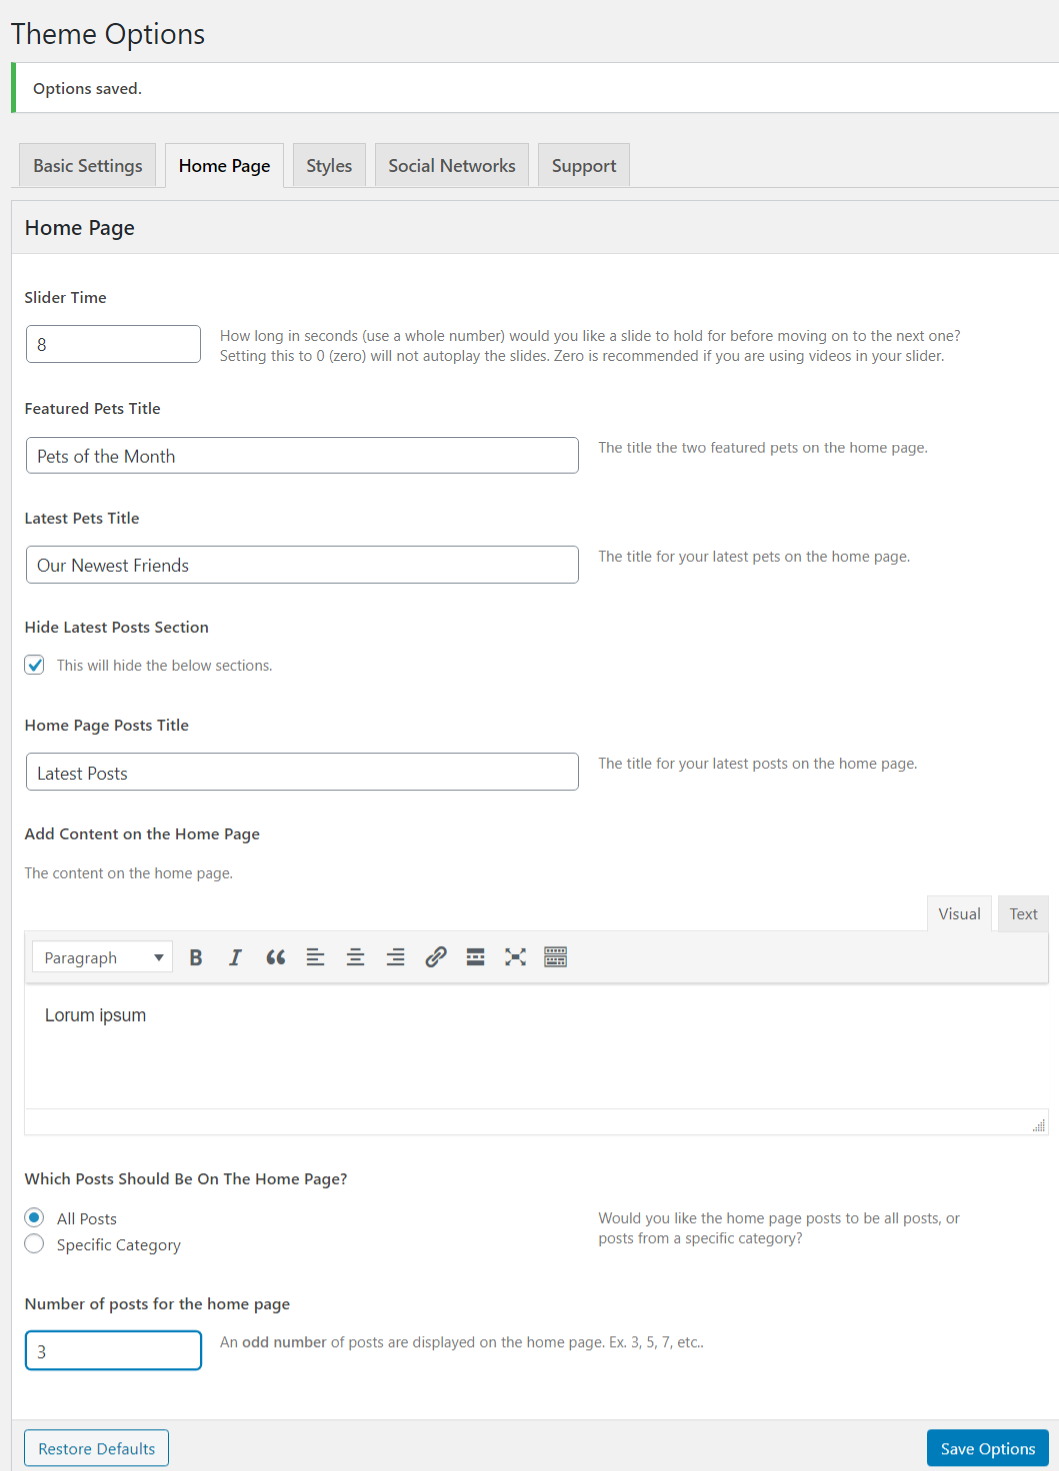
Theme Options is the main section of Rescue, which you can use to change your global settings for your website. You can access Theme Options on WordPress left menu, go to Appearance > Theme Options.
Basic Settings
- Logo Retina Display: This enables display your logo at half size, making it look crisp on iDevices.
- Upload Logo
- Upload a favicon for the website (Browsers that provide favicon support typically display a page's favicon in the browser's address bar, sometimes in the history as well and next to the page's name in a list of bookmarks).
- Site Layout: Left & Right layouts. Choose the layout to set.
- Credit Where Credit Is Due: Enabling this option will give credit to the Rescue theme..
- If you choose 'yes'-It stick to the top of the header as the user scroll down the site.
- If you choose 'No'-It's not stick on the top of the header.
Sticky Header:
Home page
Home page is the initial page of a website. There are few additional features such as:
- Slide Time : Enter the number of seconds for the slide to display before moving on to the next slide.
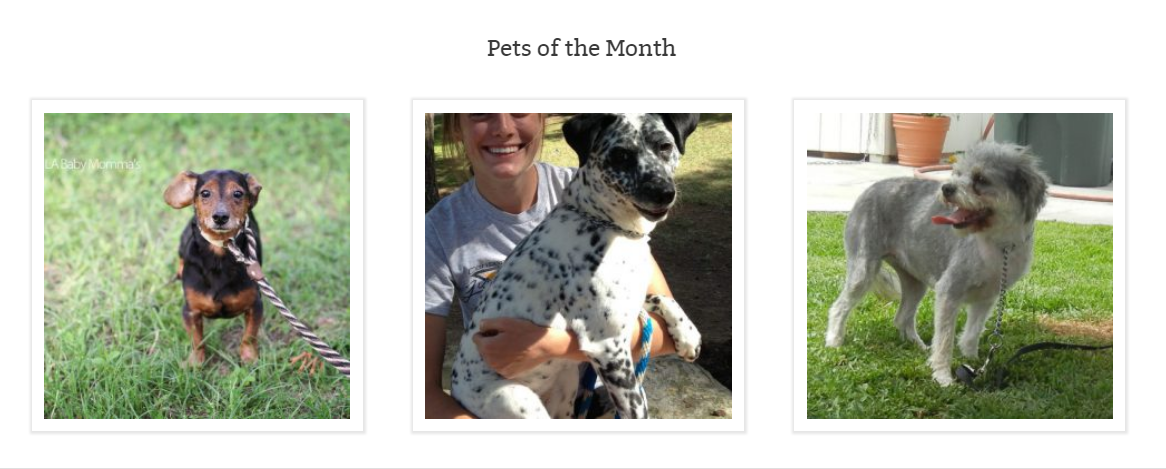
- Featured Pet Title: The title of two or more featured pets on the home page. Select Pets > All pets then do edit the particular pet and scroll down select featured pet - 'yes' from pet information and it show like
- Latest Pet Title : This title for your latest pets on the home page.
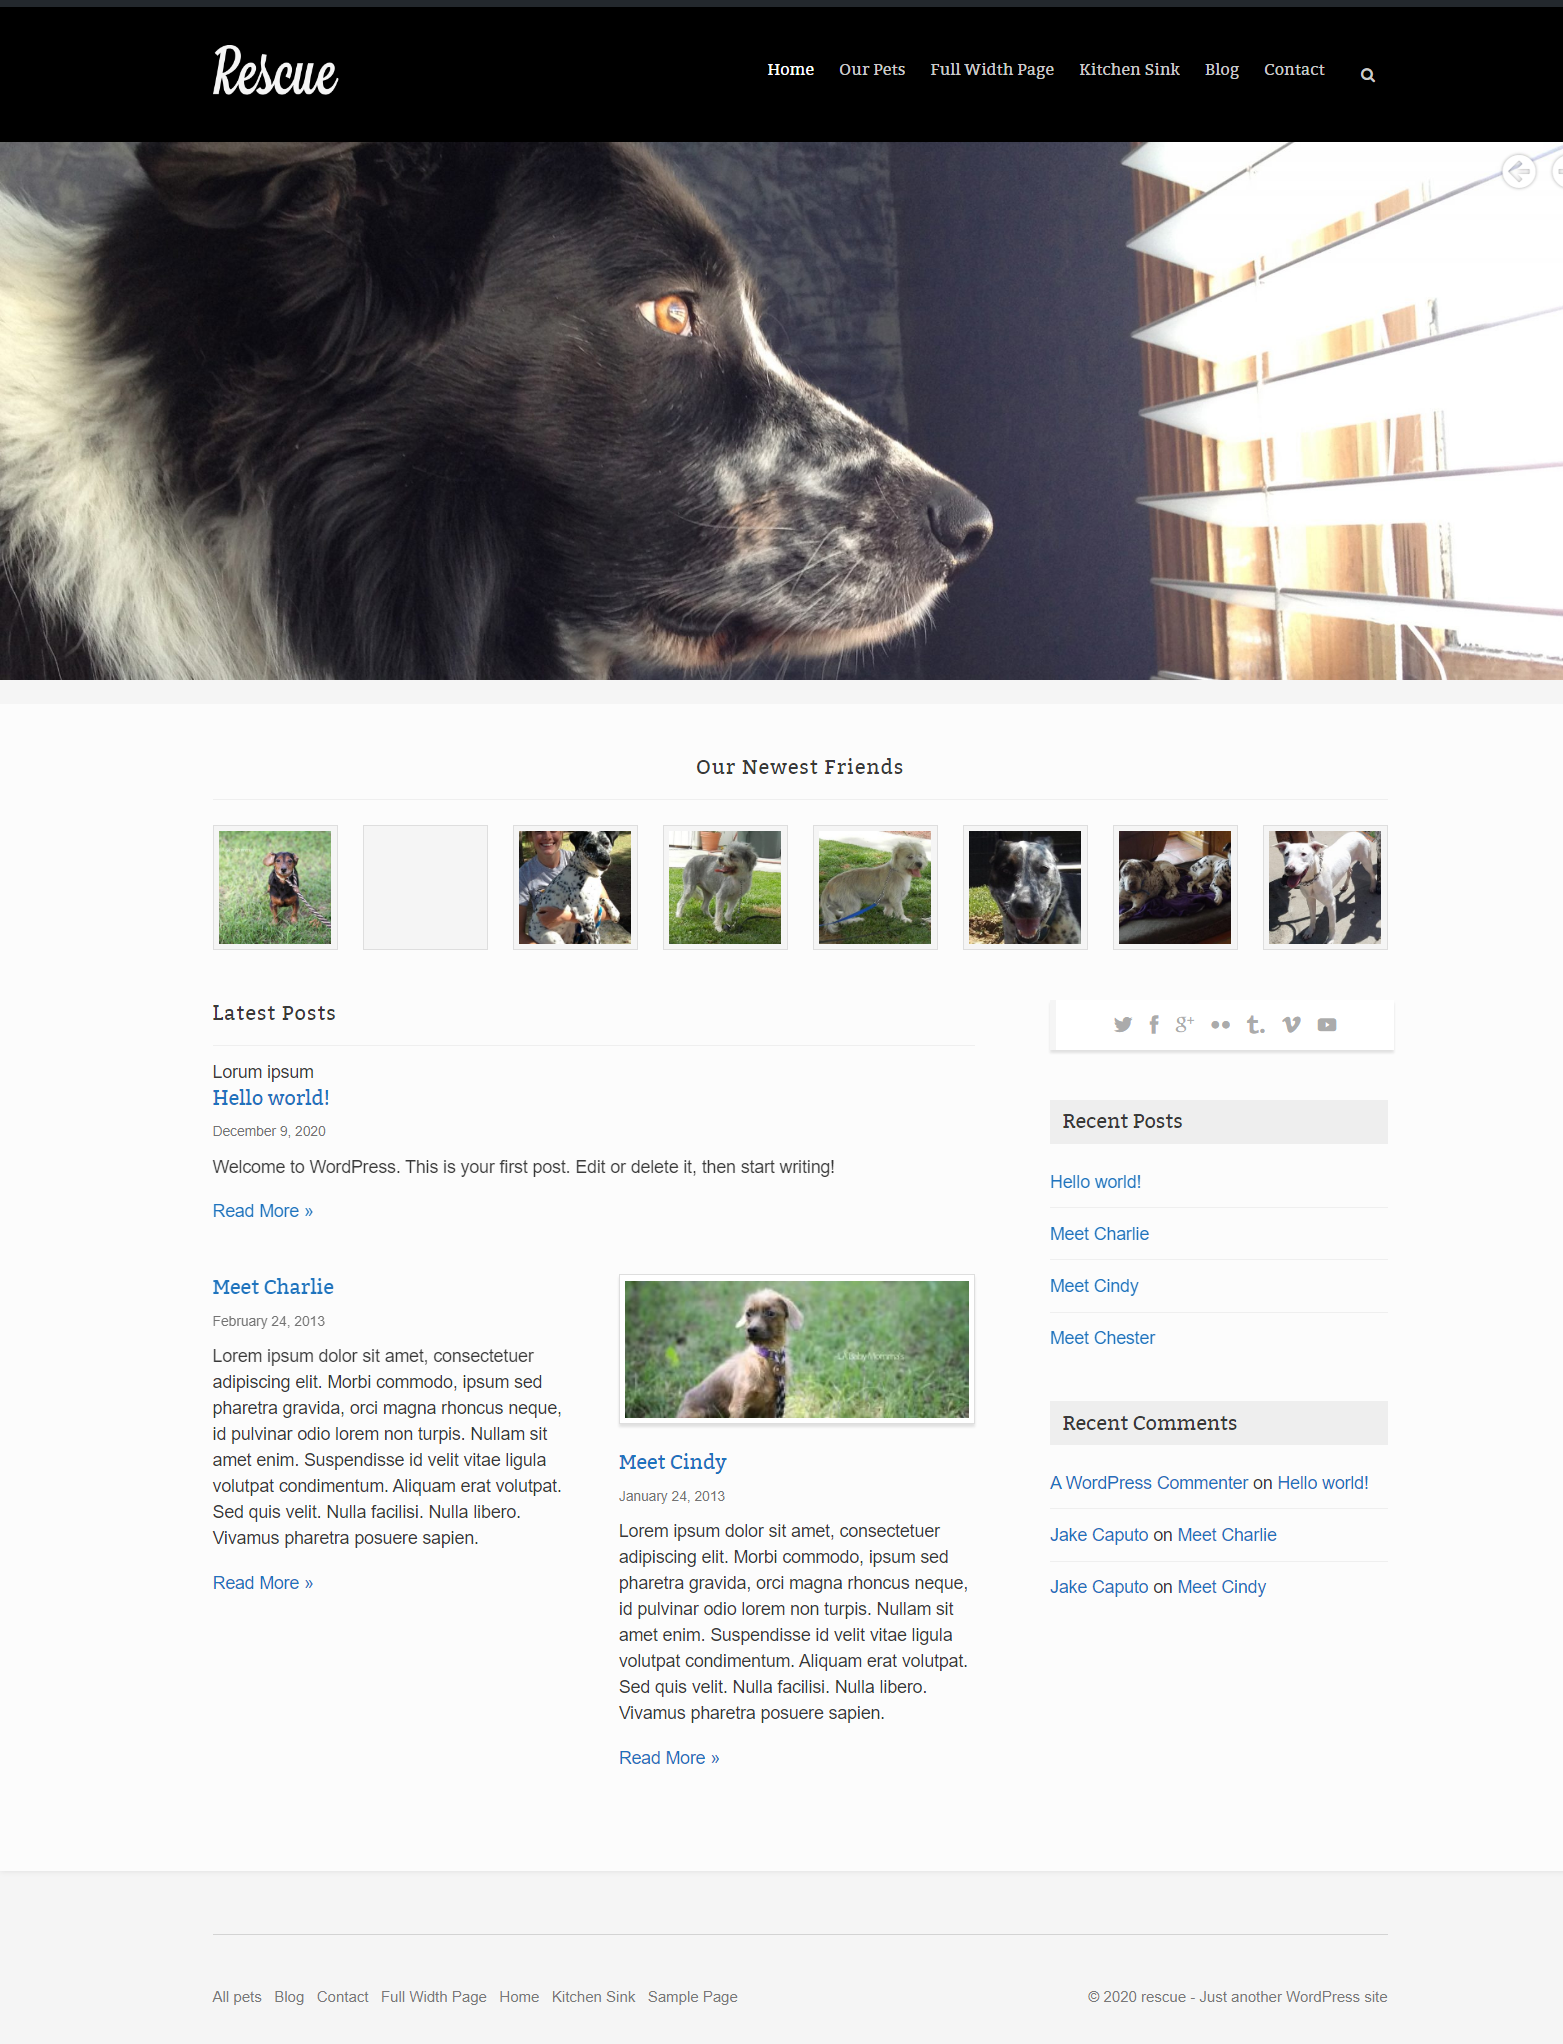
- Home Page Post Title: This title for your latest post on the home page.
- Post: You can choose which post should be on the Home Page-All post or Specific Category
- Number of Post for the Home Page: An odd number of post are displayed on the homepage ex:3,5,7
Styles Settings
This section has basic style settings of the website.
- Post Author Box: if enabled this option, it shows "About This Author" box after post content on post's single page and the description of the author pulls from Users > Your Profile.
- It Show as
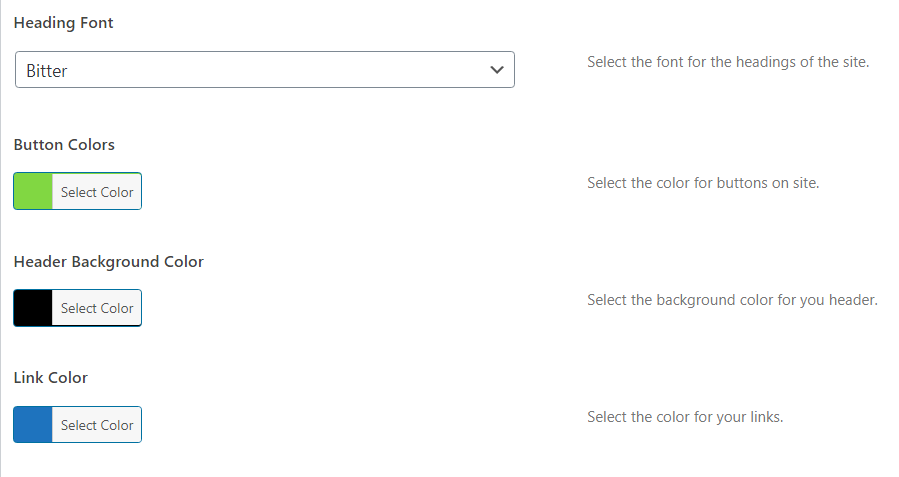
- Heading Font: Select the font of your choice, for your Heading from dropdown-list.
- Button Color: Select the color for the button from option.
- Header Background Color: Choose the color of your choice for the heading.
- Link Color: Select the color for your link.
here
Home Page Settings
WordPress displays your blog posts on the homepage. However, most business websites and even most blogs use a custom homepage and create a separate blog page to display their blog posts.
Header
Rescue Header consists of 3 items: Logo/Site Title, Menu & Search bar
- Logo/Site Title: You can add logo in Appearance > Theme Options > Basic Settings tab. If the logo is not provided Site Title will be used. Click here for more information.
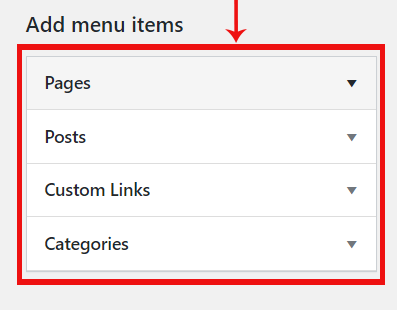
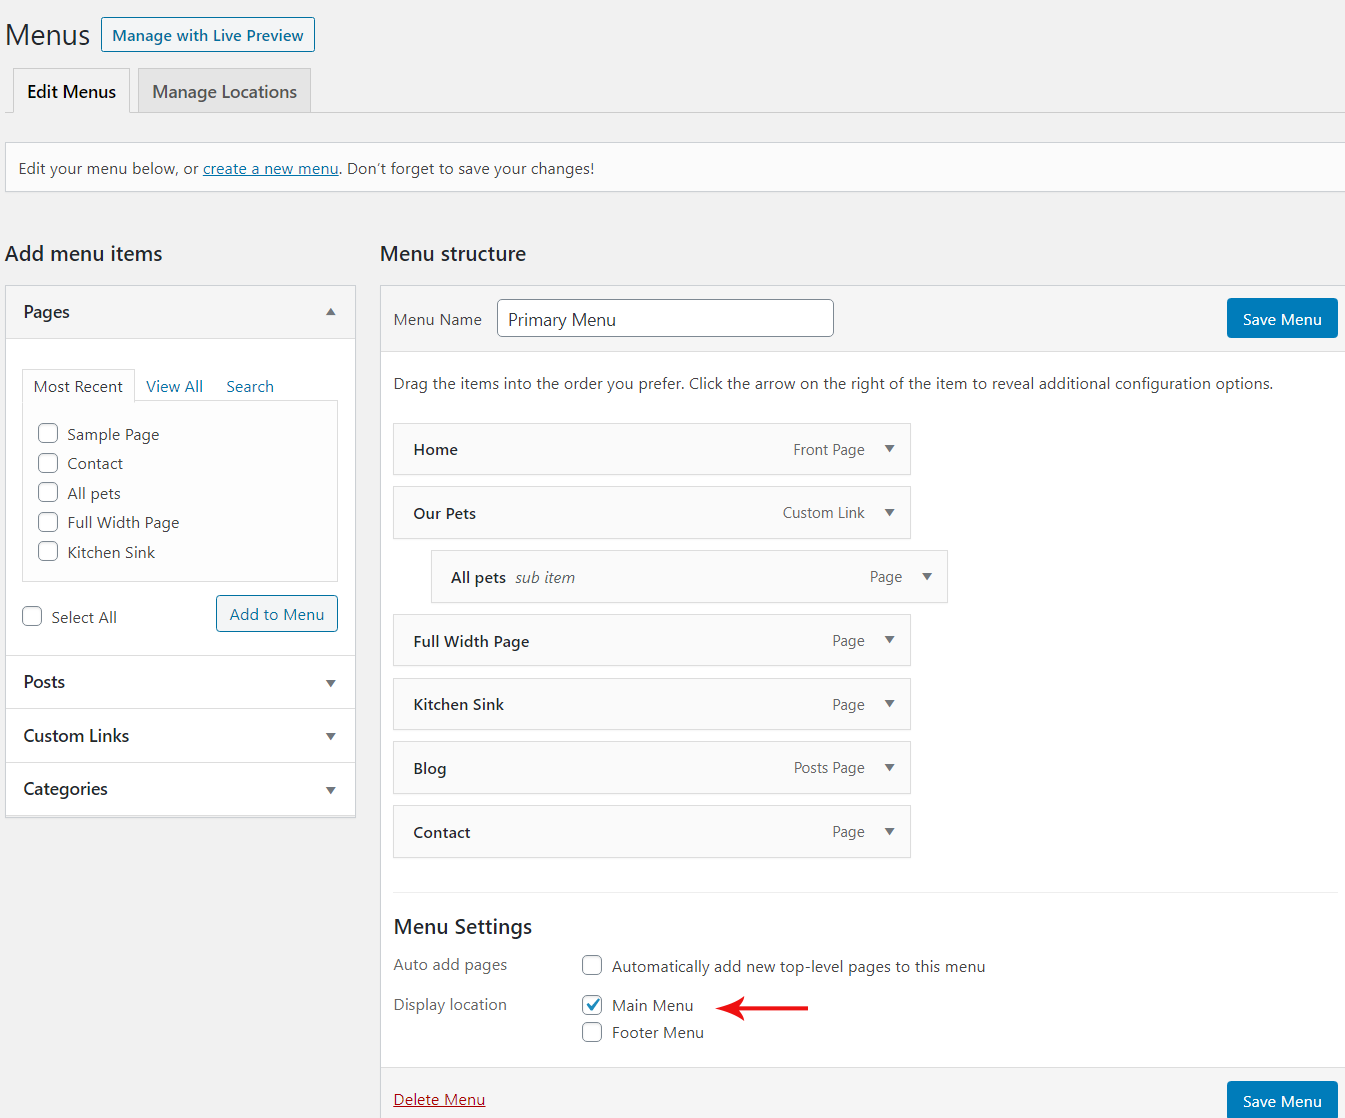
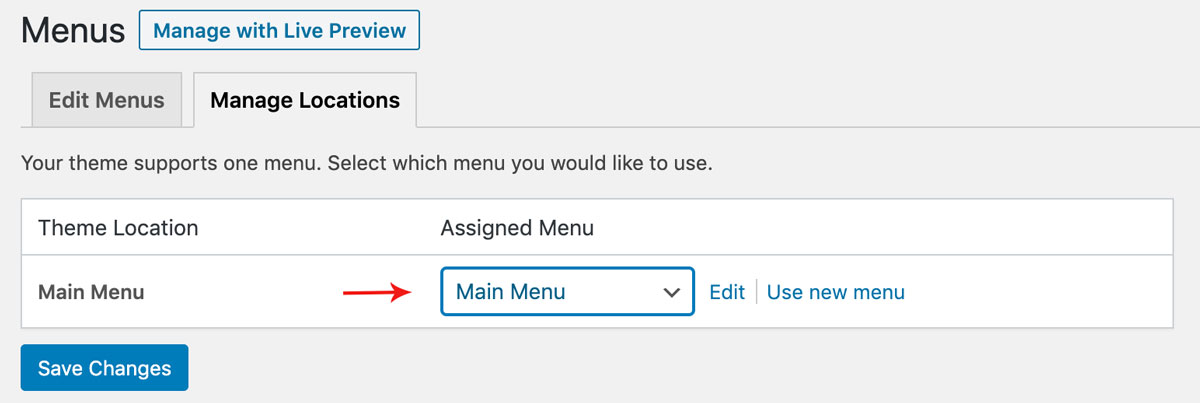
- Menu: To add header menu, Assign any menu to Main Menu Theme Location. Click here for more information.
Widgets
How to Add Widgets
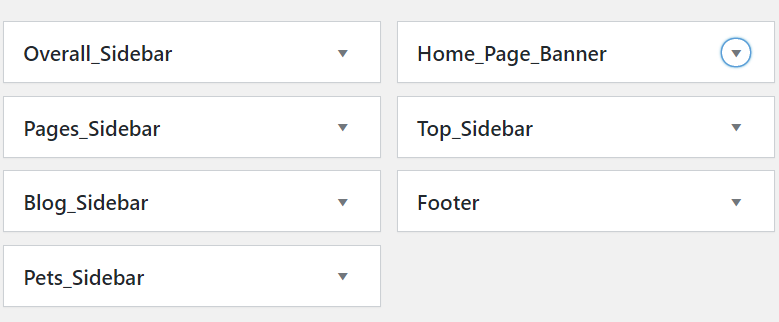
- On WordPress left menu, go to Appearance > Widgets. You can see available widgets on the left and widget areas on the right.
- Choose a Widget and either drag it to the sidebar where you wish it to appear, or click the widget, (select a destination sidebar) and click the Add Widget button.
Available Widgets
- Wordpress has lots of widgets available to add in widget areas. Click here to know more about wordpress widgets.
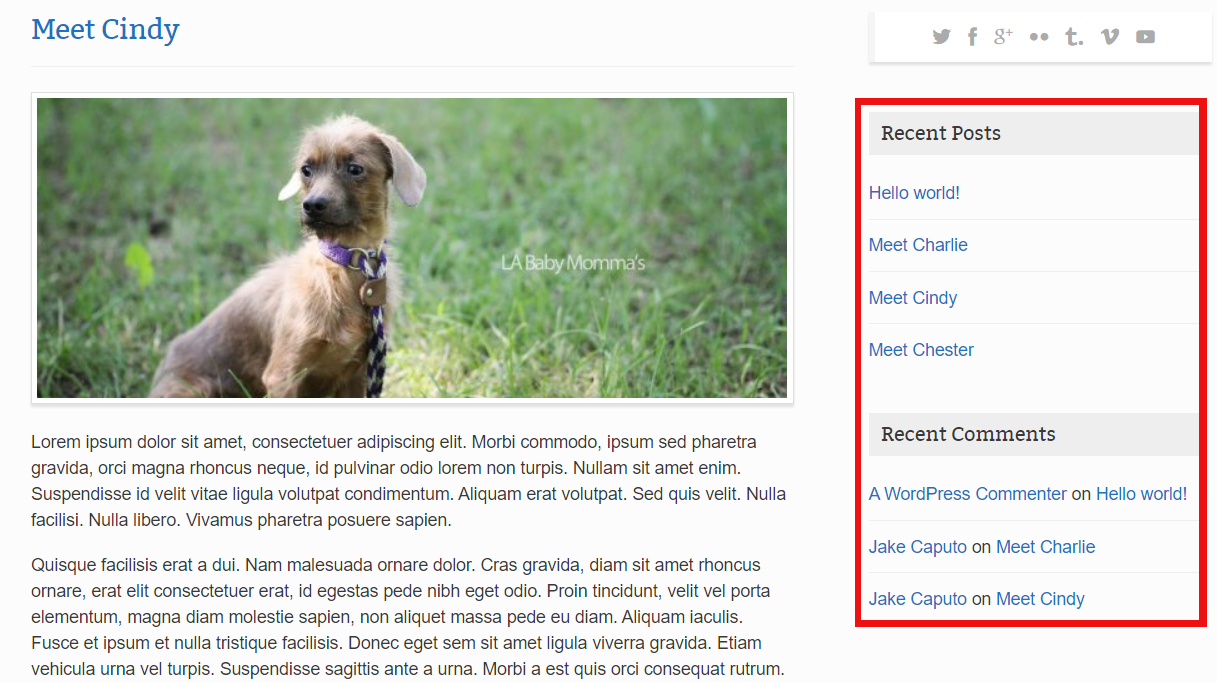
Overall Sidebar
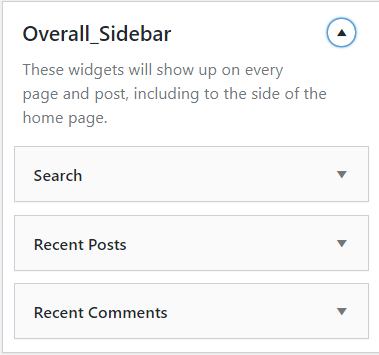
- Overall Sidebar shows upon every page and post including to the side of the home page functions of a website. Widget areas are places in your theme where users can add their own widgets.
Page Sidebar
- These Widgets shows up on all pages except home page. If you need, you can add more widgets those are available in wordpress.
Blog Sidebar
- This Widget will appear only on the Blog Pages & Blog posts. You may also add more functions under this widget if needed.
Pets Sidebar
- This Widget shows only on pet pages. If you need, you can add more widgets those are available in wordpress.
Home Page Banner
- Home page banner is the main imagery that takes top billing on your homepage. In web-speak, it can also be referred to as a hero image or billboard. Your homepage banner is the gatekeeper of your website, with a very important job.
Footer
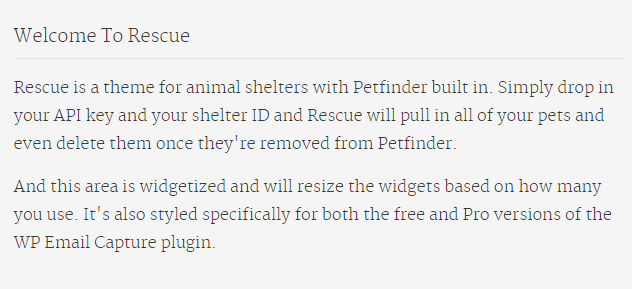
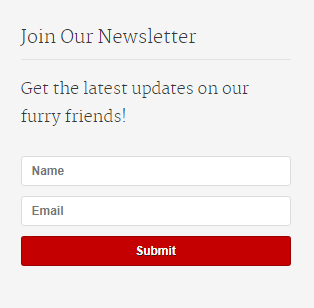
- Footer is the Bottom section of the website, in which you may add your company address details and other functions available in wordpress widgets.
Pages
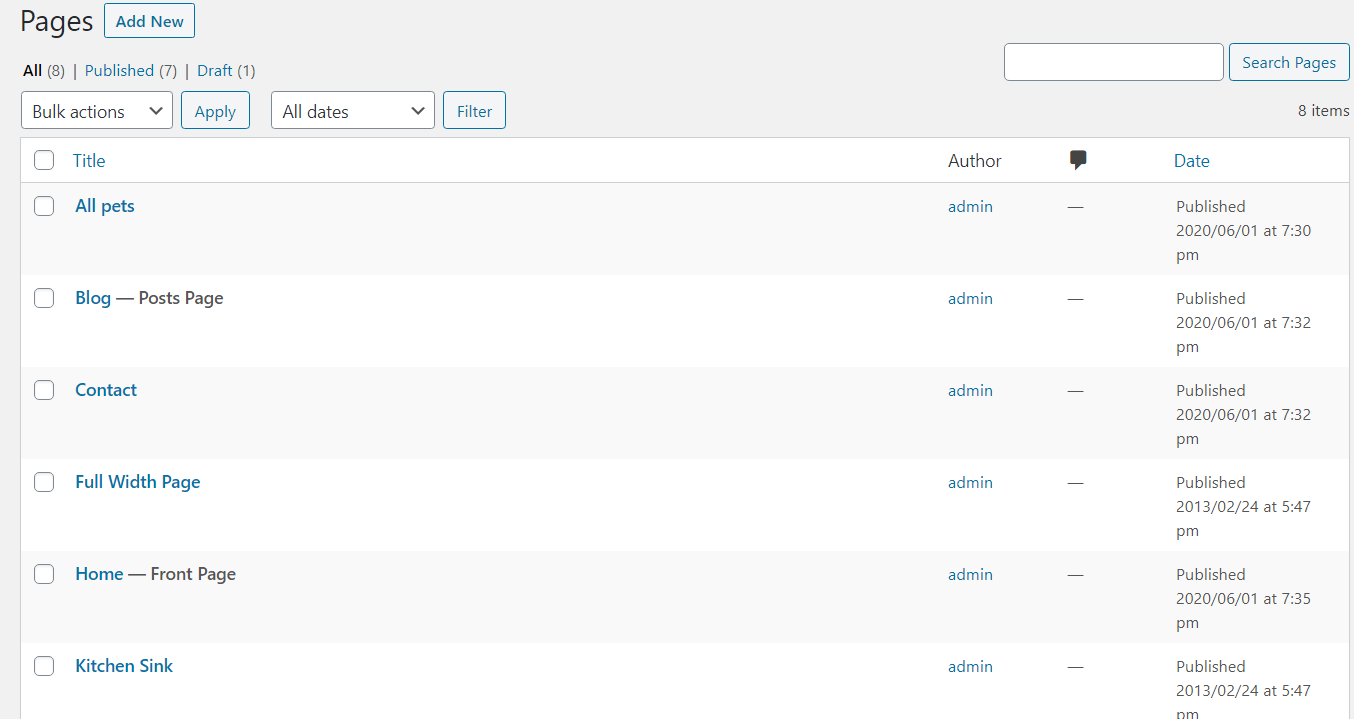
- To view/access all available pages on the website, on WordPress left menu, go to Pages. It will list all the available pages.
- If you downloaded the demo content, You can see demo pages.
- When hover on the available page on the list, You can see the options for each page.
How to Create a Page
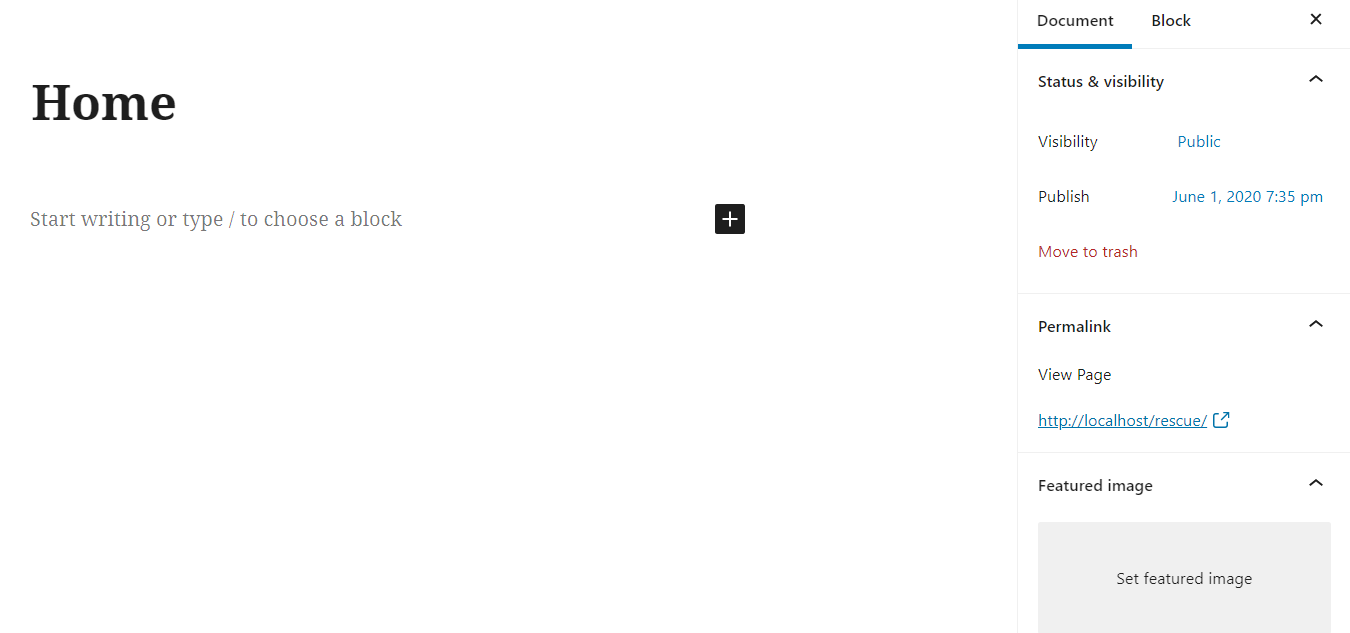
- To create a page, on WordPress left menu, go to Pages > Add New.
- Rescue supports Block (Gutenburg) Editor. Click here to see how to add content using Block (Gutenburg) Editor.
- Add Page title, content, choose 'page template' (if required), choose 'parent page' (if required) and publish it.
How to setup Homepage
- To setup homepage, Create a page, name it, choose 'Home' page template and publish the page. Click here to know how to create a page.
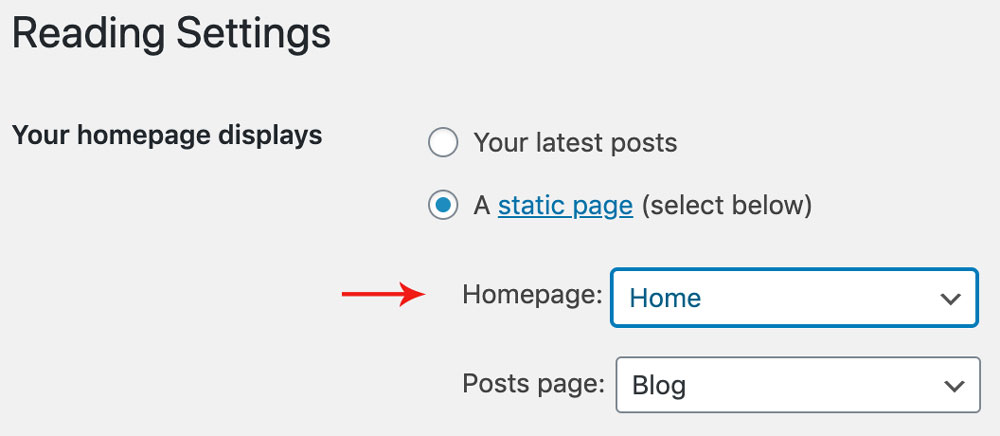
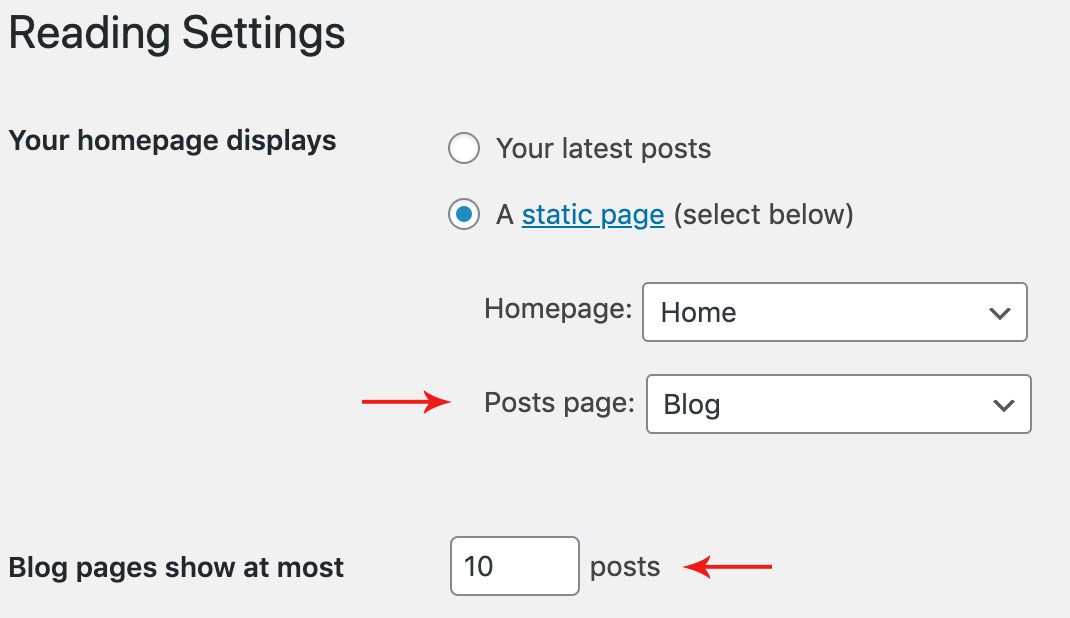
- Then on WordPress left menu, go to Settings > Reading.
- On Reading Settings page, Choose 'A static page' option and select the page from the list to set as home page.
Page Templates
Rescue provides 3 page templates. They are Default, fullwidth templates & All Pets .
How to setup Page Template
- While creating a page, you can choose the page template or you can change the page template anytime while editing the page.
- It is important to choose correct page template for each page.
Default Page Template
- This is the default template for pages & posts.
- This template has sidebar (Left or Right). You can setup the sidebar using Site Layout option on Theme Options > Basic Settings. Click here to know more about it.
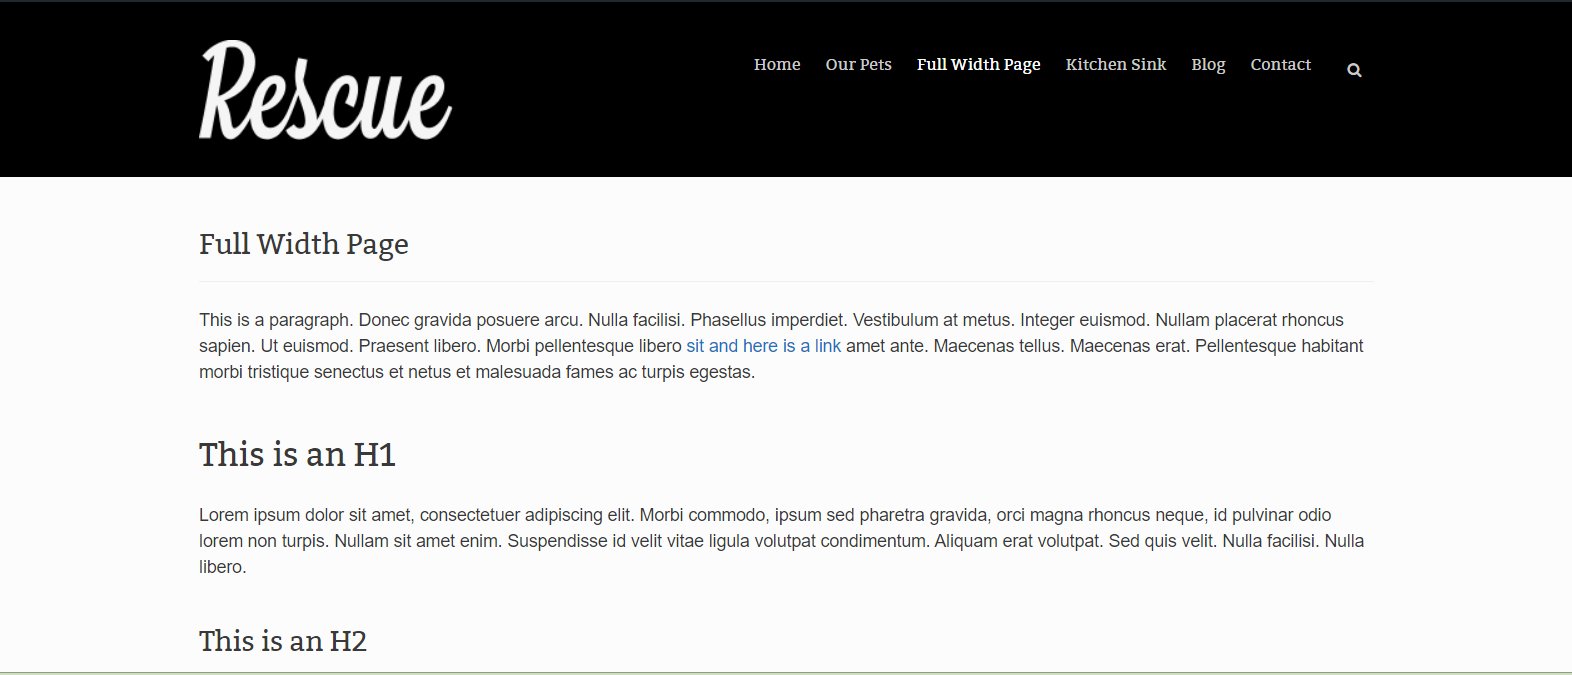
Full Width Page Template
- This template has no sidebar. The content of the page is stretched to the full width of the page container.
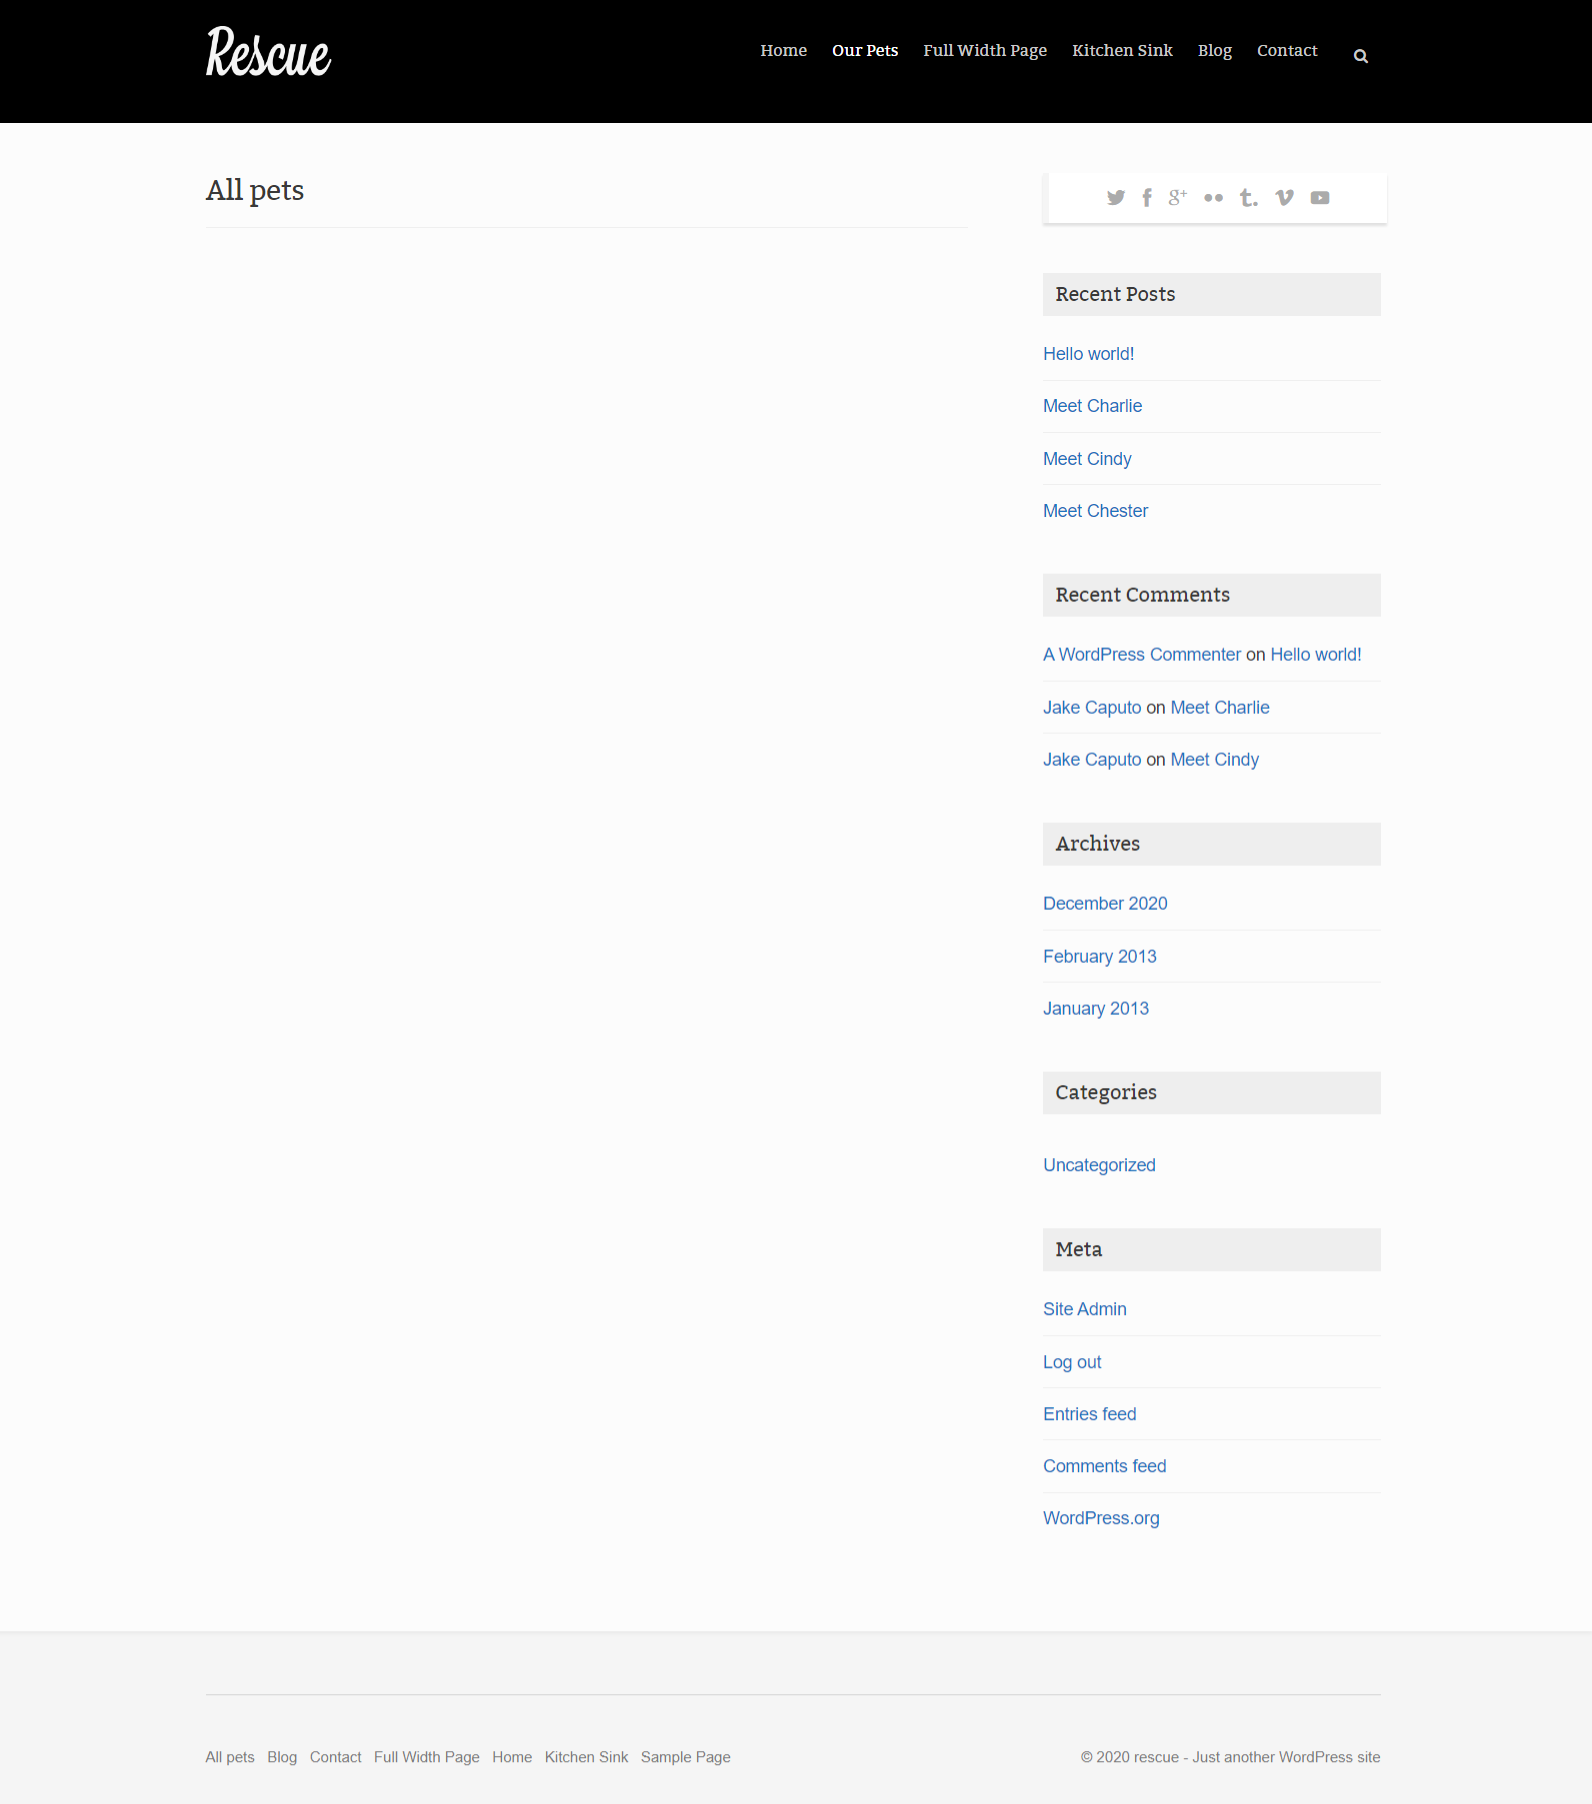
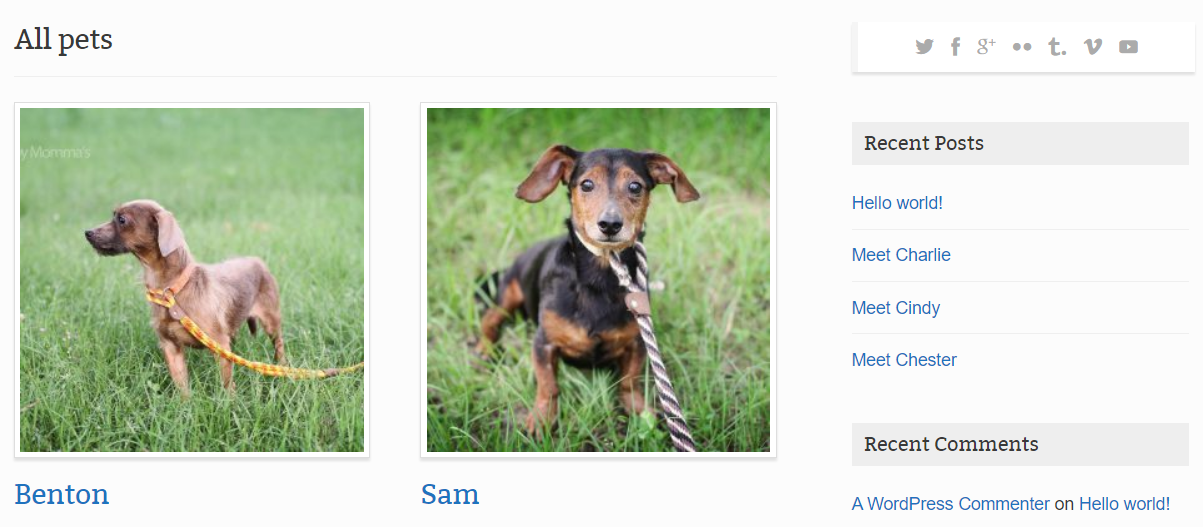
All Pet Template
- This template shows all available pets.
Blogs
Blog Archive
How to setup Blog Archive page
- To setup blog archive page, Create a page, name it and publish the page. Click here to know how to create a page.
- Then on WordPress left menu, go to Settings > Reading.
- On Reading Settings page, From Posts page dropdown, select the created page.
- Then on 'Blog pages show at most' field, enter the number of posts to show on the page before pagination.
- Finally, Click on the Save Changes button.
- Now you can see the page, It will show the blog archives.
Blog Single
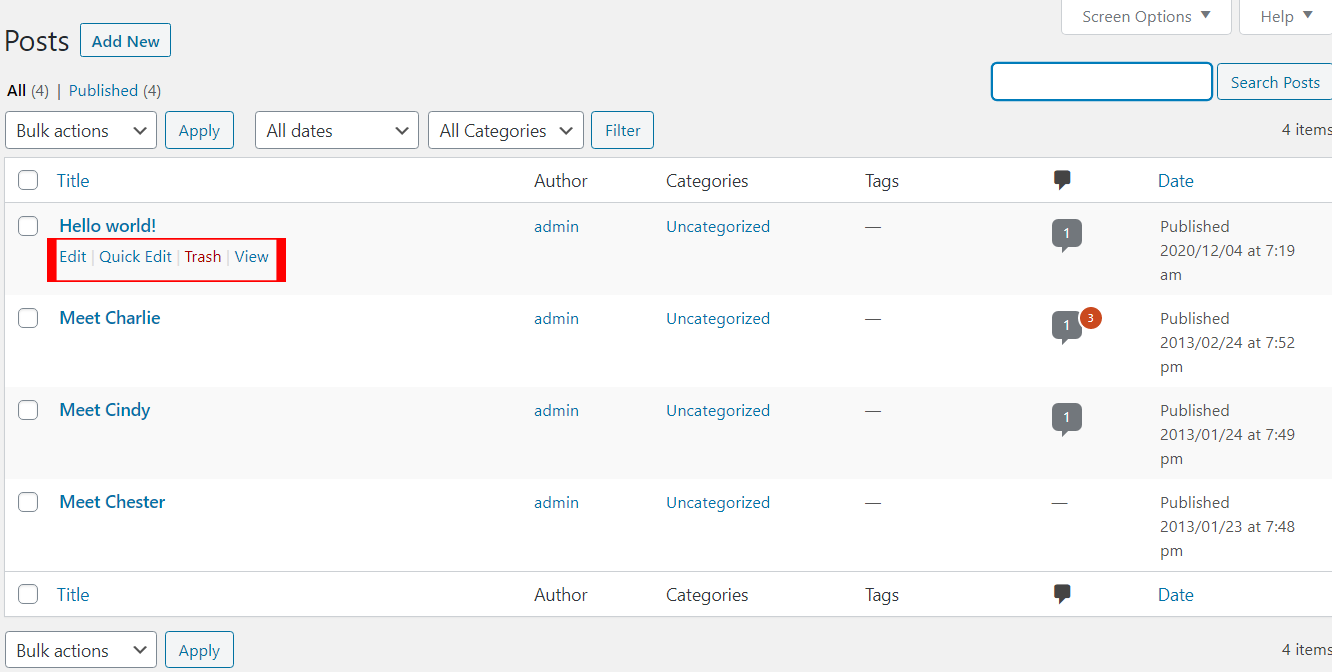
- To view/access all available post on the website, on WordPress left menu, go to Posts. It will list all the available posts.
- If you downloaded the demo content, you can see three blogs on the backend posts page.
- When hover on the available blog (post), You can see the options for each blog.
How to Create a Blog
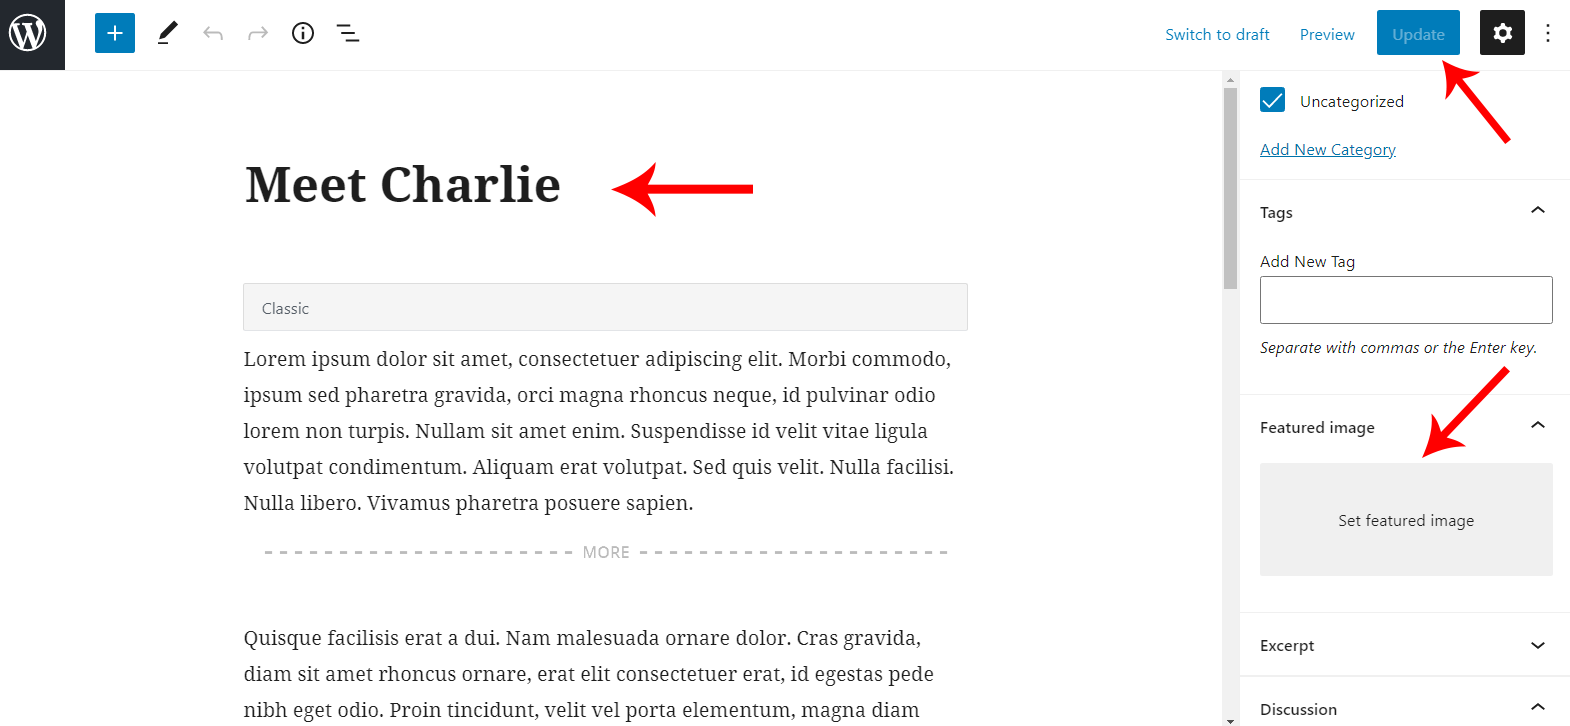
- To create a blog, on WordPress left menu, go to Posts > Add New.
- Rescue supports Block (Gutenburg) Editor. Click here to see how to add content using Block (Gutenburg) Editor.
- Add Blog title, content, featured image and publish it.
Changelog
Version 2.0.0 (September 2020)
- Bug fix:
- Theme bug and Wordpress bug updated.
Rescue - Animal Shelter Theme
Built on WordPress, Rescue site allows you to finding the pets to get adopted. And on the plus side, your shelter can now have an awesome looking website. Pets can easily be added or you can pull them from your Petfinder profile with a few clicks. Mainly this theme help you to adopt the pets in Online. It is a pet lovers website.
Thank you for purchasing the theme. We provide support for all of our themes at https://www.scube.co/support/, but please make sure you read this documentation in it's entirety first. Thanks again!
Thanks again!














Social Networks
The information in this section will be displayed on the Side Widget.