Outreach Wordpress Theme Documentation
- Created On: 7 Aug 2014
- Last Changed: 26 Aug 2024
- Current Version: 2.3
- Developed By: SCube Themes
- Theme Support: https://www.scube.co/support/
Introduction
Outreach is a theme that's made with non-profits and charity organizations in mind. The Events Calendar and Events Calendar Pro plugin to display all of your upcoming events.
Thank you for purchasing the theme. We provide support for all of our themes at https://www.scube.co/support/, but please make sure you read this documentation in it's entirety first. Thanks again!
Theme Installation
Download Theme
At first, you need to download Outreach theme from ThemeForest website.
To download the theme:
- Go to Theme Forest and login into your account.
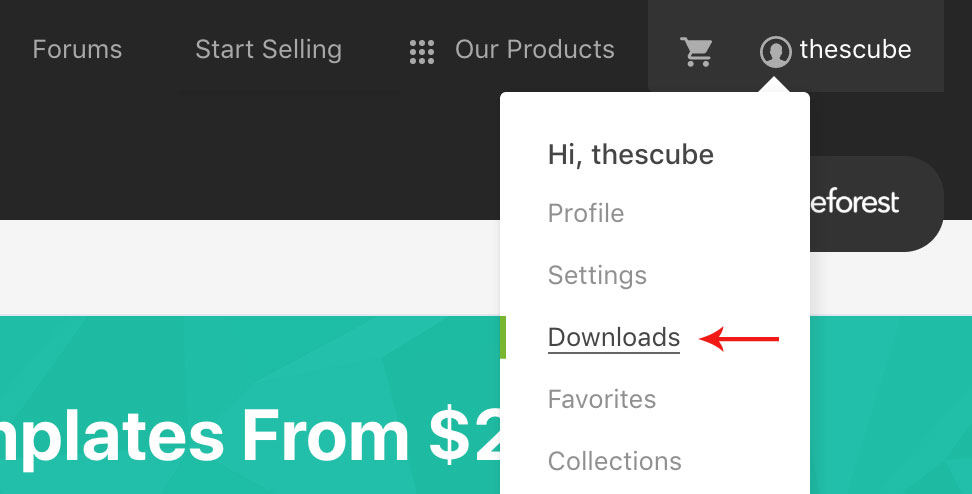
- In the upper right corner, hover over your username and click on Downloads.
- Scroll down to Outreach and click on Download All files .
- Extract the downloaded .zip file into a folder. These files will be needed for the next steps.
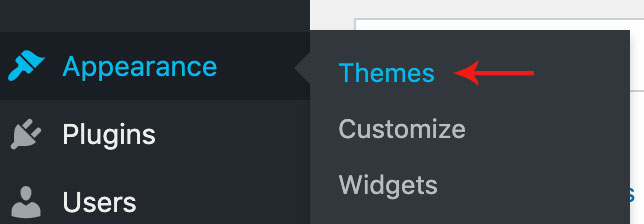
- On WordPress left menu, go to Appearance > Themes.
- Click on Add New Theme.
- Click on Upload Theme button.
- Click on Choose File button and select Outreach.zip that you have extracted from the themeforest downloaded file then click on Install Now button and wait for the install to complete.
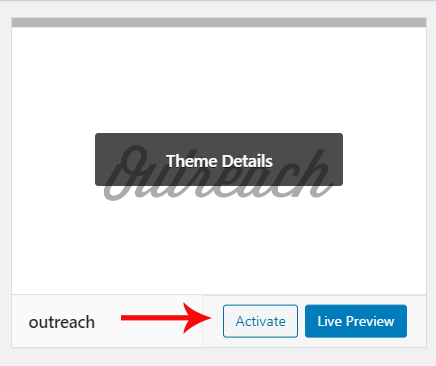
- After the theme installed successfully, click on Activate button.
- Use a FTP (for example Filezilla) to access your host web server.
- In the files browser navigate to /wp-content/themes.
- Extract Outreach.zip and Transfer it into the directory.
- Contact Form-7
- One Click Demo Import
- Option Frame Work
- Outreach Addons
- Events Calender
- When theme is activated, Notice to install the required plugins will appear on the Wordpress backend.
- Click on the Begin installing plugins link to install and then activate the plugins.
- One Click Demo Import: This plugin is used to import the demo content. It includes pages, posts, slides, media, menus and widgets. You need to install and activate this plugin to import the demo content
- Contact form 7: We used Contact form 7 (CF7) plugin to add contact form on contact page. You need to install and activate this plugin before importing the demo file Click here to see the plugin.
- Option Framework: The Option Framework Plugin makes it easy to include a full featured options panel in any WordPress theme. It’s free to use in both commercial and personal projects, just like WordPress itself.
- Outreach-Addons: This plugin is a default plugin. Outreach addons is used for adding widgets and menus. You need to install and activate this plugin before importing the demo file.
- Event Calendar: Event Calendar is the most powerful plugin to create events and organize them into calendars. Packed with loads of features, The Events Calendar by Modern Tribe is ready to go out of the box. It’s also extensible, easy to use, and completely customizable.
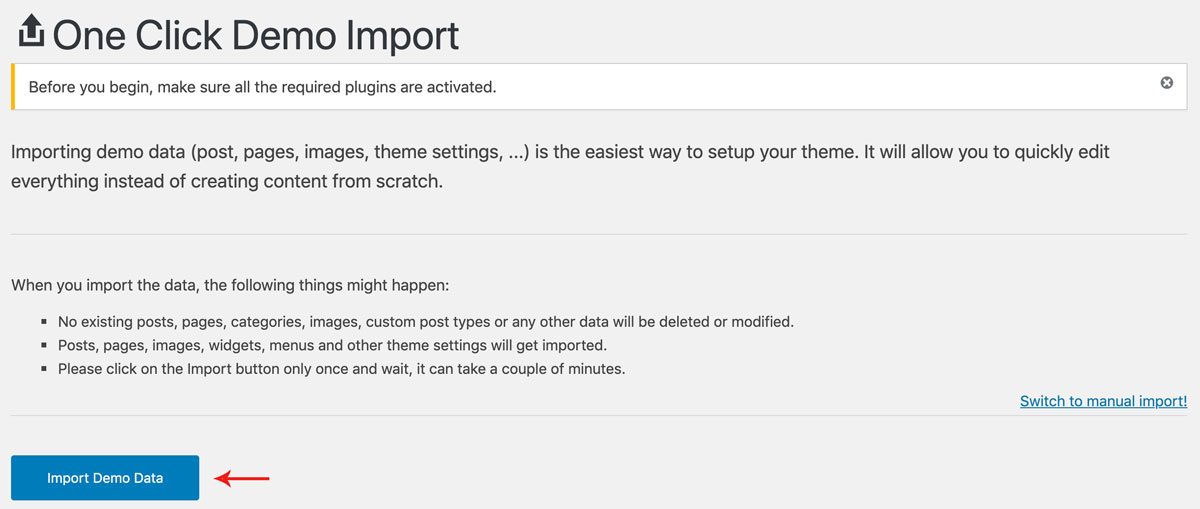
- On WordPress left menu, go to Appearance > Import Demo Data.
- On the One Click Demo Import page. Click on the Import Demo Data button only once and wait, it can take a couple of minutes to import all the demo data.
- Please be patient while importing all the content.
- It will import pages, posts, slides, media, menus and widgets.
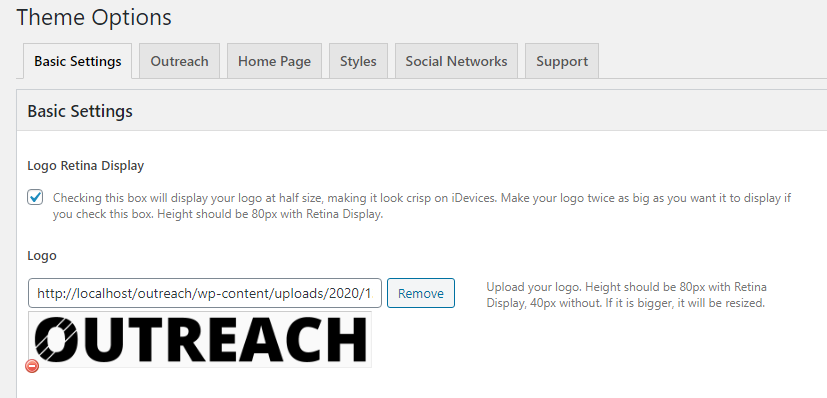
- Logo Retina Display: This enables display your logo at half size, making it look crisp on iDevices.
- Upload Logo
- Upload a favicon for the website (Browsers that provide favicon support typically display a page's favicon in the browser's address bar, sometimes in the history as well and next to the page's name in a list of bookmarks).
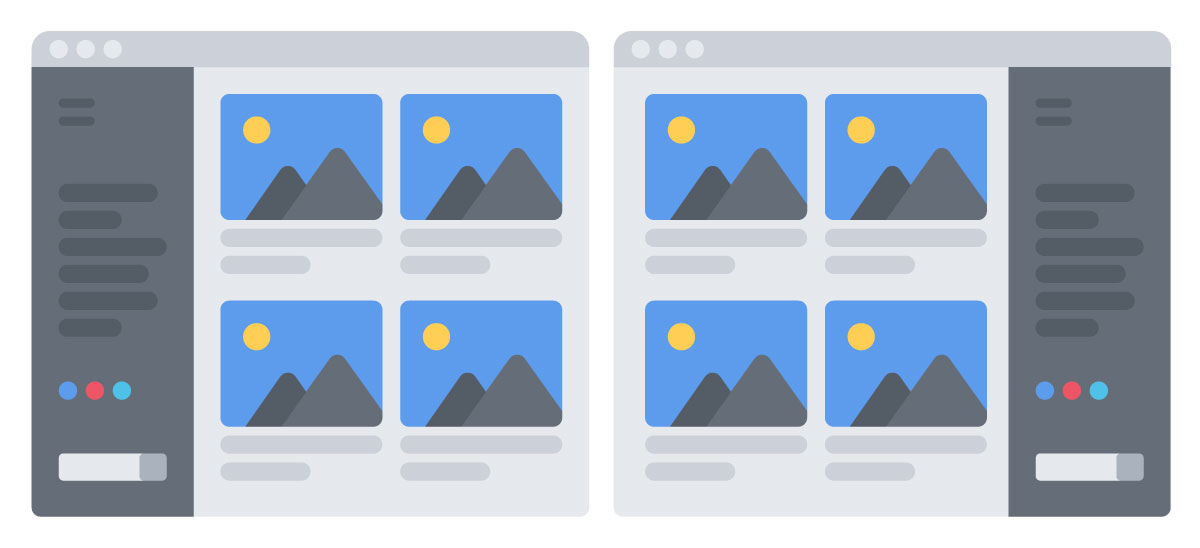
- Site Layout: Left & Right layouts. Choose the layout to set.
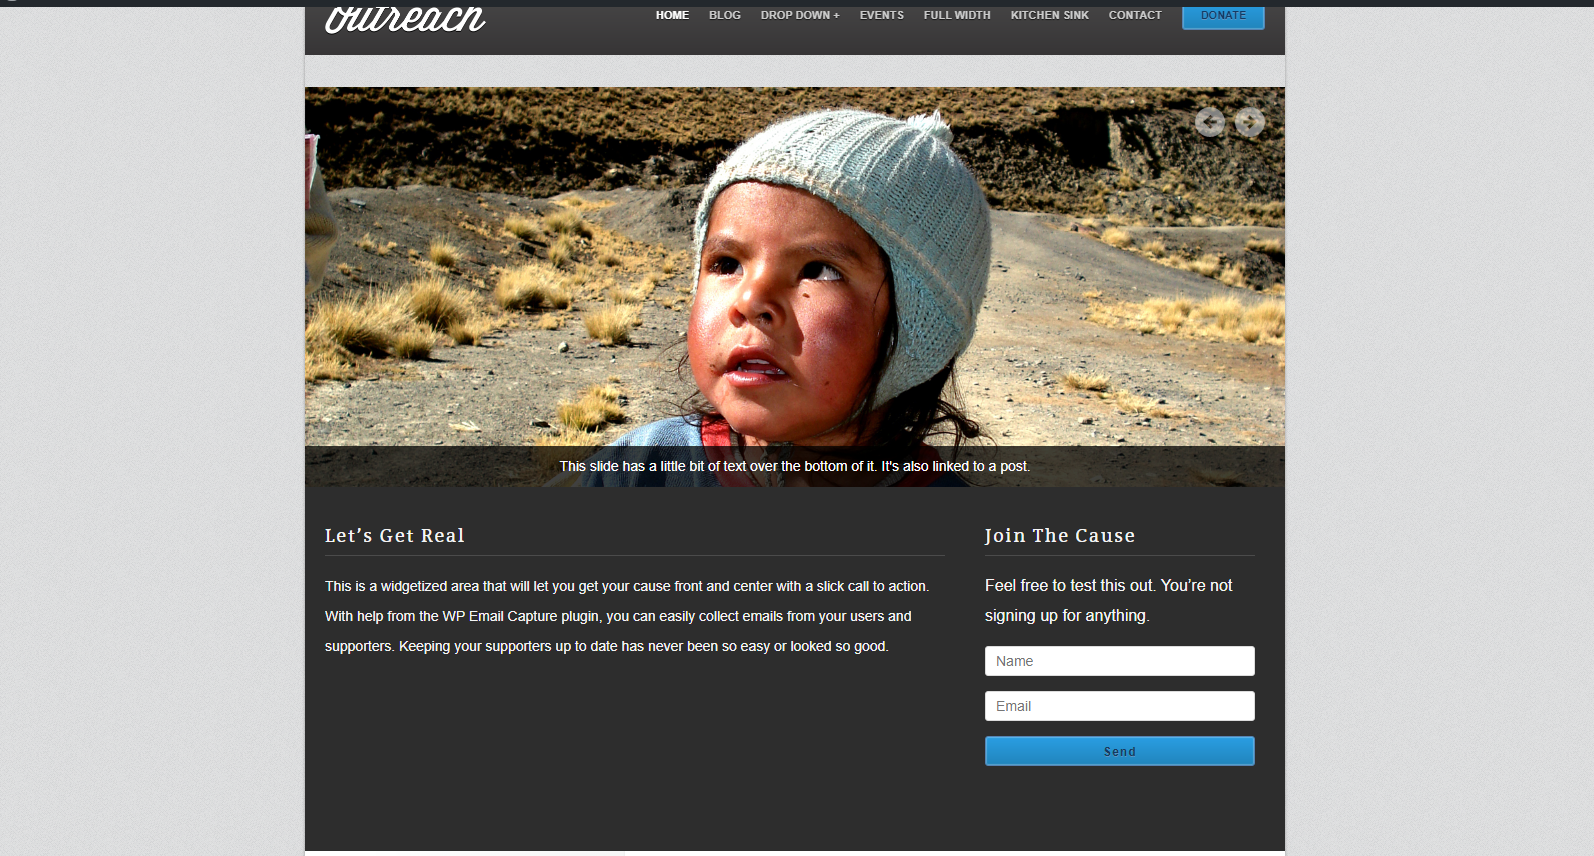
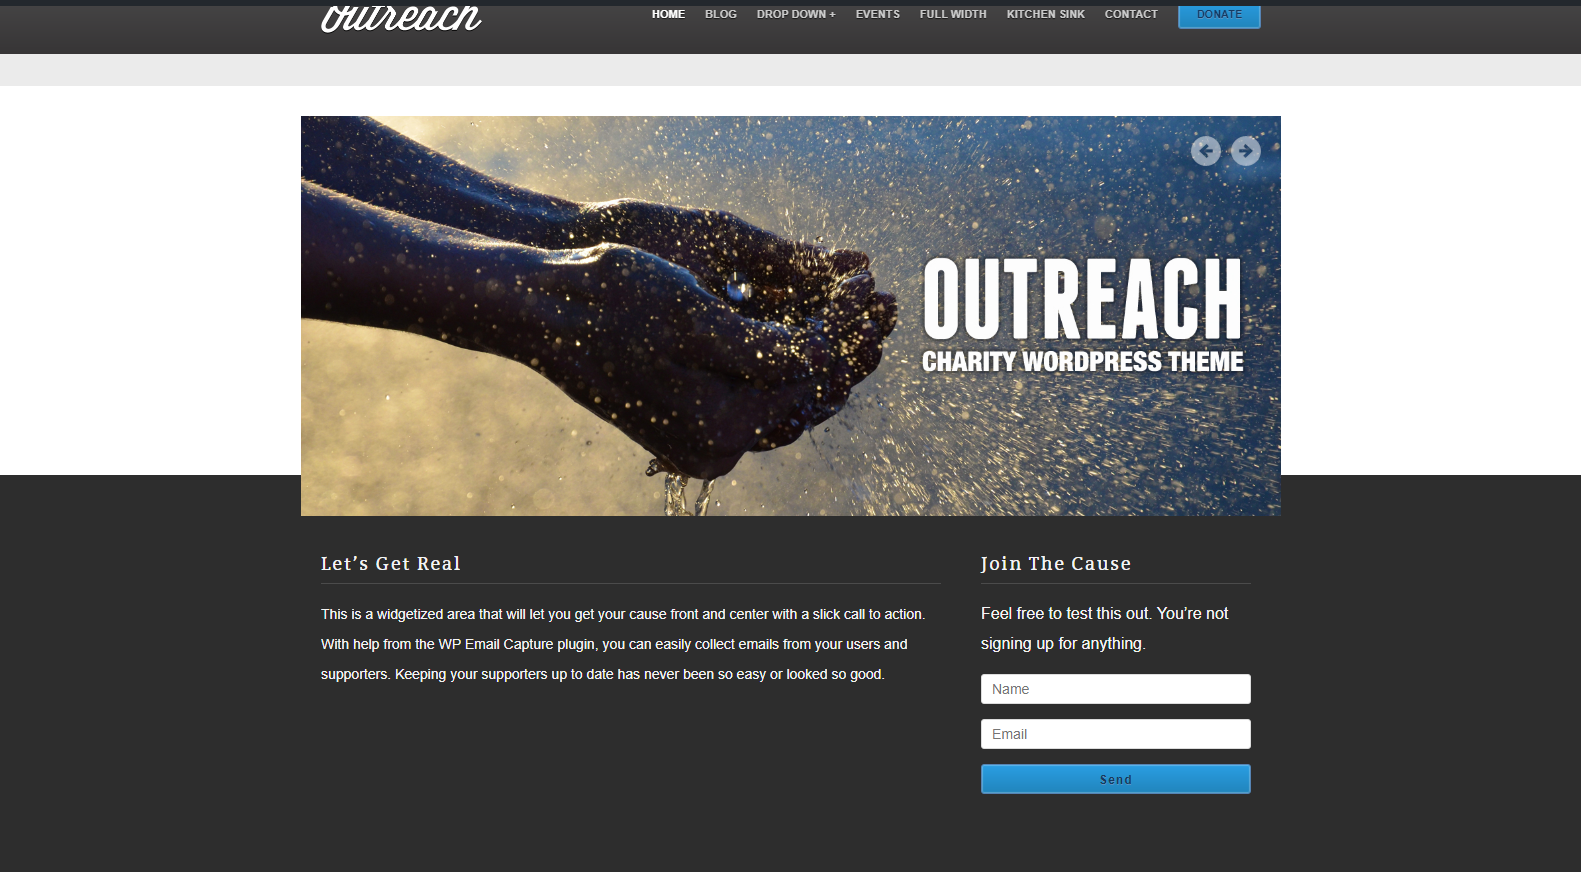
- Body Display Style: Boxed & Fullwidth style. Choose the style to set.
- Sticky Header
- Tracking Code: A tracking code is a small snippet of code that is usually implemented as HTML source code of a website. As a rule, exactly one tracking code is used for each web page and each html document. It is universal tracking with analytics. Global site tag allows for cross-channel tracking, cross-device tracking and event tracking
- Credit Where Credit Is Due: Enabling this option will give credit to the Outreach theme. It will be shows in a footer section.
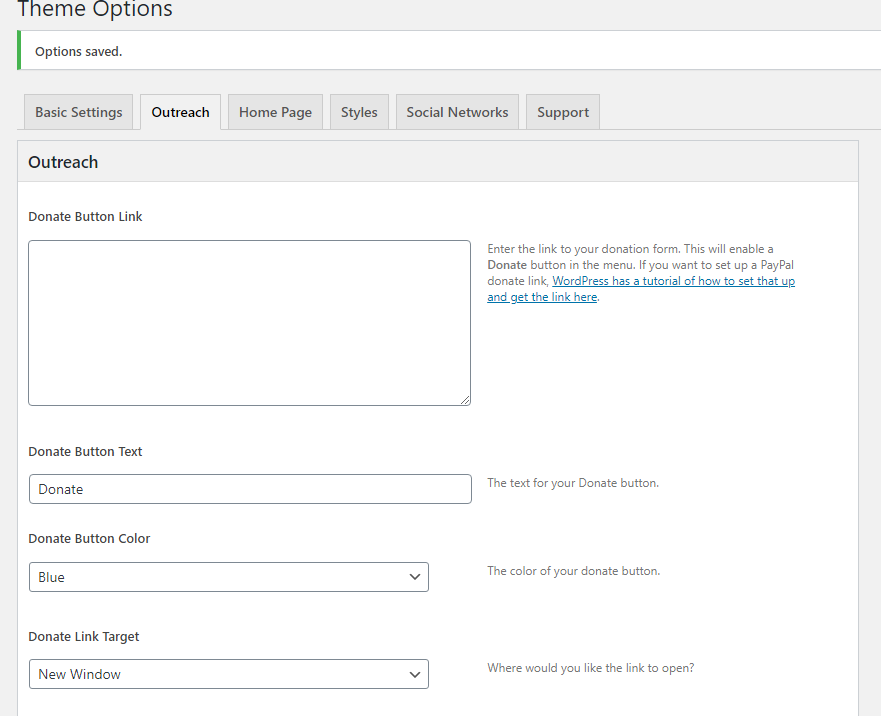
- Donate Button Link: Enter the link to your donation form. This will enable a donate button in the menu.
- Donate Button Text: The text for your Donate button.
- Donate Button Color: Color of your Donate button.
- Donate Link Target: Donate link Target is for where would you like the link to open
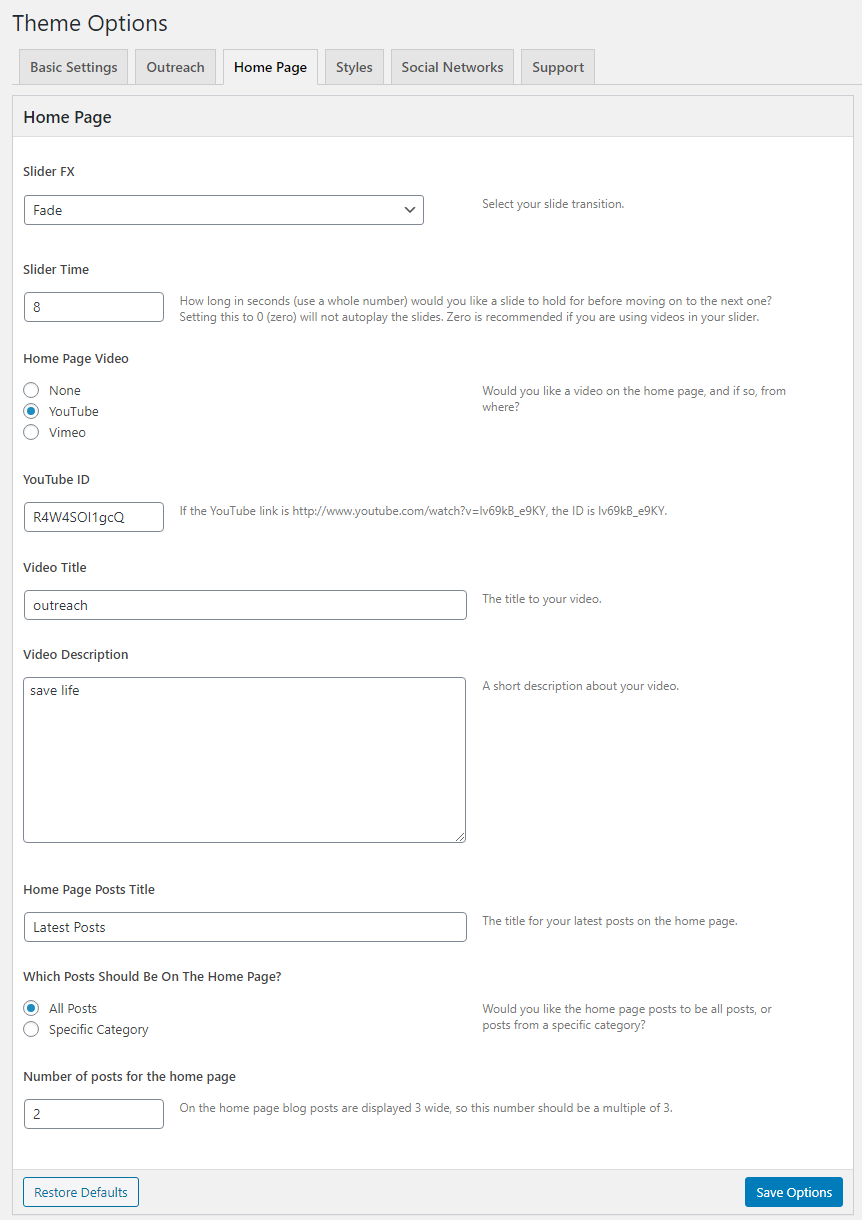
- Slider-FX: Select your slide transition.
- Slider-Time: Enter the number of seconds for the slide to display before moving on to the next slide.
- Home Page video: Select the video of your preference to appear on the home page.This home page video contains youtube and vimeo , enter video id, video title, as well as video description.
- Home Page Posts Title: The title for your latest posts on the home page.
- Which Posts Should Be On The Home Page? you can select the home page posts to be all posts, or posts from a specific category
- Number of Post for the home page: Enter the number for how many posts have to shown on the page. If used more than 4 post, 3 column layout will be used.
- Logo/Site Title: You can add logo in Appearance > Theme Options > Basic Settings tab. If the logo is not provided Site Title will be used. Click here for more information.
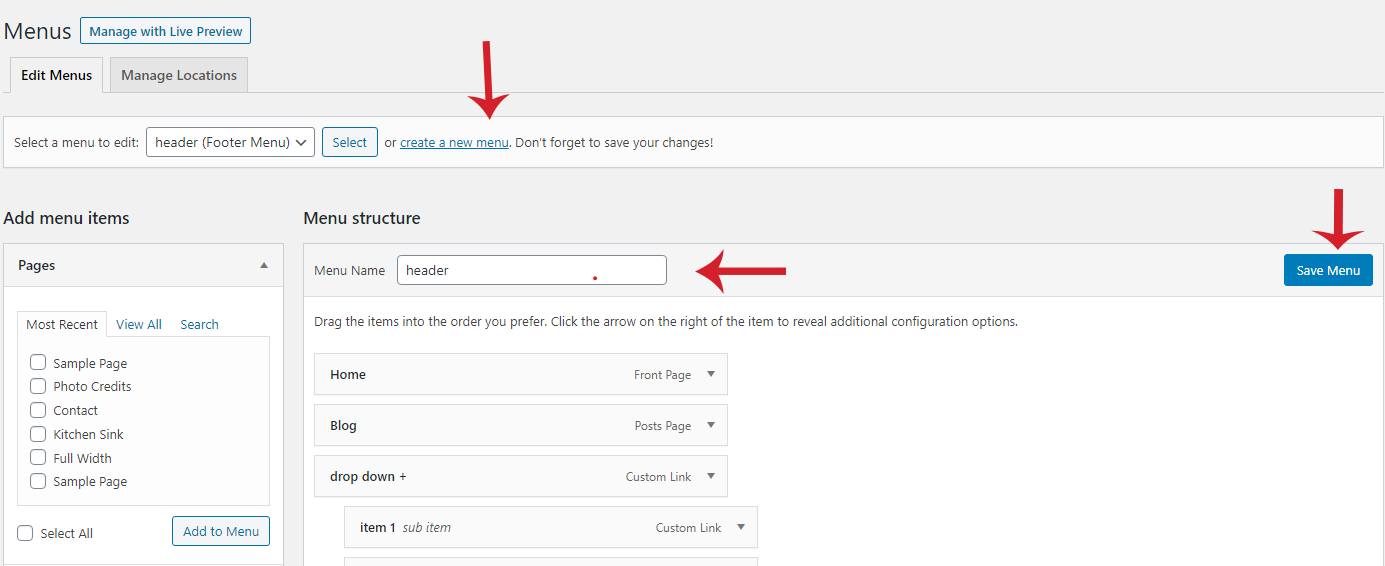
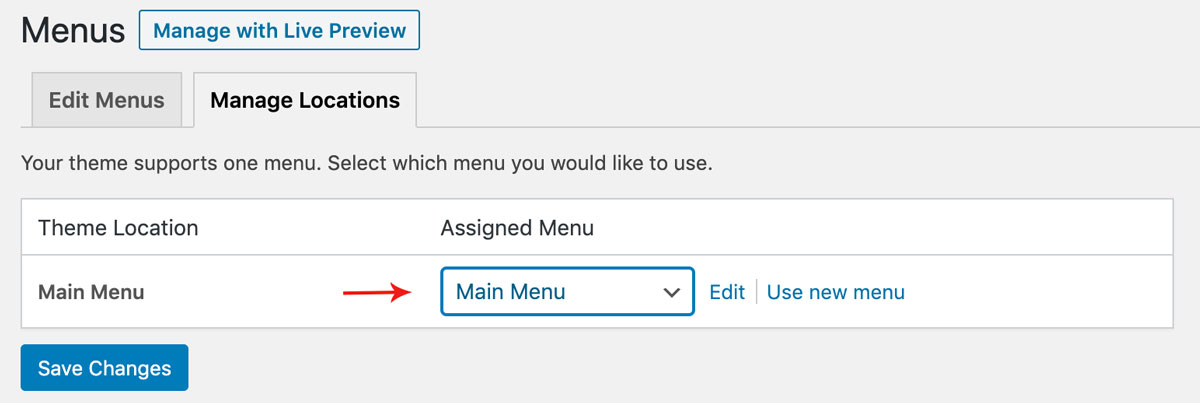
- Menu: To add header menu, Assign any menu to Main Menu Theme Location. Click here for more information.
- Button: You can add button text, link, color, link target in Appearance > Theme Options > Outreach tab. Click here for more information.
- On WordPress left menu, go to Appearance > Widgets. You can see available widgets on the left and widget areas on the right.
- Choose a Widget and either drag it to the sidebar where you wish it to appear, or click the widget, (select a destination sidebar) and click the Add Widget button.
- Wordpress has lots of widgets available to add in widget areas. Click here to know more about wordpress widgets
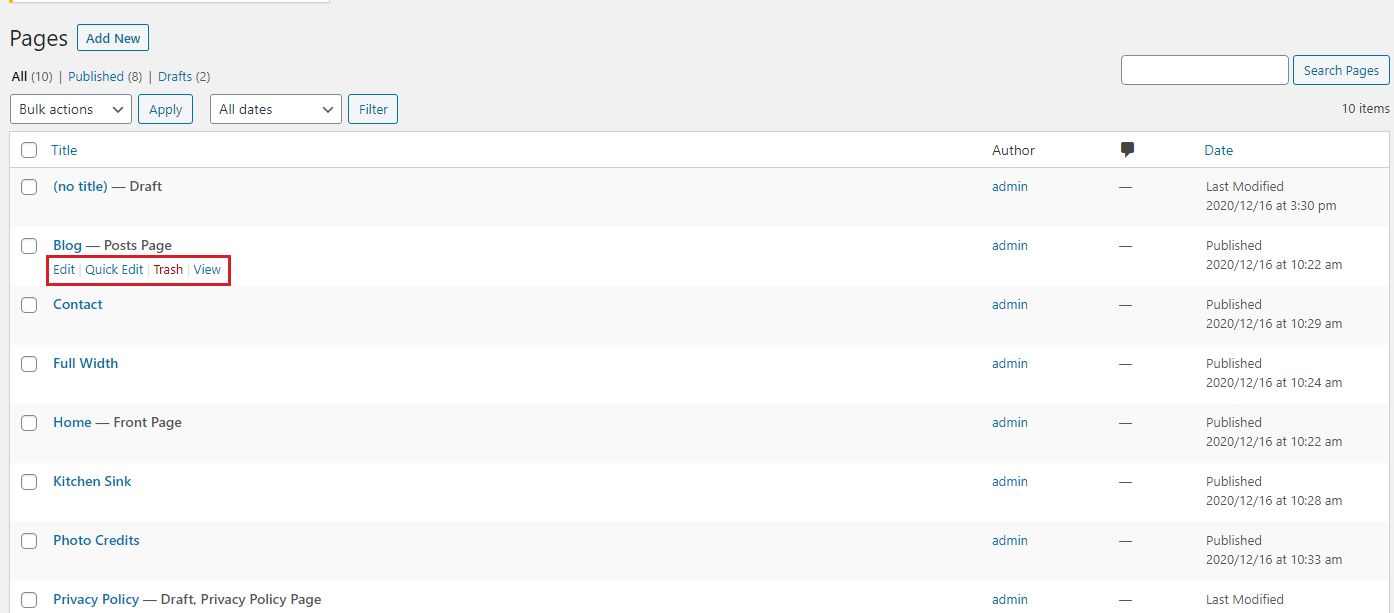
- To view/access all available pages on the website, on WordPress left menu, go to Pages. It will list all the available pages.
- If you downloaded the demo content, you can see demo pages.
- When hover on the available page on the list, you can see the options for each page.
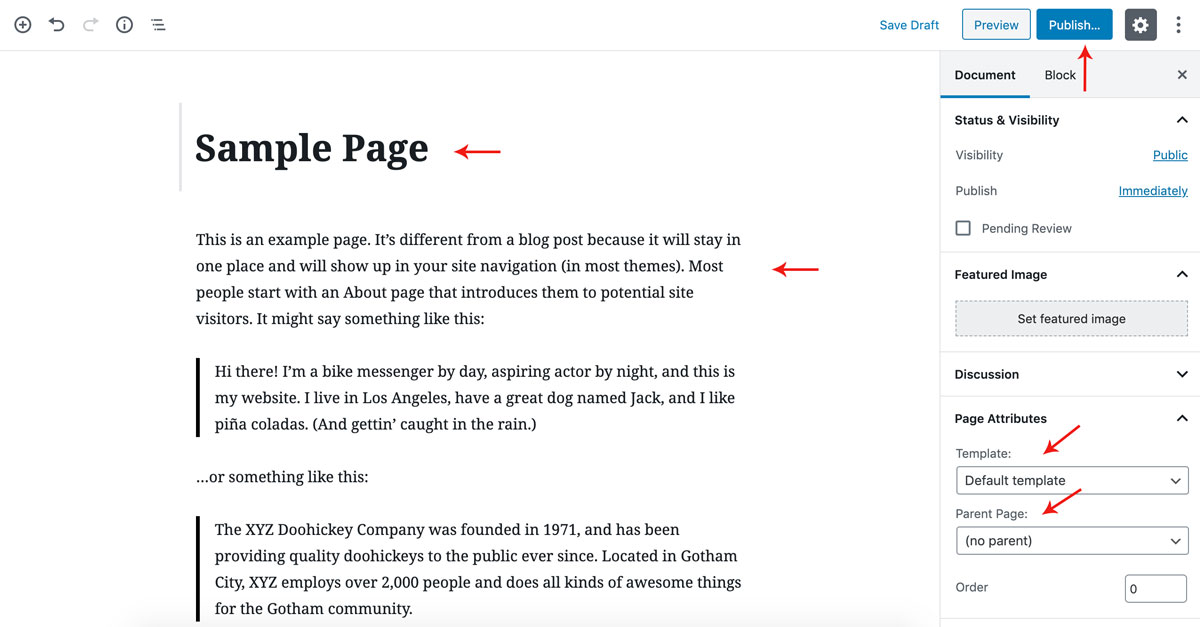
- To create a page, on WordPress left menu, go to Pages > Add New.
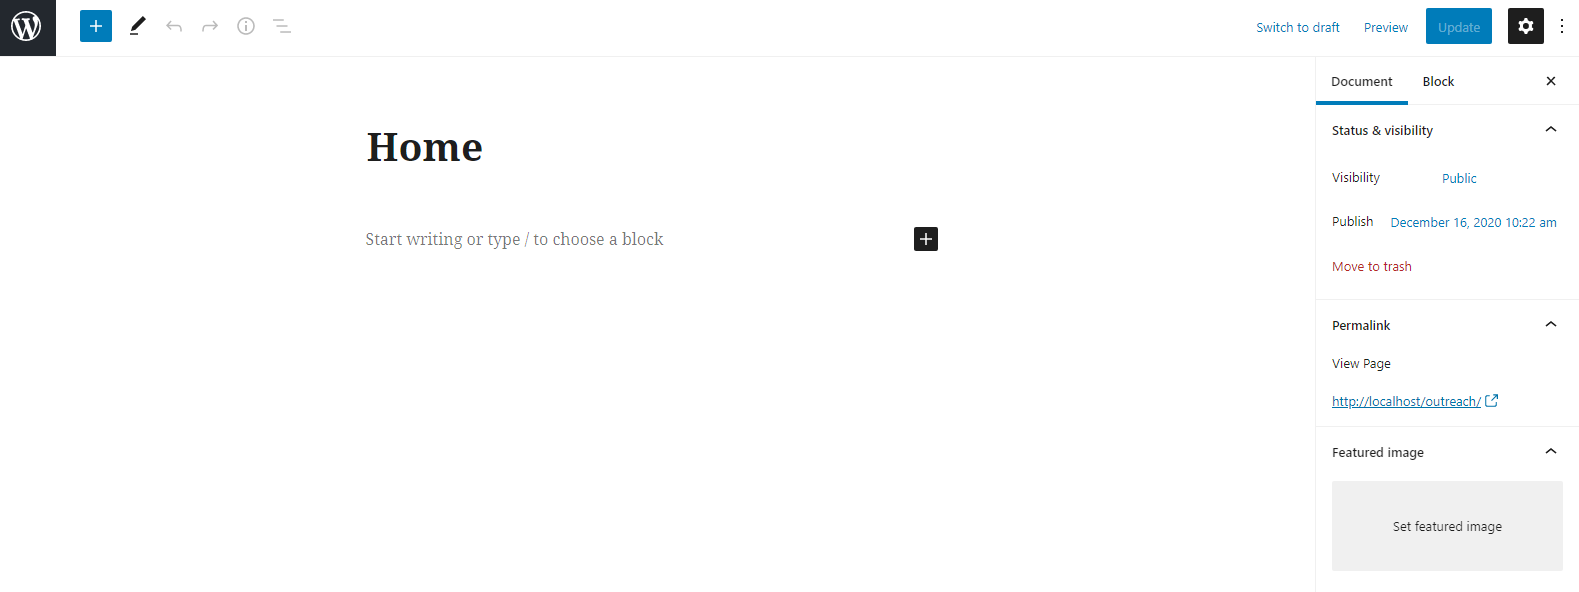
- Outreach supports Block (Gutenburg) Editor. Click here to see how to add content using Block (Gutenburg) Editor.
- Add Page title, content, choose 'page template' (if required), choose 'parent page' (if required) and publish it.
- To setup homepage, create a page, name it, choose 'Home' page template and publish the page. Click here to know how to create a page.
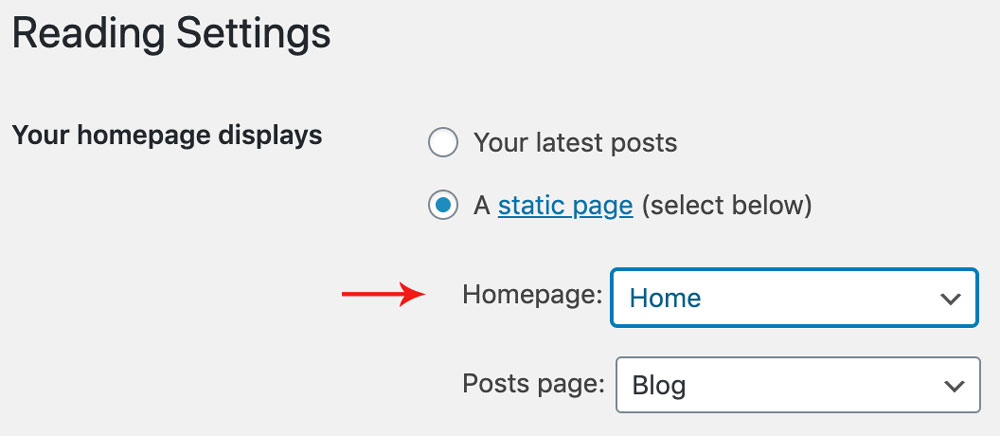
- Then on WordPress left menu, go to Settings > Reading.
- On Reading Settings page, choose 'A static page' option and select the page from the list to set as home page.
- While creating a page, you can choose the page template or you can change the page template anytime while editing the page.
- It is important to choose correct page template for each page.
- This is the default template for pages & posts.
- This template has sidebar (Left or Right). You can setup the sidebar using Site Layout option on Theme Options > Basic Settings. Click here to know more about it.
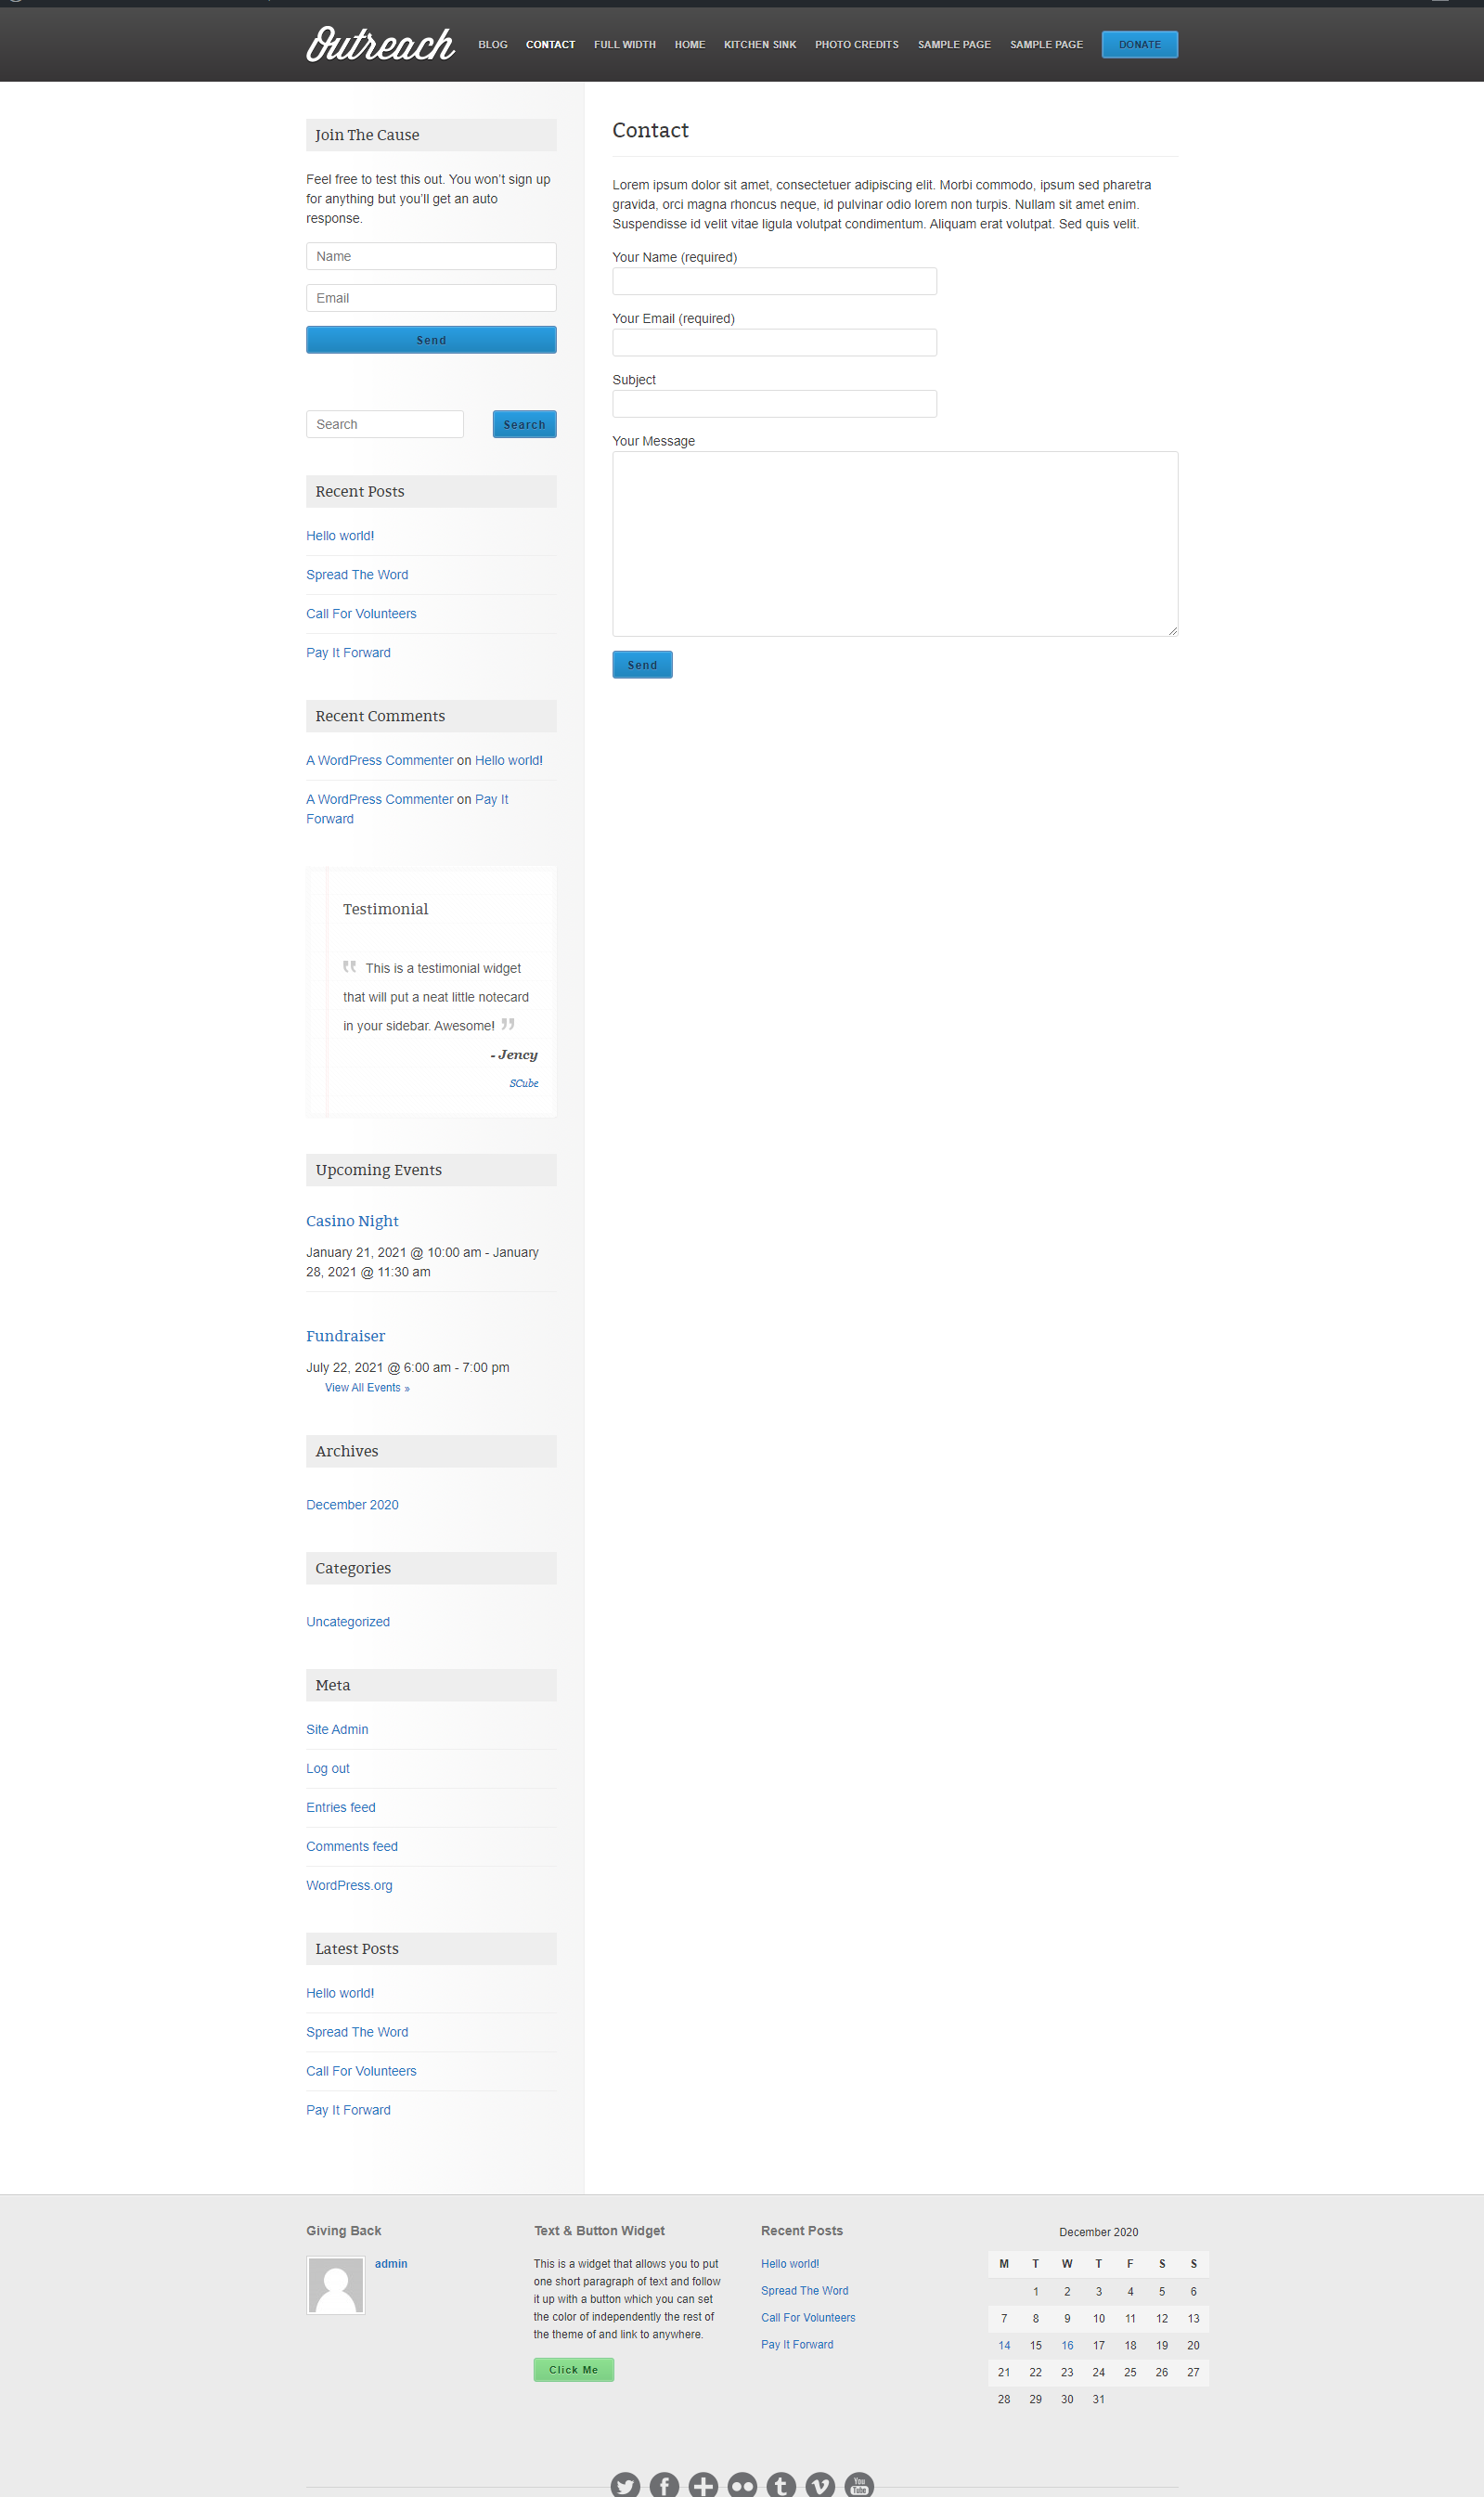
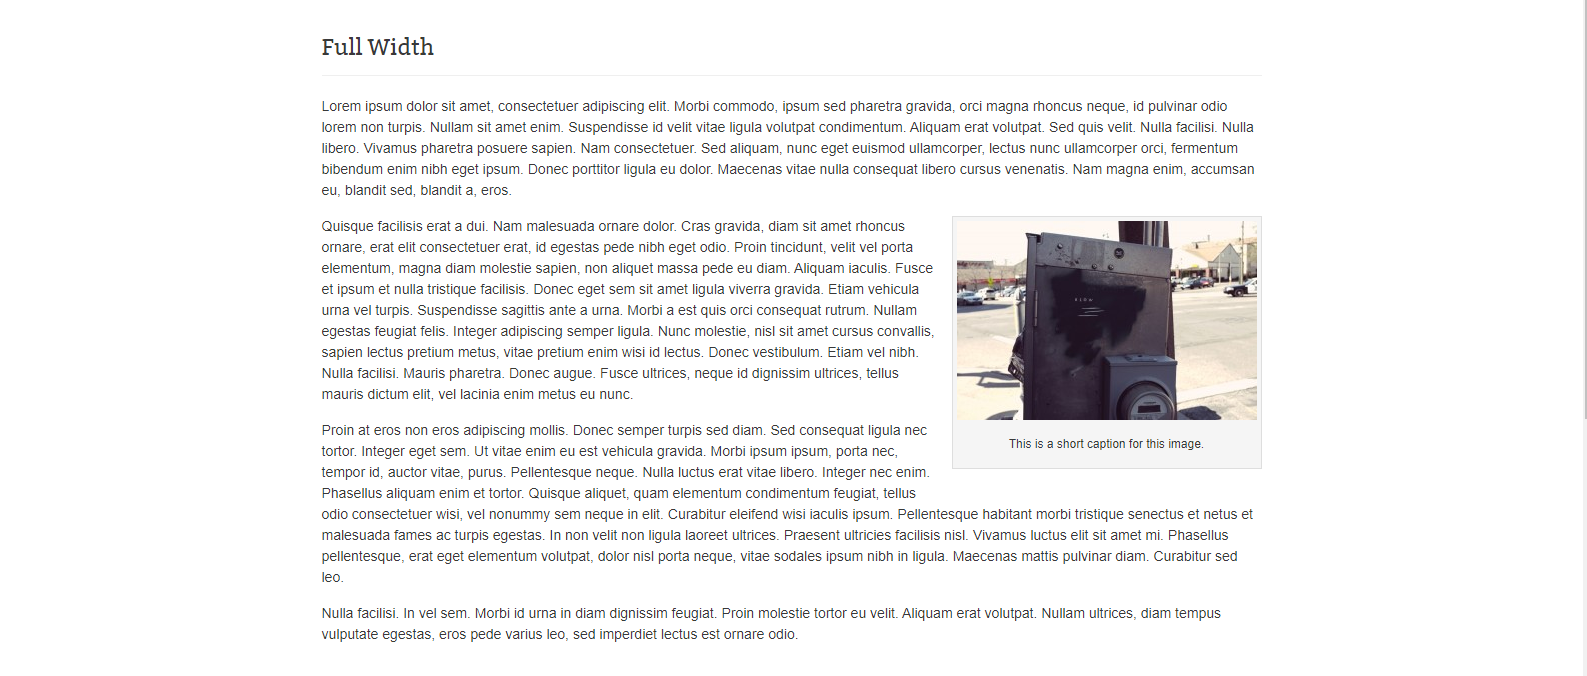
- This template has no sidebar. The content of the page is stretched to the full width of the page container.
- To create slider, On WordPress left menu, go to Slide > click on 'add new'. Set the image in featured image.
- Enter the slide text. This text is override on the bottom of the slide image (Optional).
- Link: Add the link for the above text on the slider (optional).
- Update the slider post.
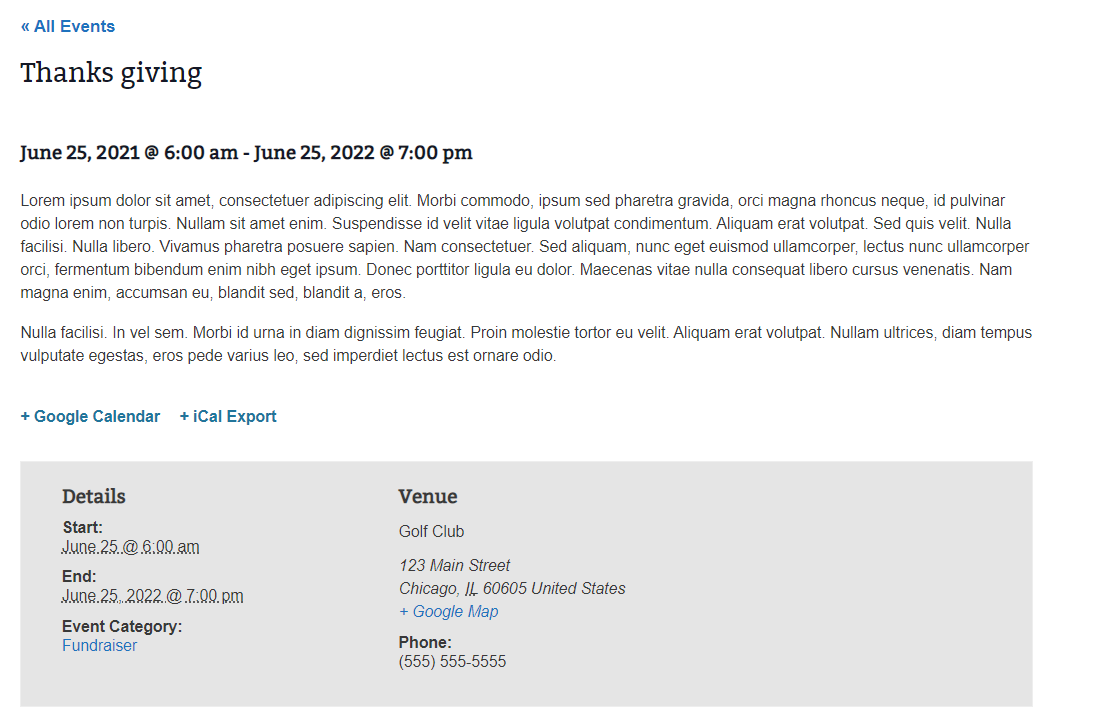
- The Events page shows the list of future programs. Add an event, by selecting the Add new button displayed below Events at the left menu or the button displayed next to the page name at top left corner.
- You have 2 options under Events, such as Event categories & Venues.
- Event Categories: This shows the list of categories you would list your events under. You can add a new categories by entering the title for the category you wish to list and then click on "Add new even category button"
- Venues: In this you will be able to view the list of locations. You can add new venue by clicking on add new button available at the top left corner. Enter the name and location details for the new venue and then select publish button available at the right side.
- How to add a new Event: Select Event from the left menu > Add new > Enter title for the event, Event Description, Event Calender & Location. Then select Event categories from the list displayed at the right side-bar > Click update button.
- To setup blog archive page, Create a page, name it and publish the page. Click here to know how to create a page.
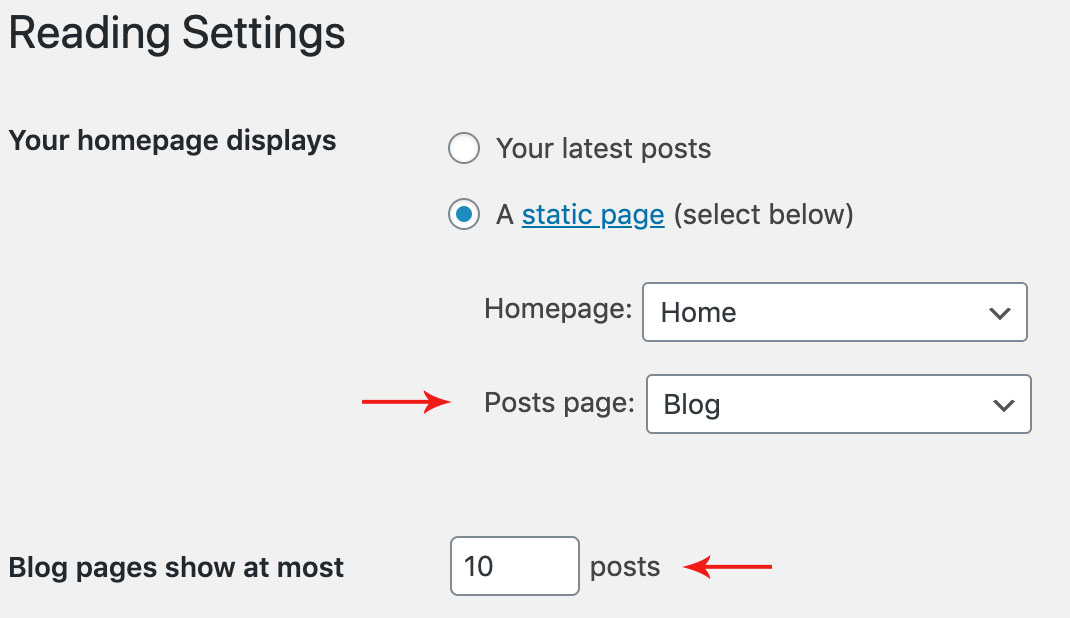
- Then on WordPress left menu, go to Settings > Reading.
- On Reading Settings page, from Posts page dropdown, select the created page.
- Then on 'Blog pages show at most' field, enter the number of posts to show on the page before pagination.
- Finally, click on the Save Changes button.
- Now you can see the page, It will show the blog archives.
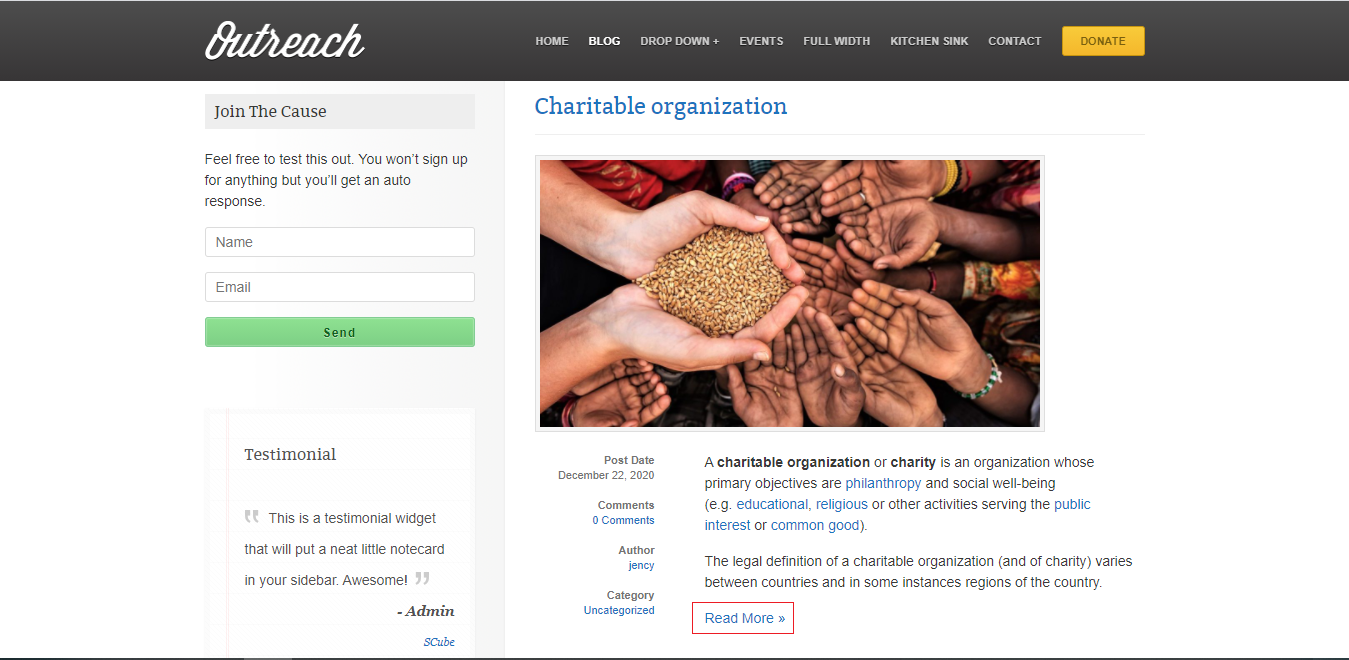
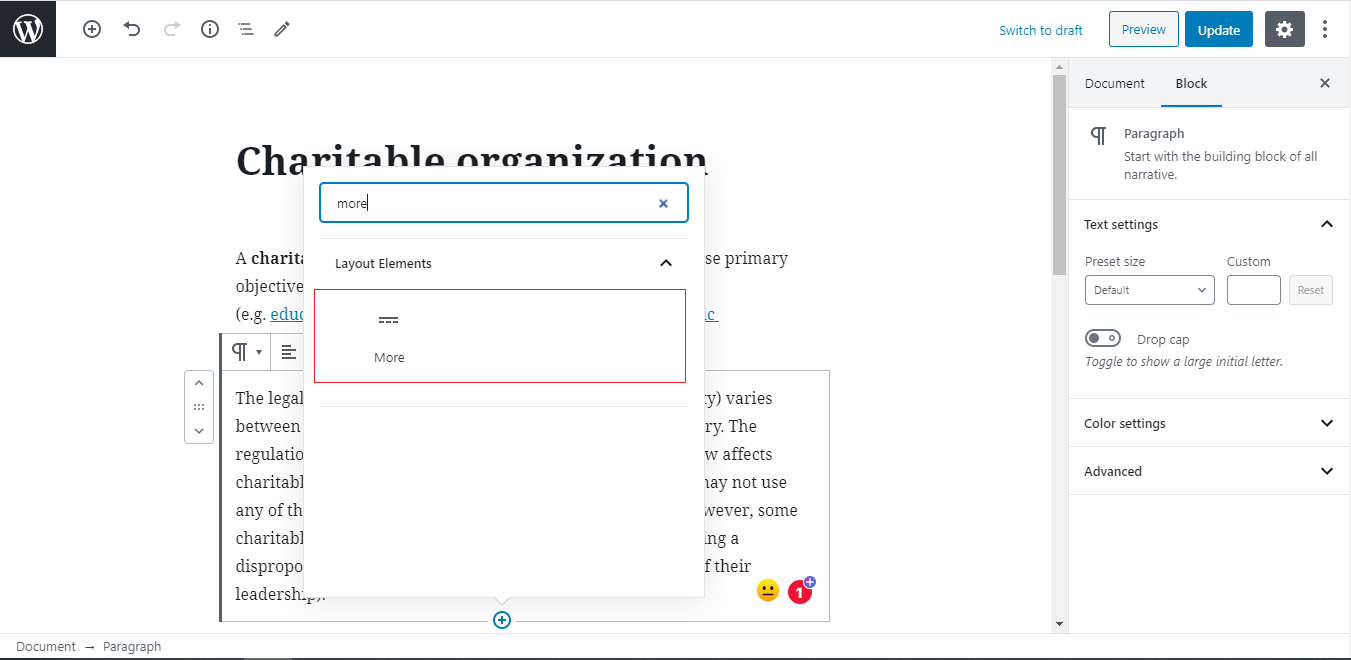
- Default, Blog Archive page shows all the content of the blog. If you need to create Read more button link
- Go to Blog Edit page. Using Block Editor (Gutenburg), you can add more block element. Finally, Update the post. Click here to know how to create a blog.
- The content above the more block element will appear on the archive page.
- Now the Read more button will be added to the archive page.
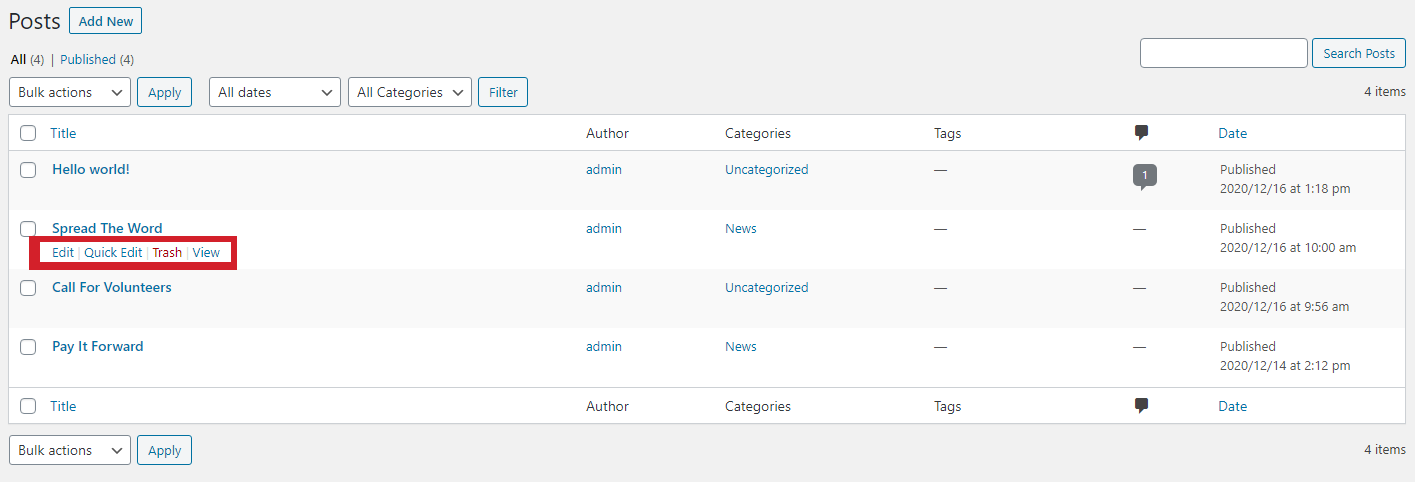
- To view/access all available post on the website, on WordPress left menu, go to Posts. It will list all the availble posts.
- If you downloaded the demo content, you can see three blogs on the backend posts page.
- When hover on the available blog (post), you can see the options for each blog.
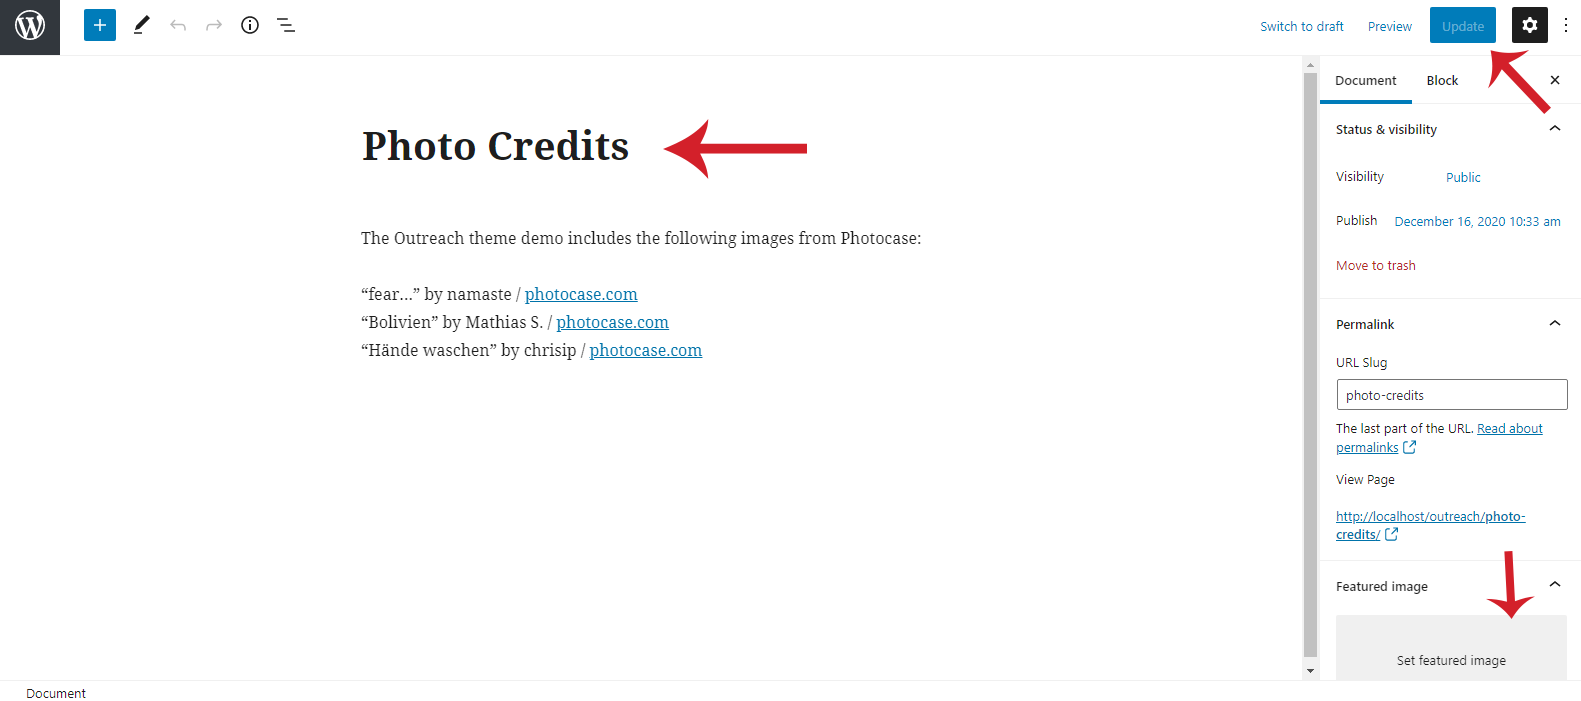
- To create a blog, on WordPress left menu, go to Posts > Add New.
- Outreach supports Block (Gutenburg) Editor. Click here to see how to add content using Block (Gutenburg) Editor.
- Add Blog title, content, featured image and publish it.
- Support for latest wordpress Version 6.7
- Customizer option issue fixed.
- Fixed envato theme check issues.
- Support for latest wordpress Version.
- Fixed style bugs and widget bugs.
- Theme style bugs and php bugs fixed.
- Envato theme check errors fixed.
- Theme demo content added. Now you can easily import demo content using one click demo import plugin.
- Theme required plugins notifications added.
- Theme options will also be imported while importing demo content.
- Theme bug and Wordpress bug updated.
Installing The Theme
There are few methods to upload and install a theme on your WordPress website. We explain about two easy installation methods here.
Installing through WordPress
Uploading Through FTP
Alternatively, you can upload the theme through file transfer protocol. Keep in mind that this will only upload the theme to your website, it will not activate it.
Installing The Child Theme
If you plan on customizing and editing the theme’s files, it is always recommended to install a child theme. Having child theme guarantees that your changes will not be deleted on each update of the theme and they will stay intact.
Use the same process of Installing the theme to install the child theme.
Install Required Plugins
After successfully activated the child theme. Its important to install and activate the required plugins for the theme.
There are five plugins required for Outreach theme [version 2.3]
Install & Activate Required Plugins
Theme Recommended Plugins
Import Demo Content
When you first install Outreach, it won’t contain all the extra content that you might have seen in the live demo. Before importing the content make sure all the plugins are installed and activated. One Click Demo Import plugin is used to import the demo content.
Steps
Theme Options Setup
Theme Options is the main section of Outreach, which you can use to change your global settings for your website. You can access theme options on WordPress left menu, go to Appearance > Theme Options.
Basic Settings
1. Boxed Style:
2. Fullwidth Style:
If you choose 'yes' Header menu is stick to the top of the header as the user scroll down the site.
If you choose 'No' Header menu is not stick on the top of the header.
Outreach
This section has outreach style settings of the website.
Home Page
This section has home page style settings of the website. Do home page setting and finally save the options.
Home Page Settings
Header
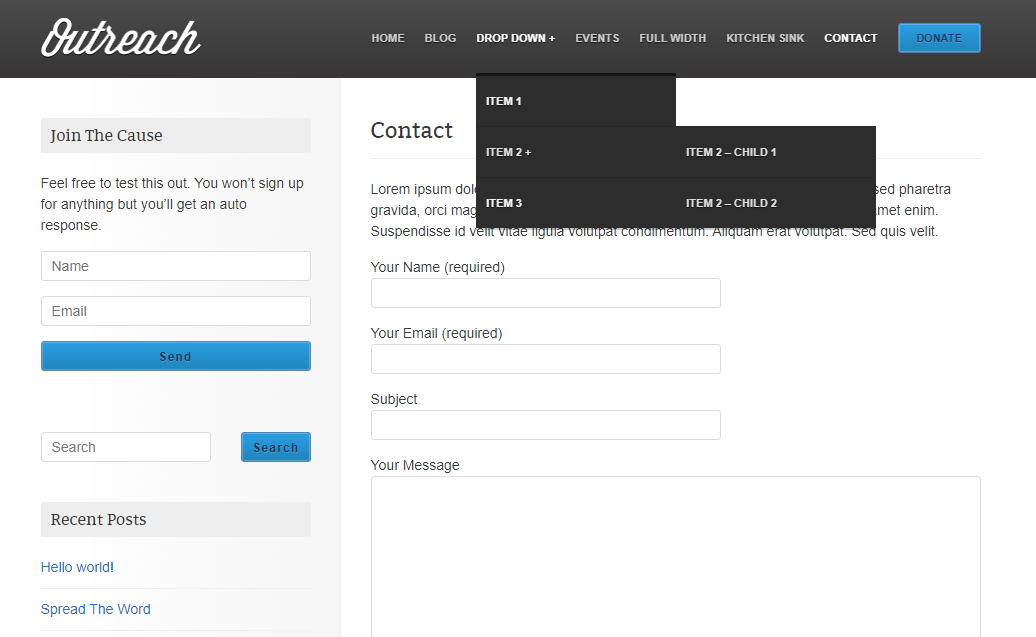
Outreach header consists of 3 items: Logo/Site Title ,Menu & Button
Widgets
How to Add Widgets
Available Widgets
Widget Areas
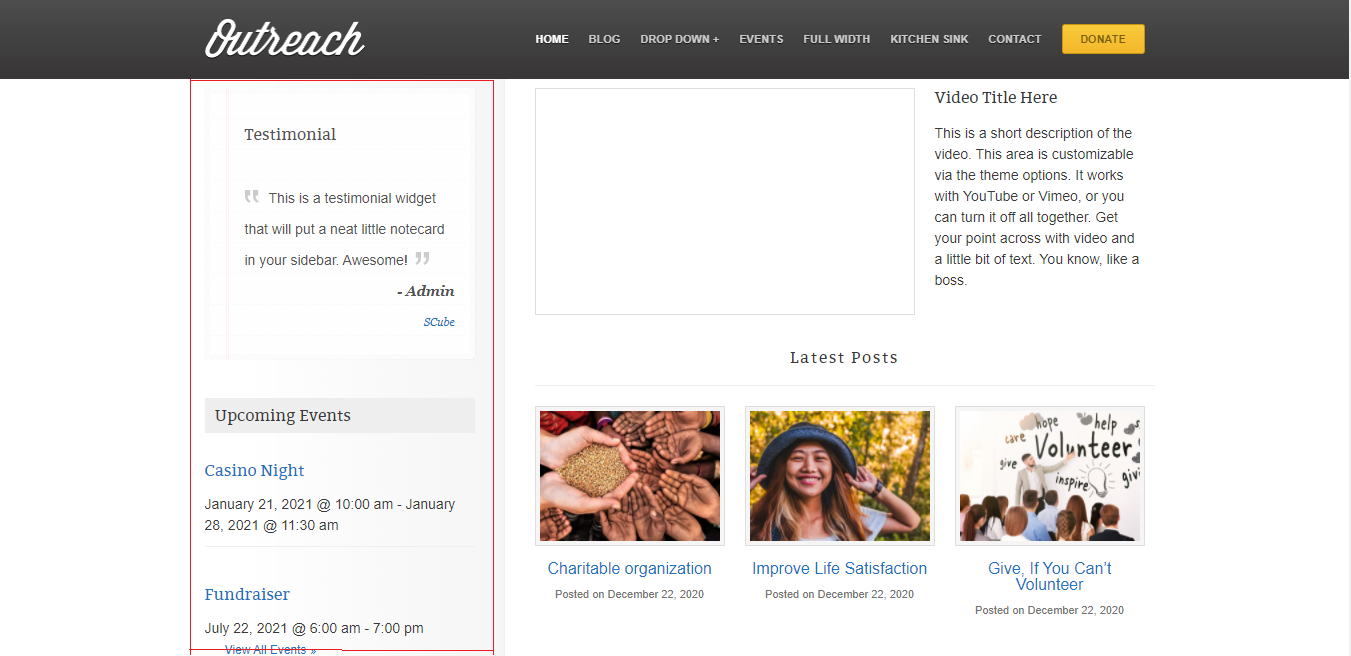
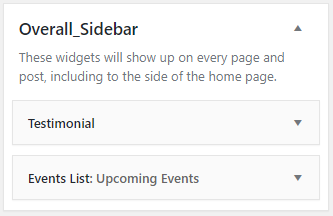
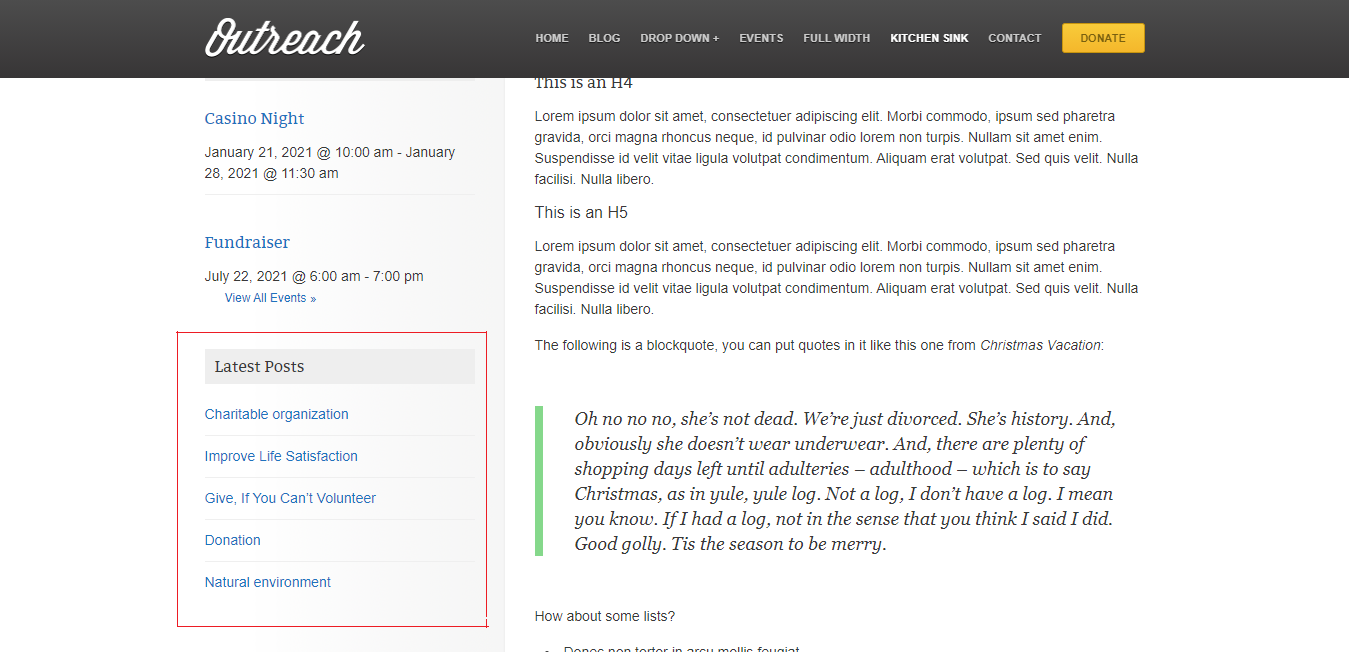
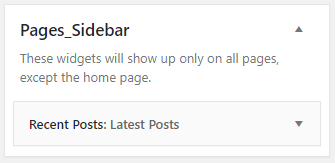
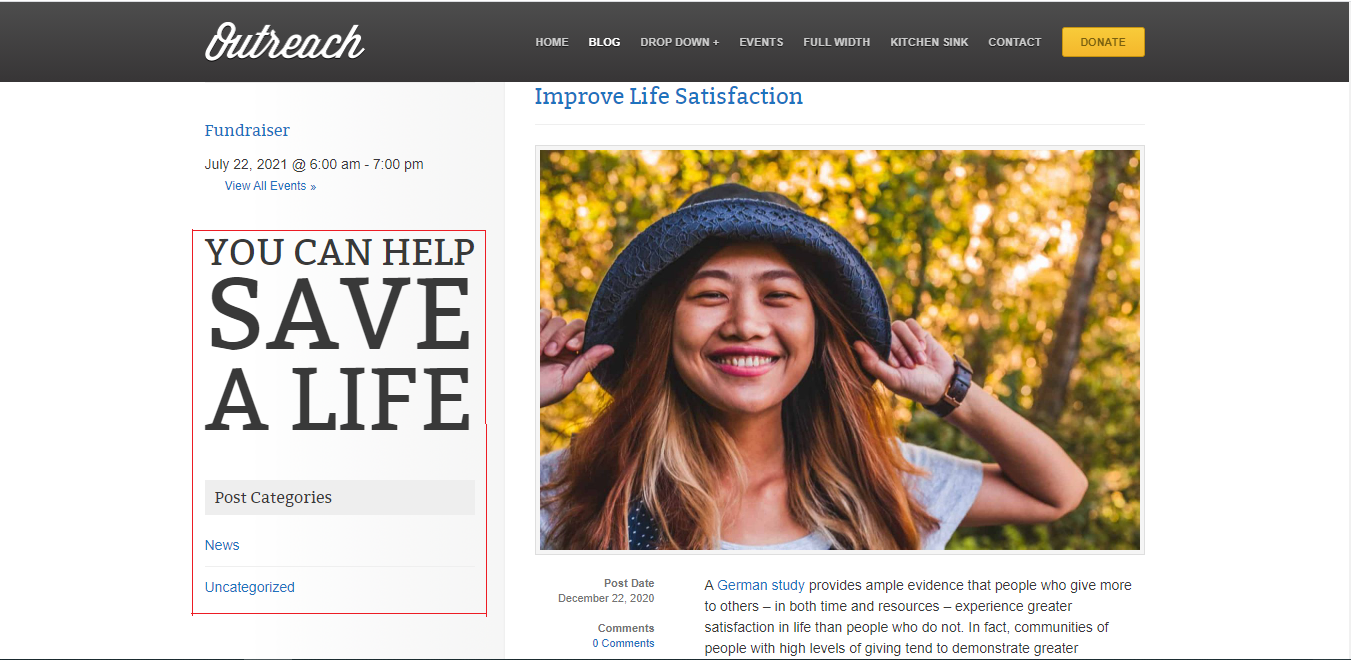
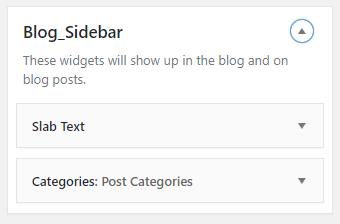
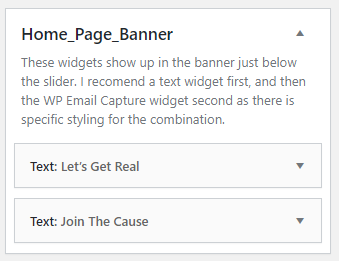
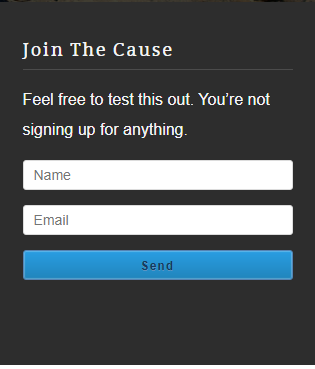
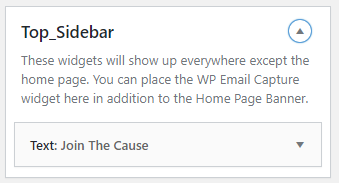
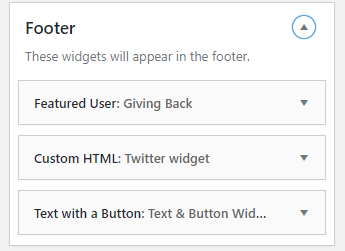
Stored provides Six widget areas: Overall sidebar, Page sidebar, Blog Sidebar, Home Page Banner, Top Sidebar & Footer.
Pages
How to Create a Page
How to setup Homepage
Page Templates
Outreach provides 2 page templates. They are Default & fullwidth templates.
How to setup Page Template
Default Page Template
Full Width Page Template
Slides
Slider is used for a slideshow added into a web page.
Events
Blogs
Blog Archive
How to setup Blog Archive page
How to add Read more Button
Blog Single
How to Create a Blog
Changelog
Version 2.5 (November 2024)
Bug fix:Version 2.4 (December 2022)
Bug fix:Version 2.3 (February 2021)
Bug fix:Version 2.0.0 (September 2020)
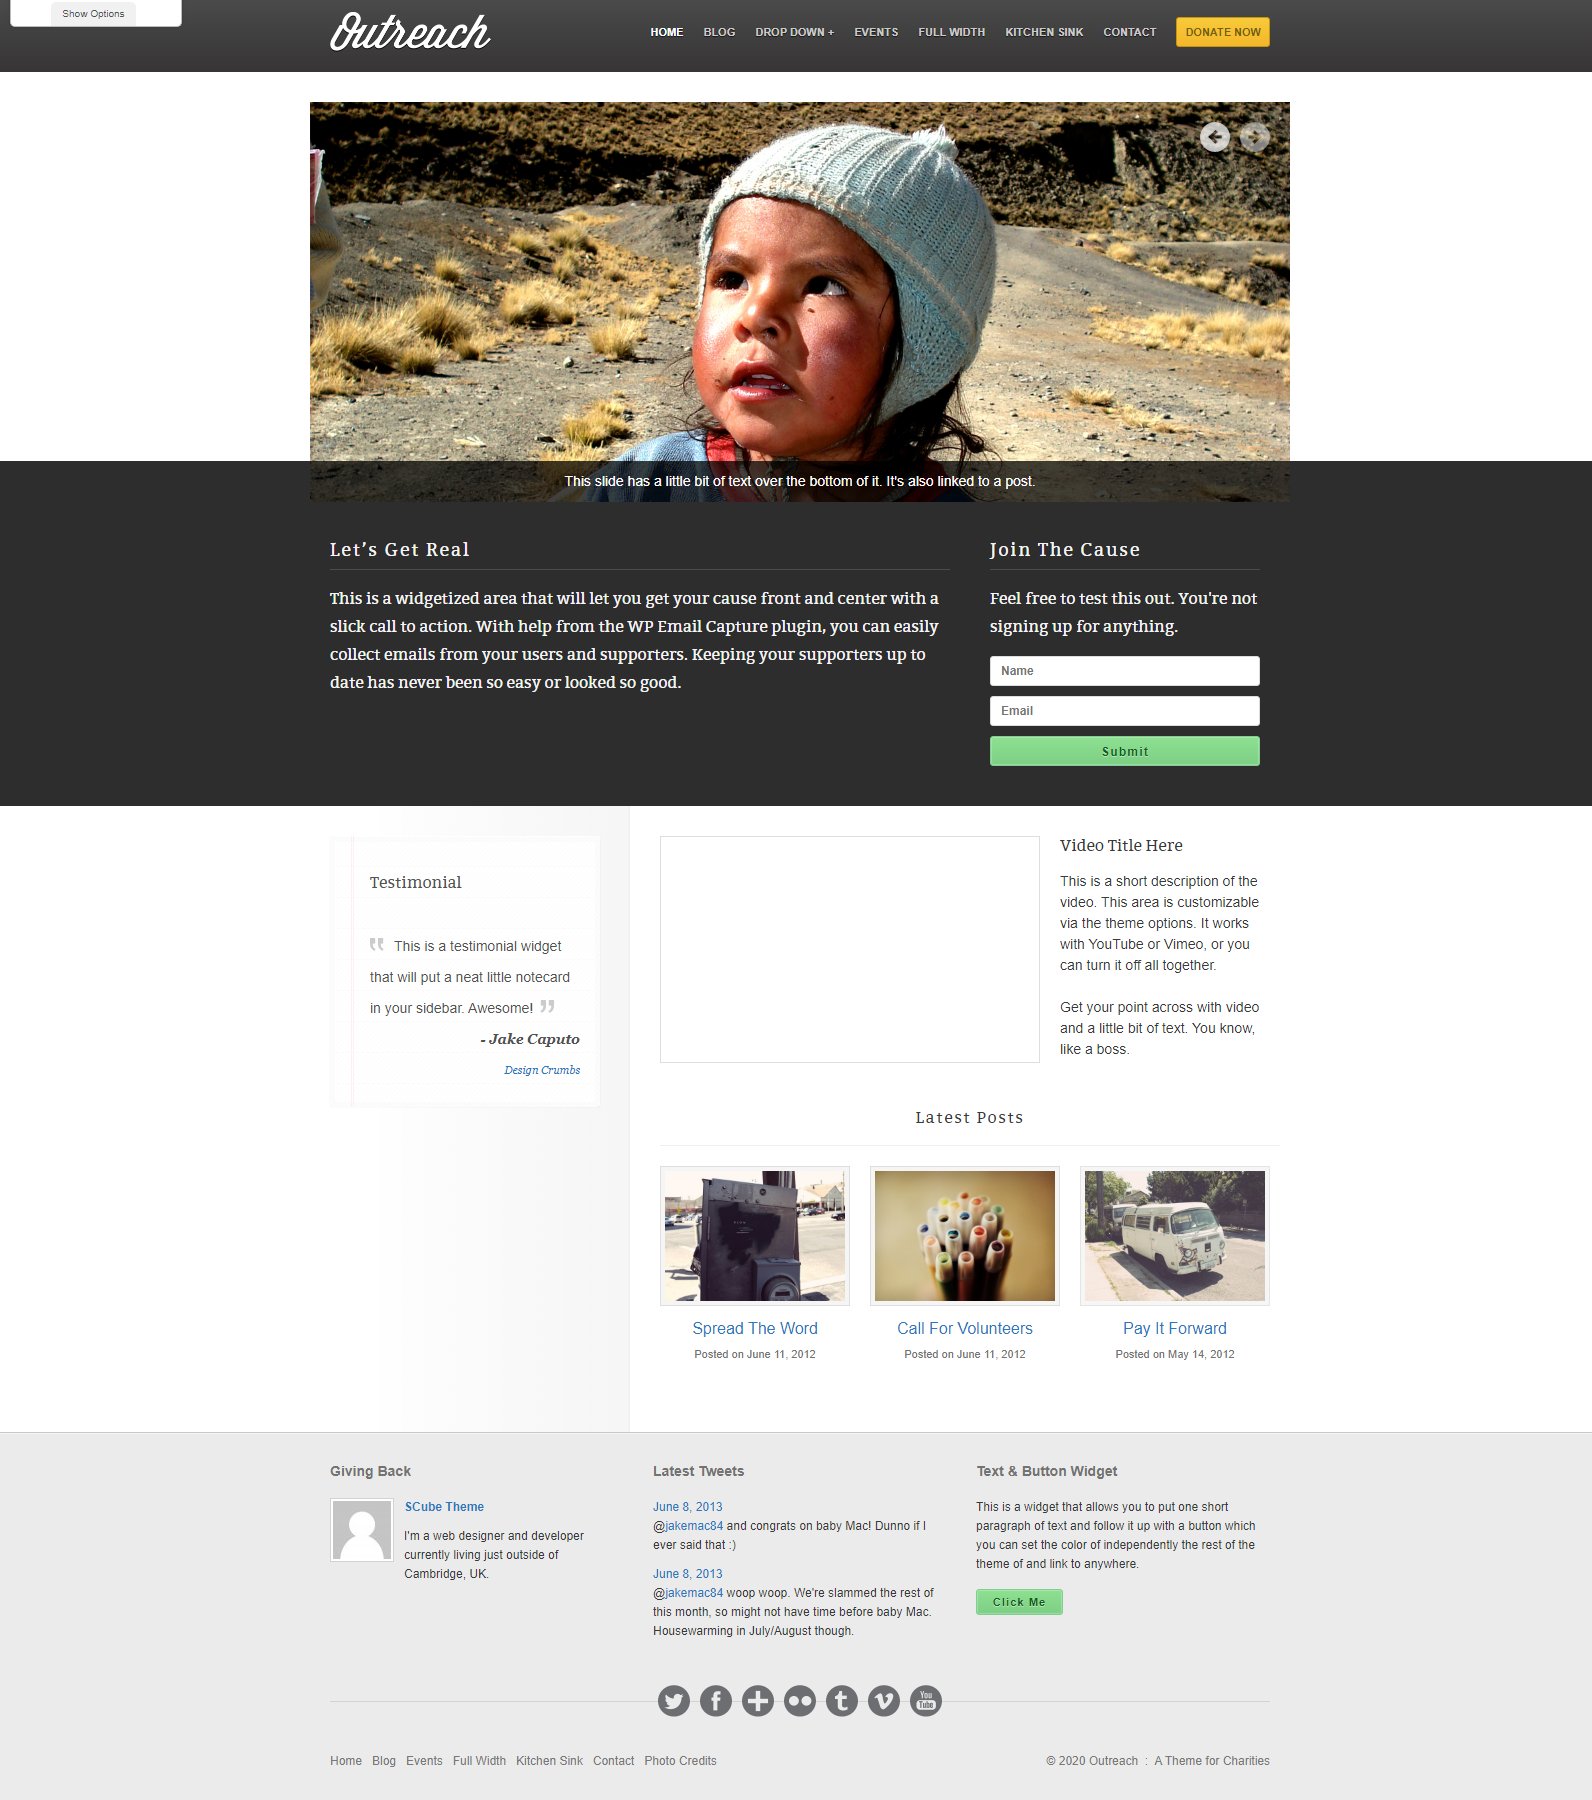
Bug fix:Outreach- Theme for Charities
Outreach is a theme that's made with non-profits and charity organizations in mind. The Events Calendar and Events Calendar Pro plugin to display all of your upcoming events.
Thank you for purchasing the theme. We provide support for all of our themes at https://www.scube.co/support/, but please make sure you read this documentation in it's entirety first.
Thanks again!












Social Networks
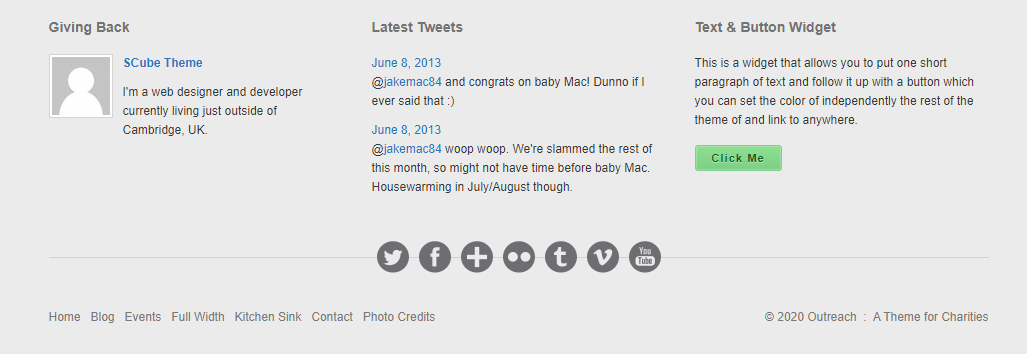
The information in this section will be displayed on the Footer.