Notably WordPress Theme Documentation
- Created On: 7/8/2014
- Last Changed: 10/12/2019
- Current Version: 2.0.0
- Developed By: Scube Themes
- Theme Support: https://www.scube.co/support/
Introduction
Notably is a mobile first, fully responsive, all around awesome WordPress theme for bloggers of all shapes and sizes. It’s straightforward, beautifully styled and you can make the theme your own by simply using the WordPress Theme Customizer. That’s right, no complicated Theme Options to wade through here.
Thank you for purchasing the theme. We provide support for all of our themes at https://www.scube.co/support/, but please make sure you read this documentation in it's entirety first. Thanks again!
Theme Installation
Download Theme
At first, you need to download Notably theme from ThemeForest website.
To download the theme:
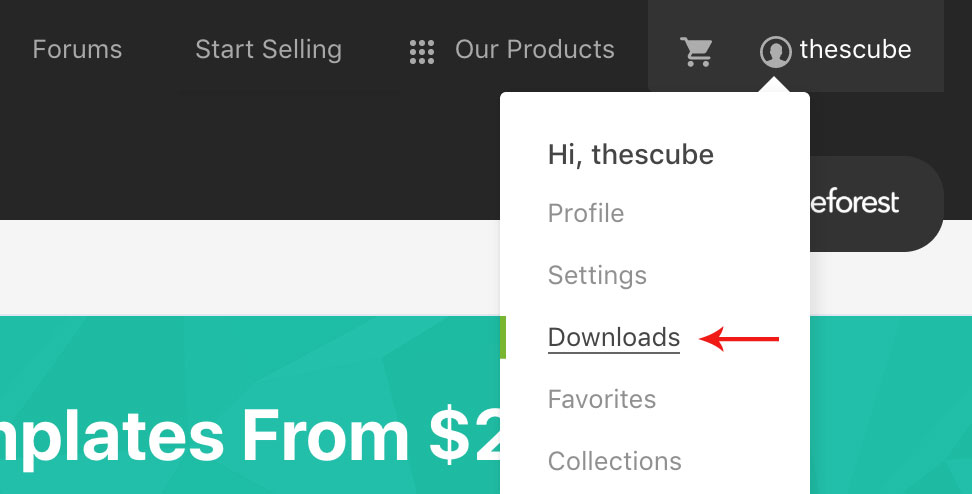
- Go to ThemeForest and login into your account.
- In the upper right corner, hover over your username and click on Downloads.
- Scroll down to Notably and click on Download All files .
- Extract the downloaded .zip file into a folder. These files will be needed for the next steps.
Installing the Theme
There are few methods to upload and install a theme on your WordPress website. We explain about two easy installation methods here.
Installing through WordPress
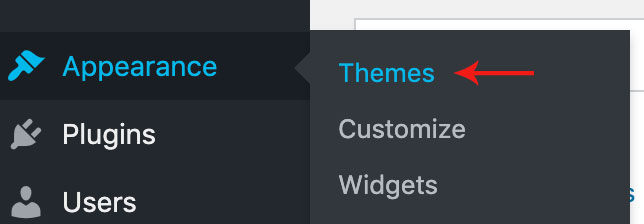
- On WordPress left menu, go to Appearance > Themes.
- Click on Add New Theme.
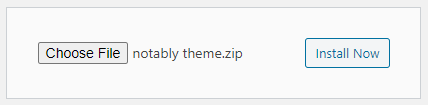
- Click on Upload Theme button.
- Click on Choose File button and select Notably.zip that you have extracted from the themeforest downloaded file then click on Install Now button and wait for the install to complete.
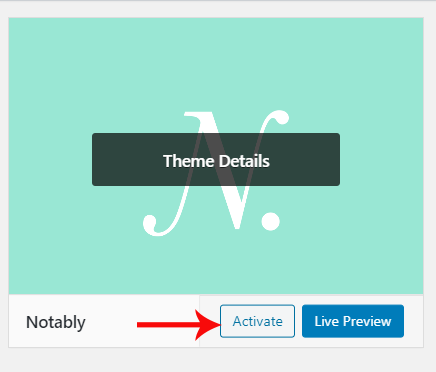
- After the theme installed successfully, click on Activate button.


Uploading Through FTP
Alternatively, you can upload the theme through file transfer protocol. Keep in mind that this will only upload the theme to your website, it will not activate it.
- Use a FTP (for example Filezilla) to access your host web server.
- In the files browser navigate to /wp-content/themes.
- Extract Notably.zip and transfer it into the directory.
Installing The Child Theme
If you plan on customizing and editing the theme’s files, it is always recommended to install a child theme. Having child theme guarantees that your changes will not be deleted on each update of the theme and they will stay intact.
Use the same process of installing the theme to install the child theme.
Install Required Plugins
After successfully activated the child theme. Its important to install and activate the required plugins for the theme.
There are five plugins required for Notably theme [version 2.0.0.]
- Contact Form-7
- One Click Demo Import
- Portfolio Mgmt
- Notably Addons
Install & Activate Required Plugins
- When theme is activated, Notice to install the required plugins will appear on the WordPress backend.
- Click on the Begin installing plugins link to install and then activate the plugins.

Theme Recommended Plugins
- One Click Demo Import: This plugin is used to import the demo content. It includes pages, posts, media, menus and widgets. You need to install and activate this plugin to import the demo content.
- Contact form 7: We used Contact form 7 (CF7) plugin to add contact form on contact page. You need to install and activate this plugin before importing the demo file Click here to see the plugin.
- Portfolio Mgmt: Portfolio plugin is the best way to create and add past projects to your WordPress website. Create, configure and manage unlimited number of portfolio projects.
- Notably-Addons: This plugin is used for adding additional widgets and metaboxes in post.
Import Demo Content
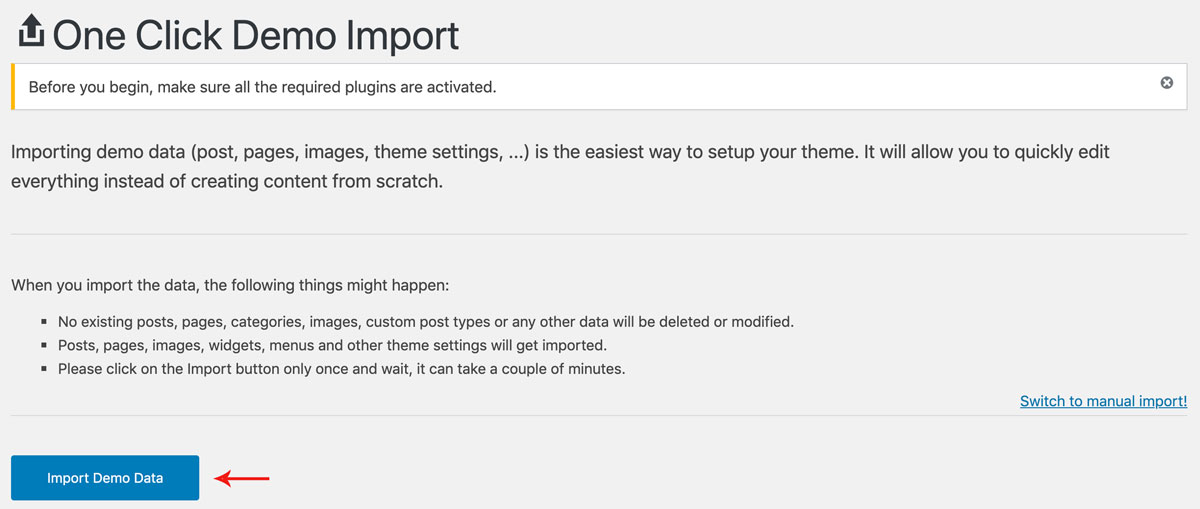
When you first install Notably, it won’t contain all the extra content that you might have seen in the live demo. Before importing the content make sure all the plugins are activated. You need to install and activate One Click Demo Import plugin to import the demo content.
Steps
- On WordPress left menu, go to Appearance > Import Demo Data.
- On the One Click Demo Import page. Click on the Import Demo Data button only once and wait, it can take a couple of minutes to import all the demo data.
- Please be patient while importing all the content.
- It will import pages, posts, media, menus and widgets.
Header
Notably header consists of only one item: Menu
- Menu: To add header menu, Assign any menu to Main Menu Theme Location. Click here for more information.
Menu
How to Create Menu
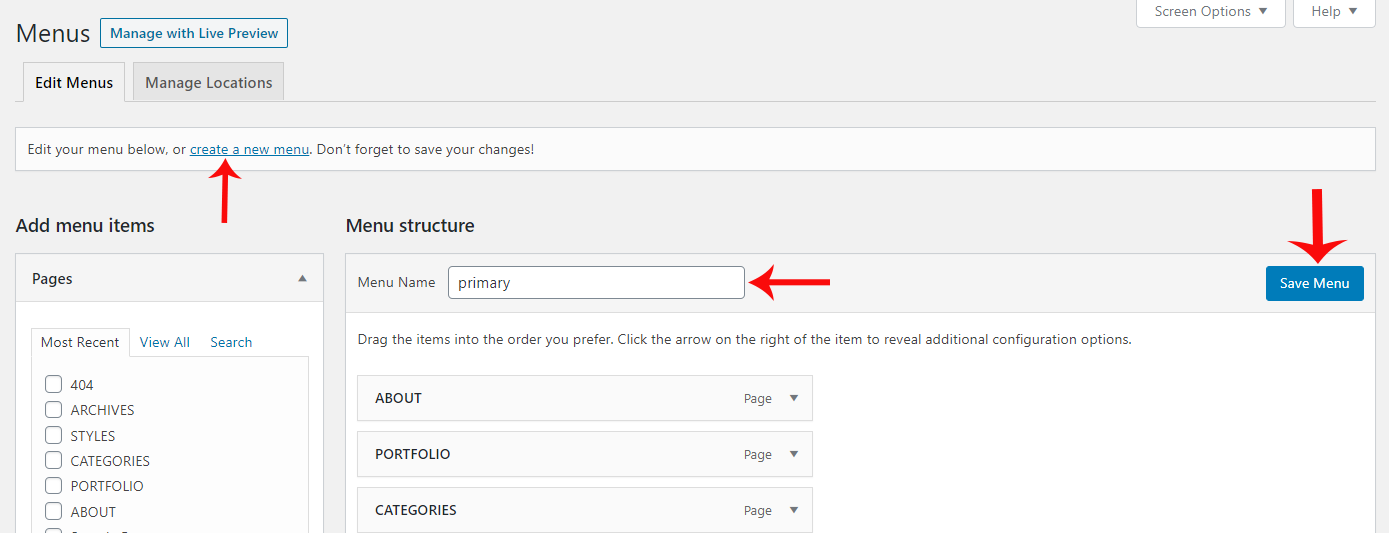
- To create Menu, On WordPress left menu, go to Appearance > Menus and click on 'create a new menu' link.
- Enter the Menu name.
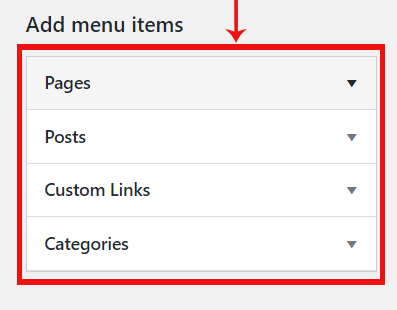
- Add pages, posts, etc from Add Menu Items.
- Finally, Click the Create Menu button to save your changes.
Header Menu
- The Header Menu is placed on the top of the header.
- They are usually presented as a horizontal bar of links at the top of every page on a website.
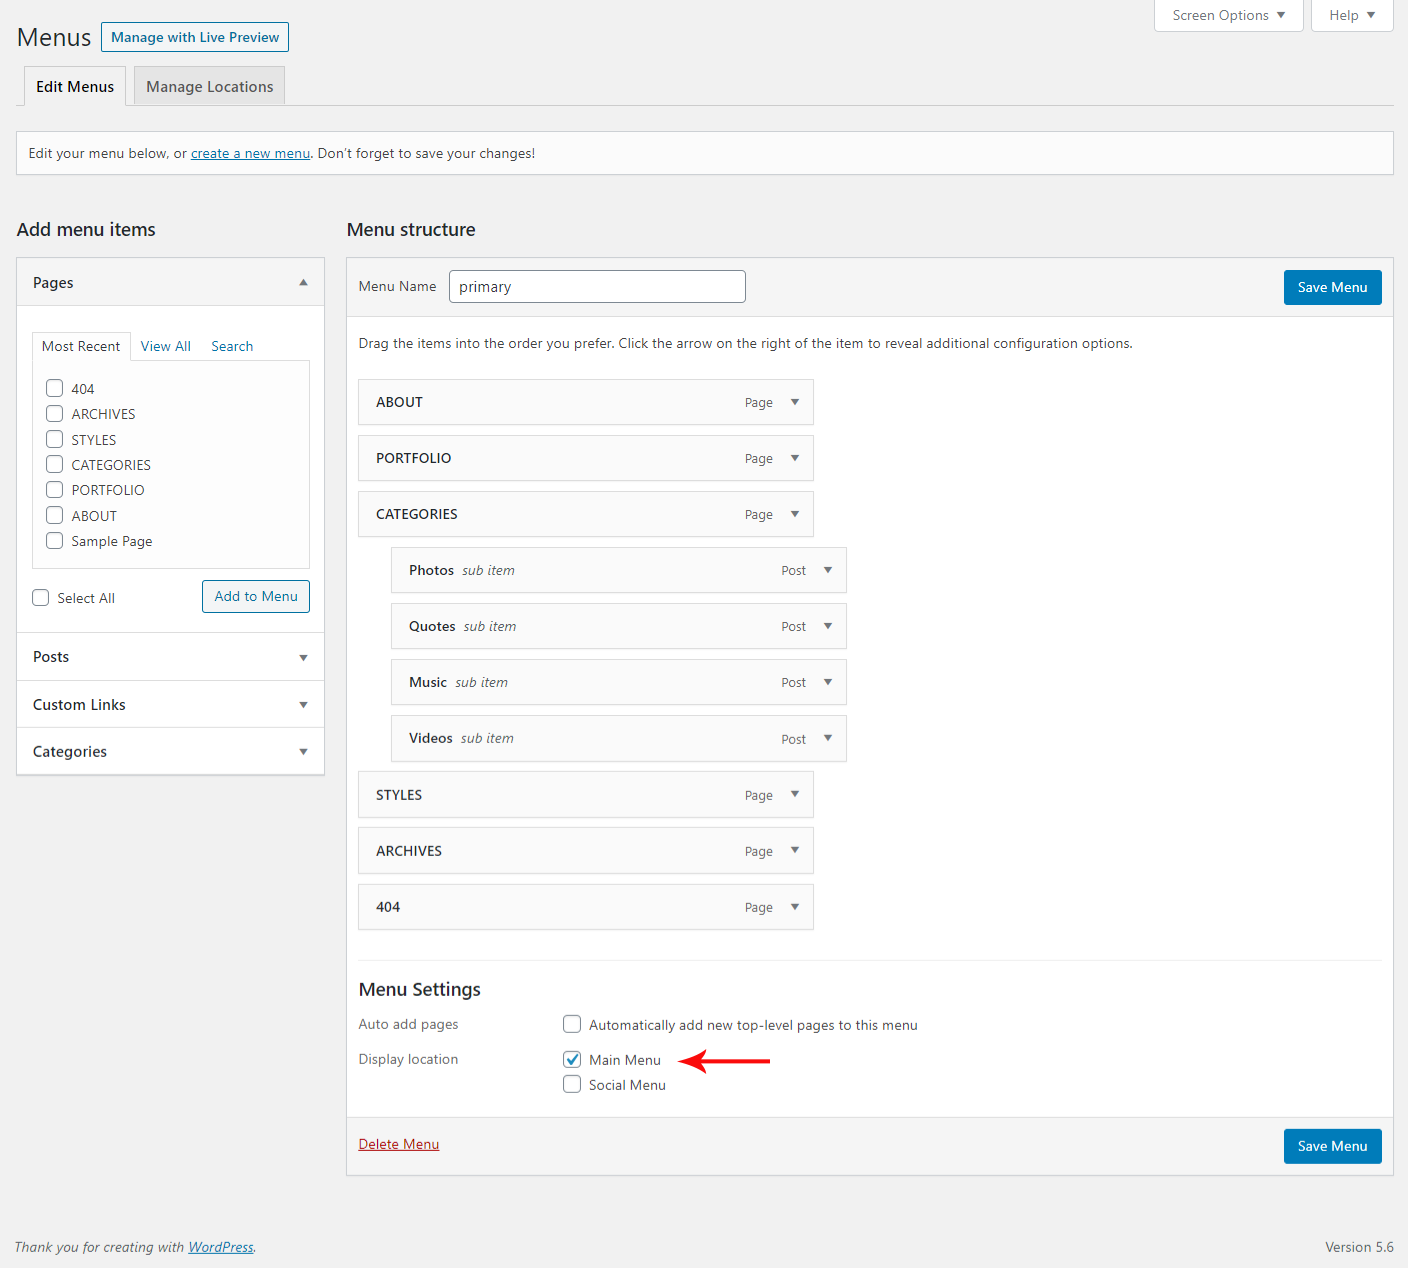
- Setup Header Menu: On WordPress left menu, go to Appearance > Menus
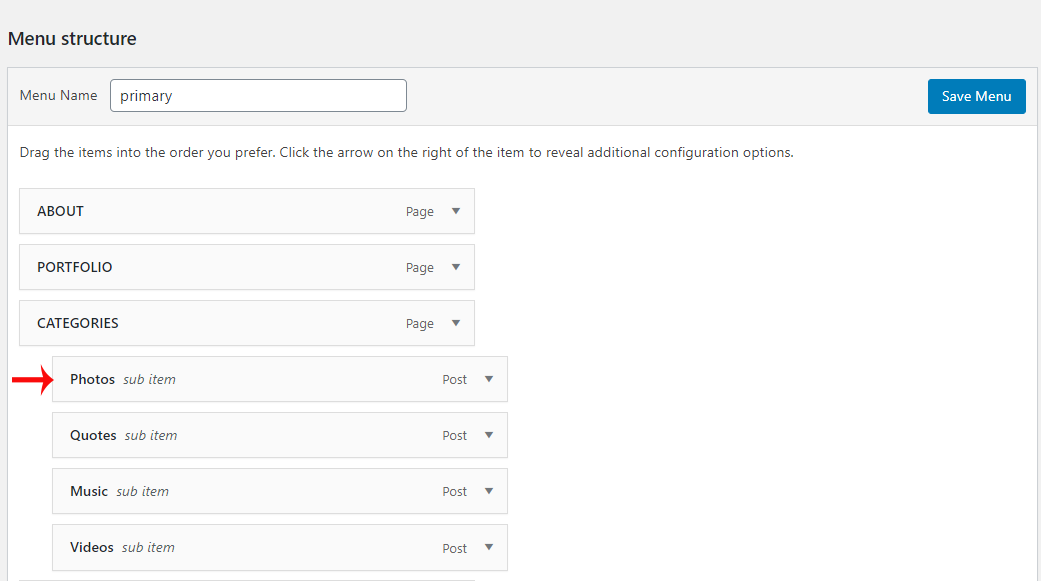
- You can create a menu or if you downloaded the demo content, It has the menu named 'Primary'. Select the menu. On the Edit Menus tab, below the Menu Structure.
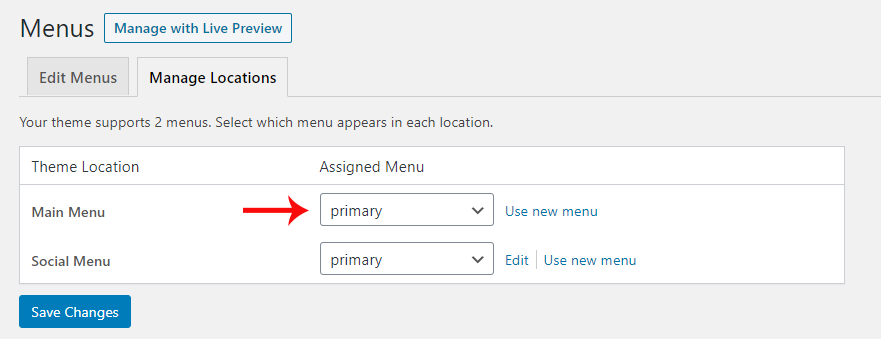
- Alternatively, on Manage Locations tab, Assign the Menu to Primary Theme Location.
- On Menu Structure, Drag a menu item towards right under another menu item to make it as sub item.
Footer
Footer is the Bottom section of the website, in which you may add your details and other functions available in WordPress widgets.
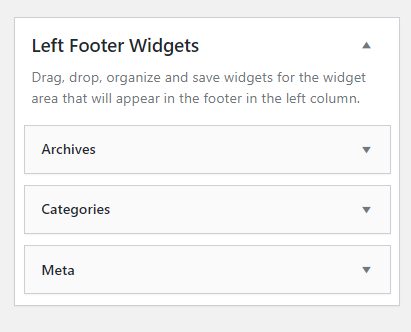
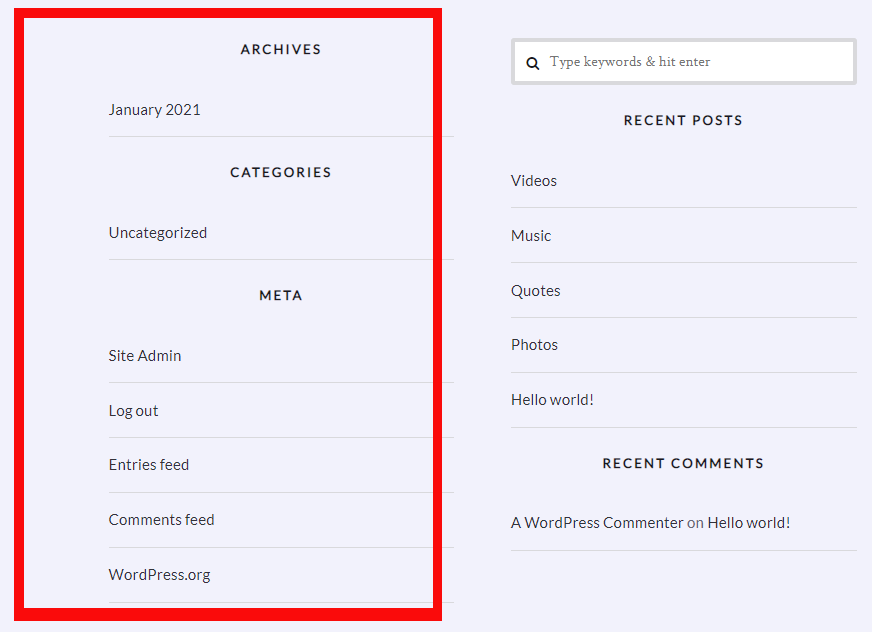
Footer Left Widget Section
- This widget section appears in the left footer Section. Click here for more information.
- Feel free to use what you want, and as many as you want. The demo website displays 3 widgets (Archives, Categories & Meta)
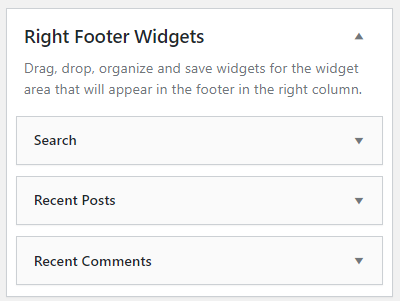
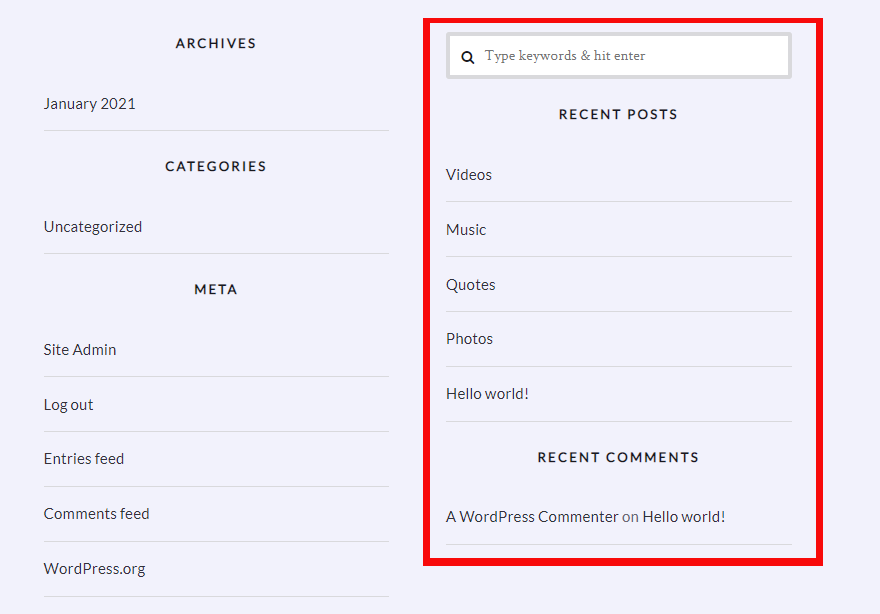
Footer Right Widget Section
- This widget section appears in the right footer Section. Click here for more information.
- Feel free to use what you want, and as many as you want. The demo website displays 3 widgets (Search, Recent Post & Recent Comment)
Widgets
How to Add Widgets
- On WordPress left menu, go to Appearance > Widgets. You can see available widgets on the left and widget areas on the right.
- Choose a Widget and either drag it to the sidebar where you wish it to appear, or click the widget, (select a destination sidebar) and click the Add Widget button.
Available Widgets
- WordPress has lots of widgets available to add in widget areas. Click here to know more about WordPress widgets.

Pages
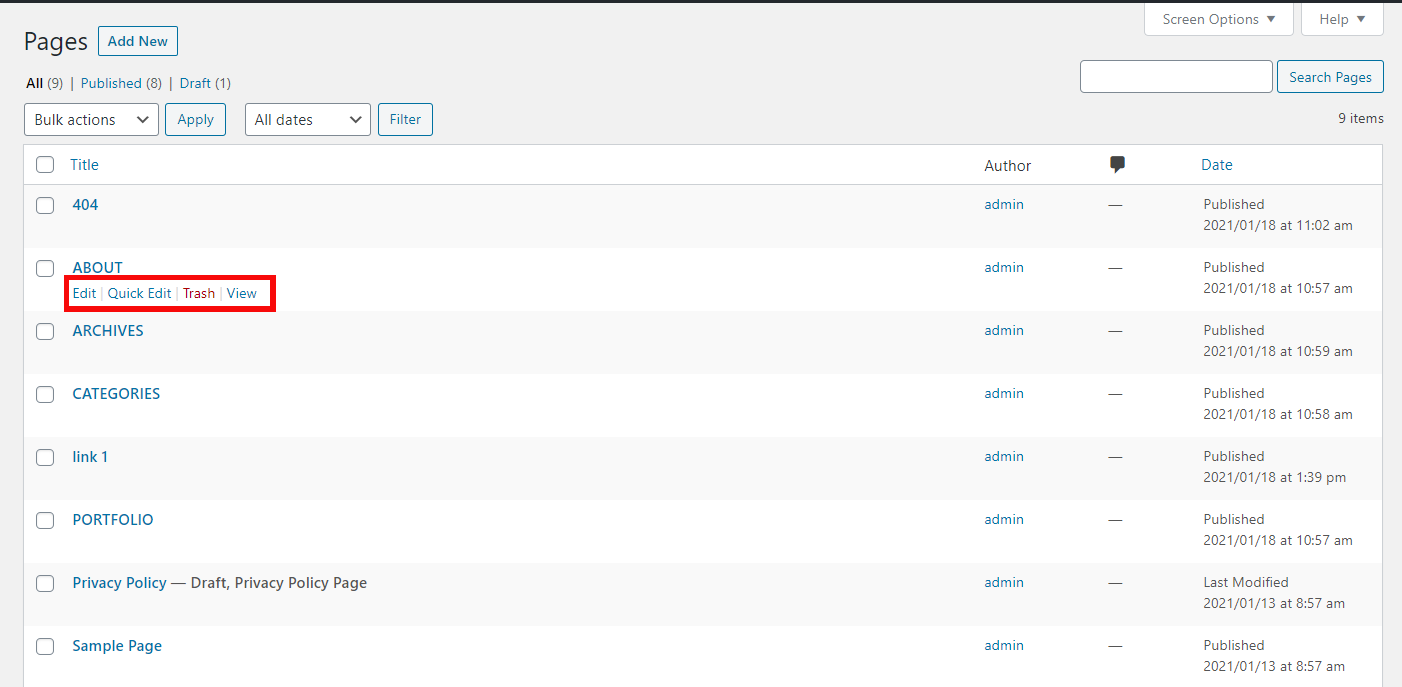
- To view/access all available pages on the website, on WordPress left menu, go to Pages. It will list all the available pages.
- If you downloaded the demo content, you can see demo pages.
- When hover on the available page on the list, you can see the options for each page.
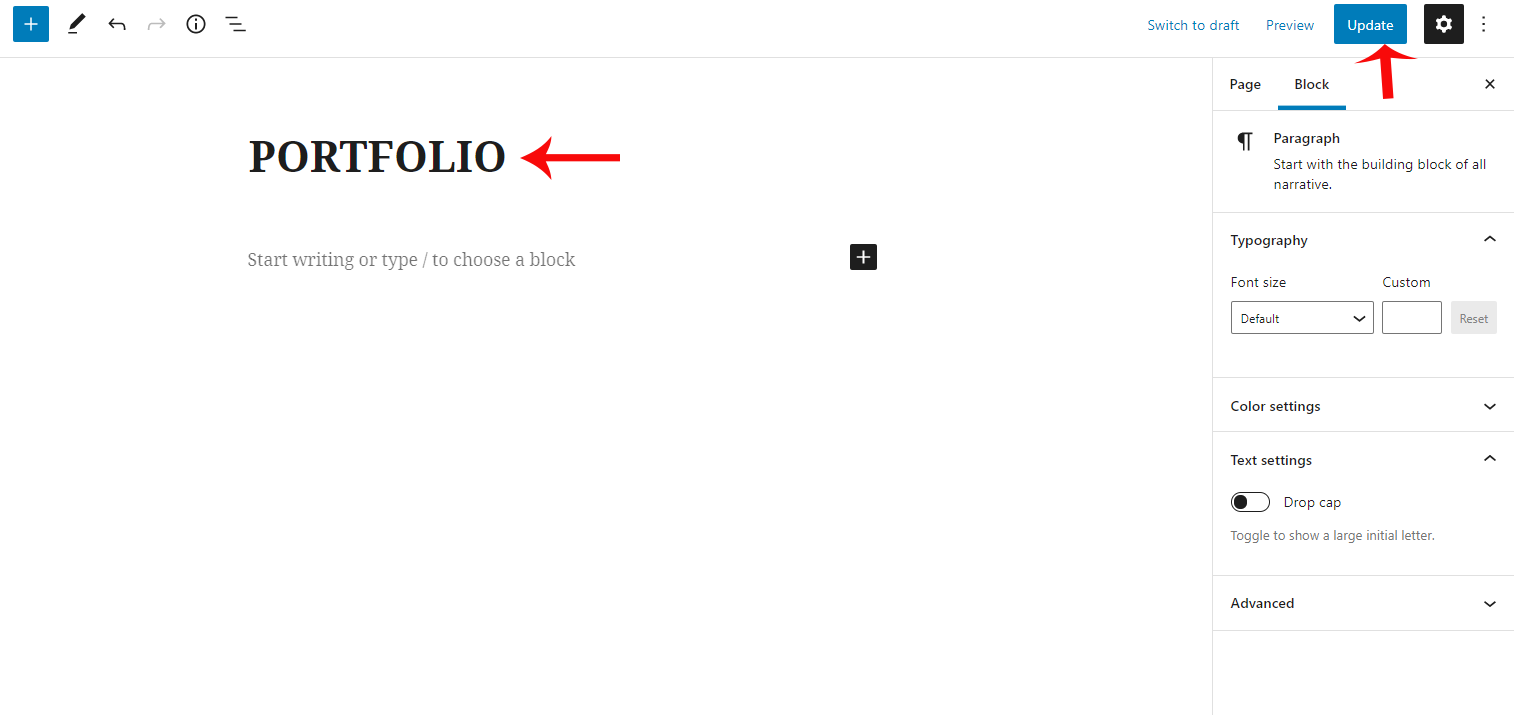
How to Create a Page
- To create a page, on WordPress left menu, go to Pages > Add New.
- Notably supports Block (Gutenburg) Editor. Click here to see how to add content using Block (Gutenburg) Editor.
- Add Page title, content, choose 'page template' (if required), choose 'parent page' (if required) and publish it.
Blogs
Blog Single
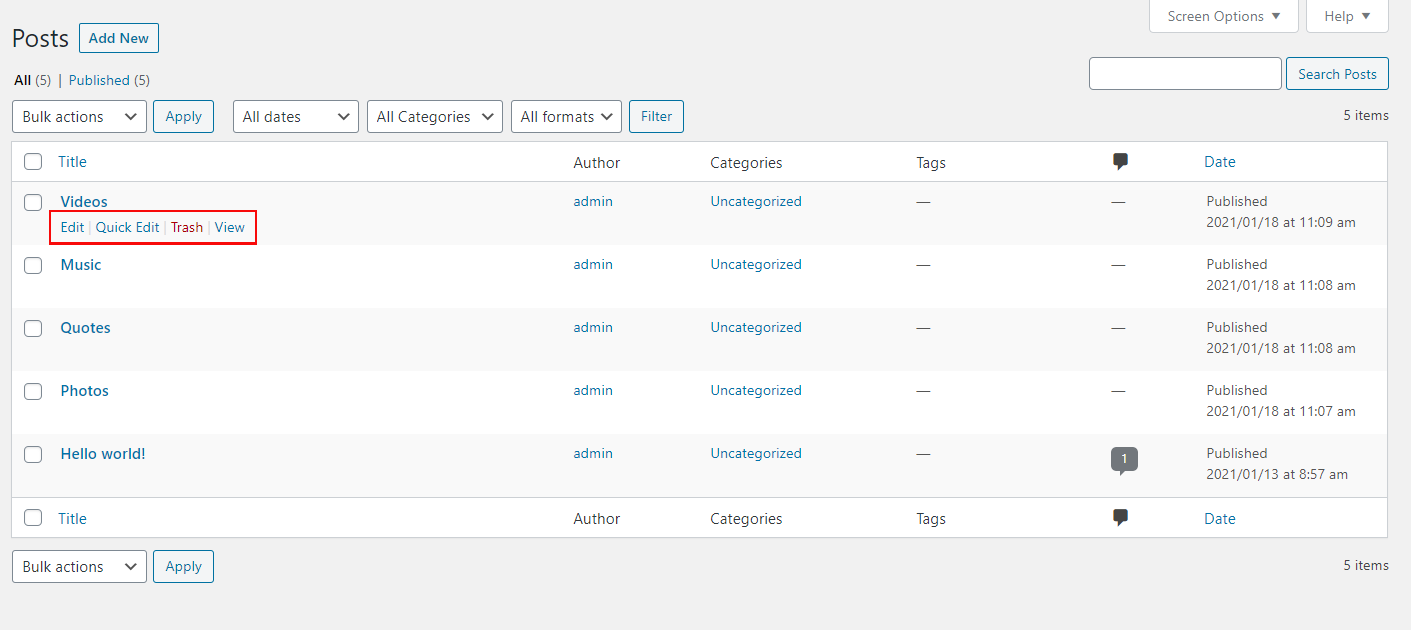
- To view/access all available post on the website, on WordPress left menu, go to Posts. It will list all the available posts.
- If you downloaded the demo content, you can see three blogs on the backend posts page.
- When hover on the available blog (post), you can see the options for each blog.
How to Create a Blog
- To create a blog, on WordPress left menu, go to Posts > Add New.
- Notably supports Block (Gutenburg) Editor. Click here to see how to add content using Block (Gutenburg) Editor.
Post Format
Post format contains 6 categories. They are Gallery, Image, Quote, Standard, Video & Audio
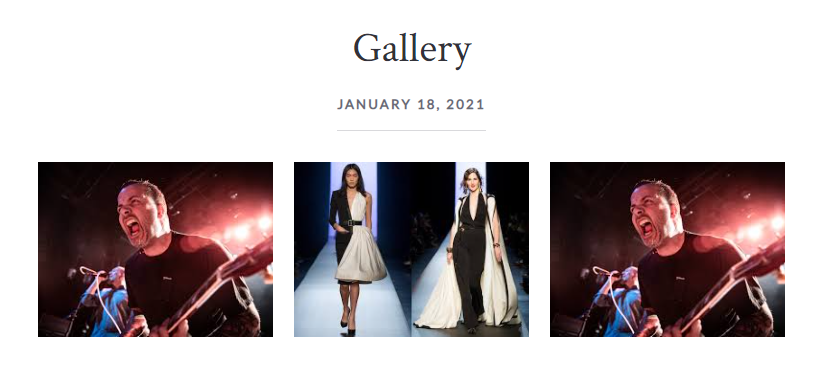
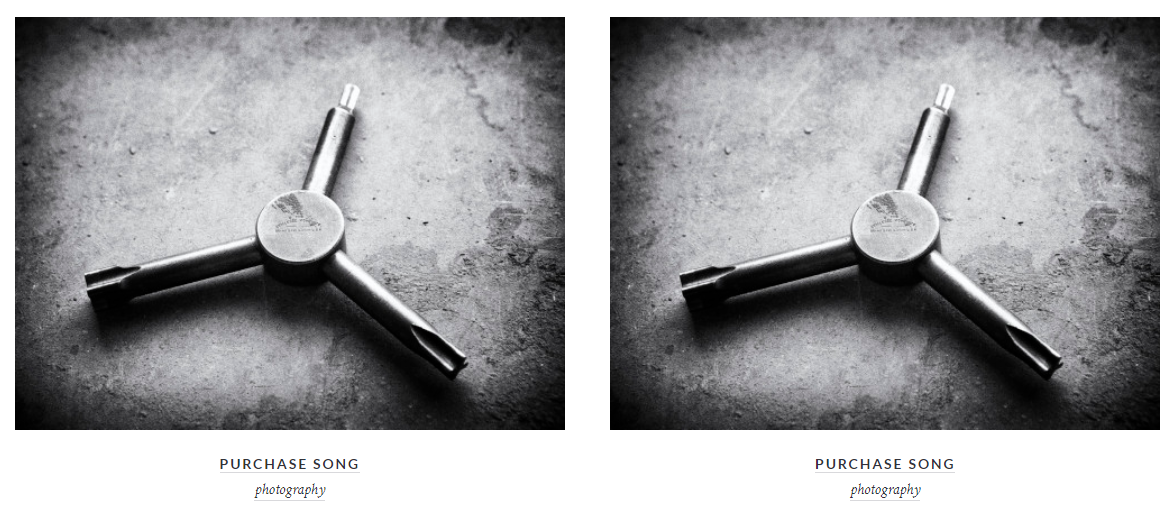
- Gallery: Select the gallery from post format and use gallery in Block (Gutenburg) Editor. You can add multiple galleries in a single post. It shows as,
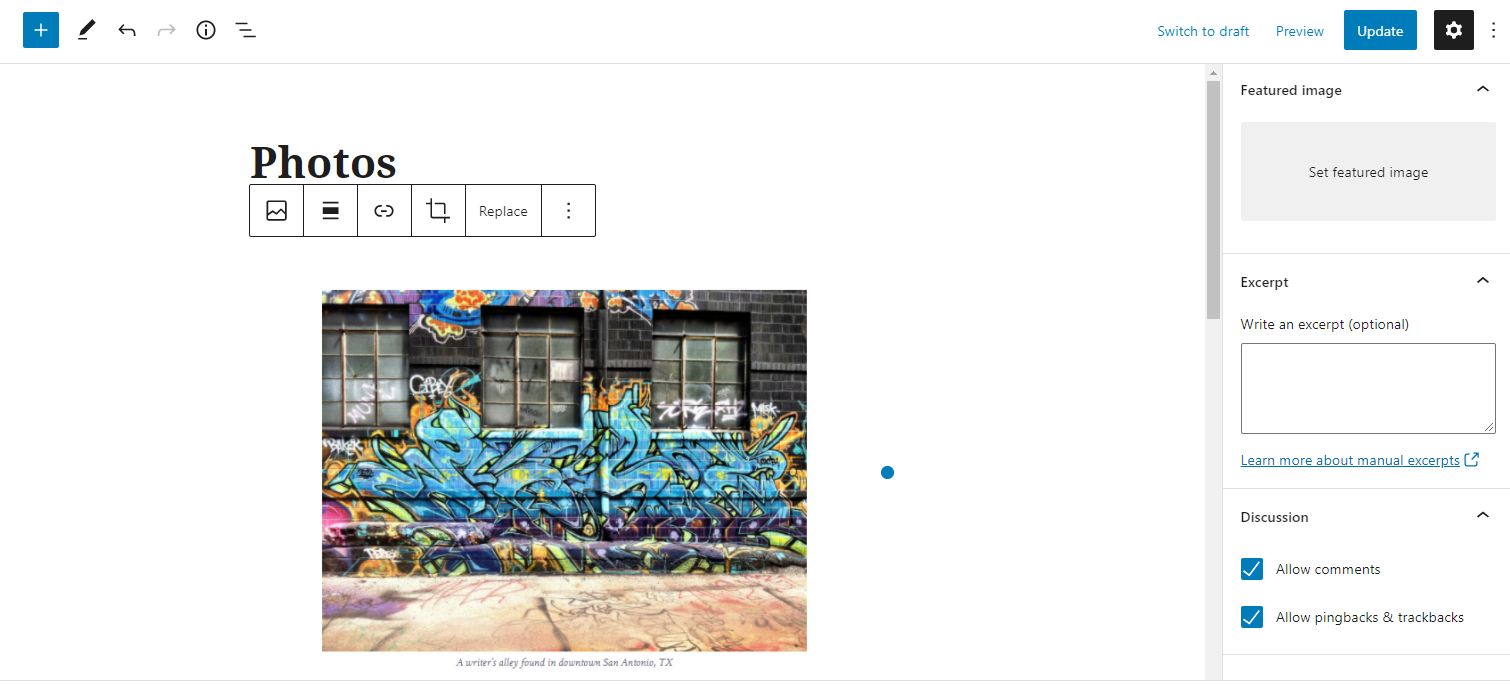
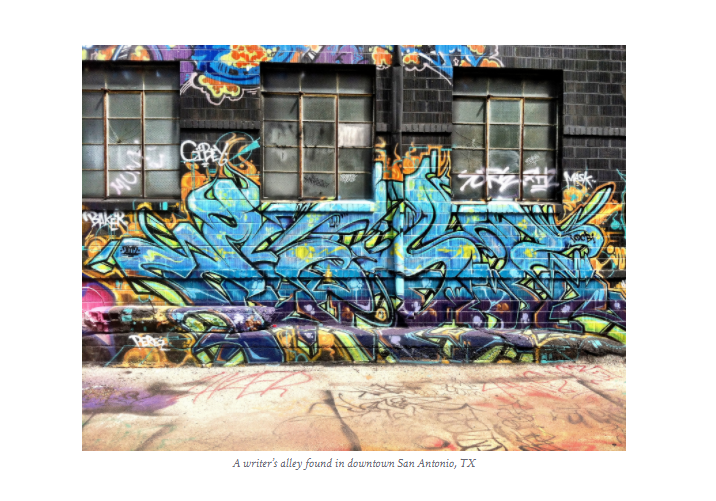
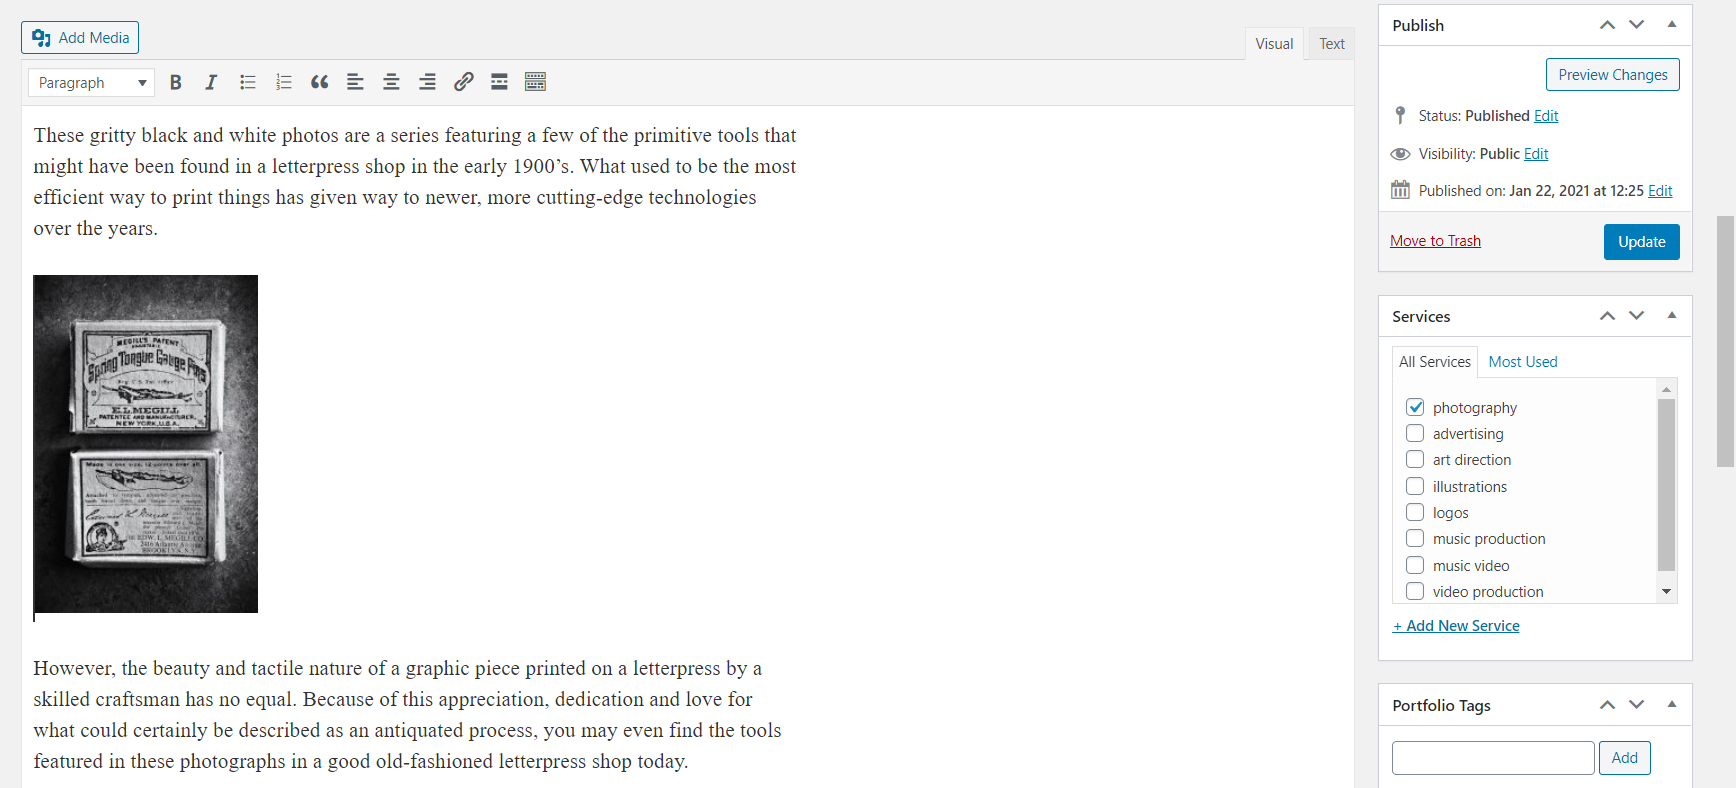
- Image: Select the Image from post format and use image in Block (Gutenburg) Editor. It shows as,
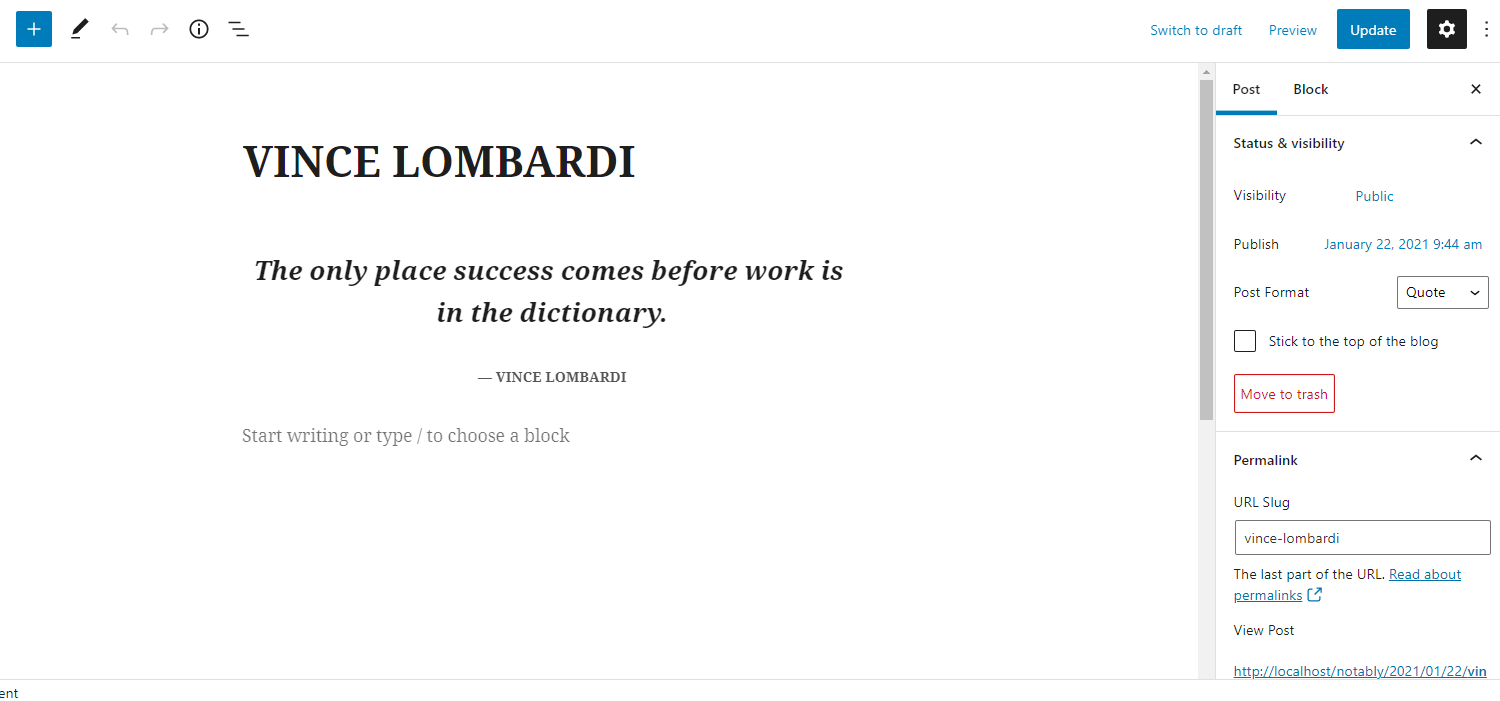
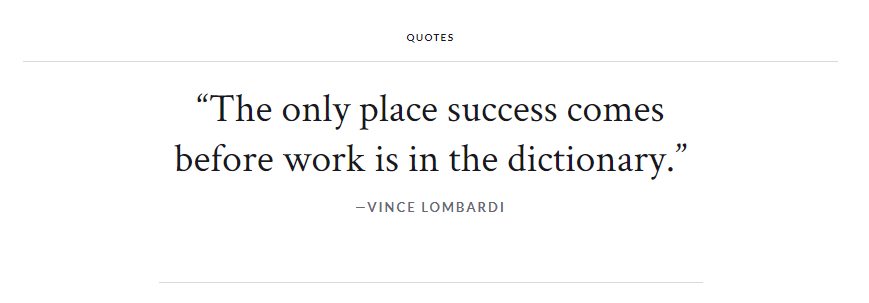
- Quote: Select the Quote from post format and enter the quote in Block (Gutenburg) Editor.
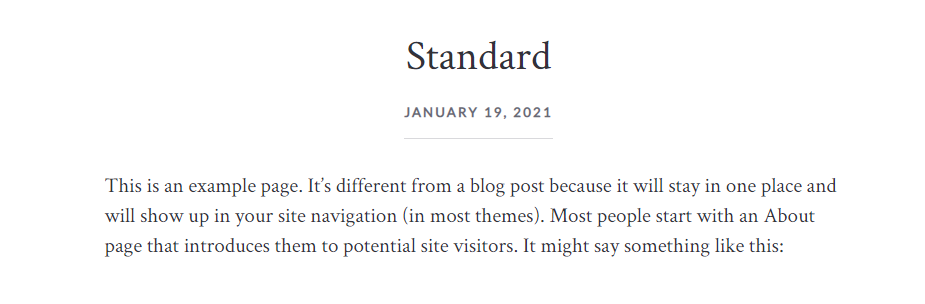
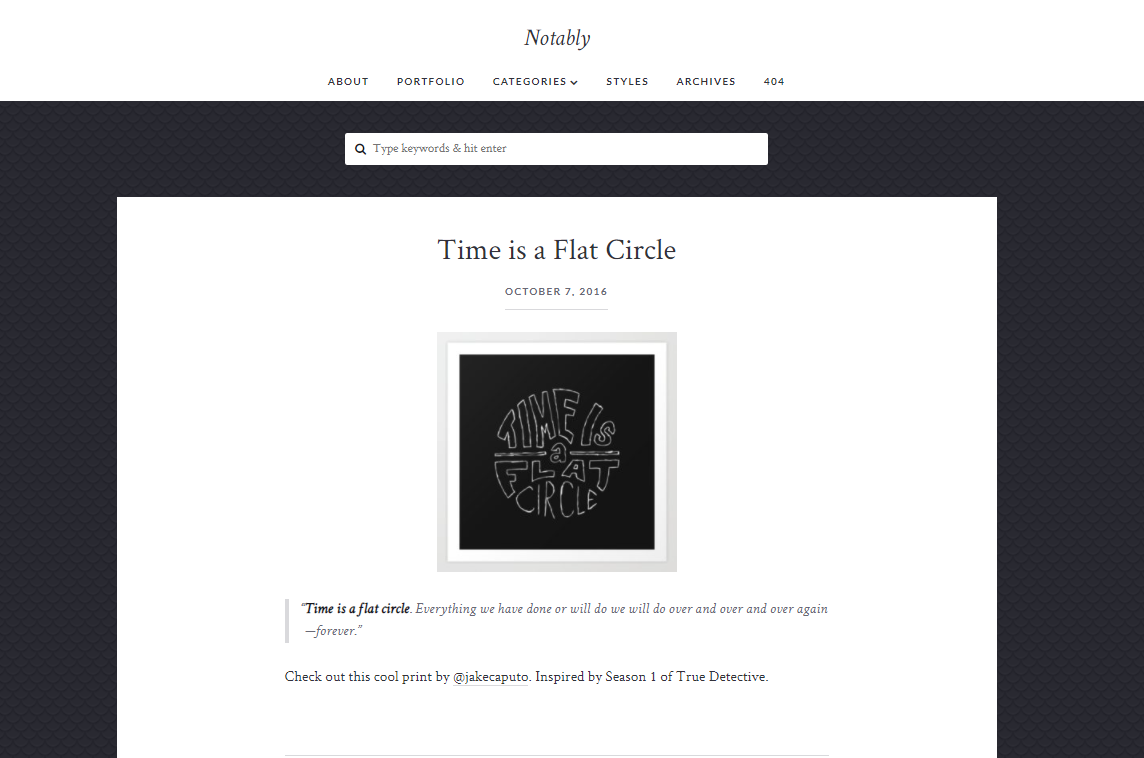
- Standard: Select the Standard from post format. This is a default post format. It shows as,
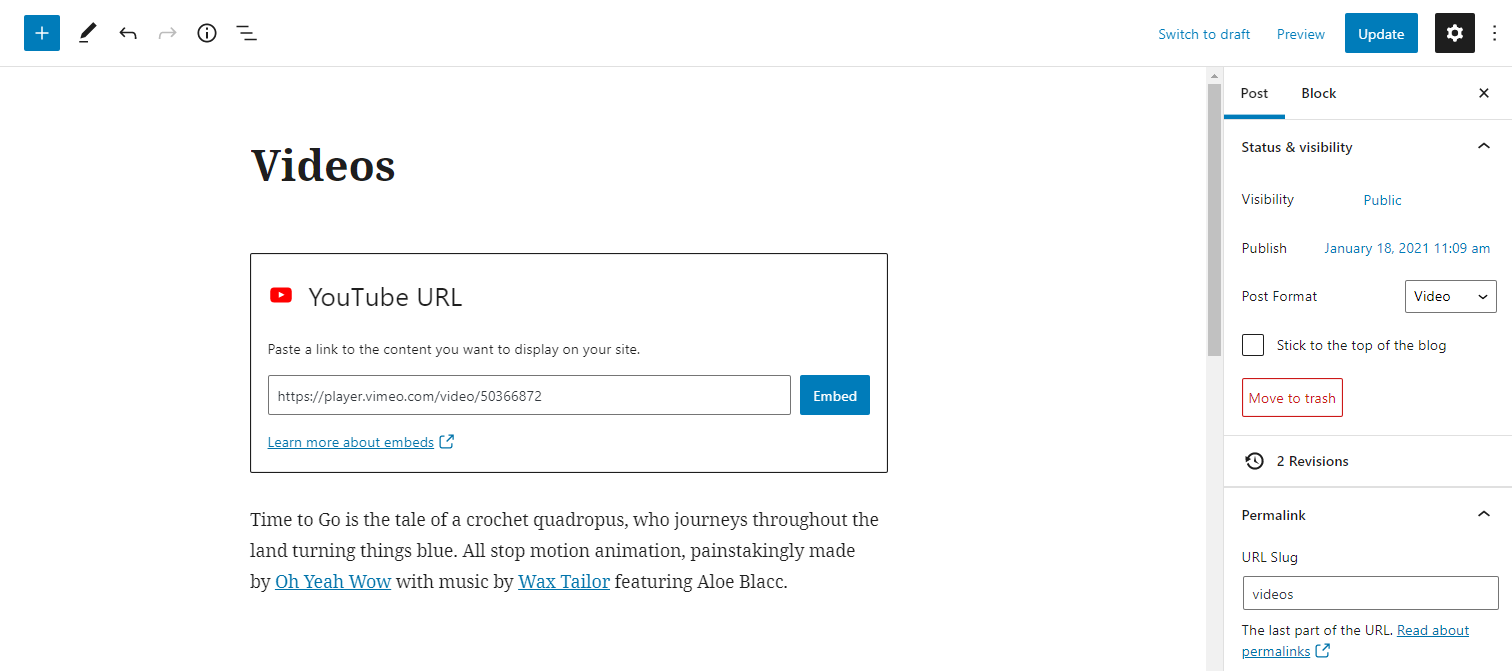
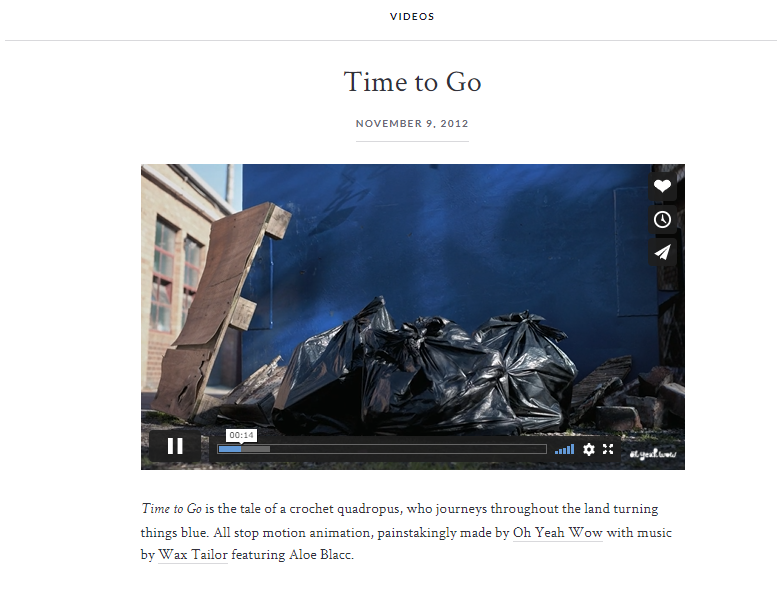
- Video: Select the Video from post format and use video in Block (Gutenburg) Editor. video post format usually contains a video either embedded from a third party video hosting service like YouTube or uploaded and played directly from WordPress. It shows as,
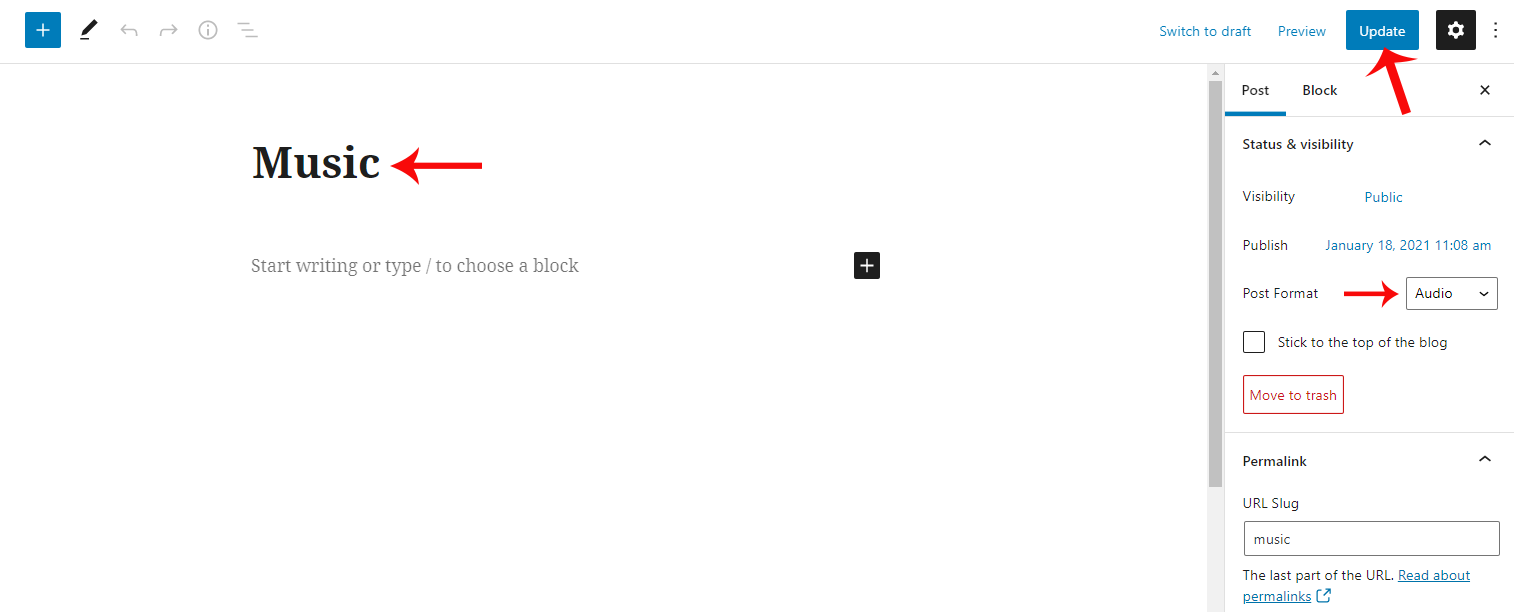
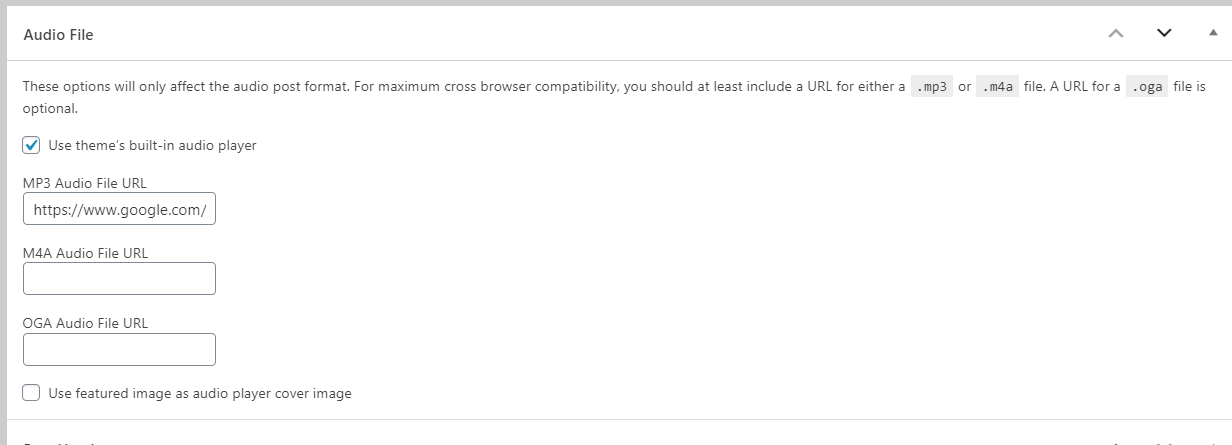
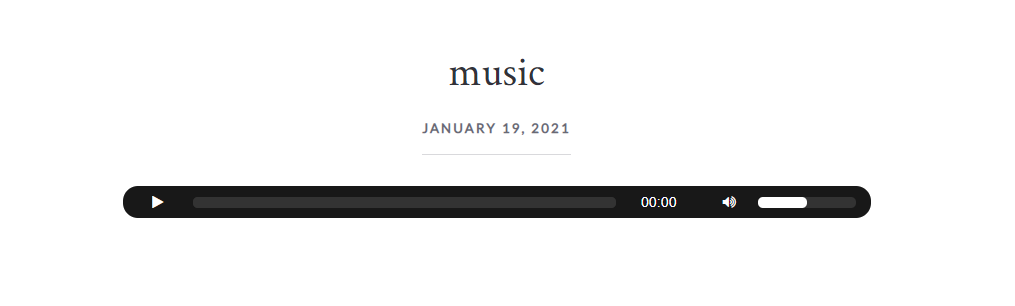
- Audio: Select the Audio from post format. Audio file has three URL's Mp3 audio file URL, M4A audio file URL and OGA audio file URL (optional). You should enable the Use theme's built in audio player. It shows as,

It shows as,
Portfolio Projects
Changelog
Version 2.0.0 (September 2020)
- Theme bug and WordPress bug updated.
Notably- A WordPress Blogging Theme
Notably is a mobile first, fully responsive, all around awesome Wordpress theme for bloggers of all shapes and sizes. It’s straightforward, beautifully styled and you can make the theme your own by simply using the WordPress Theme Customizer. That’s right, no complicated Theme Options to wade through here.
Thank you for purchasing the theme. We provide support for all of our themes at https://www.scube.co/support/, but please make sure you read this documentation in it's entirety first.
Thanks again!