Memoir Wordpress Theme Documentation
- Created On: 7 Aug 2014
- Last Changed: 26 Aug 2024
- Current Version: 2.2
- Developed By: SCube Themes
- Theme Support: https://www.scube.co/support/
Introduction
Memoir is a Tumblog style WordPress Theme which makes use of WordPress’s Post Formats feature and boasts awesome typography. Let’s face it, it’s time to get back to blogging and Memoir is ready to do that. Absolutely stunning.
Thank you for purchasing the theme. We provide support for all of our themes at https://www.scube.co/support/, but please make sure you read this documentation in it's entirety first. Thanks again!
Theme Installation
Download Theme
At first, you need to download Memoir theme from ThemeForest website.
To download the theme:
- Go to ThemeForest and login into your account.
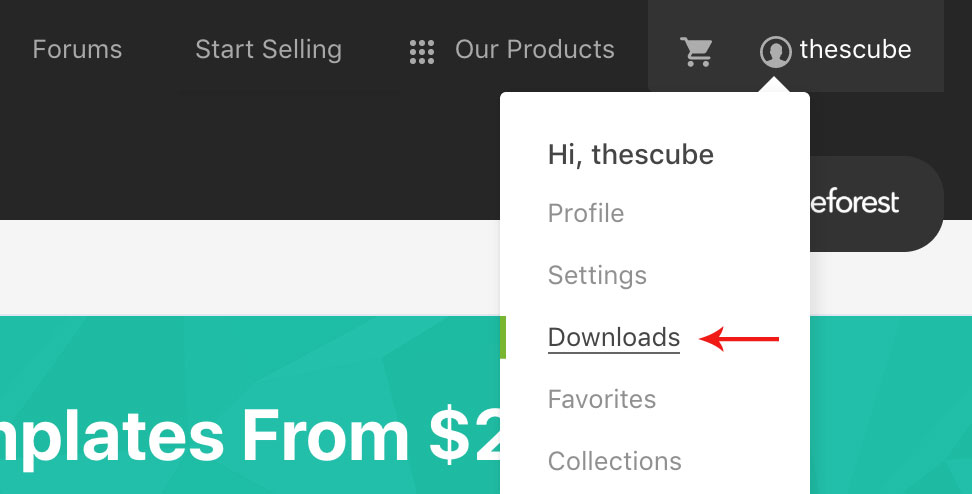
- In the upper right corner, hover over your username and click on Downloads.
- Scroll down to memoir and click on Download All files .
- Extract the downloaded .zip file into a folder. These files will be needed for the next steps.
Installing the Theme
There are few methods to upload and install a theme on your WordPress website. We explain about two easy installation methods here.
Installing through WordPress
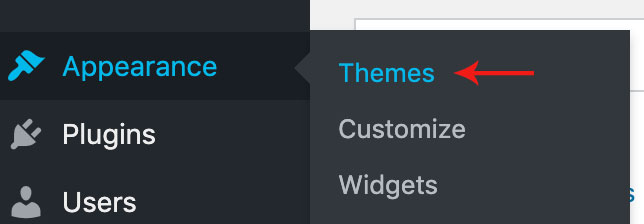
- On WordPress left menu, go to Appearance > Themes.
- Click on Add New Theme.
- Click on Upload Theme button.
- Click on Choose File button and select memoir.zip that you have extracted from the themeforest downloaded file then click on Install Now button and wait for the install to complete.
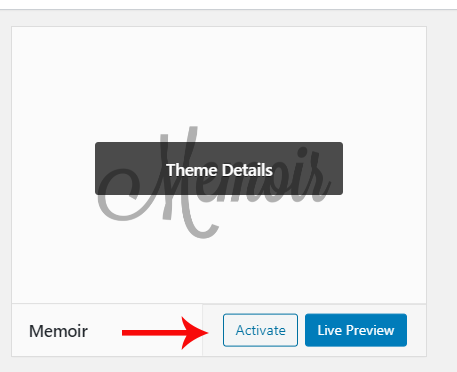
- After the theme installed successfully, click on Activate button.
Uploading Through FTP
Alternatively, you can upload the theme through file transfer protocol. Keep in mind that this will only upload the theme to your website, it will not activate it.
- Use a FTP (for example Filezilla) to access your host web server.
- In the files browser navigate to /wp-content/themes.
- Extract memoir.zip and transfer it into the directory.
Installing The Child Theme
If you plan on customizing and editing the theme’s files, it is always recommended to install a child theme. Having a child theme guarantees that your changes will not be deleted on each update of the theme and they will stay intact.
Use the same process of Installing the theme to install the child theme.
Install Required Plugins
After successfully activated the child theme. Its important to install and activate the required plugins for the theme.
There are five plugins required for Memoir theme [version 2.2]
- Contact Form-7
- One Click Demo Import
- Option Frame Work
- Memoir Addons
- SoundCloud
Install & Activate Required Plugins
- When theme is activated, Notice to install the required plugins will appear on the WordPress backend.
- Click on the Begin installing plugins link to install and then activate the plugins.
Theme Recommended Plugins
- One Click Demo Import: This plugin is used to import the demo content. It includes pages, posts, media, menus and widgets. You need to install and activate this plugin to import the demo content.
- Contact form 7: We used Contact form 7 (CF7) plugin to add contact form on contact page. You need to install and activate this plugin before importing the demo file Click here to see the plugin.
- Option Framework: The Options Framework Plugin makes it easy to include a full featured options panel in any WordPress theme. It’s free to use in both commercial and personal projects, just like WordPress itself.
- Memoir-Addons: This plugin is used for adding additional widgets and metaboxes in post.
- SoundCloud: This plugin converts all SoundCloud Short-codes into embeddable SoundCloud players. It works for any SoundCloud track, playlist, user, or group. Once you install this plugin, it works for any of your blog posts.
Import Demo Content
When you first install Memoir, it won’t contain all the extra content that you might have seen in the live demo. Before importing the content make sure all the plugins are activated. You need to install and activate One Click Demo Import plugin to import the demo content.
Steps
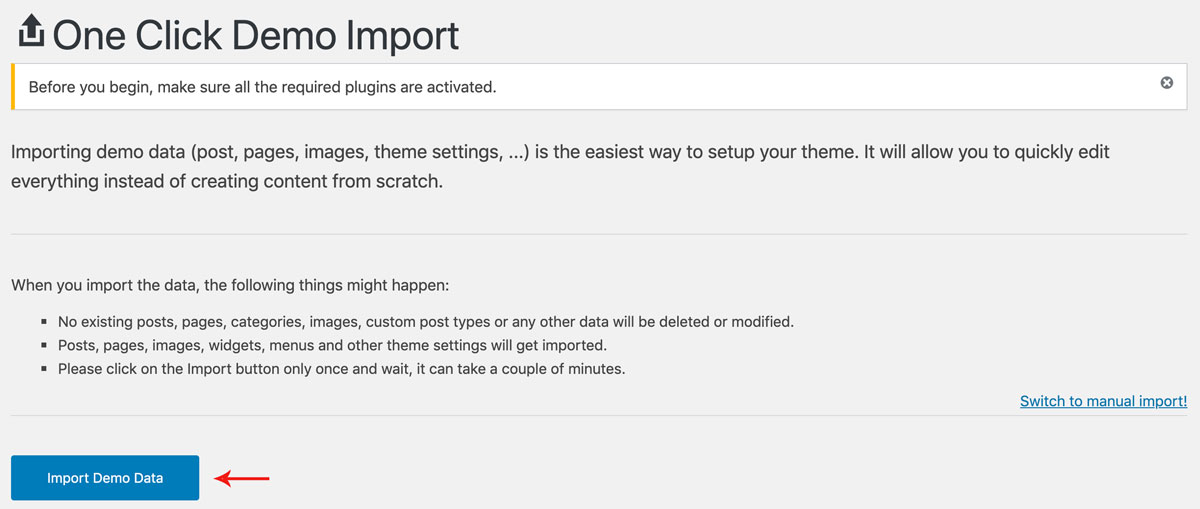
- On WordPress left menu, go to Appearance > Import Demo Data.
- On the One Click Demo Import page. Click on the Import Demo Data button only once and wait, it can take a couple of minutes to import all the demo data.
- Please be patient while importing all the content.
- It will import pages, posts, media, menus and widgets.
Theme Options Setup
Theme Options is the main section of Memoir, which you can use to change your global settings for your website. You can access theme options on WordPress left menu, go to Appearance > Theme Options.
Basic Settings
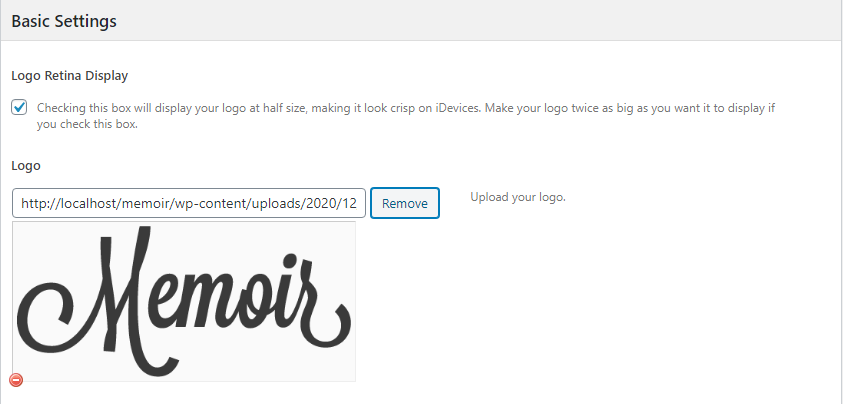
- Logo Retina Display: This enables display your logo at half size, making it look crisp on iDevices.
- Upload Logo
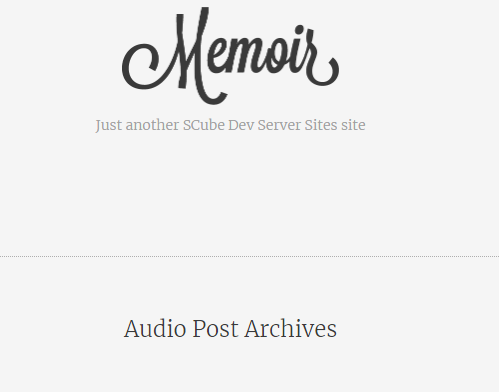
- Tagline Under Logo: If you enable this option, it display the tagline of your site under the logo.
- Upload a favicon for the website (Browsers that provide favicon support typically display a page's favicon in the browser's address bar, sometimes in the history as well and next to the page's name in a list of bookmarks).
- Sticky Header
- Color Scheme
- Stripes
- Link Color: Select the color for your link.
- Credit Where Credit Is Due: Enabling this option will give credit to the memoir theme. It will be shows in a footer section.
If you choose 'ON' Header menu is stick to the top of the header as the user scroll down the site.
If you choose 'OFF' Header menu is not stick on the top of the header.
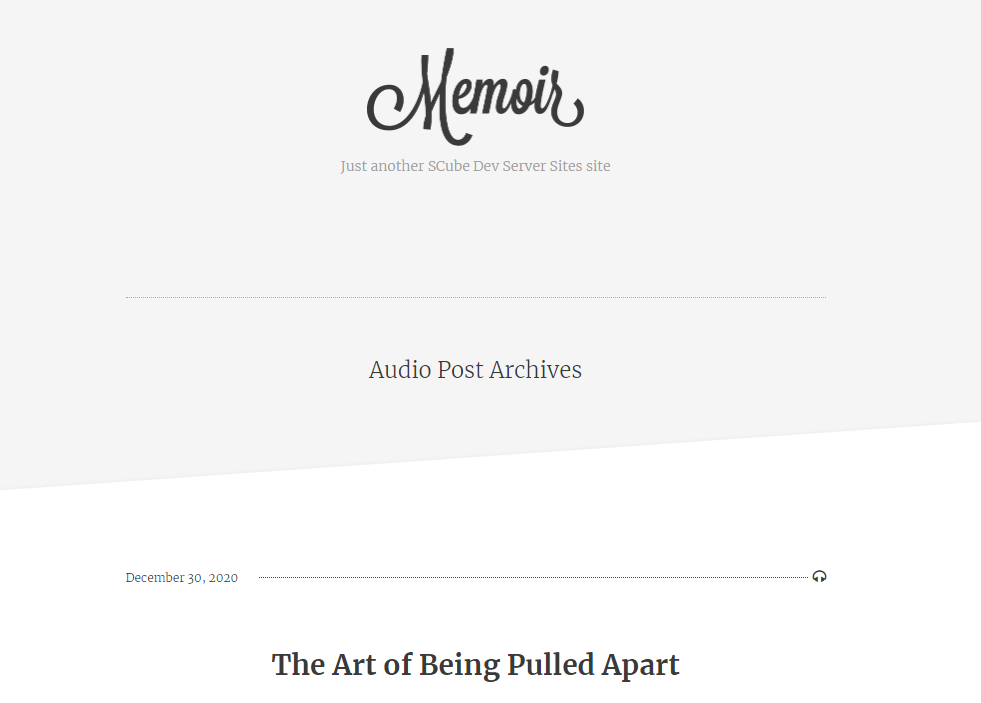
If you choose 'Light Color Scheme' The page will appear in white background.
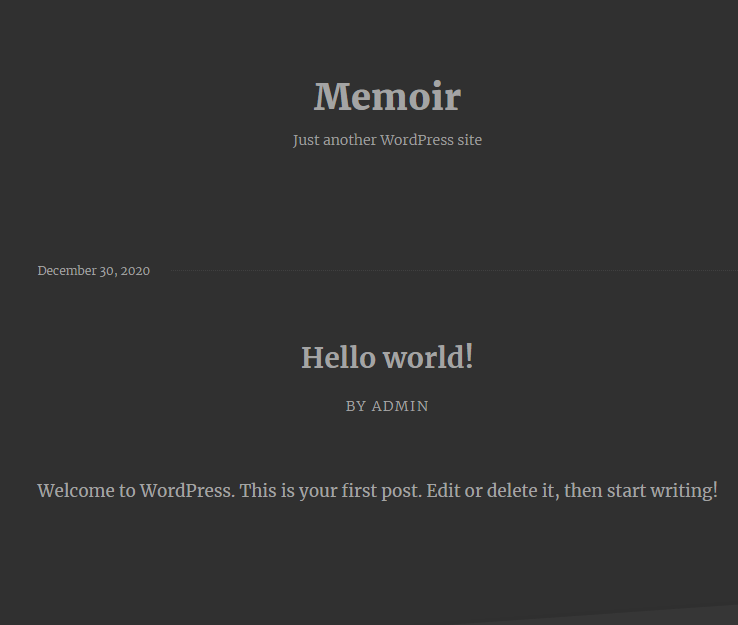
If you choose 'Dark Color Scheme' The page will appear in black background.
If you select the 'ON' option, the diagonal stripe will appear behind all post.
If you select the 'OFF' the diagonal stripe will not appear on the entire post.
Header
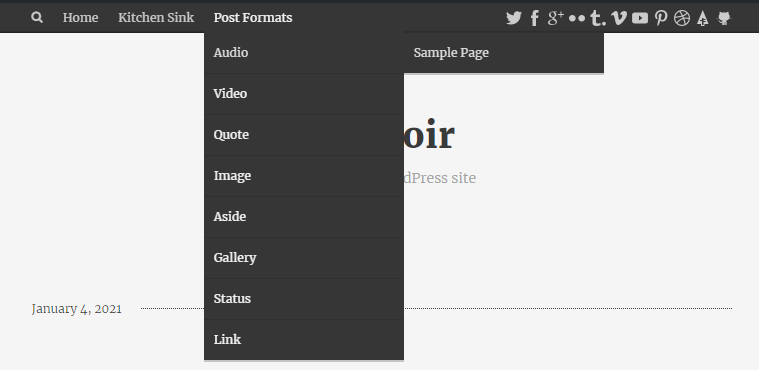
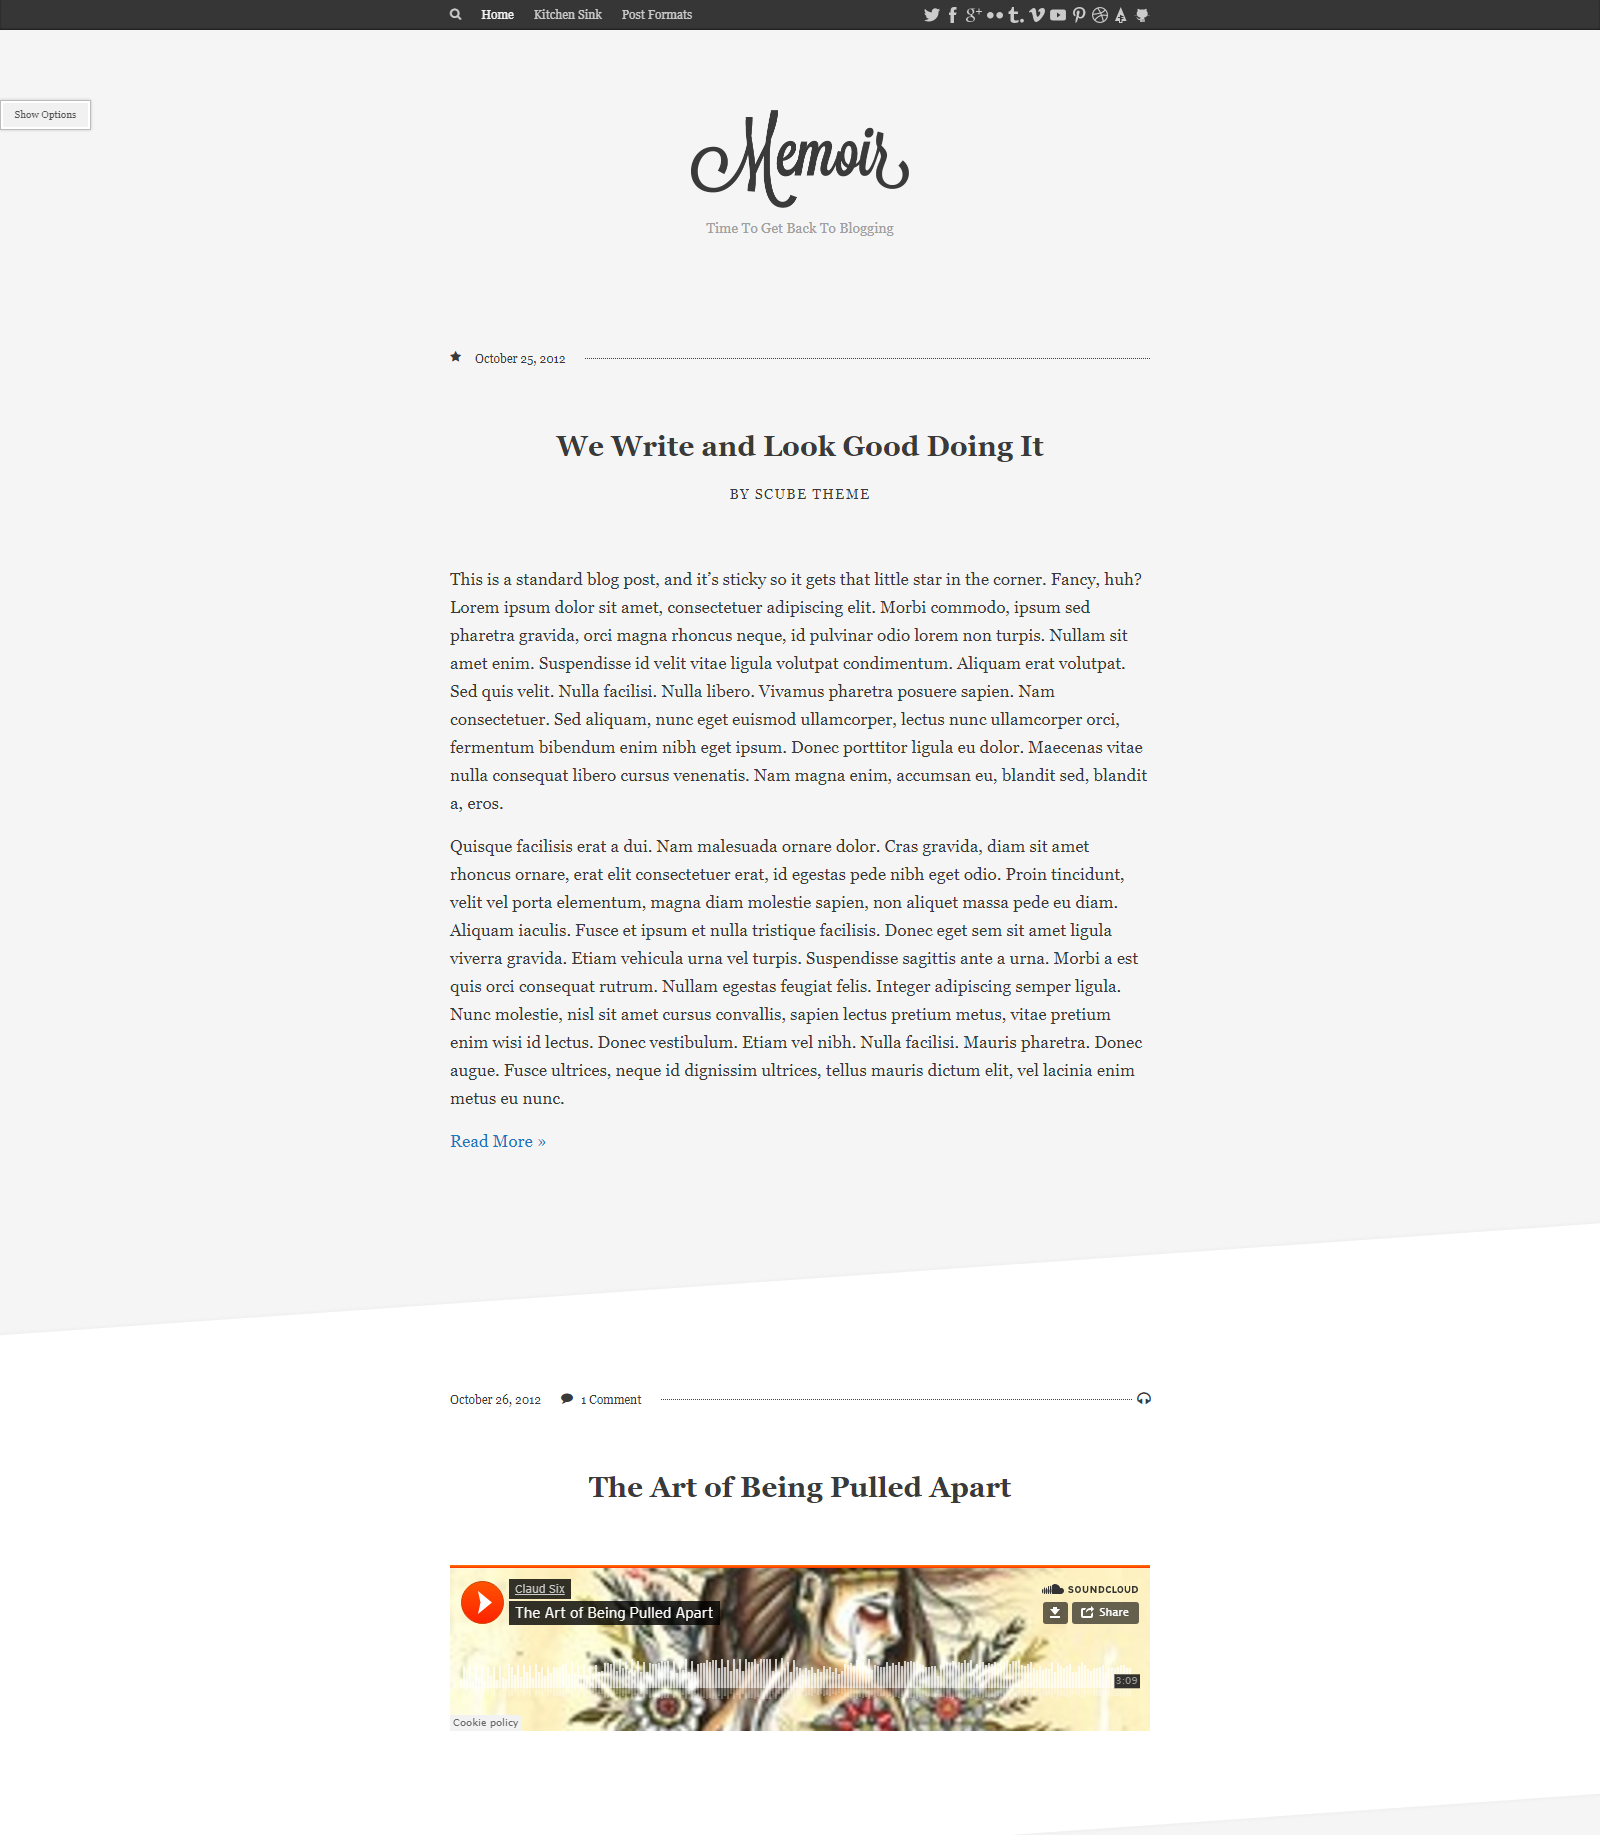
Memoir header consists of 4 items: Logo/Site Title, Search bar, Menu & Social network
- Logo/Site Title: You can add logo in Appearance > Theme Options > Basic Settings tab. If the logo is not provided Site Title will be used. Click here for more information.
- Search bar: Use the Search widget to add a search box to your website, allowing readers to easily search your site for posts and pages you’ve written in the past.
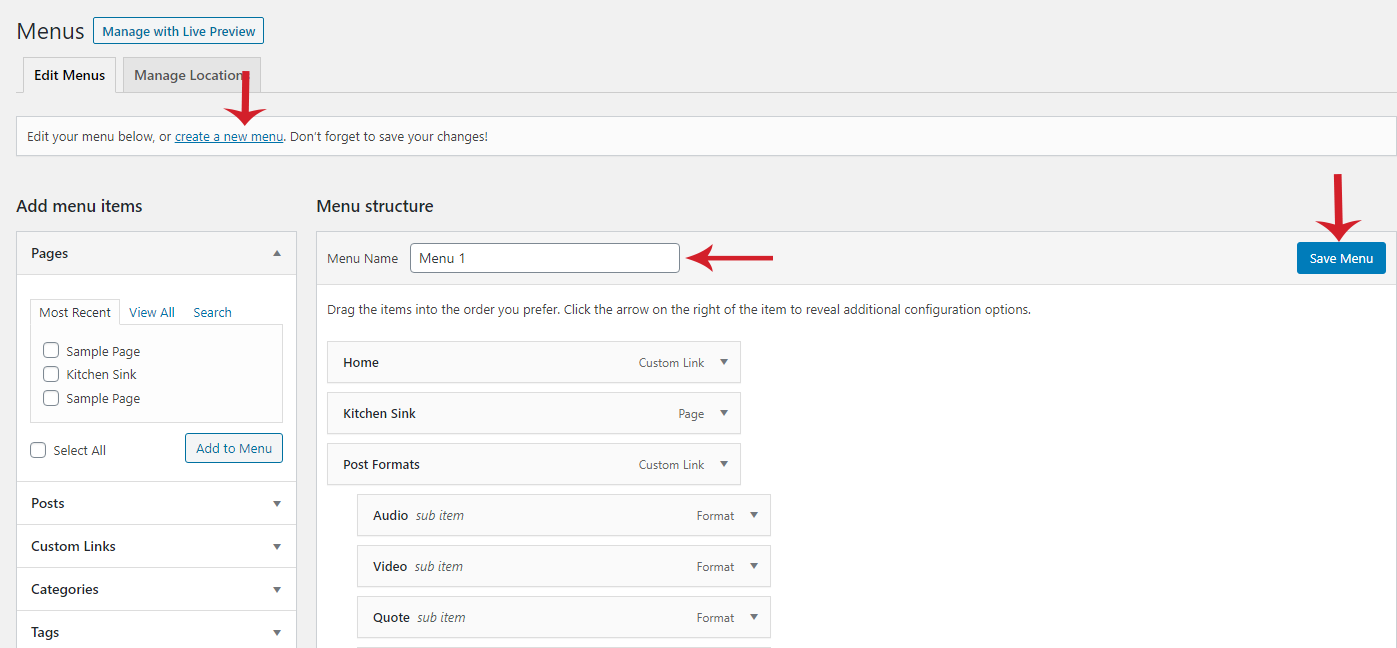
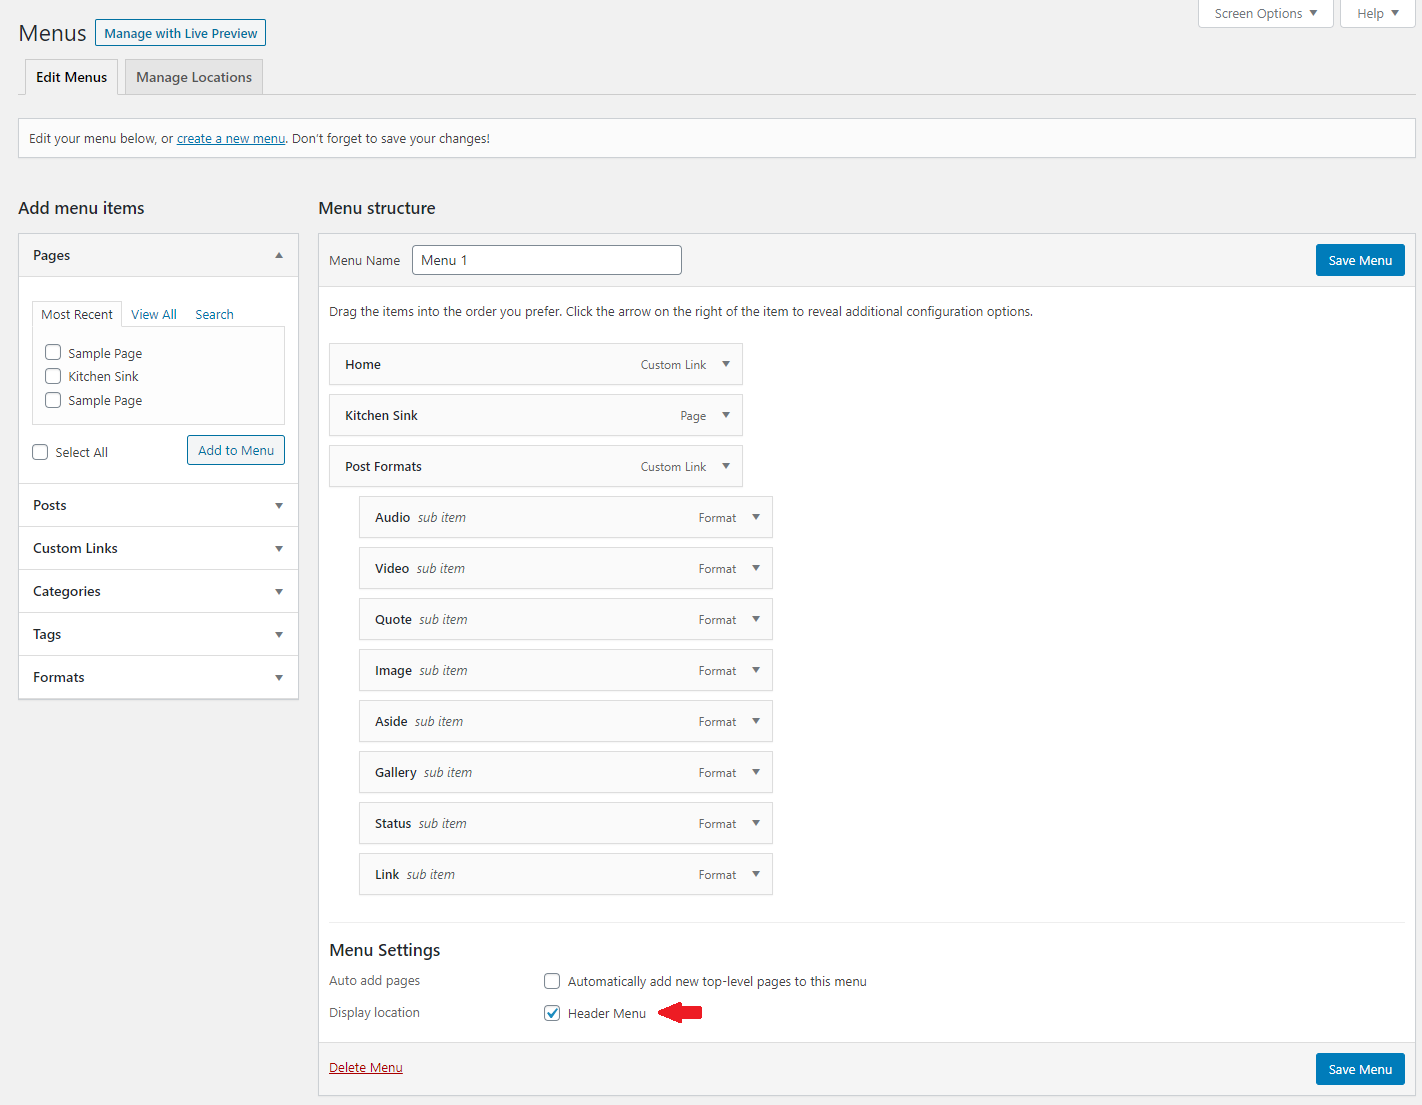
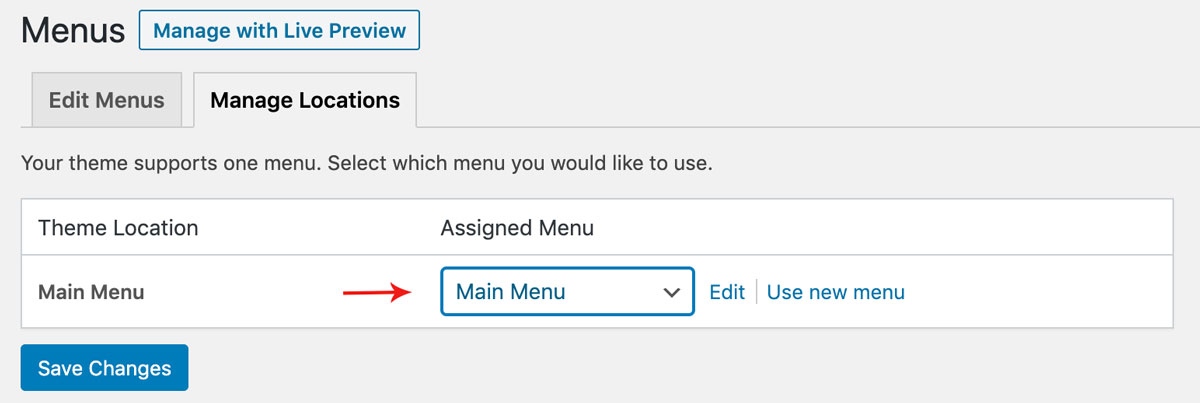
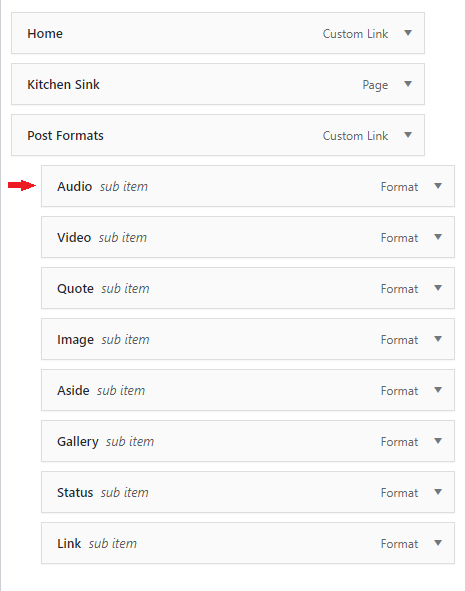
- Menu: To add header menu, Assign any menu to Main Menu Theme Location. Click here for more information.
- Social Networks: You can add the social networks in header section. Click here for more information.
Memoir- A Clean Tumblr Theme
Memoir is a Tumblog style WordPress Theme which makes use of WordPress’s Post Formats feature and boasts awesome typography. Let’s face it, it’s time to get back to blogging and Memoir is ready to do that. Plus, it’s also responsive and Retina Display ready. When reading on your iPad, posts in Memoir look like a native app. Absolutely stunning.
Thank you for purchasing the theme. We provide support for all of our themes at https://www.scube.co/support/, but please make sure you read this documentation in it's entirety first.
Thanks again!











Social Networks
The information in this section will be displayed on the Header Section.