
Haute WordPress Theme Documentation
- Created On: 7 Aug 2014
- Last Changed: 26 Aug 2024
- Current Version: 2.0.0
- Developed By: SCube Themes
- Theme Support: https://www.scube.co/support/
Introduction
Haute is built to make use of the Cart66 or Cart66 Cloud ecommerce plugins, making your WordPress install an awesome looking store. Haute makes it easy to get your products front and centre to start making sales. Clean and minimal, Haute can bring your high class fashion to the world.
Thank you for purchasing the theme. We provide support for all of our themes at https://www.scube.co/support/, but please make sure you read this documentation in it's entirety first. Thanks again!
Theme Installation
Download Theme
At first, you need to download haute theme from ThemeForest website.
To download the theme:
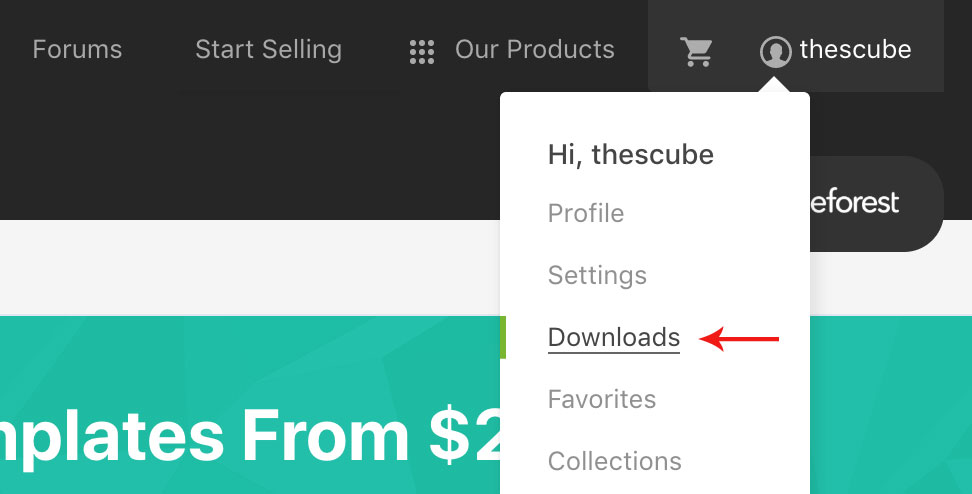
- Go to Theme Forest and login into your account.
- In the upper right corner, hover over your username and click on Downloads.
- Scroll down to haute and click on Download All files .
- Extract the downloaded .zip file into a folder. These files will be needed for the next steps.
Installing The Theme
There are few methods to upload and install a theme on your WordPress website. We explain about two easy installation methods here.
Installing through WordPress
- On WordPress left menu, go to Appearance > Themes.
- Click on Add New Theme.
- Click on Upload Theme button.
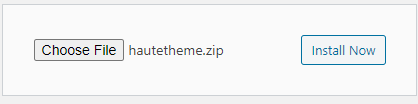
- Click on Choose File button and select Haute.zip that you have extracted from the themeforest downloaded file then click on Install Now button and wait for the install to complete.
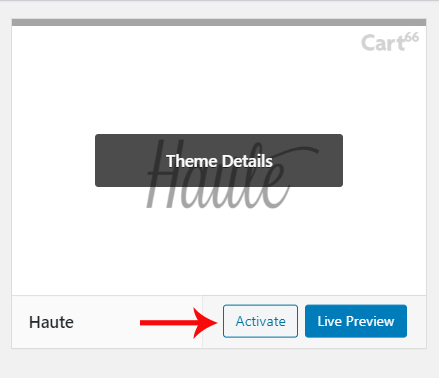
- After the theme installed successfully, click on Activate button.


Uploading Through FTP
Alternatively, you can upload the theme through file transfer protocol. Keep in mind that this will only upload the theme to your website, it will not activate it.
- Use a FTP (for example Filezilla) to access your host web server.
- In the files browser navigate to /wp-content/themes.
- Extract Haute.zip and Transfer it into the directory.
Installing The Child Theme
If you plan on customizing and editing the theme’s files, it is always recommended to install a child theme. Having child theme guarantees that your changes will not be deleted on each update of the theme and they will stay intact.
Use the same process of Installing the theme to install the child theme.
Install Required Plugins
After successfully activated the child theme. It's important to install and activate the required plugins for the theme.
There are four plugins (required) for Haute theme [version 2.0.0.]
- Contact Form-7
- One Click Demo Import
- Option Frame Work
Install & Activate Required Plugins
- When theme is activated, Notice to install the required plugins will appear on the WordPress backend.
- Click on the Begin installing plugins link to install and then activate the plugins.

Theme Recommended Plugins
- One Click Demo Import: This plugin is used to import the demo content. It includes pages, posts, media, menus and widgets. You need to install and activate this plugin to import the demo content
- Contact form 7: We used Contact form 7 (CF7) plugin to add contact form on contact page. You need to install and activate this plugin before importing the demo file Click here to see the plugin.
- Option Framework: The Options Framework Plugin makes it easy to include a full featured options panel in any WordPress theme.
Import Demo Content
When you first install Haute, it won’t contain all the demo content that you might have seen in the live demo. Before importing the content make sure all the plugins are activated. You need to install and activate One Click Demo Import plugin to import the demo content.
Steps
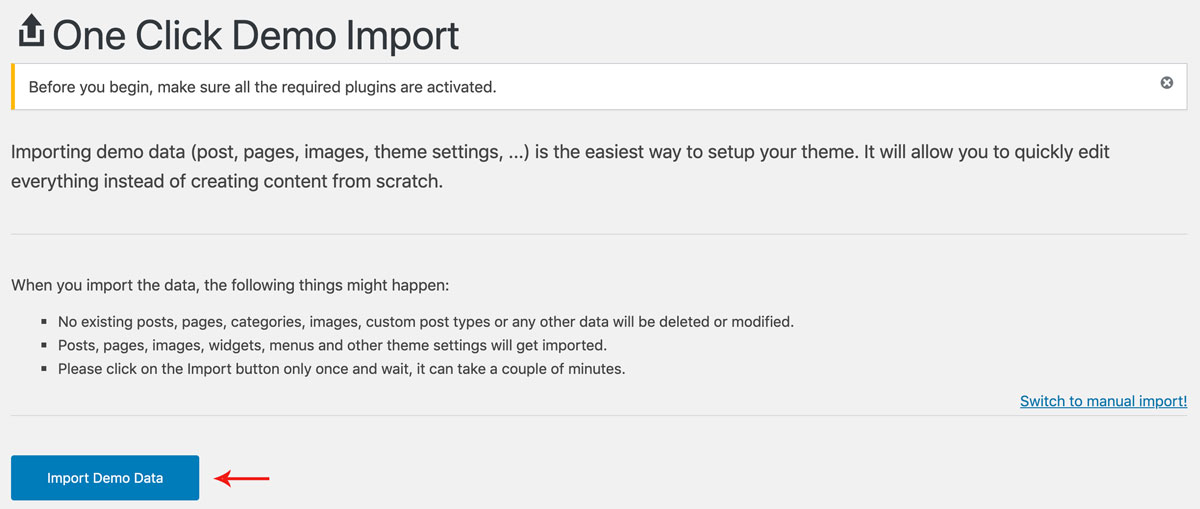
- On WordPress left menu, go to Appearance > Import Demo Data.
- On the One Click Demo Import page. Click on the Import Demo Data button only once and wait, it can take a couple of minutes to import all the demo data.
- Please be patient while importing all the content.
- It will import pages, posts, media, Products, Featured tiles, menus and widgets.
Theme Options Setup
Theme Options is the main section of Haute, which you can use to change your global settings for your website. You can access Theme Options on WordPress left menu, go to Appearance > Theme Options.
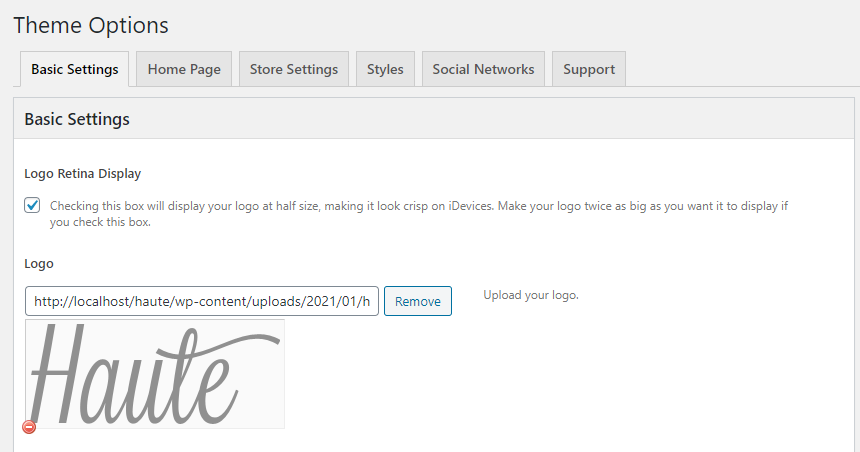
Basic Settings
- Logo Retina Display: This enables display your logo at half size, making it look crisp on iDevices.
- Upload Logo
- Upload a favicon for the website (Browsers that provide favicon support typically display a page's favicon in the browser's address bar, sometimes in the history as well and next to the page's name in a list of bookmarks).
- Site Layout: Left & Right layouts. Choose the layout to set.
-
Sticky Header
-
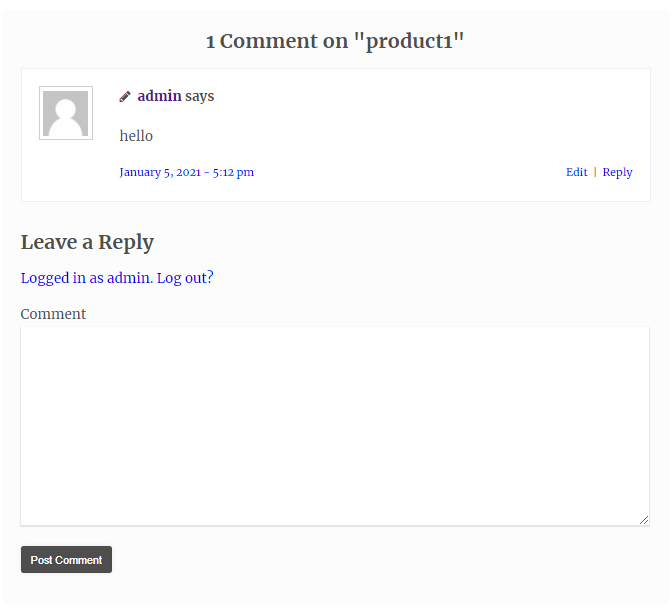
Products Comments
If you choose 'yes' Comments will appear on each product below
If you choose 'No' Comments will not appear on the product.
-
Credit Where credit is Due
Credit Where Credit Is Due: Enabling this option will give credit to the haute theme. It will be shows in a footer section.

If you choose 'yes' Header menu is stick to the top of the header as the user scroll down the site.
If you choose 'No' Header menu is not stick on the top of the header.
Home Page
This section has Home page settings of the website.
-
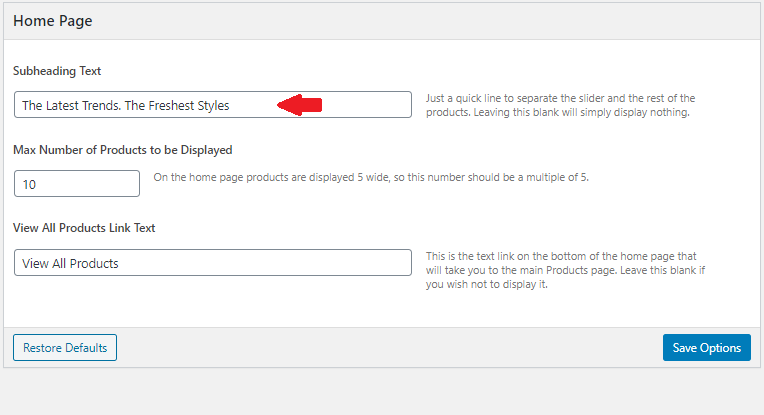
Subheading Text
This is used for subheading. Just a line to separate the slider and the rest of the products.
It Shows as,
-
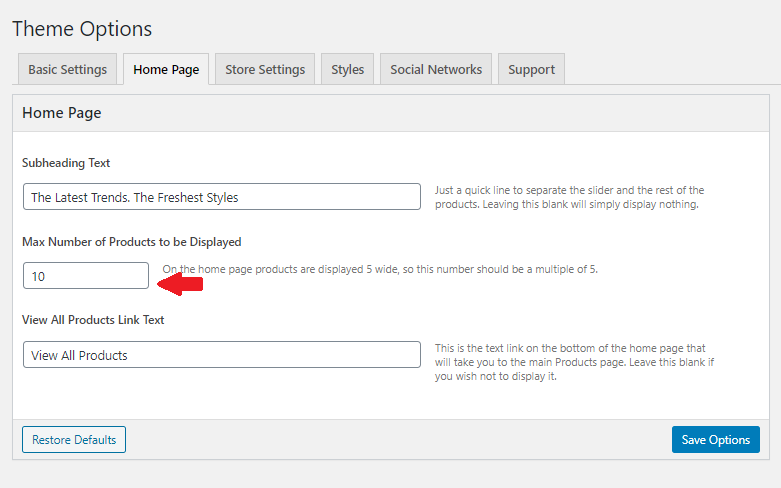
Max Number of products to be Displayed
On the home page products are displayed 5 wide, so this number should be a multiple of 5.
It shows as,
-
View All Products to be Displayed
This is the text link on the bottom of the home page that will take you to the main Products page. Leave this blank if you wish not to display it.
It shows as,


Store Setting
This section has Store settings of the website.
- select Yes - This will not allow you to sell products. It displays only a store link.
- Select No - This will allow you to sell products. It display store link, Cart link, Member login link, Account link.
Affiliate Mode: Would you like to disable Cart66 support in the theme and turn on the Haute Affiliate Mode?
Store Link: It is the Link to the store home page. Where we see all products of a single company. URL including the http://. If your permalinks structure is Post name (recommended), it will be http://www.yourdomain.com/store.
Cart Link: It is the link of "Your cart" page (created by Cart66). Enter the complete URL including the http://. If your permalinks structure is Post name (recommended) it will be http://www.yourdomain.com/store/cart.
Member Login Link: This link will be used in the header, if you have a membership item or a page that requires users to login. You must create this page and have the login form on it using "Cart66" shortcode [account_login]. Enter the complete URL including the http://. Note: this is not required unless you have member login page.
Account Link: This link will be used in the header if you have an account page (Available after logging in). You must create this page, and enter the complete URL including the http://. Note: this is not required unless you have member login page.
Styles Settings
This section has basic style settings of the website.
- Post Author Box: if enabled this option, it shows "About This Author" box after post content on post's single page and the description of the author pulls from Users > Your Profile.
- It Show as
- Link Color: Select the color for your link.
- Button Color: Select the color for the button from option.
- Button Text Color: Select dark or light, the color for the text of your buttons. This is to help it stand apart from the button.

Header
Haute Header consists of 5 items: Logo/Site Title, Menus. Login, Cart & Search Bar
- Logo/Site Title: You can add logo in Appearance > Theme Options > Basic Settings tab. If the logo is not provided Site Title will be used. Click here for more information.
- Menu: To add header menu, Assign any menu to Primary Theme Location.
- Login Link: To add header login link, Go to Appearance > Customize > Theme Options > Store Settings and add login link. Click here for more information.
- Cart: The cart will appear when Cart66 plugin is installed and activated.
- Search Bar: Search Bar is used for searching the products
Menu
How to Create Menu
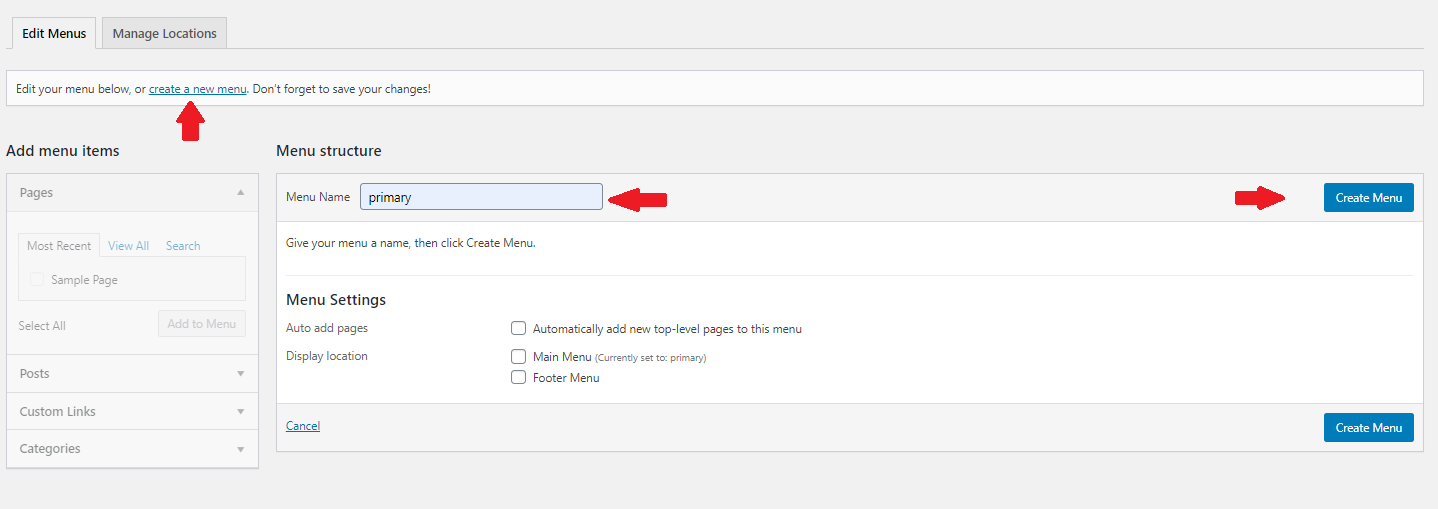
- To create Menu, On WordPress left menu, go to Appearance > Menus and click on 'create a new menu' link.
- Enter the Menu name.
- Add pages, posts, (categories) etc from Add Menu Items.
- Finally, Click the Create Menu button to save your changes.
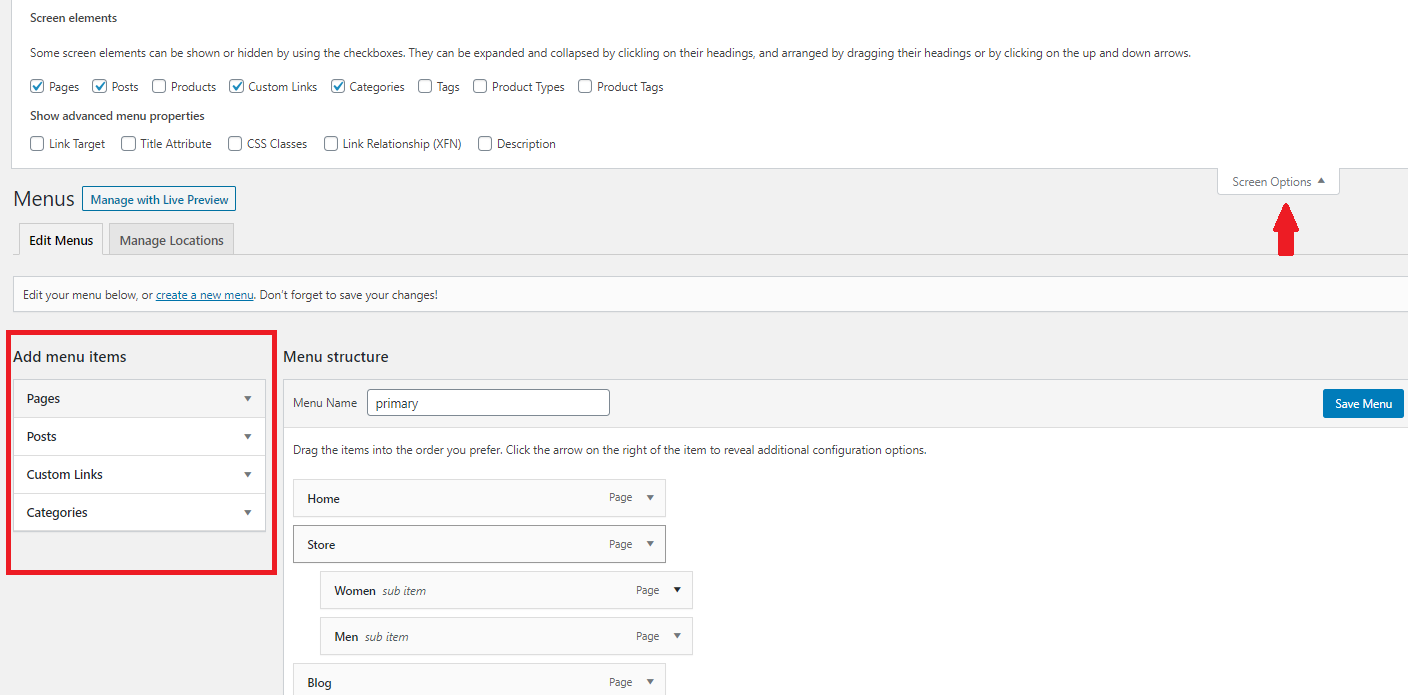
Menu Features
- Default WordPress has 'Pages, Posts, Custom Links & Categories Menu items.
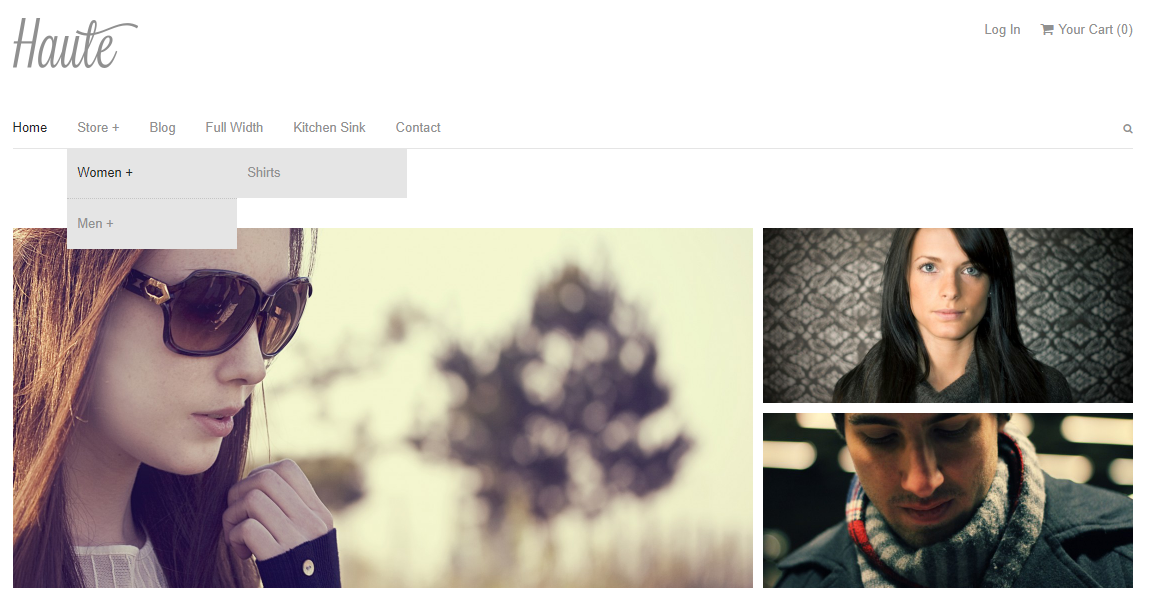
Header Menu
- The Header Menu is placed on the top of the header.
- They are usually presented as a horizontal bar of links at the top of every page on a website.
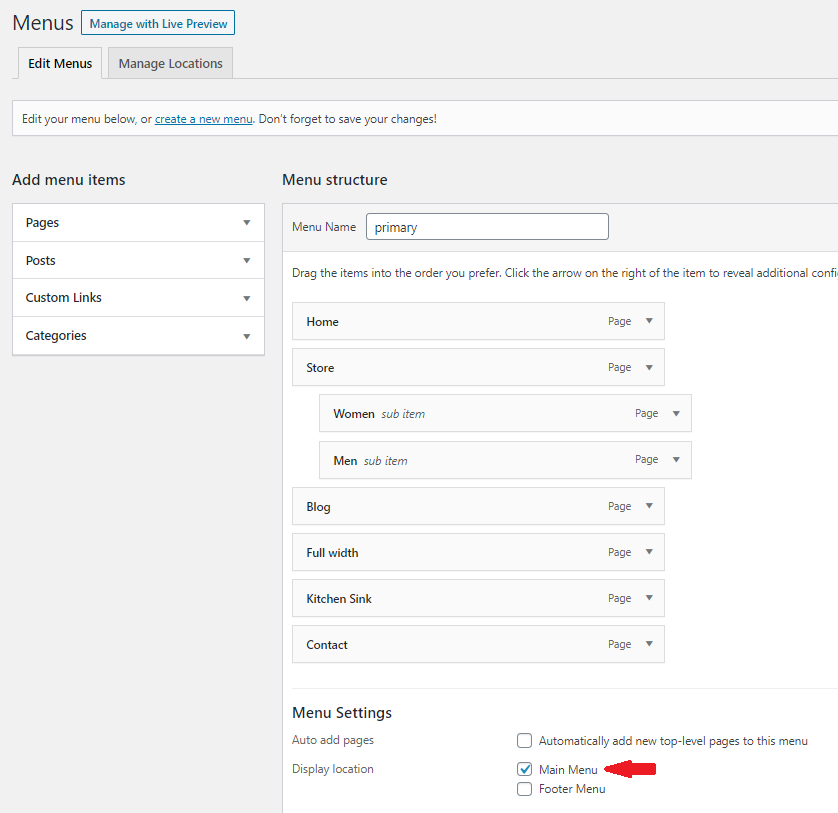
- Setup Header Menu: On WordPress left menu, go to Appearance > Menus
- You can create a menu or if you downloaded the demo content, It has the menu named 'primary'. Select the menu. On the Edit Menus tab, below the Menu Structure. It has Menu Settings, Tick the checkbox 'Main Menu'. Finally save the changes.
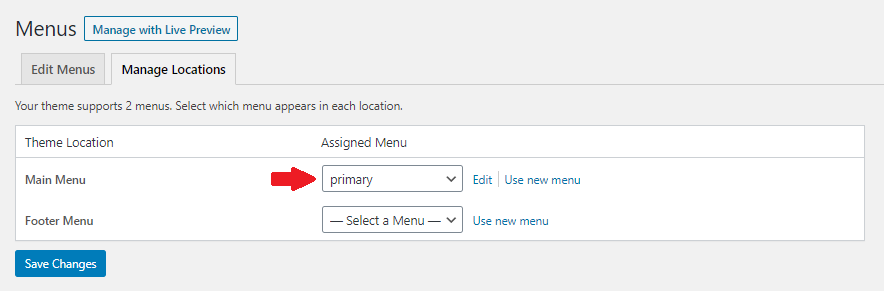
- Alternatively, on Manage Locations tab, Assign the Menu to primary Theme Location.
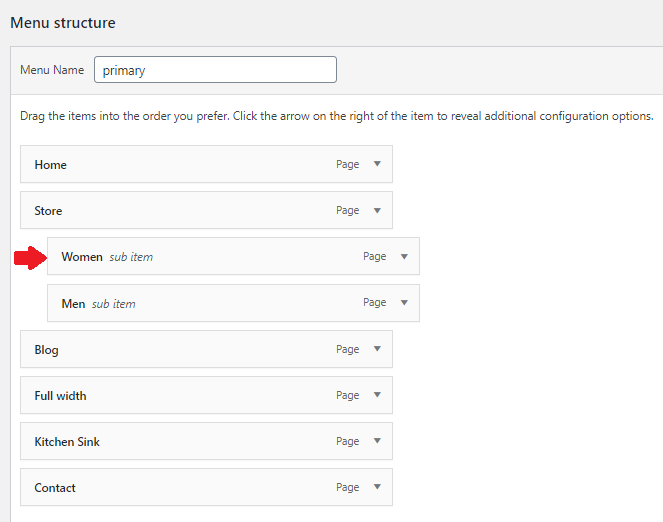
- Header menu supports 2-level sub menus.
- On Menu Structure, Drag a menu item towards right under another menu item to make it as sub item.
Widgets
How to Add Widgets
- On WordPress left menu, go to Appearance > Widgets. You can see available widgets on the left and widget areas on the right.
- Choose a Widget and either drag it to the sidebar where you wish it to appear, or click the widget, (select a destination sidebar) and click the Add Widget button.
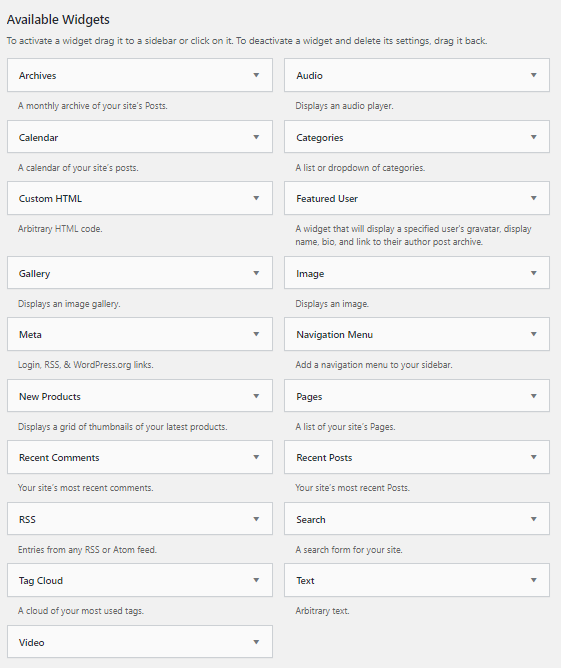
Available Widgets
- WordPress has lots of widgets available to add in widget areas. Click here to know more about wordPress widgets
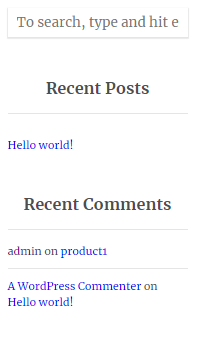
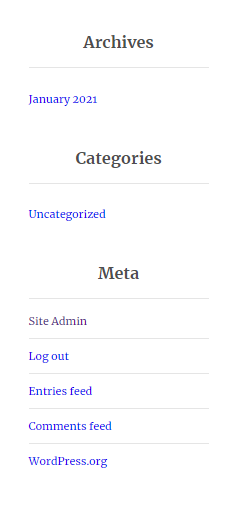
Overall Sidebar
- Overall Sidebar widgets will show upon every page and post.
- Choose a Widget and either drag it into the sidebar from left side widgets area.
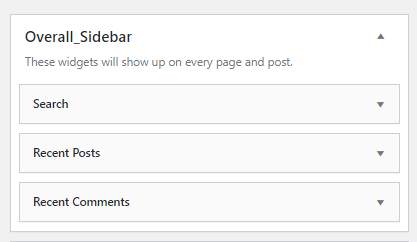
It Shows as,
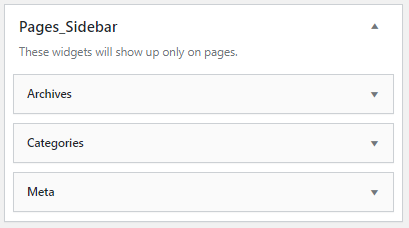
Pages
- To view/access all available pages on the website, on WordPress left menu, go to Pages. It will list all the available pages.
- If you downloaded the demo content, You can see demo pages.
- When hover on the available page on the list, you can see the options for each page.

How to Create a Page
- To create a page, on WordPress left menu, go to Pages > Add New.
- Haute supports Block (Gutenburg) Editor. Click here to see how to add content using Block (Gutenburg) Editor.
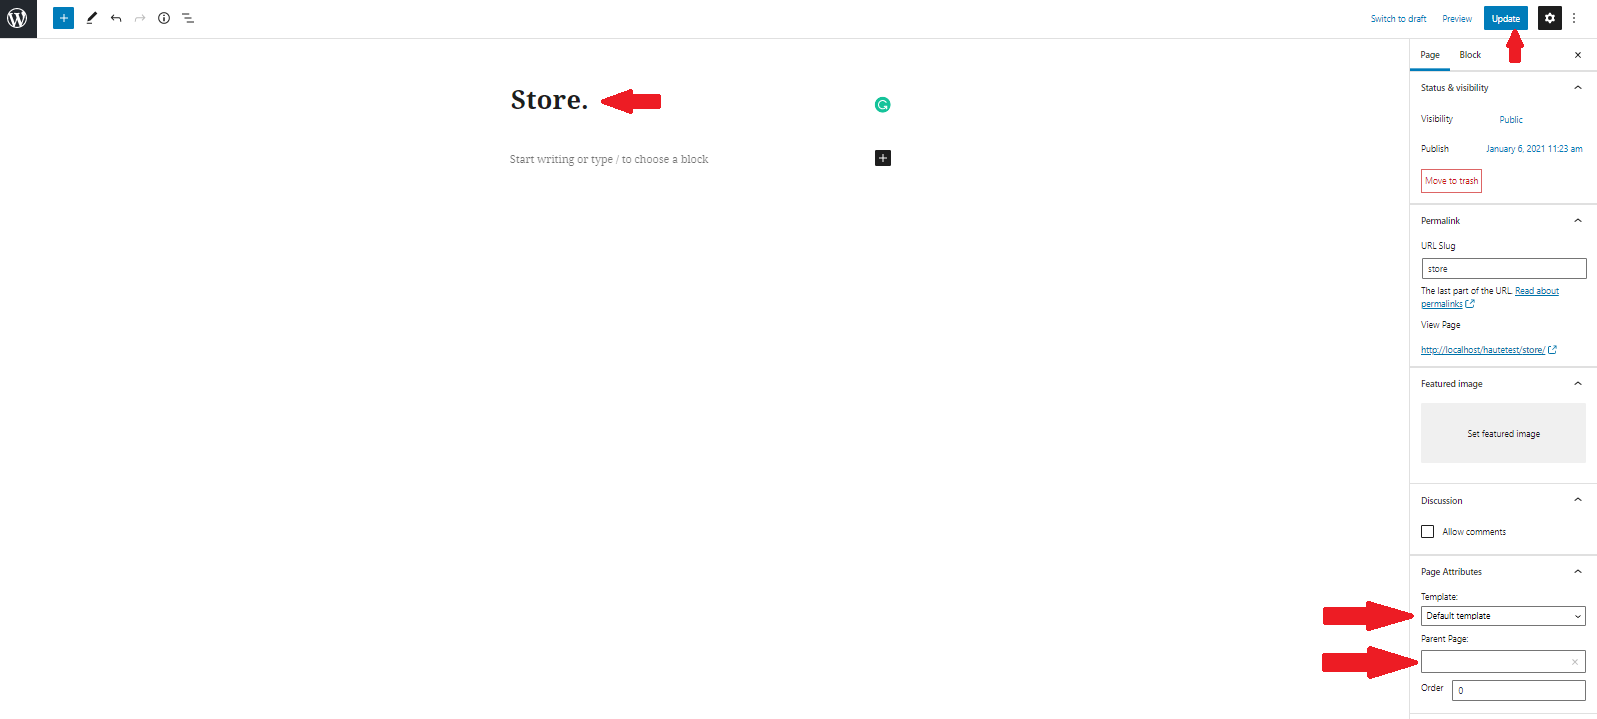
- Add Page title, content, choose 'page template' (if required), choose 'parent page' (if required) and publish it.
Page Templates
Haute provides 3 page templates. They are Default, full width templates & Store
How to setup Page Template
- While creating a page, you can choose the page template or you can change the page template anytime while editing the page.
- It is important to choose correct page template for each page.
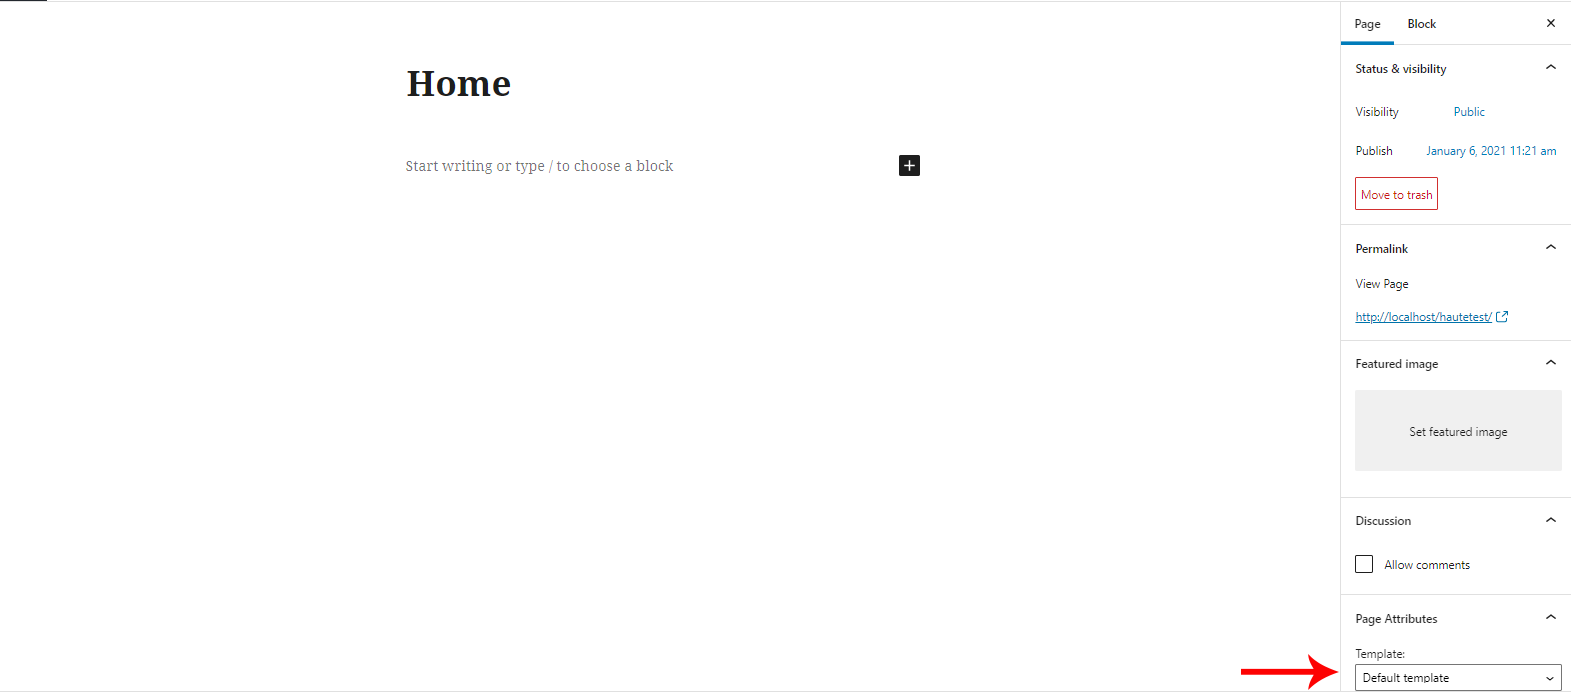
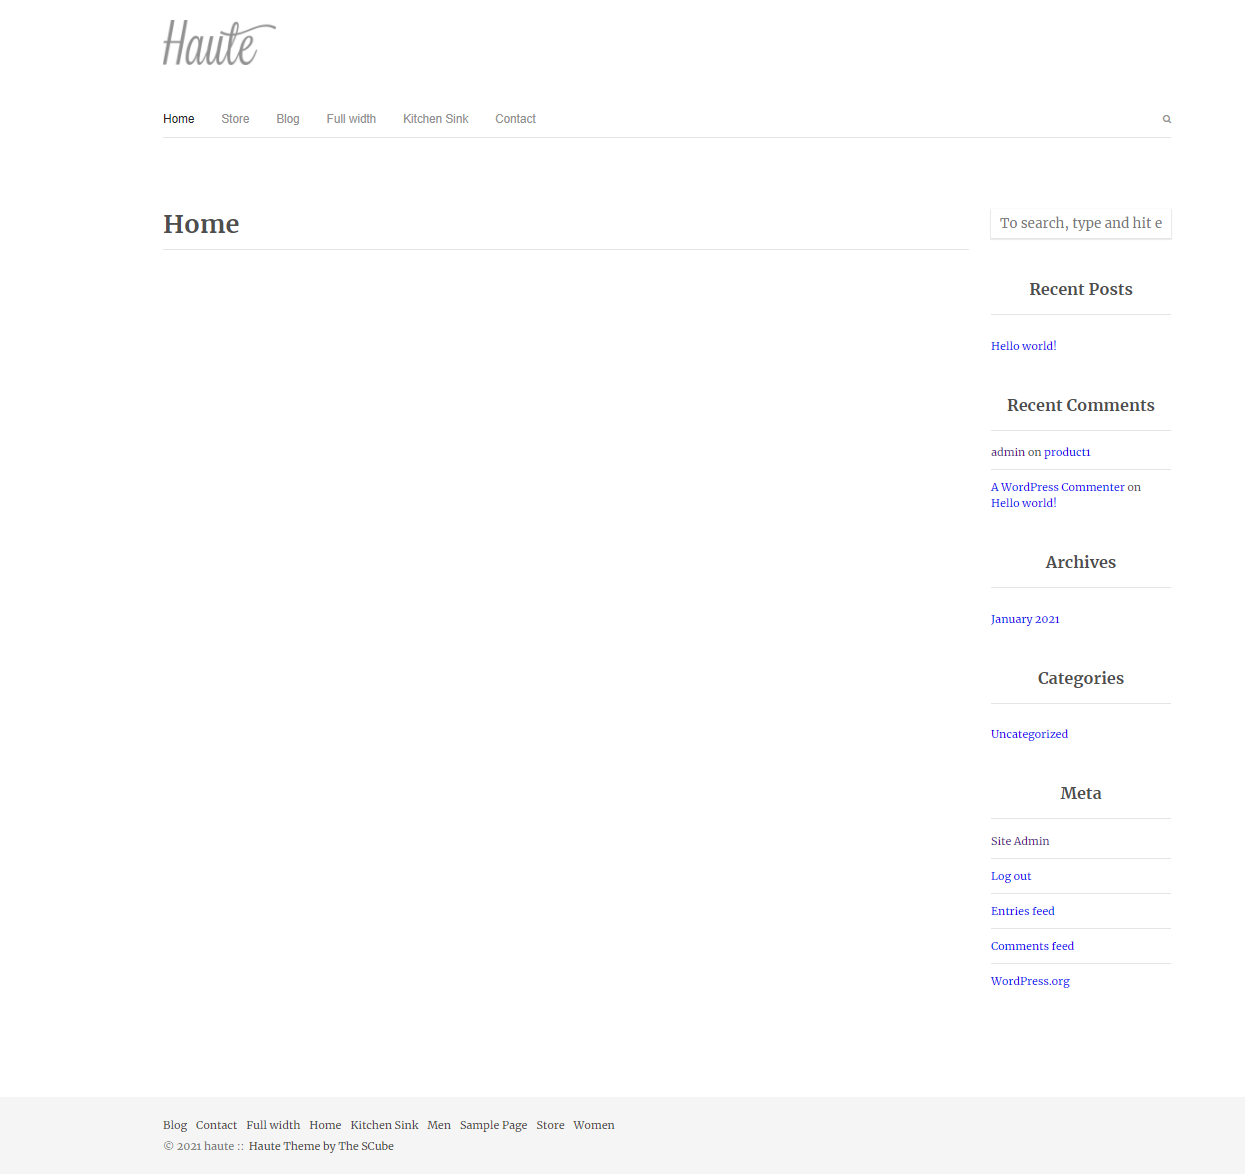
Default Page Template
- This is the default template for pages & posts.
- This template has sidebar (Left or Right). You can setup the sidebar using Site Layout option on Theme Options > Basic Settings. Click here to know more about it.
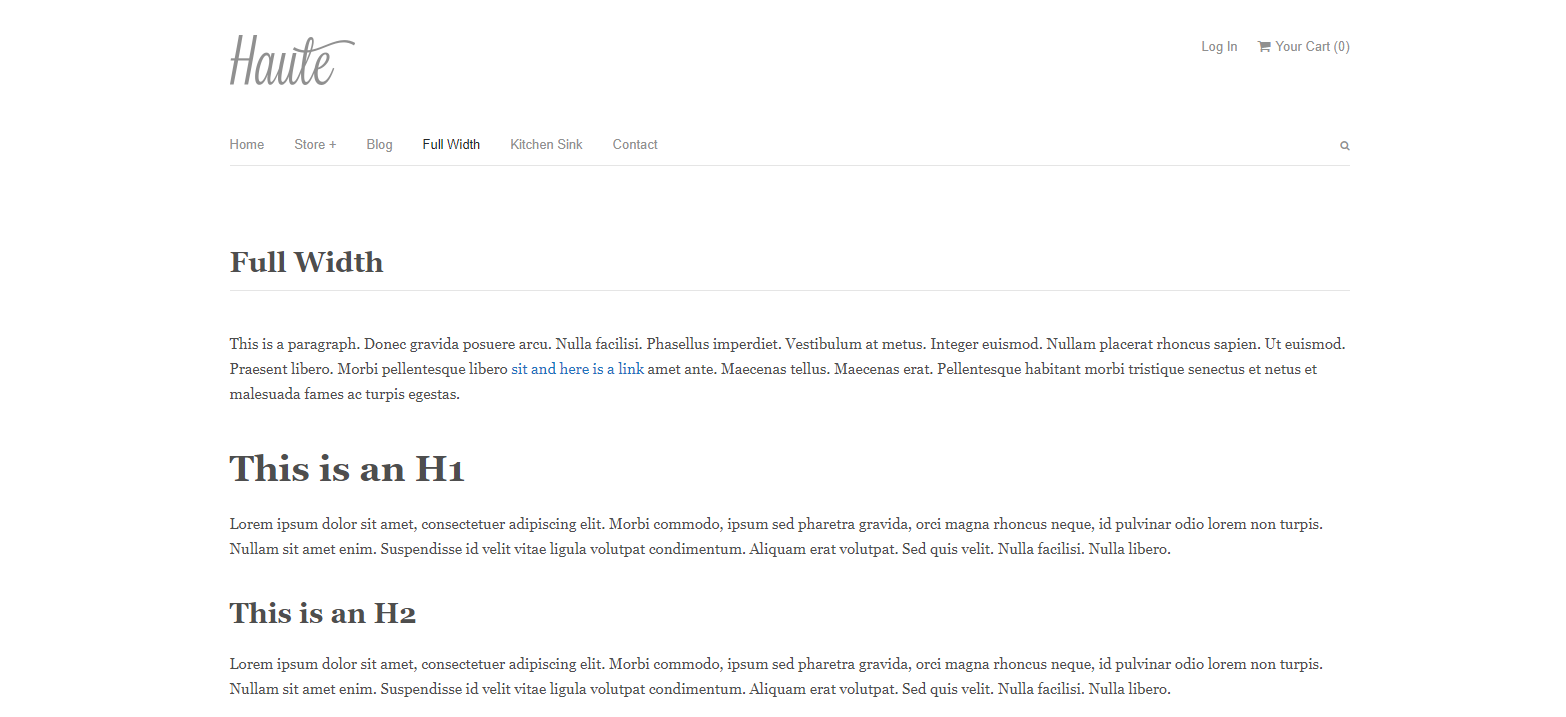
Full Width Page Template
- This template has no sidebar. The content of the page is stretched to the full width of the page container.
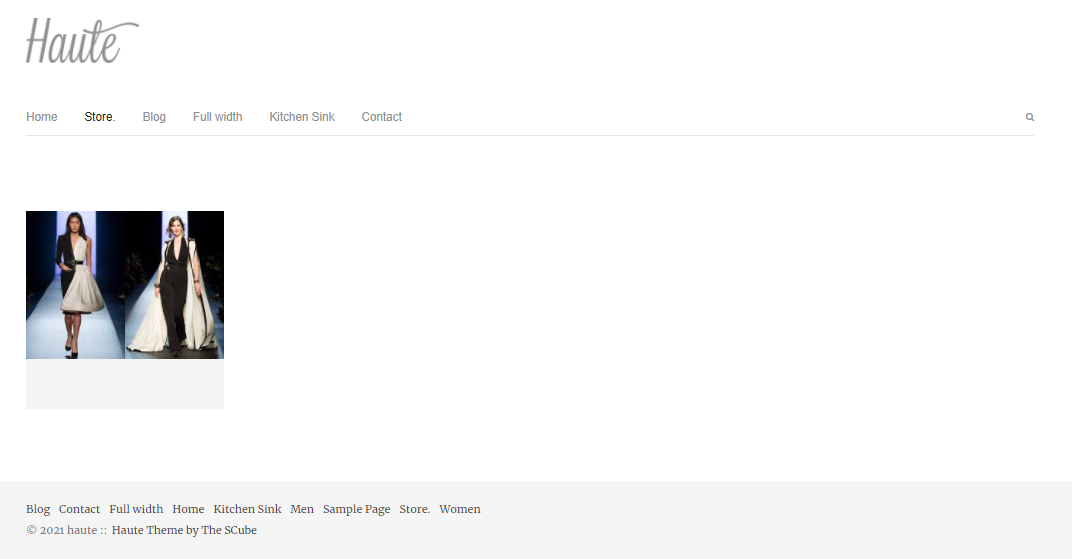
Store Template
- This template has no sidebar Widgets.
Blogs
Blog Archive
How to setup Blog Archive page
- To setup blog archive page, Create a page, name it and publish the page. Click here to know how to create a page.
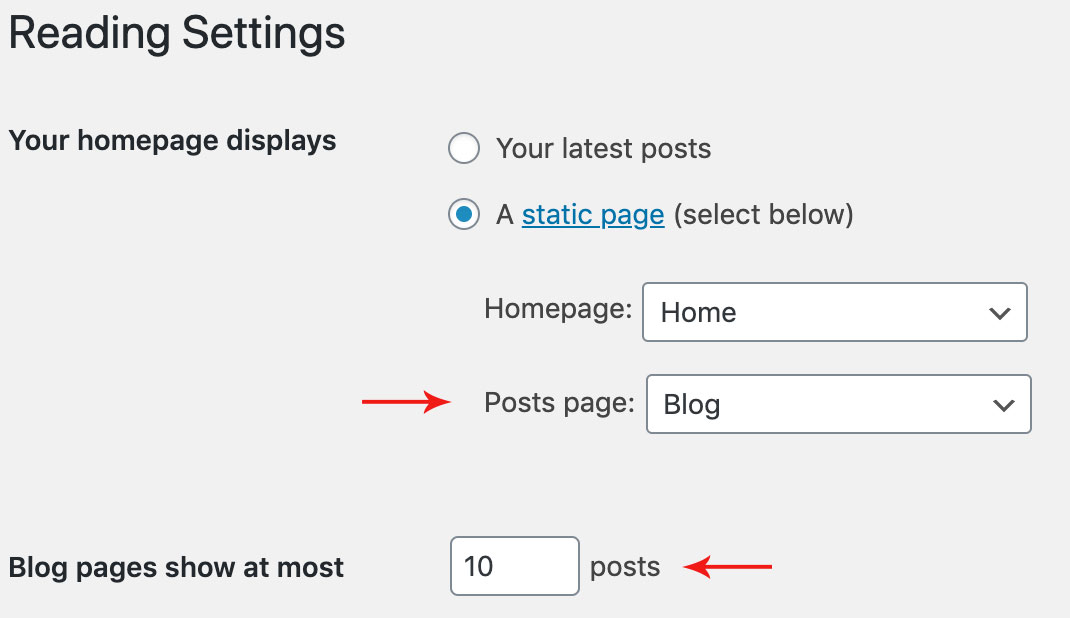
- Then on WordPress left menu, go to Settings > Reading.
- On Reading Settings page, From Posts page dropdown, select the created page.
- Then on 'Blog pages show at most' field, enter the number of posts to show on the page before pagination.
- Finally, Click on the Save Changes button.
- Now you can see the page, It will show the blog archives.
Blog Single
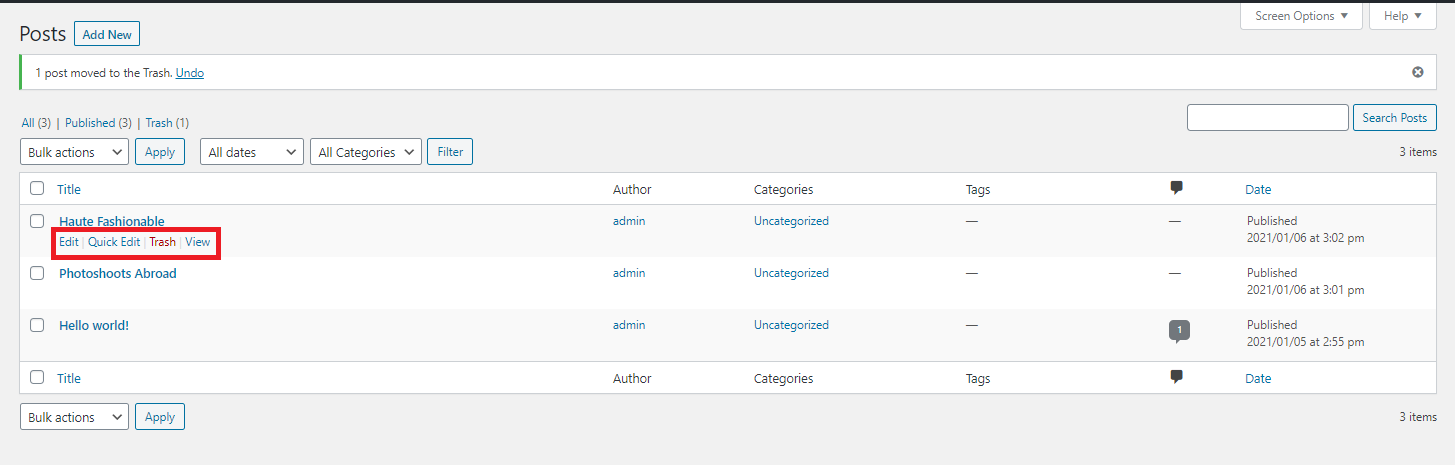
- To view/access all available post on the website, on WordPress left menu, go to Posts. It will list all the available posts.
- If you downloaded the demo content, you can see three blogs on the backend posts page.
- When hover on the available blog (post), You can see the options for each blog.
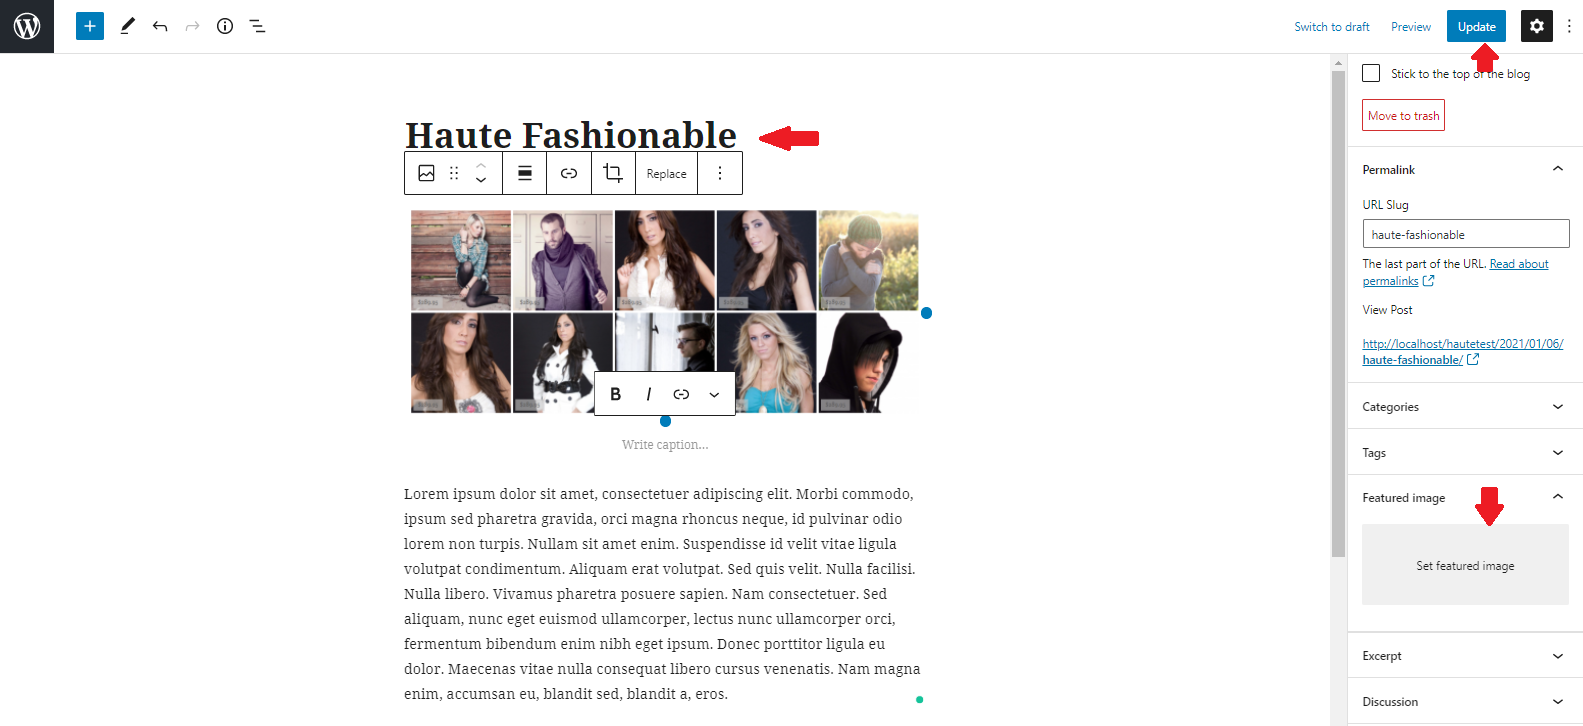
How to Create a Blog
- To create a blog, on WordPress left menu, go to Posts > Add New.
- Rescue supports Block (Gutenburg) Editor. Click here to see how to add content using Block (Gutenburg) Editor.
- Add Blog title, content, featured image and publish it.
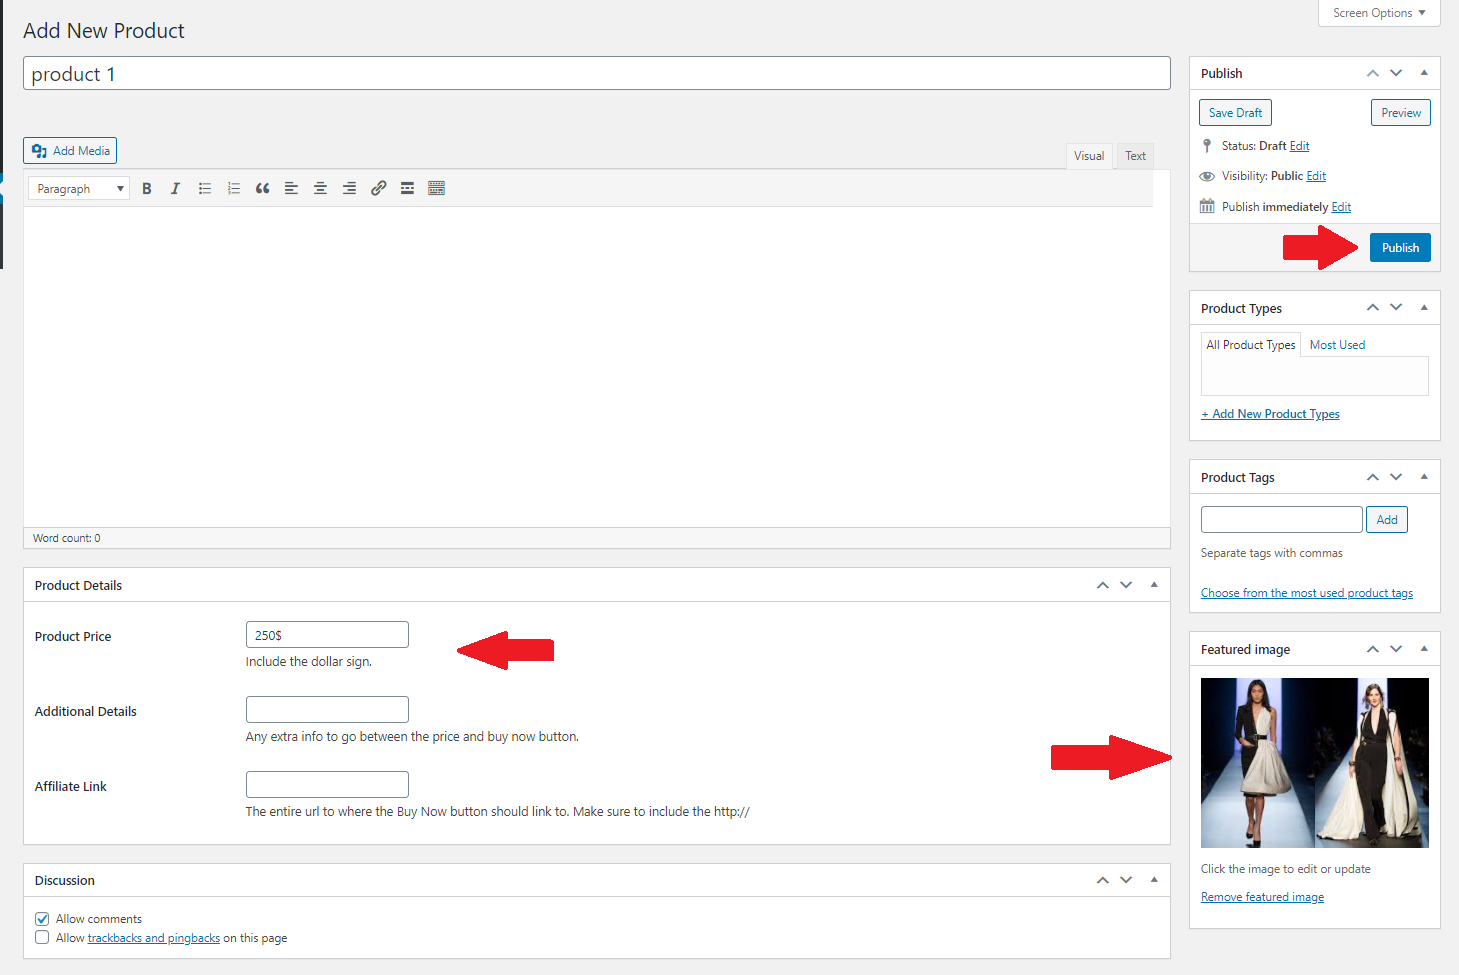
How to Create Product
- To create a product, on WordPress left menu, go to Product > Add New Product
- Set Featured image in product and it will appear in the slide. Product Details:
- Product Price: Enter the price for the product (include dollar sign)
- Additonal Details: Enter any additional information related to the product between price and Add to Cart button.
- Affiliate Link: Enter the Add to Cart link of the product. It shows as,
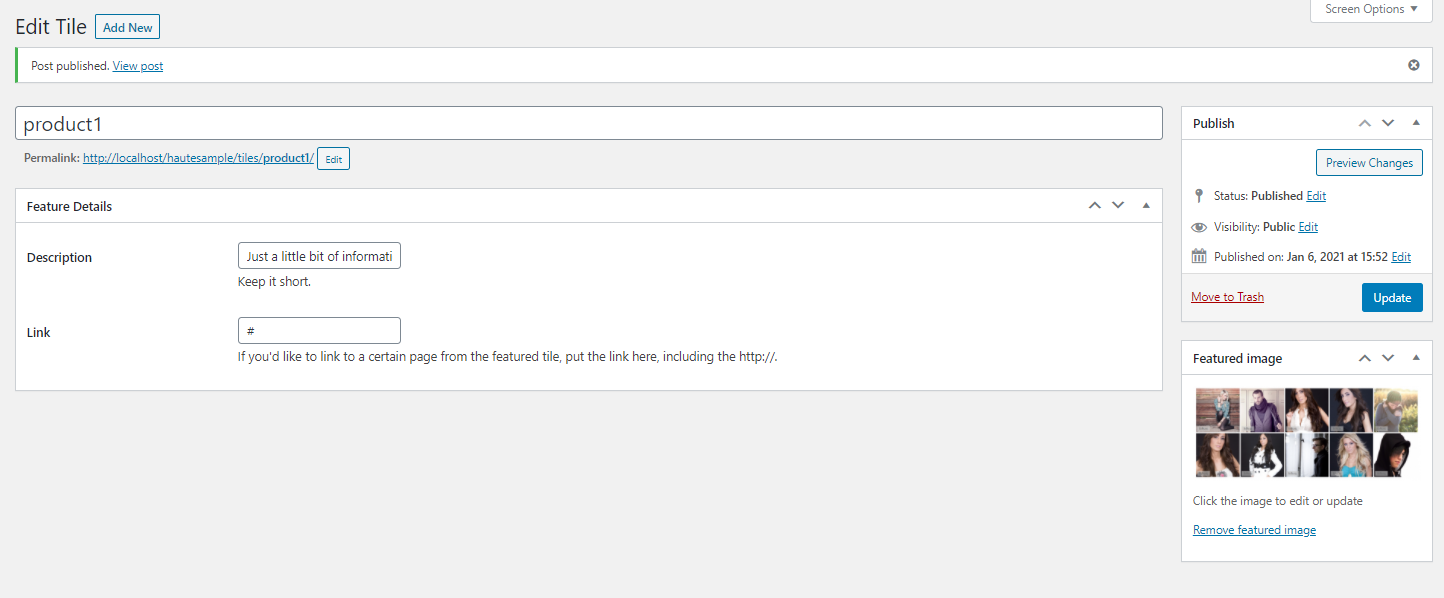
How to Create Featured Tiles
- To create a Featured Tiles, on WordPress left menu, go to Featured Tiles > Add New
- Set Featured image in Featured Tiles and it will appear in the tile.
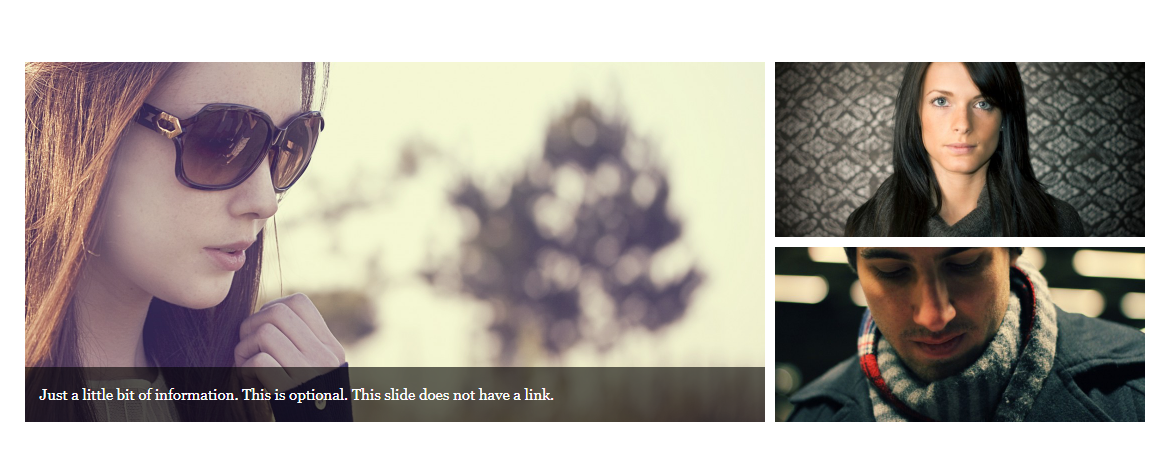
- If you hover the cursor over image the short description appear at the bottom of the image, Featured Details:
- Featured detail has description and link. It Shows as,
Changelog
Version 2.0.0 (September 2020)
- Theme bug and WordPress bug updated.
Haute-Ecommerce WordPress Theme for Cart66

Haute is built to make use of the Cart66 or Cart66 Cloud ecommerce plugins, making your WordPress install an awesome looking store. Haute makes it easy to get your products front and center to start making sales. Clean and minimal, Haute can bring your high class fashion to the world.
Thank you for purchasing the theme. We provide support for all of our themes at https://www.scube.co/support/, but please make sure you read this documentation in it's entirety first.
Thanks again!
Social Networks
The information in this section will be displayed on the Footer Section.