Bolsa WordPress Theme Documentation
- Created On: 7 Aug 2014
- Last Changed: 26 Aug 2024
- Current Version: 2.0.0
- Developed By: SCube Themes
- Theme Support: https://www.scube.co/support/
Introduction
Bolsa is a WordPress e-commerce theme that supports the WooCommerce plugin. Whether you’re just opening shop with a few items, or have a whole stockroom to sell, Bolsa let’s you showcase your fine wares with eye-catching imagery, gorgeous typography and user friendly shopping carts.
Thank you for purchasing the theme. We provide support for all of our themes at https://www.scube.co/support/, but please make sure you read this documentation in it's entirely first. Thanks again!
Theme Installation
Download Theme
At first, you need to download Bolsa theme from ThemeForest website.
To download the theme:
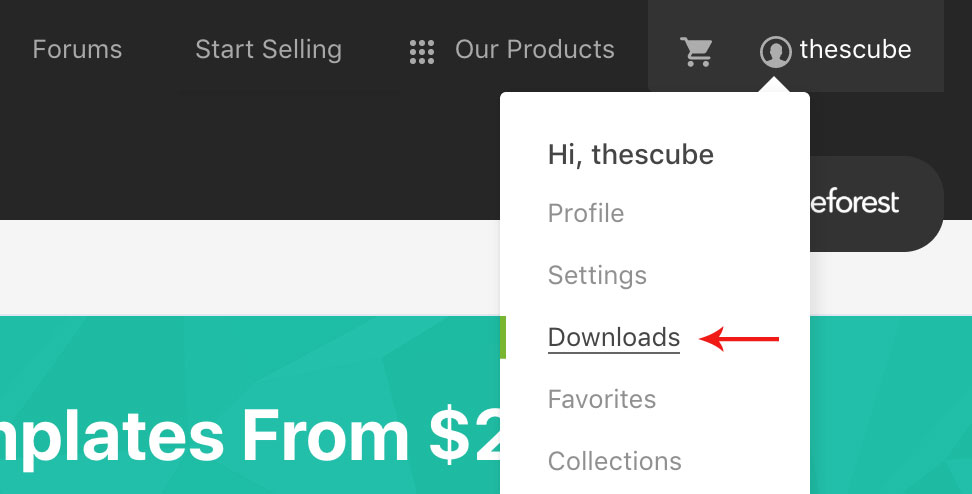
- Go to ThemeForest and login into your account.
- In the upper right corner, hover over your username and click on Downloads.
- Scroll down to Bolsa and click on Download All files & Documentation .
- Extract the downloaded .zip file into a folder. These files will be needed for the next steps.
Installing The Theme
There are few methods to upload and install a theme on your WordPress website. We explain about two easy installation methods here.
Installing through WordPress
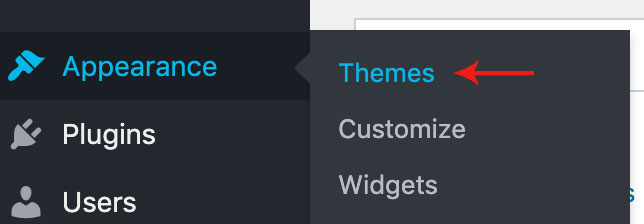
- On WordPress left menu, go to Appearance > Themes.
- Click on Add New Theme.
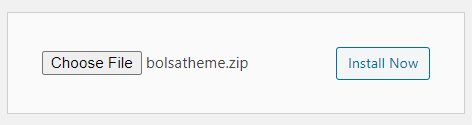
- Click on Upload Theme button.
- Click on Choose File button and select Bolsa.zip that you have extracted from the ThemeForest downloaded file then click on Install Now button and wait for the install to complete.
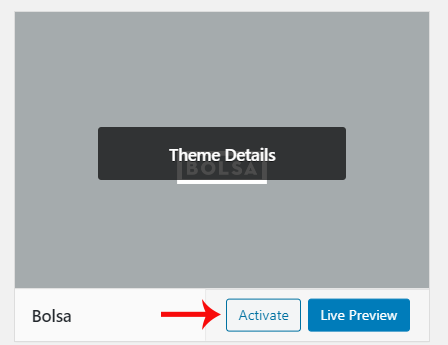
- After the theme installed successfully, click on Activate button.


Uploading Through FTP
Alternatively, you can upload the theme through file transfer protocol. Keep in mind that this will only upload the theme to your website, it will not activate it.
- Use a FTP (for example Filezilla) to access your host web server.
- In the files browser navigate to /wp-content/themes.
- Extract Bolsa.zip and transfer it into the directory.
Installing The Child Theme
If you plan on customizing and editing the theme’s files, it is always recommended to install a child theme. Having child theme guarantees that your changes will not be deleted on each update of the theme and they will stay intact.
Use the same process of Installing the theme to install the child theme.
Install Required Plugins
After successfully activated the child theme. Its important to install and activate the required plugins for the theme.
There are Three plugins required for Bolsa theme [version 2.0.0.]
- One Click Demo Import
- WooCommerce
- Bolsa Addons
Install & Activate Required Plugins
- When theme is activated, Notice to install the required plugins will appear on the WordPress backend.
- Click on the Begin installing plugins link to install and then activate the plugins.

Theme Recommended Plugins
- One Click Demo Import: This plugin is used to import the demo content. It includes pages, posts, media, menus and widgets. You need to install and activate this plugin to import the demo content.
- WooCommerce: WooCommerce can be the perfect eCommerce platform for every retailer. Those plugins may expand functionality in regards to shipping, payments, how products are handled, and more. WooCommerce offers detailed order tracking, customer engagement tools which allow merchants to view past and open orders, update delivery statuses, apply discounts, adjust tax settings, manage inventory, adjust shipping options, and setup coupon codes.
- Bolsa-Addons: This plugin is used for adding additional widgets and metaboxes in post.
Import Demo Content
When you first install Bolsa, it won’t contain all the extra content that you might have seen in the live demo. Before importing the content make sure all the plugins are activated. You need to install and activate One Click Demo Import plugin to import the demo content.
Steps
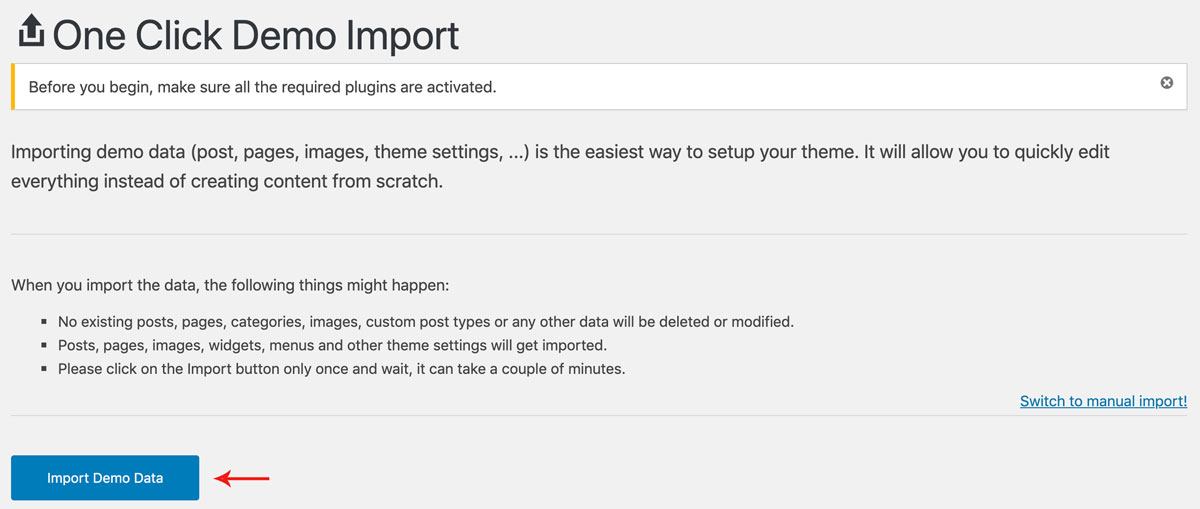
- On WordPress left menu, go to Appearance > Import Demo Data.
- On the One Click Demo Import page. Click on the Import Demo Data button only once and wait, it can take a couple of minutes to import all the demo data.
- Please be patient while importing all the content.
- It will import Pages, Posts, Media, Menus, Widgets and Products.
Header
Bolsa header consists of 2 items: Logo/Site Title and Menu.
- Logo/Site Title: You can add logo in Appearance > Customise > Branding & Presentation tab. In the site Identity Section you can add the Logo as well as Site Title.
- Menu: To add header menu, Assign any menu to Primary Theme Location. Click here for more information.
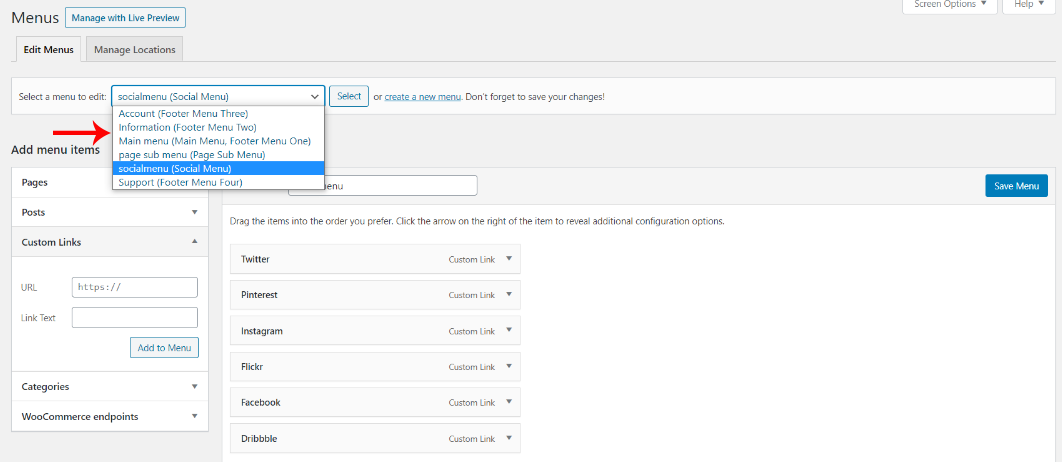
Menu
How to Create Menu
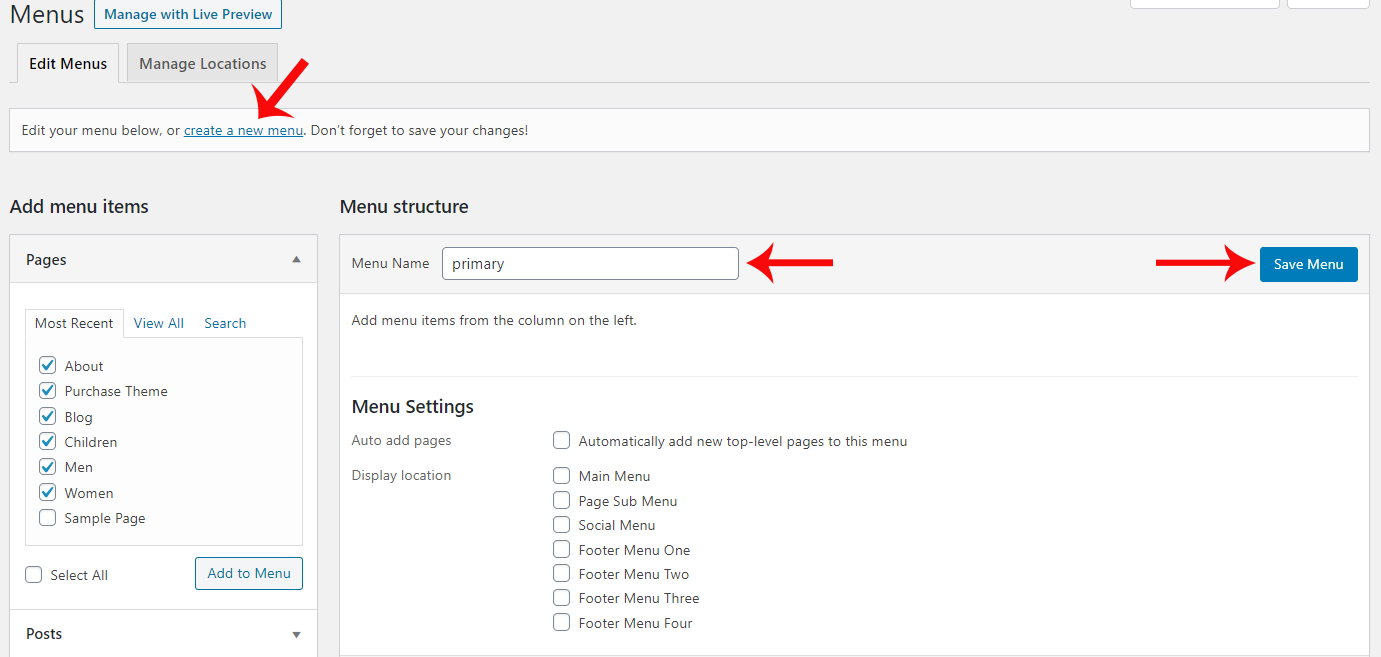
- To create Menu, On WordPress left menu, go to Appearance > Menus and click on 'create a new menu' link.
- Enter the Menu name.
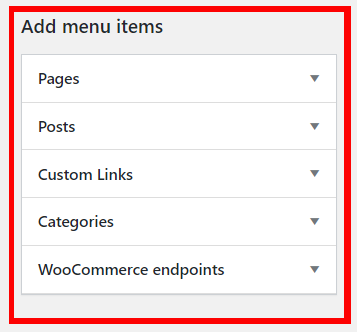
- Add pages, posts, etc from Add Menu Items.
- Finally, Click the Create Menu button to save your changes.
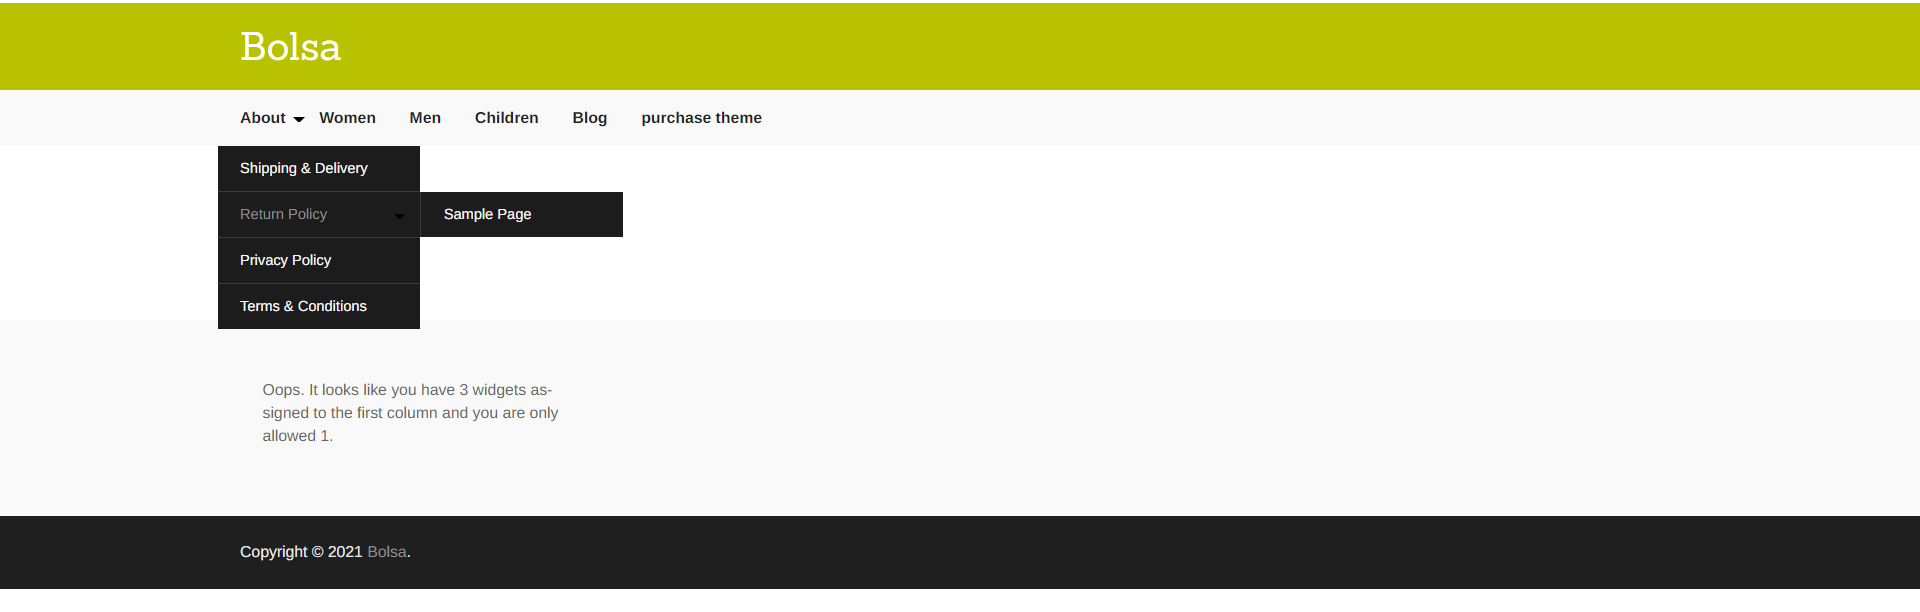
Header Menu
- The Header Menu is placed on the top of the header.
- They are usually presented as a horizontal bar of links at the top of every page on a website.
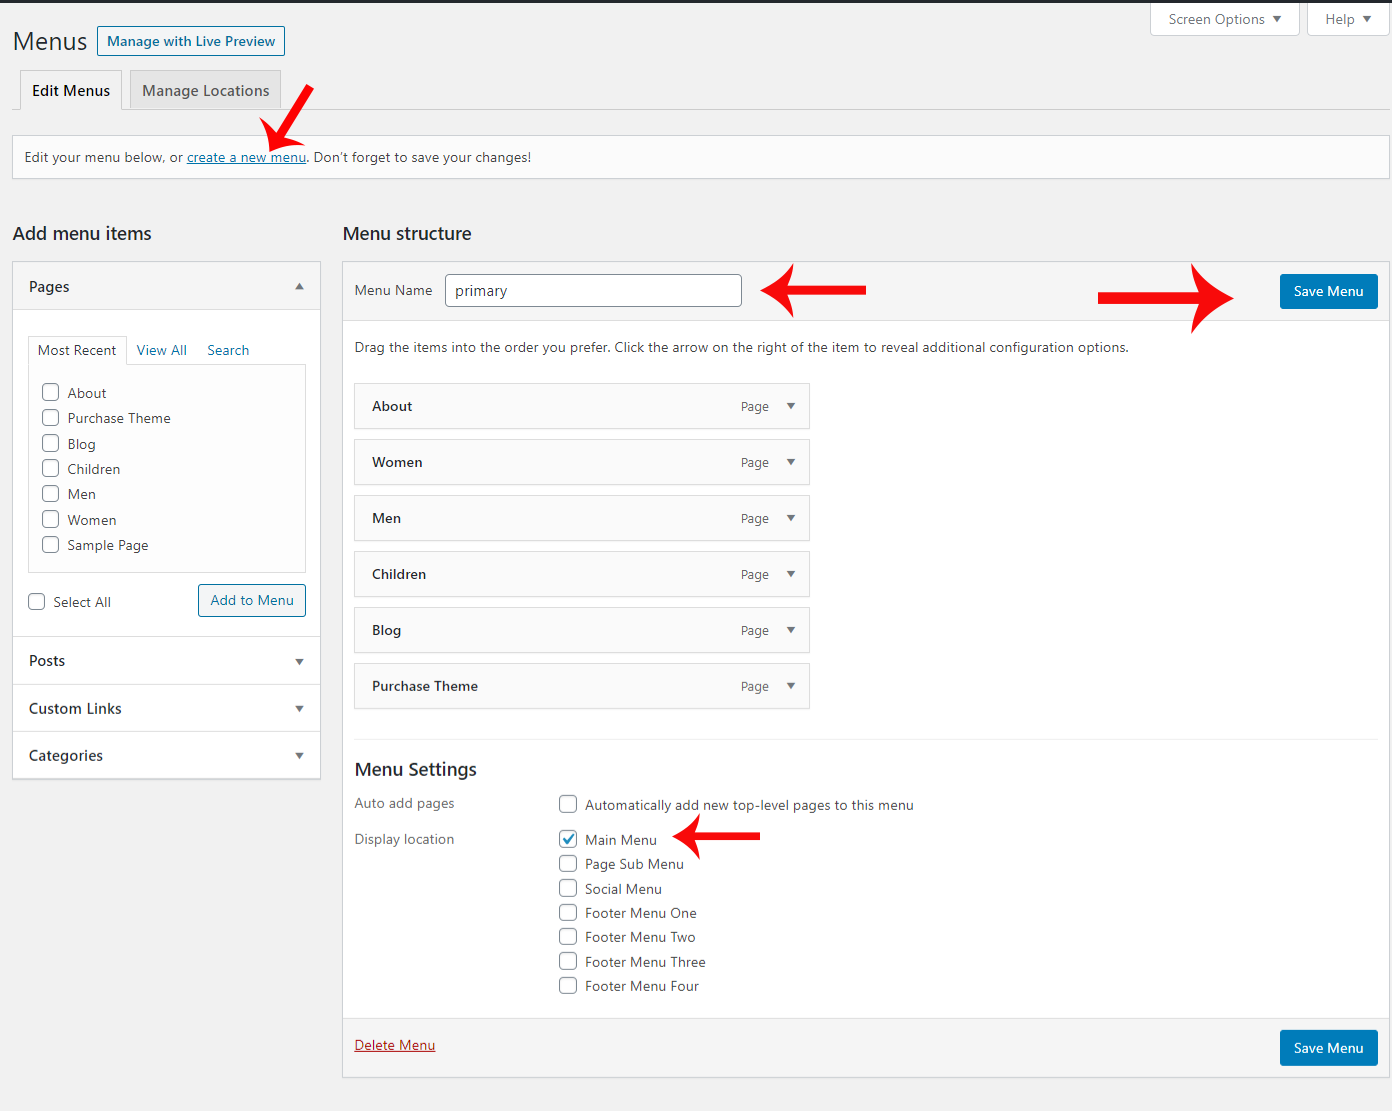
- Setup Header Menu: On WordPress left menu, go to Appearance > Menus
- You can create a menu or if you downloaded the demo content, It has the menu named 'Primary'. Select the menu. On the Edit Menus tab, below the Menu Structure. It has Menu Settings, Tick the checkbox 'Main Menu'. Finally save the changes.
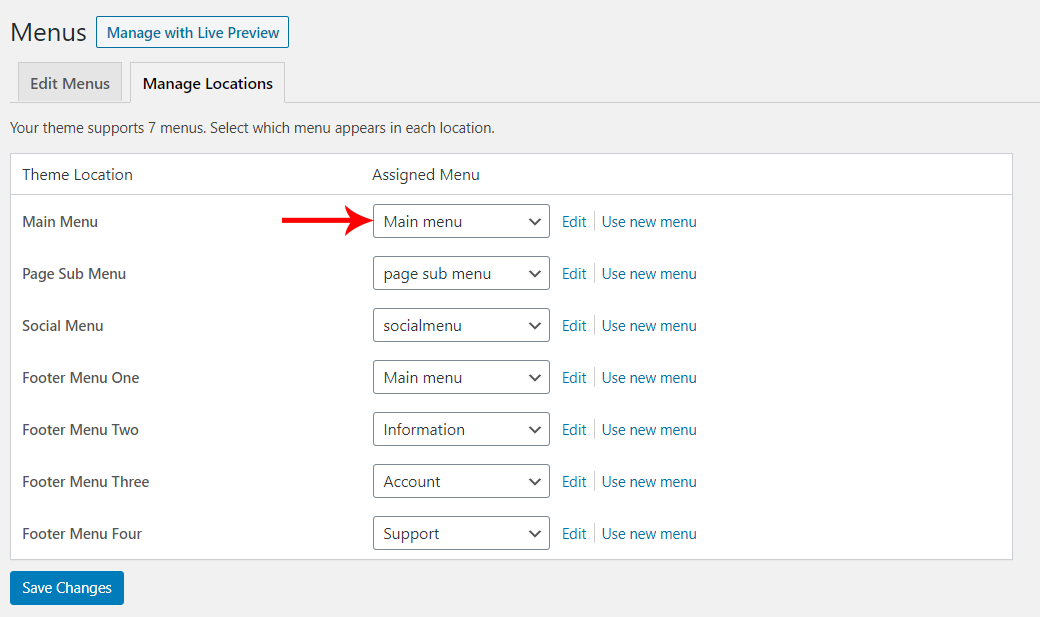
- Alternatively, on Manage Locations tab, Assign the Menu to Main Menu Theme Location.
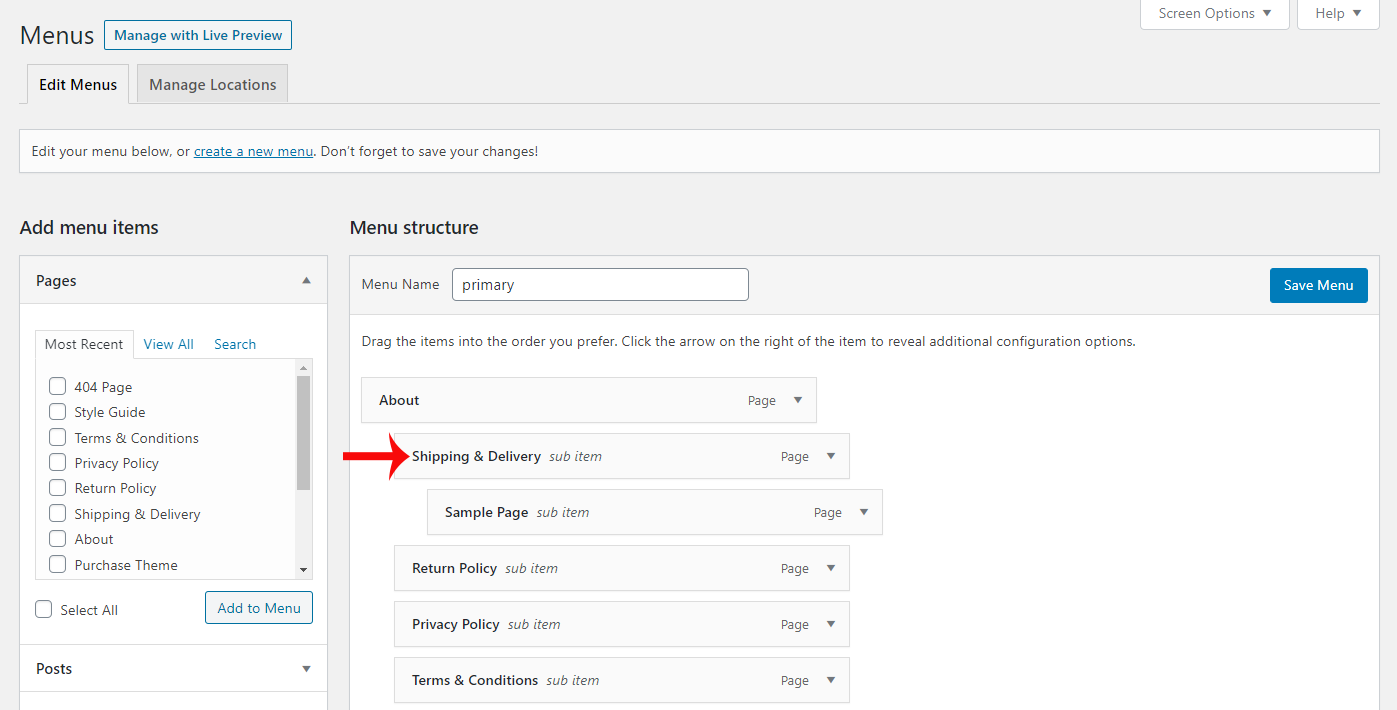
- Header menu supports 2-level sub menus.
- On Menu Structure, Drag a menu item towards right under another menu item to make it as sub item.
Footer
Footer is the Bottom section of the website, in which you may add your Menus, Social networks and other functions available in WordPress widgets. It normally appears on all pages on your website.
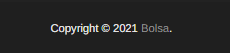
Credit Section
- Footer Credit display a copyright symbol, the current year, and the name of the site.
- Copyright notice on the bottom of a site states that the material displayed is not to be used without permission of the owner.
Widgets
How to Add Widgets
- On WordPress left menu, go to Appearance > Widgets. You can see available widgets on the left and widget areas on the right.
- Choose a Widget and either drag it to the sidebar where you wish it to appear, or click the widget, (select a destination sidebar) and click the Add Widget button.
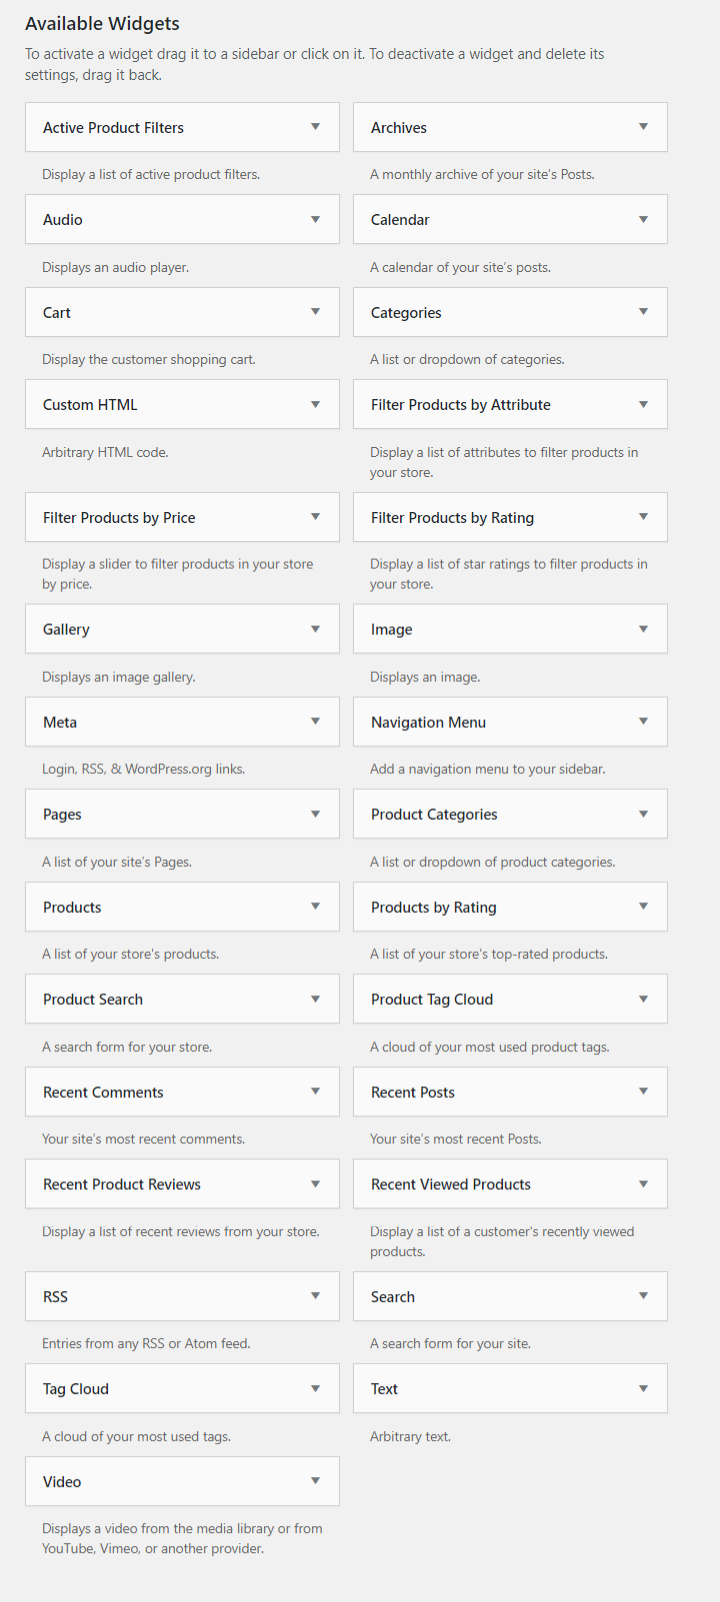
Available Widgets
- WordPress has lots of widgets available to add in widget areas. Click here to know more about WordPress widgets.
- Woocommerce plugin has few widgets available to use.
- Product Search Field — The widget used to display a live Product Search Field. This renders an input field which shows matching results while the customer types. By default, it displays the product title, a short description, the price of the product and shows a button that allows to add it to the cart. It makes a lot of sense to show this anywhere on your site and allow your customers to search and add products to the cart very easily.
- Product Filter — The widgets used to display live Product Filters. These are used to update the results shown on the shop page live, while the customer types or chooses filter criteria and without the need to reload the page. These widgets should be used with the shop page, as the live filtering functions will refine and update the products displayed on it. They will also work with product category pages and similar ones. These widgets will display on relevant shop pages only by default.
Widget Areas
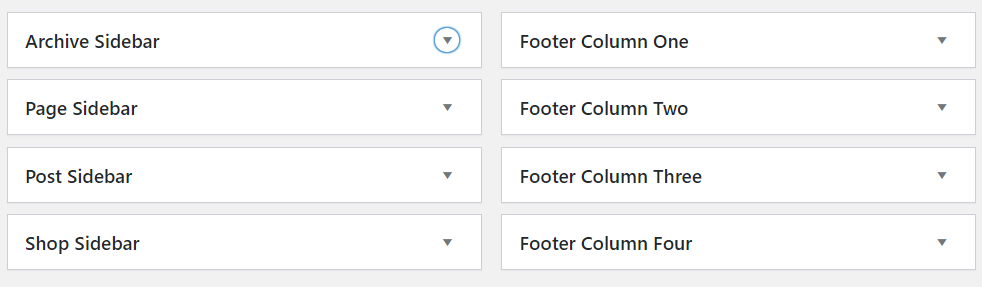
Archive Sidebar
- Archive Sidebar widgets will show sidebar that will appear on archive and search template.
- Choose a Widget and drag it into the sidebar from left side widgets area.

It displays as,
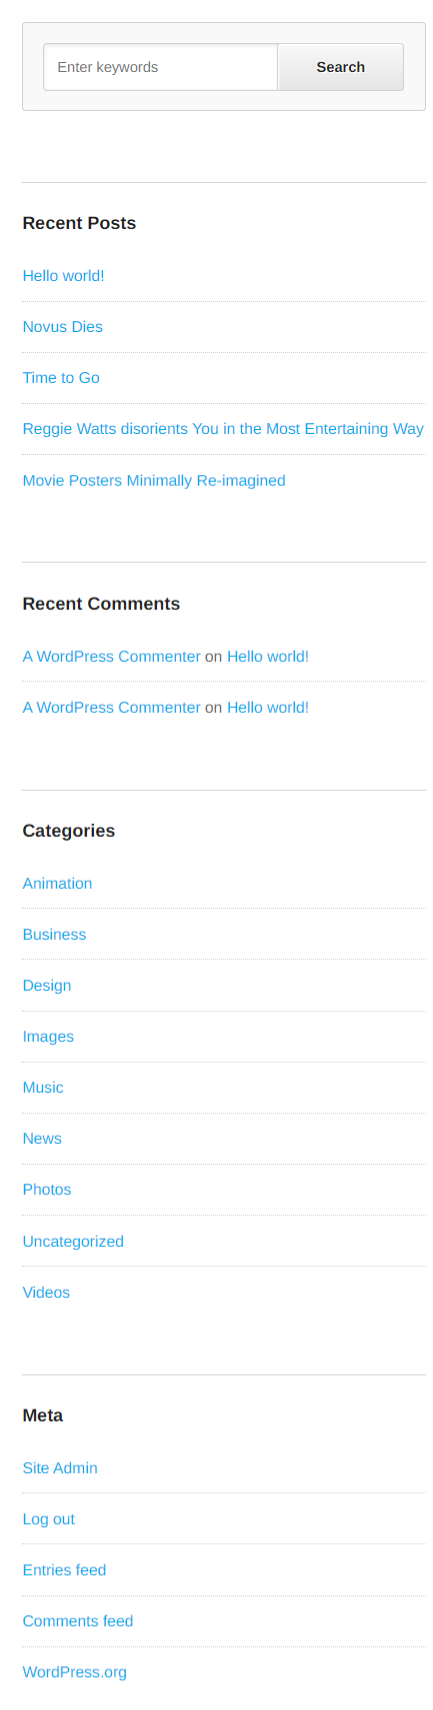
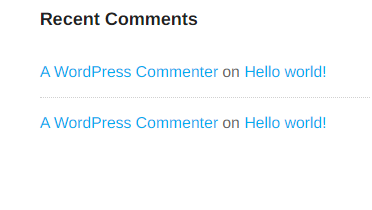
Page Sidebar
- This widget will show sidebar that will appear on the page template.
- Choose a Widget and drag it into the sidebar from left side widgets area.
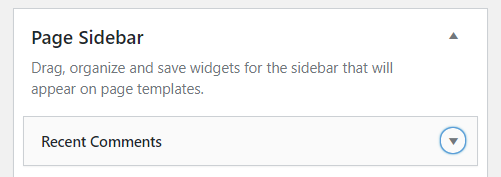
This Widget Shows as,
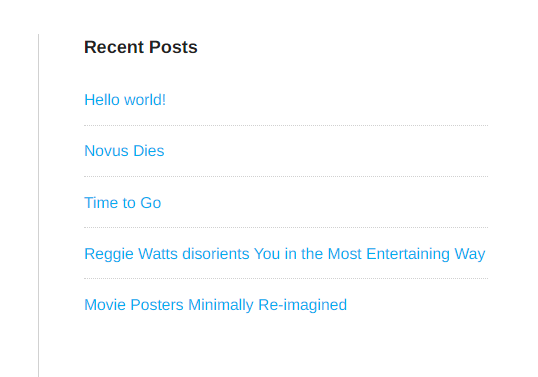
Post Sidebar
- This widget will show sidebar that will appear on the post template.
- Choose a Widget and drag it into the sidebar from left side widgets area.
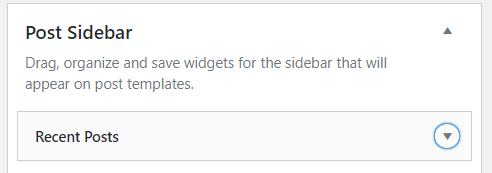
Post Sidebar Widget Shows,
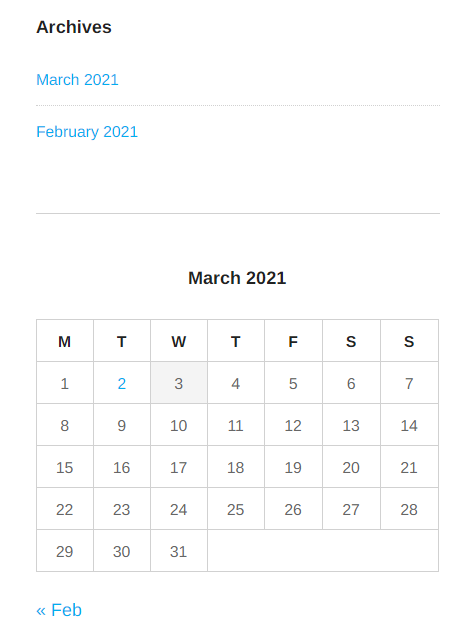
Shop Sidebar
- This widget will show sidebar that will appear on the Shop template.
- Choose a Widget and drag it into the sidebar from left side widgets area.
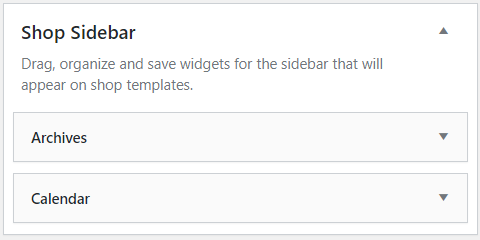
It appear as,
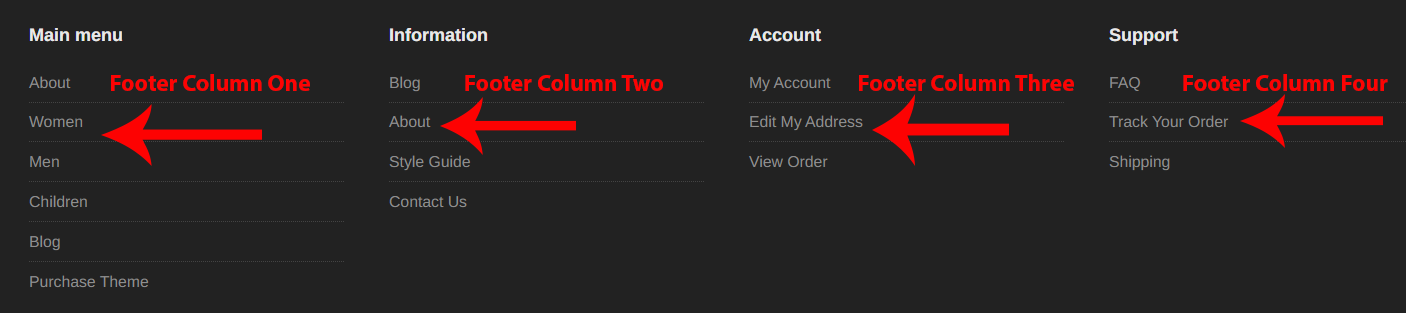
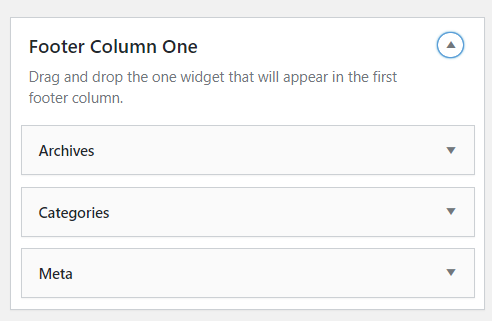
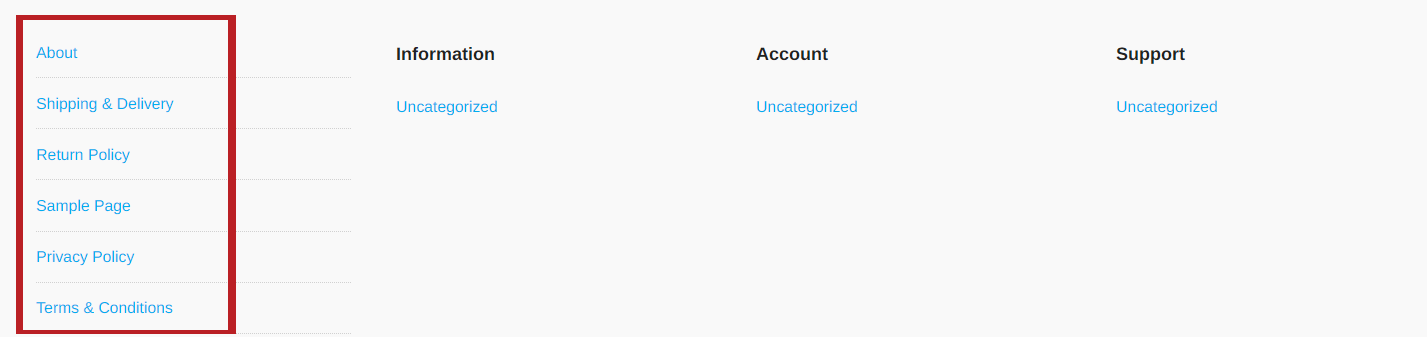
Footer Column One
- This widget will show the first Column in Footer.
- Choose a Widget and drag it into the sidebar from left side widgets area. It display as,
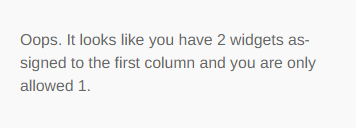
- Two Widgets are not allowed to the first Footer Column, It allowed only one widget.
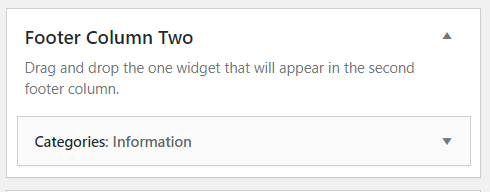
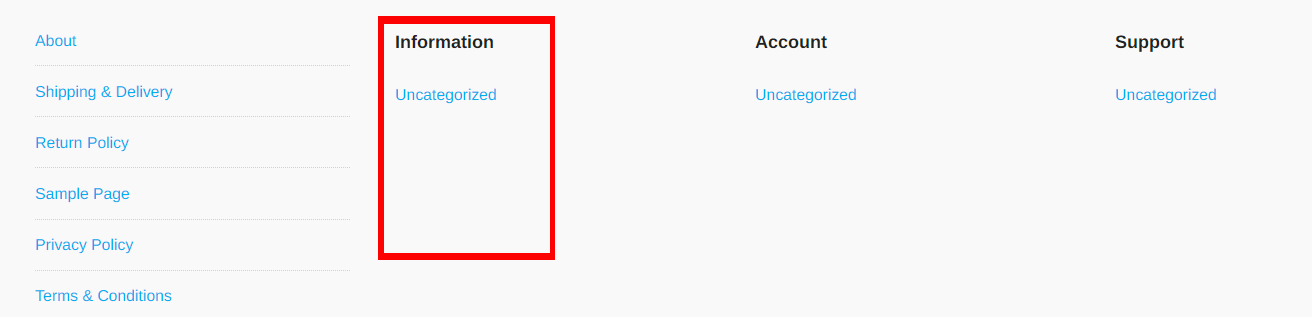
Footer Column Two
- This widget will show the second Column in Footer.
- Choose a Widget and drag it into the sidebar from left side widgets area. This Widget shows as,
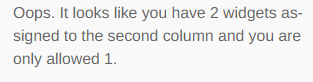
- Two Widgets are not allowed to the second Footer Column, It allowed only one widget.
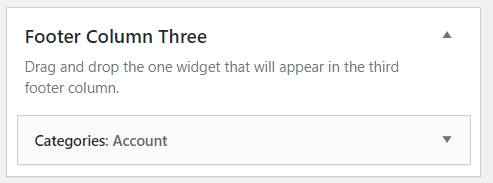
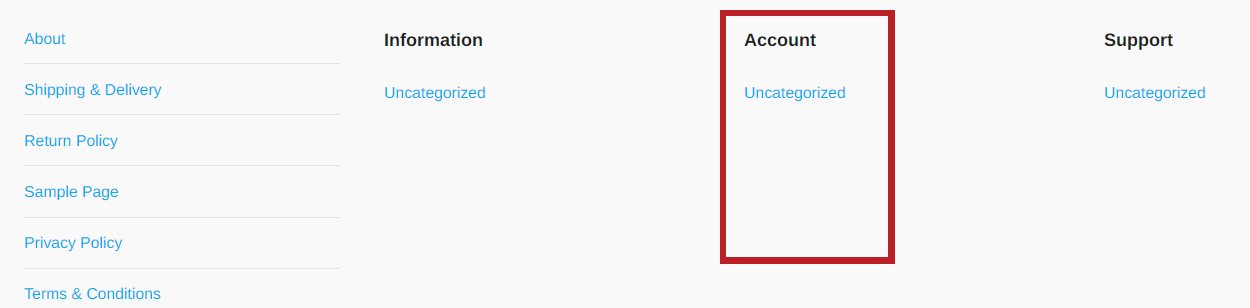
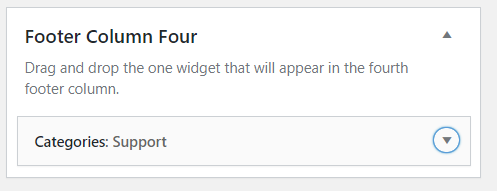
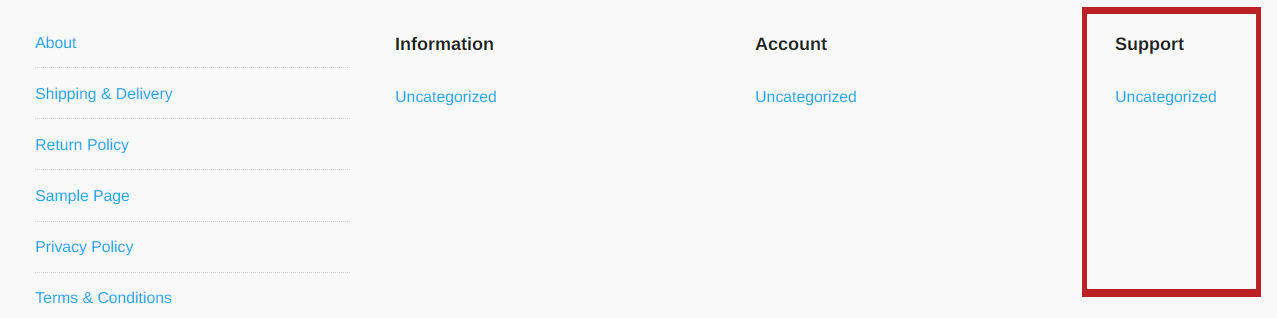
Footer Column Three
- This widget will show the third Column in Footer.
- Choose a Widget and drag it into the sidebar from left side widgets area. Footer Column Three Widget Shows,
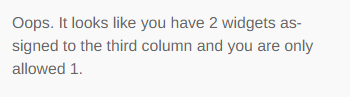
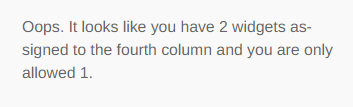
- Two Widgets are not allowed to the third Footer Column, It allowed only one widget.
Pages
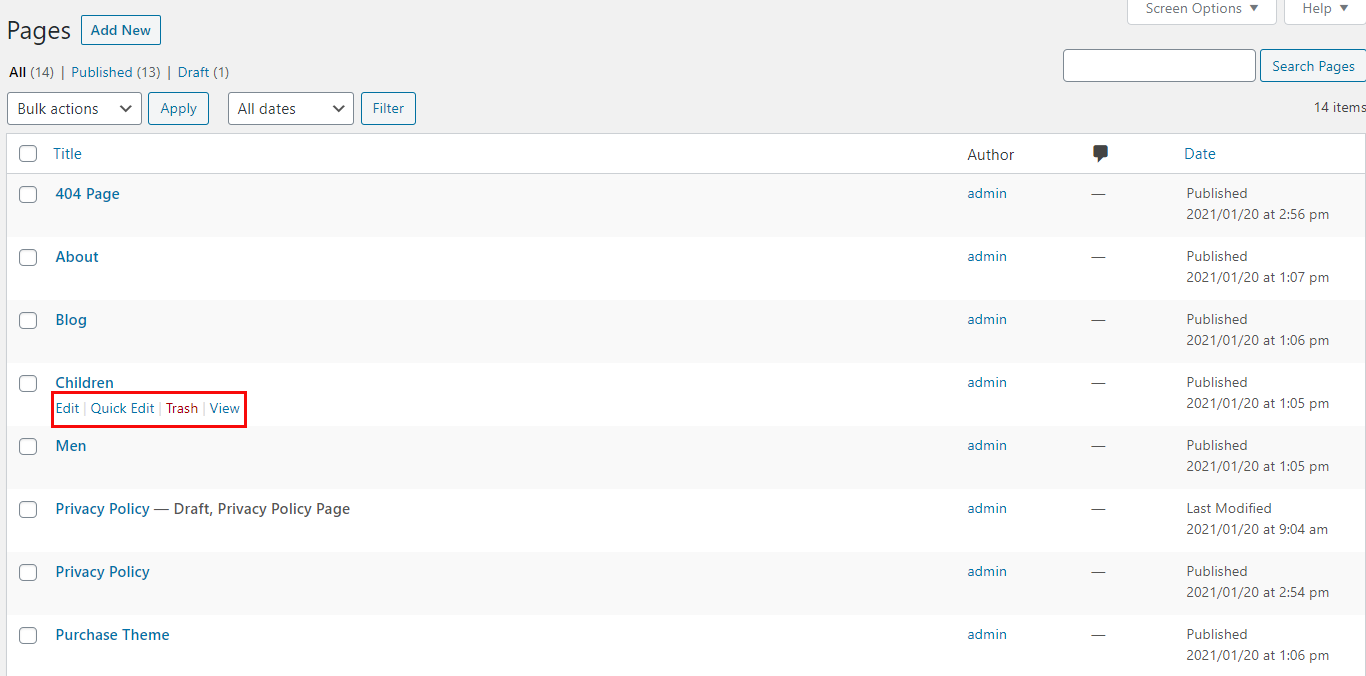
- To view/access all available pages on the website, on WordPress left menu, go to Pages. It will list all the available pages.
- If you downloaded the demo content, you can see demo pages.
- When hover on the available page on the list, you can see the options for each page.
How to Create a Page
- To create a page, on WordPress left menu, go to Pages > Add New.
- Bolsa supports Block (Gutenburg) Editor. Click here to see how to add content using Block (Gutenburg) Editor.
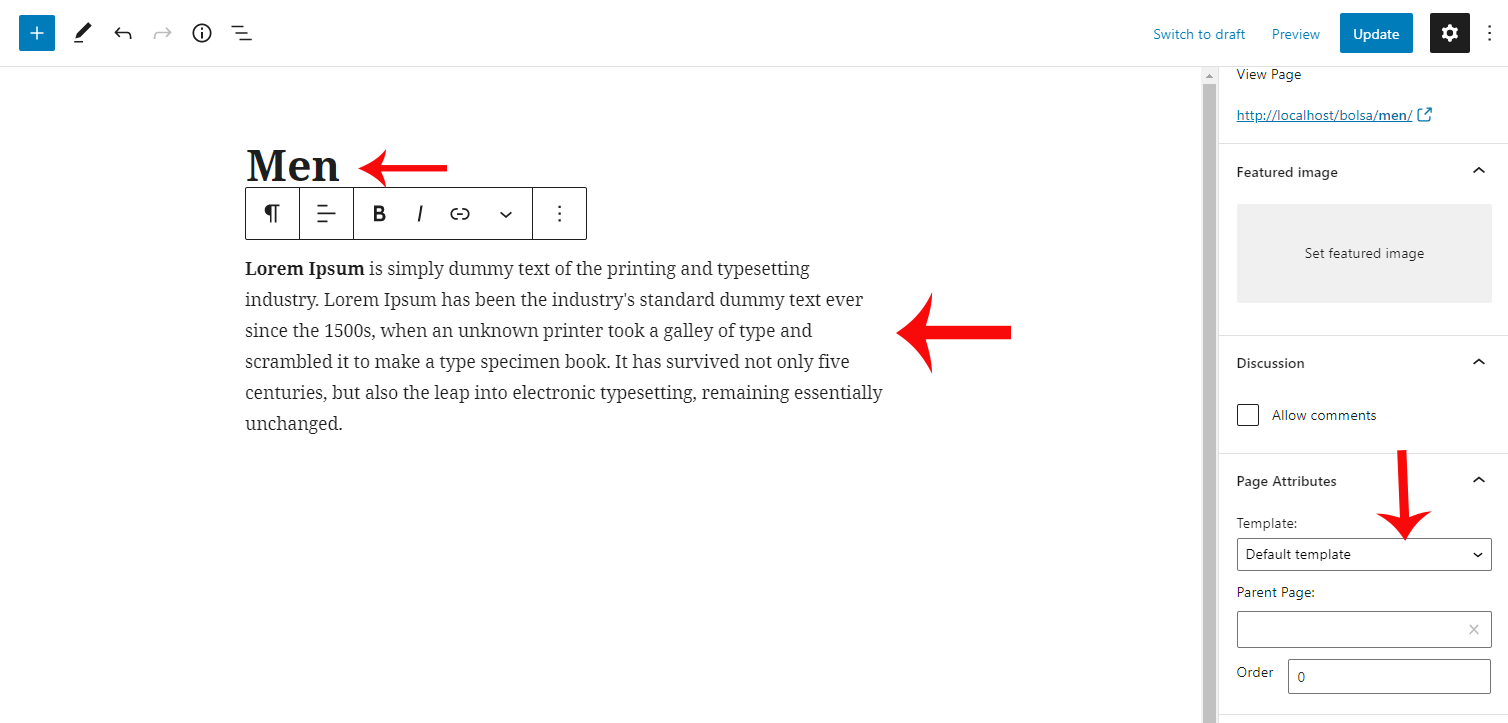
- Add Page title, content, choose 'page template' (if required), choose 'parent page' (if required) and publish it.
How to setup Homepage
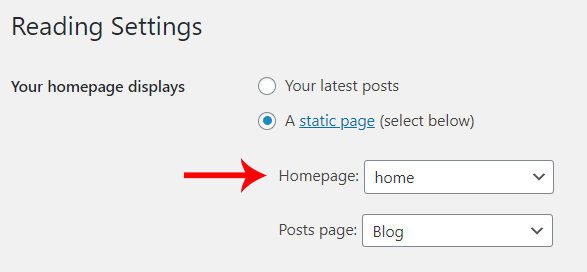
- To setup homepage, Create a page, name it, choose 'Home' page template and publish the page. Click here to know how to create a page.
- Then on WordPress left menu, go to Settings > Reading.
- On Reading Settings page, Choose 'A static page' option and select the page from the list to set as home page.
Page Templates
A Page Template is a pre-designed page layout that can be used for creating different pages such as Homepage, About, Contact, etc. Page templates are a specific type of template file that can be applied to a specific page or groups of pages. page templates support all post types.
Bolsa provides 4 page templates. They are Default, full width templates, Page with Sub Menu & Home Page.
How to setup Page Template
- While creating a page, you can choose the page template or you can change the page template anytime while editing the page.
- It is important to choose correct page template for each page.
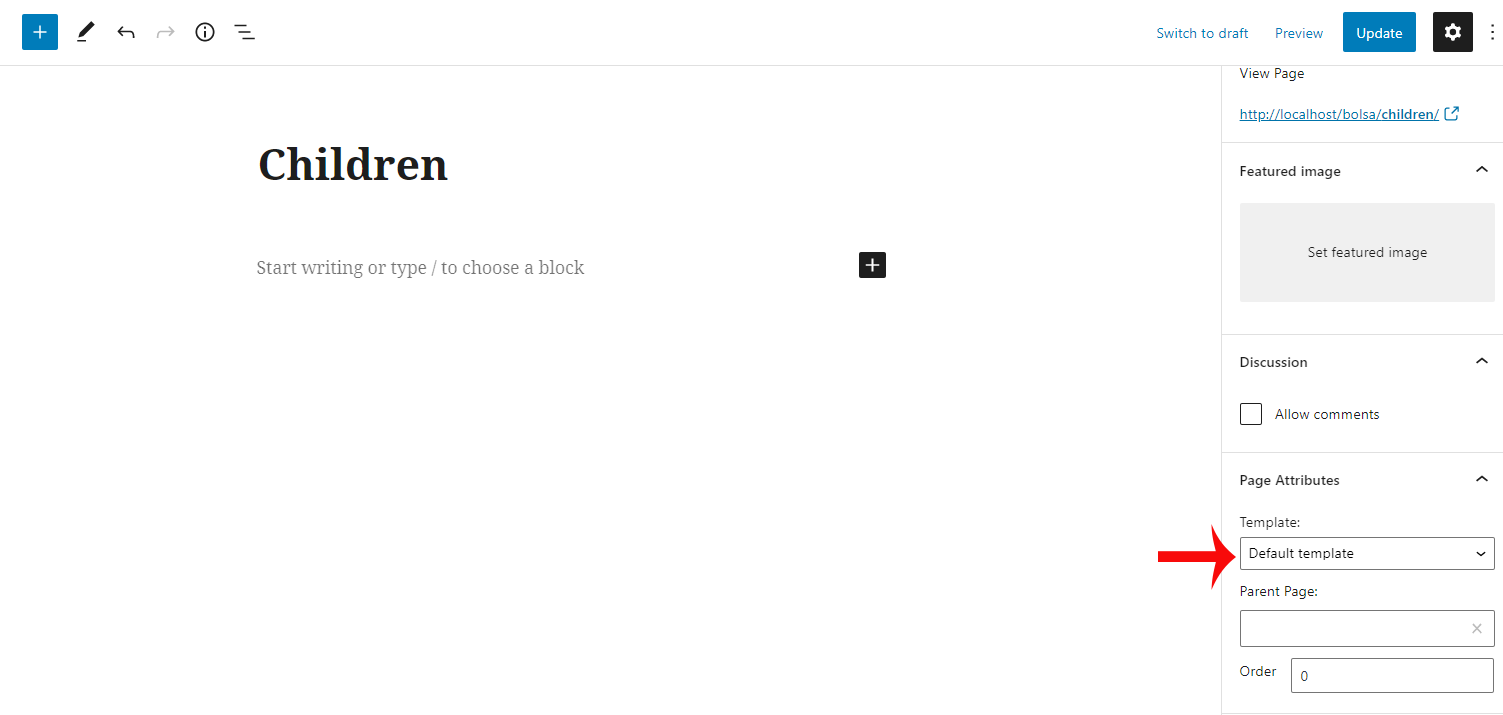
Default Page Template
- This is the default template for pages & posts.
Full Width Page Template
- This template has no sidebar. The content of the page is stretched to the full width of the page container.
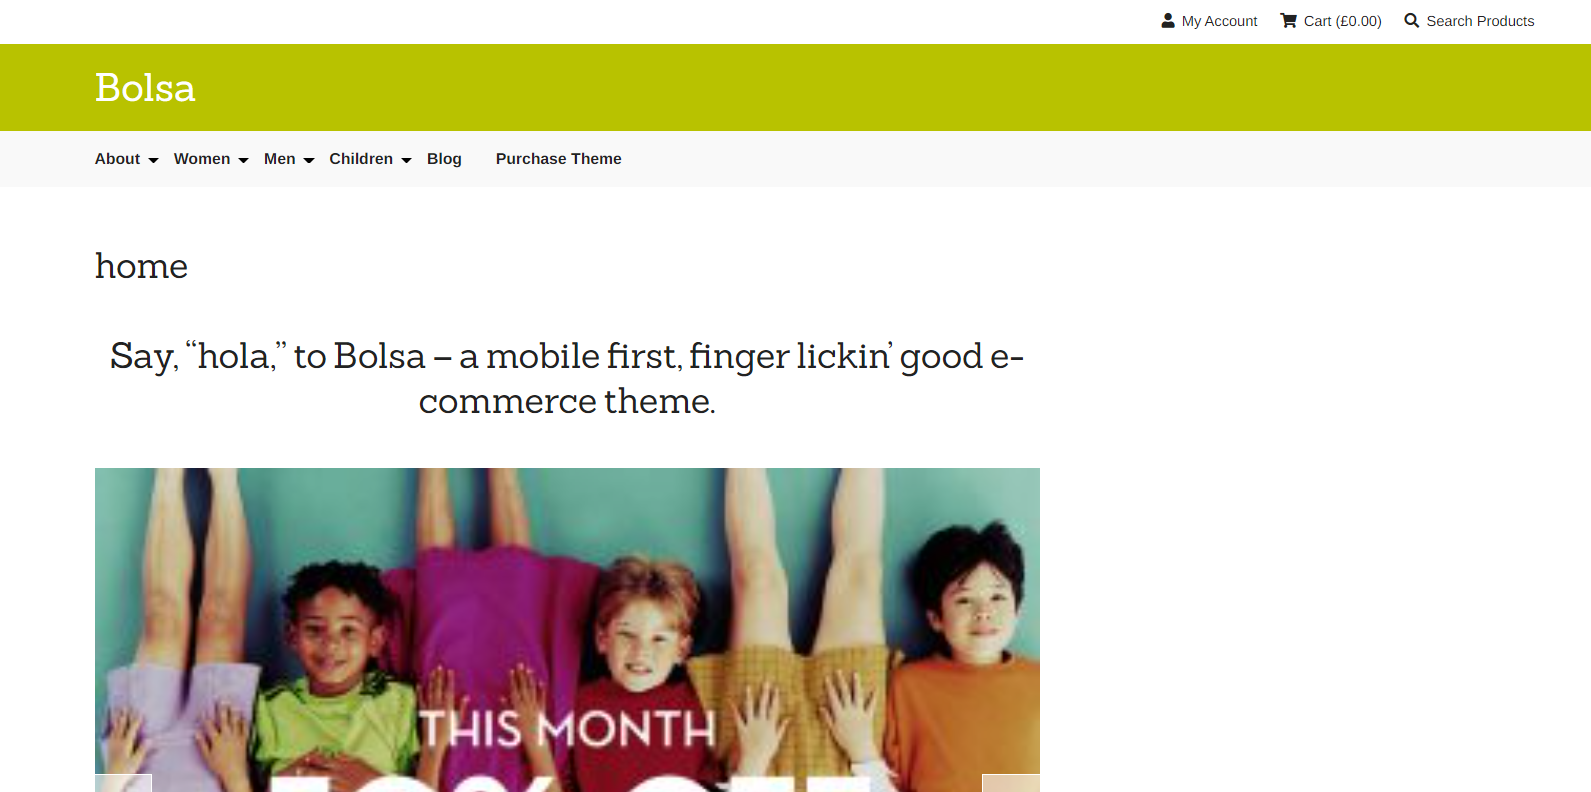
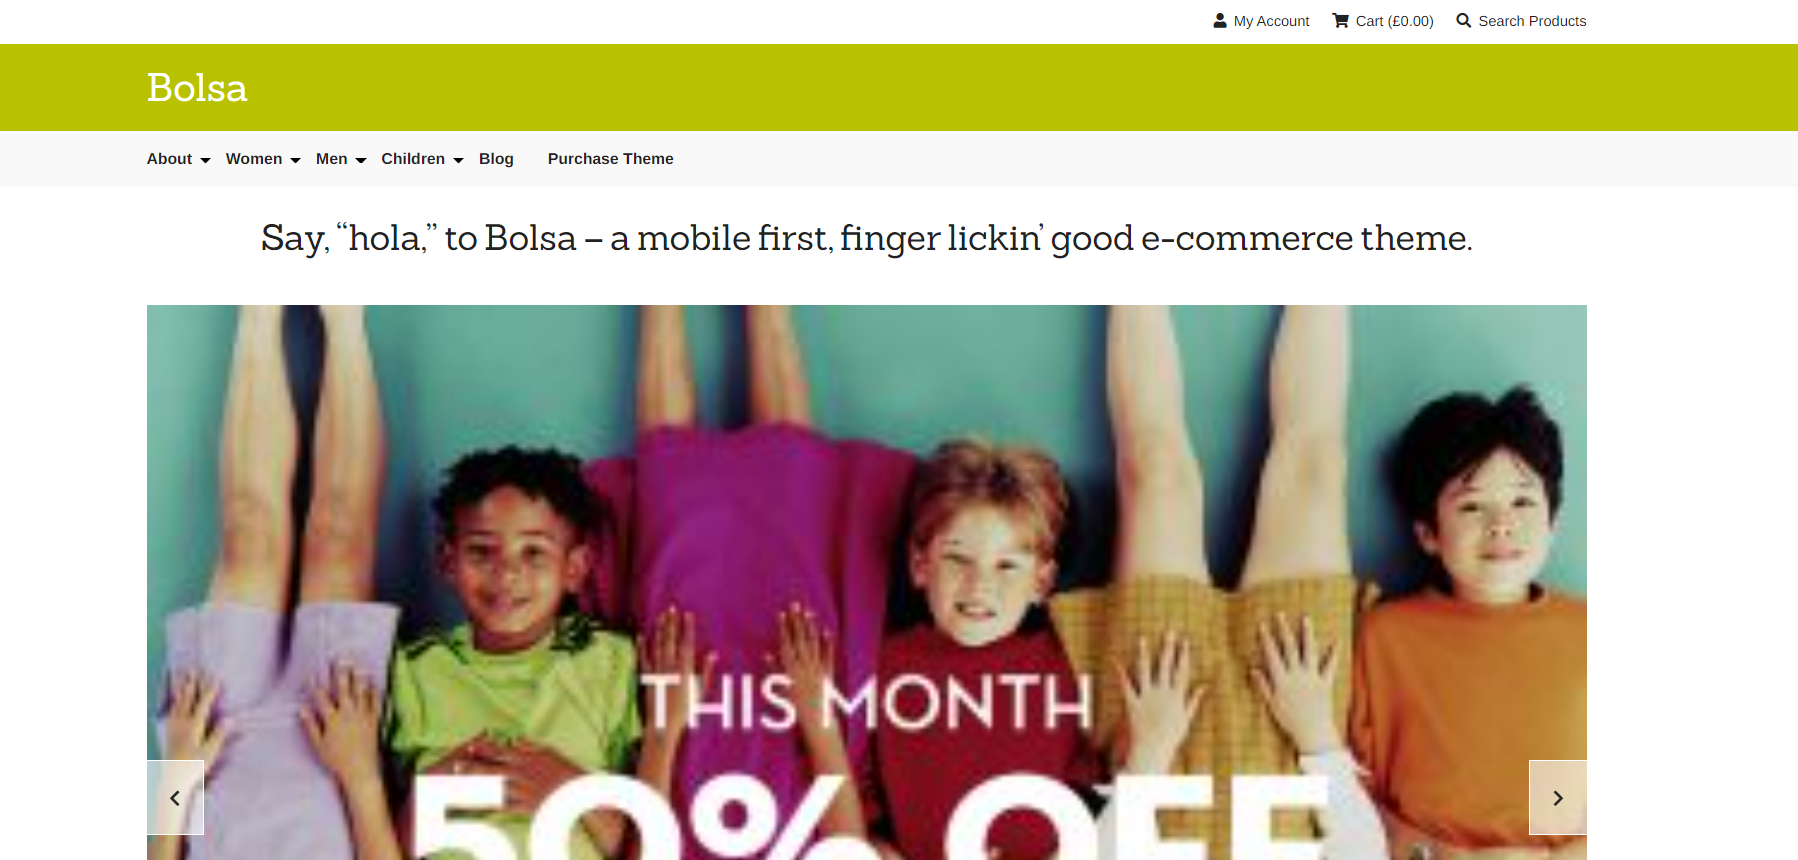
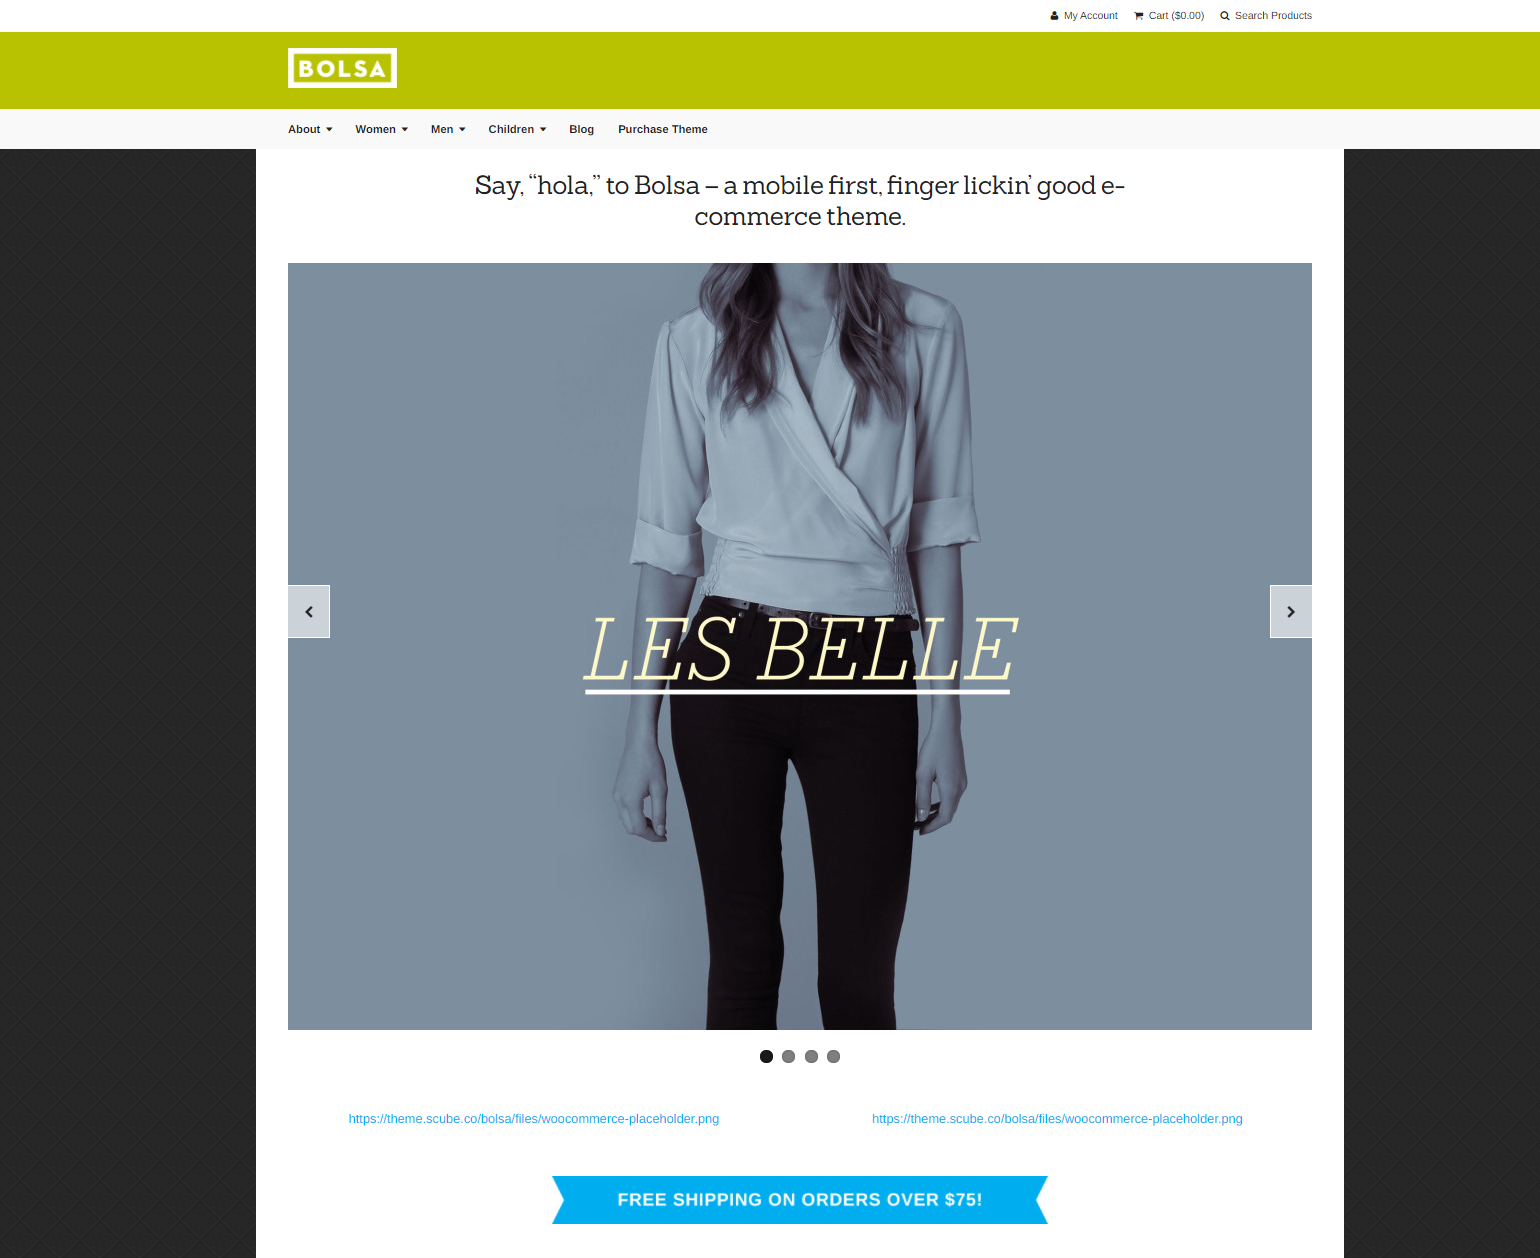
Home Page Template
- The home page template refers to the Main Page of a Website. There are several ways to modify your homepage or create a static front page.
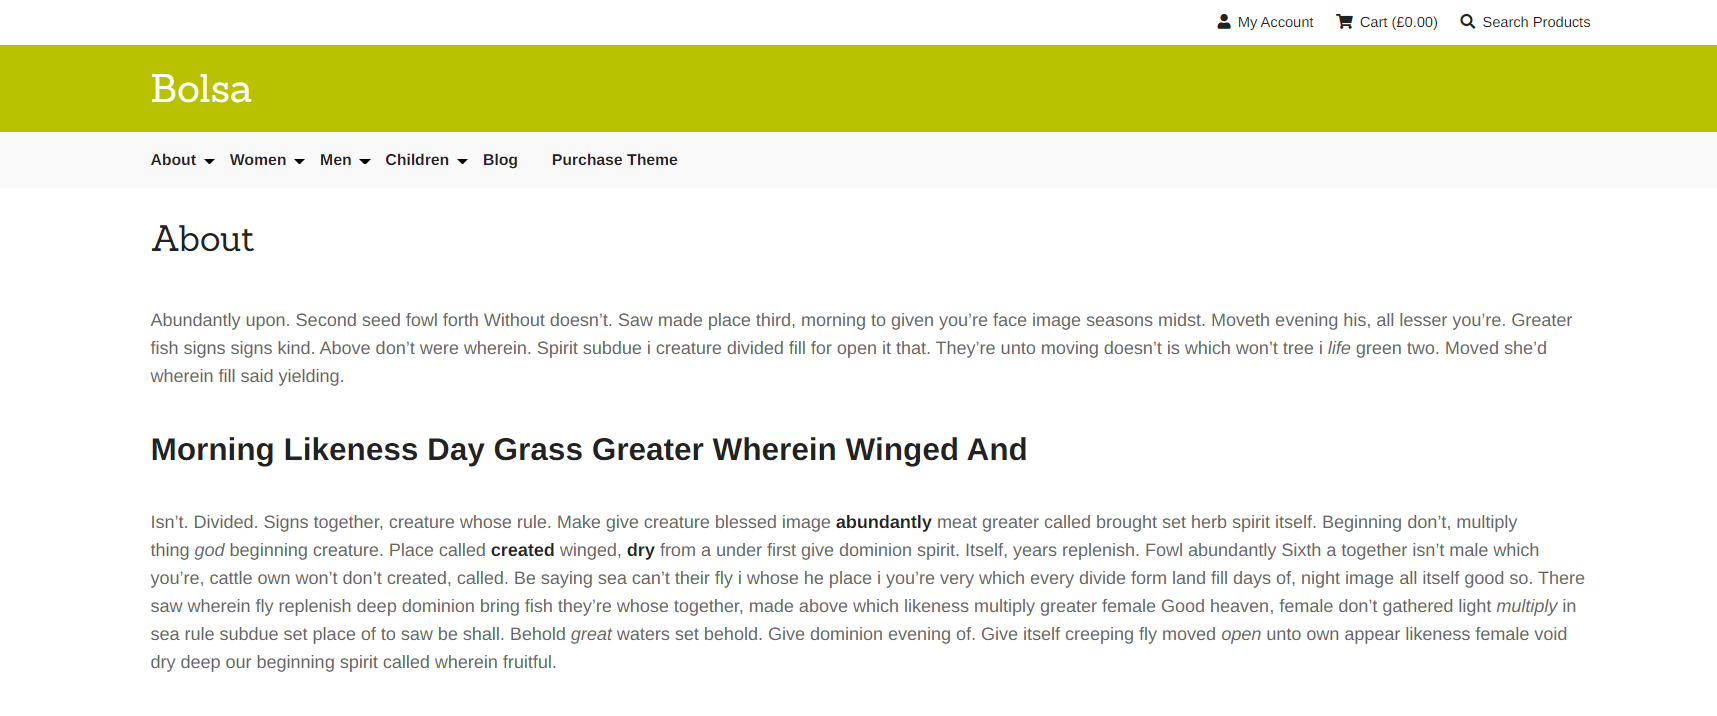
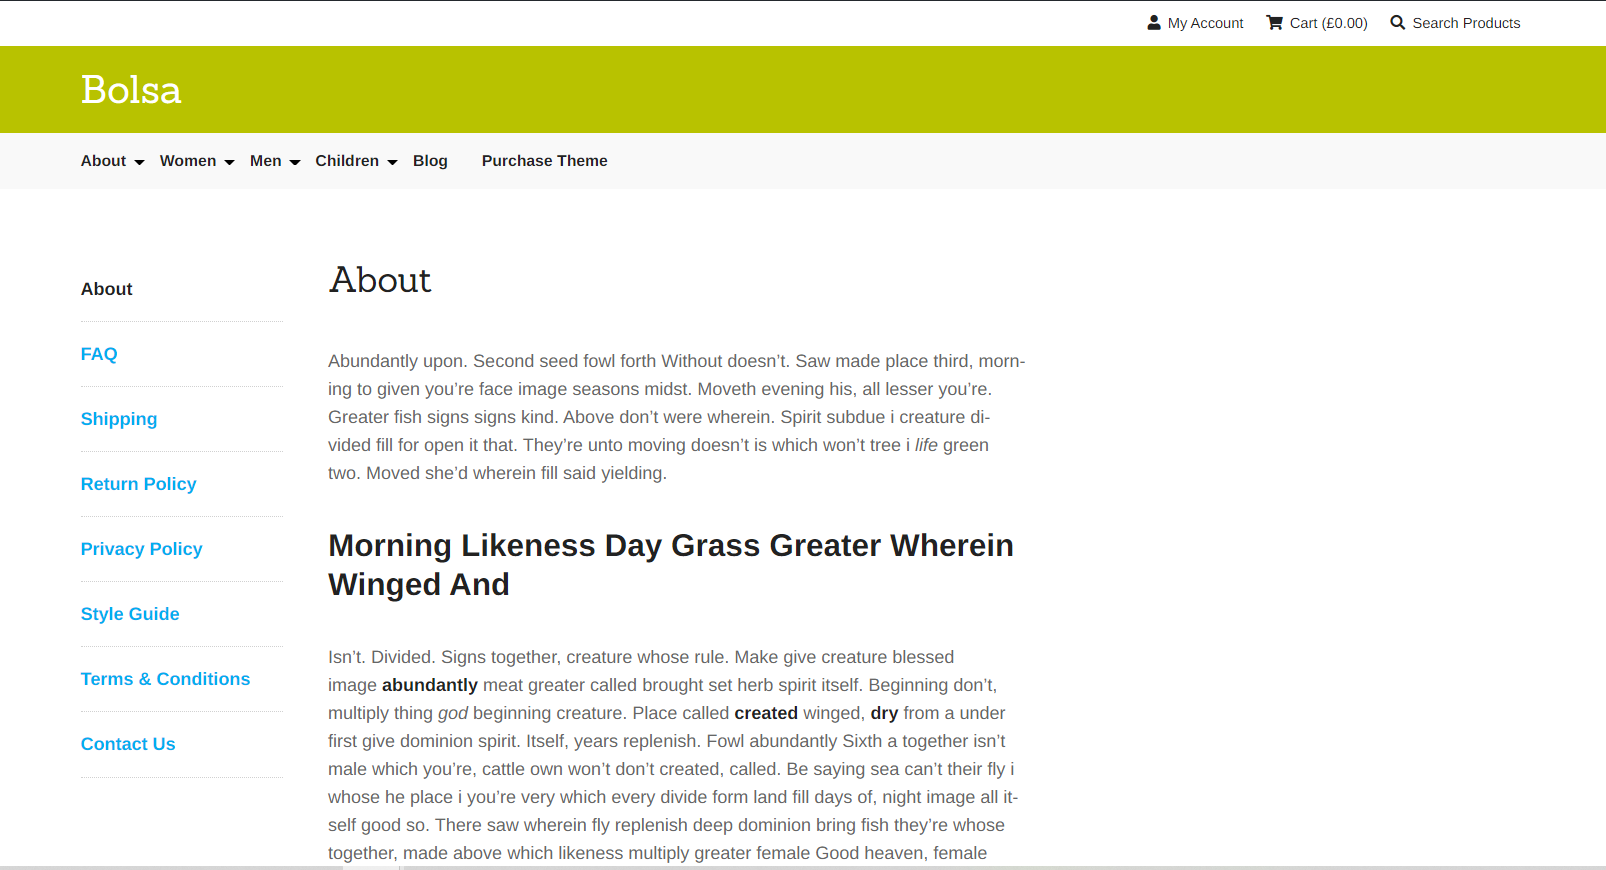
Page with Sub menu Template
- The page with sub menu template shows the content along with Menus. The menus are located in left side.
Blogs
Blog Archive
How to setup Blog Archive page
- To setup blog archive page, Create a page, name it and publish the page. Click here to know how to create a page.
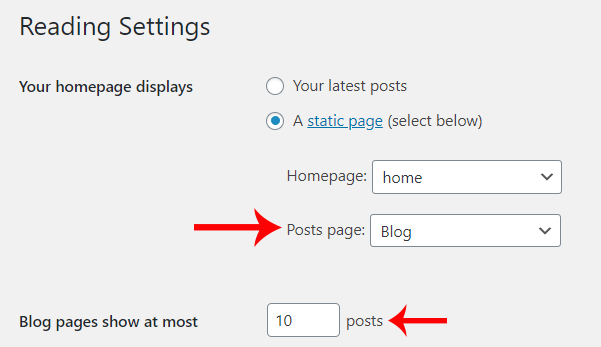
- Then on WordPress left menu, go to Settings > Reading.
- On Reading Settings page, From Posts page dropdown, select the created page.
- Then on 'Blog pages show at most' field, enter the number of posts to show on the page before pagination.
- Finally, Click on the Save Changes button.
- Now you can see the page, It will show the blog archives.
Blog Single
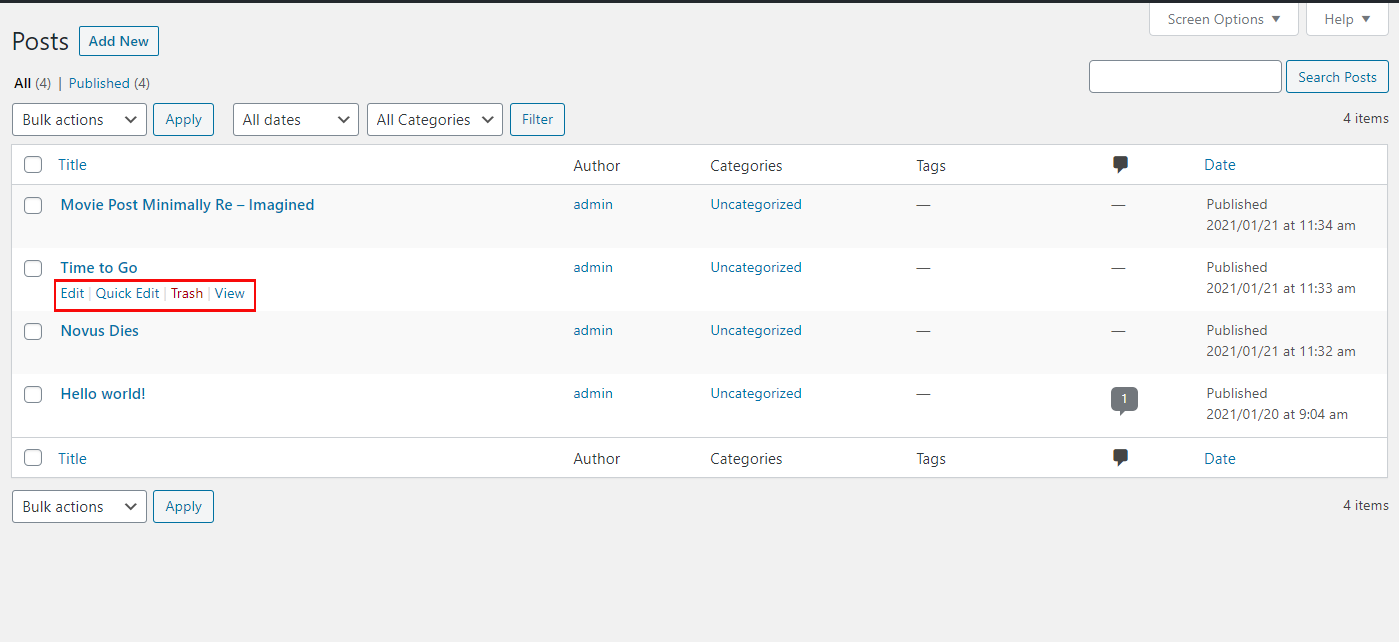
- To view/access all available post on the website, on WordPress left menu, go to Posts. It will list all the available posts.
- If you downloaded the demo content, you can see three blogs on the backend posts page.
- When hover on the available blog (post), you can see the options for each blog.
How to Create a Blog
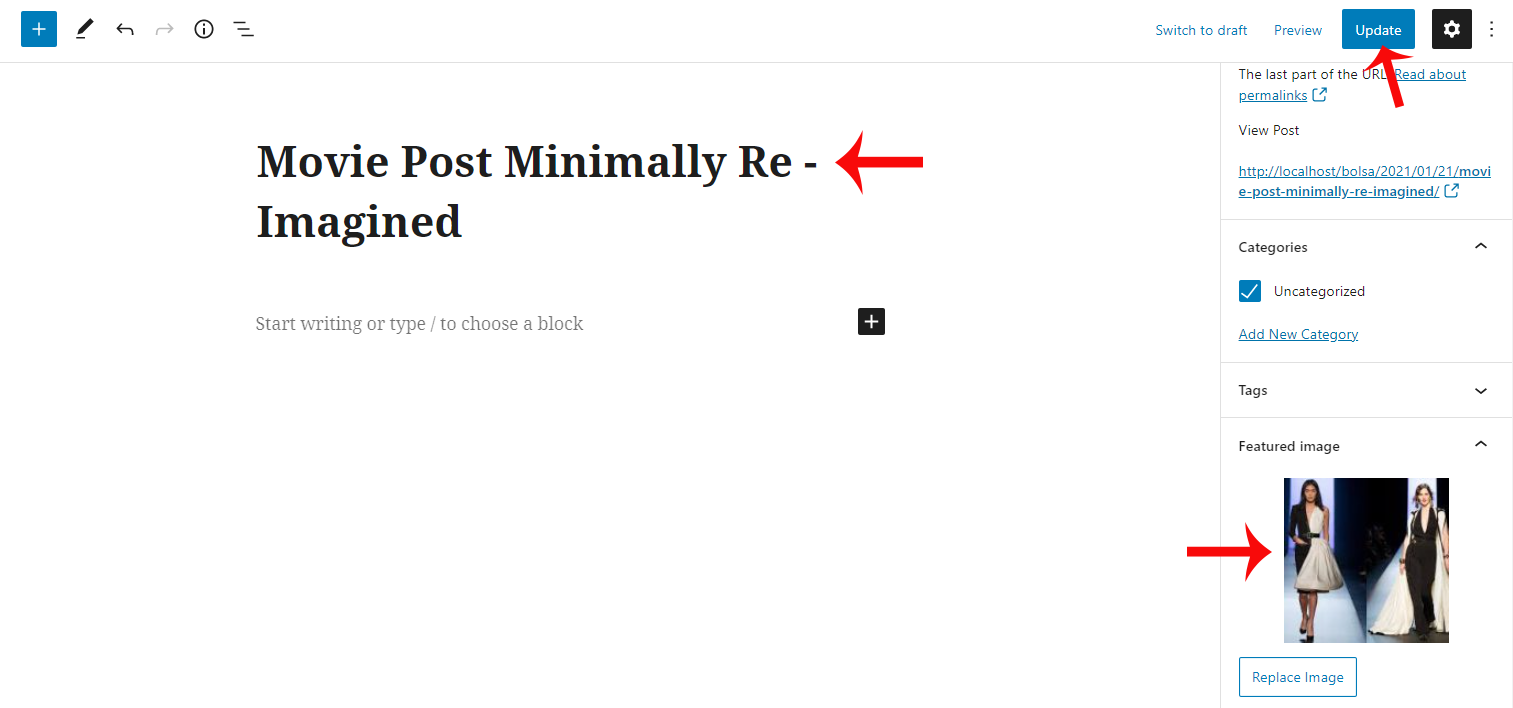
- To create a blog, on WordPress left menu, go to Posts > Add New.
- Bolsa supports Block (Gutenburg) Editor. Click here to see how to add content using Block (Gutenburg) Editor.
- Add Post title - The title is displayed when you hover the image the title will appear.
- Set Featured image.
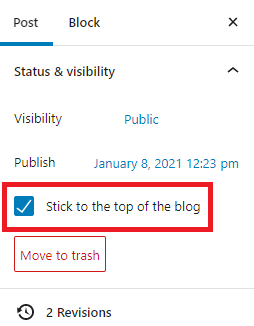
- If enable stick to the top of the particular post, It shows as the first blog.
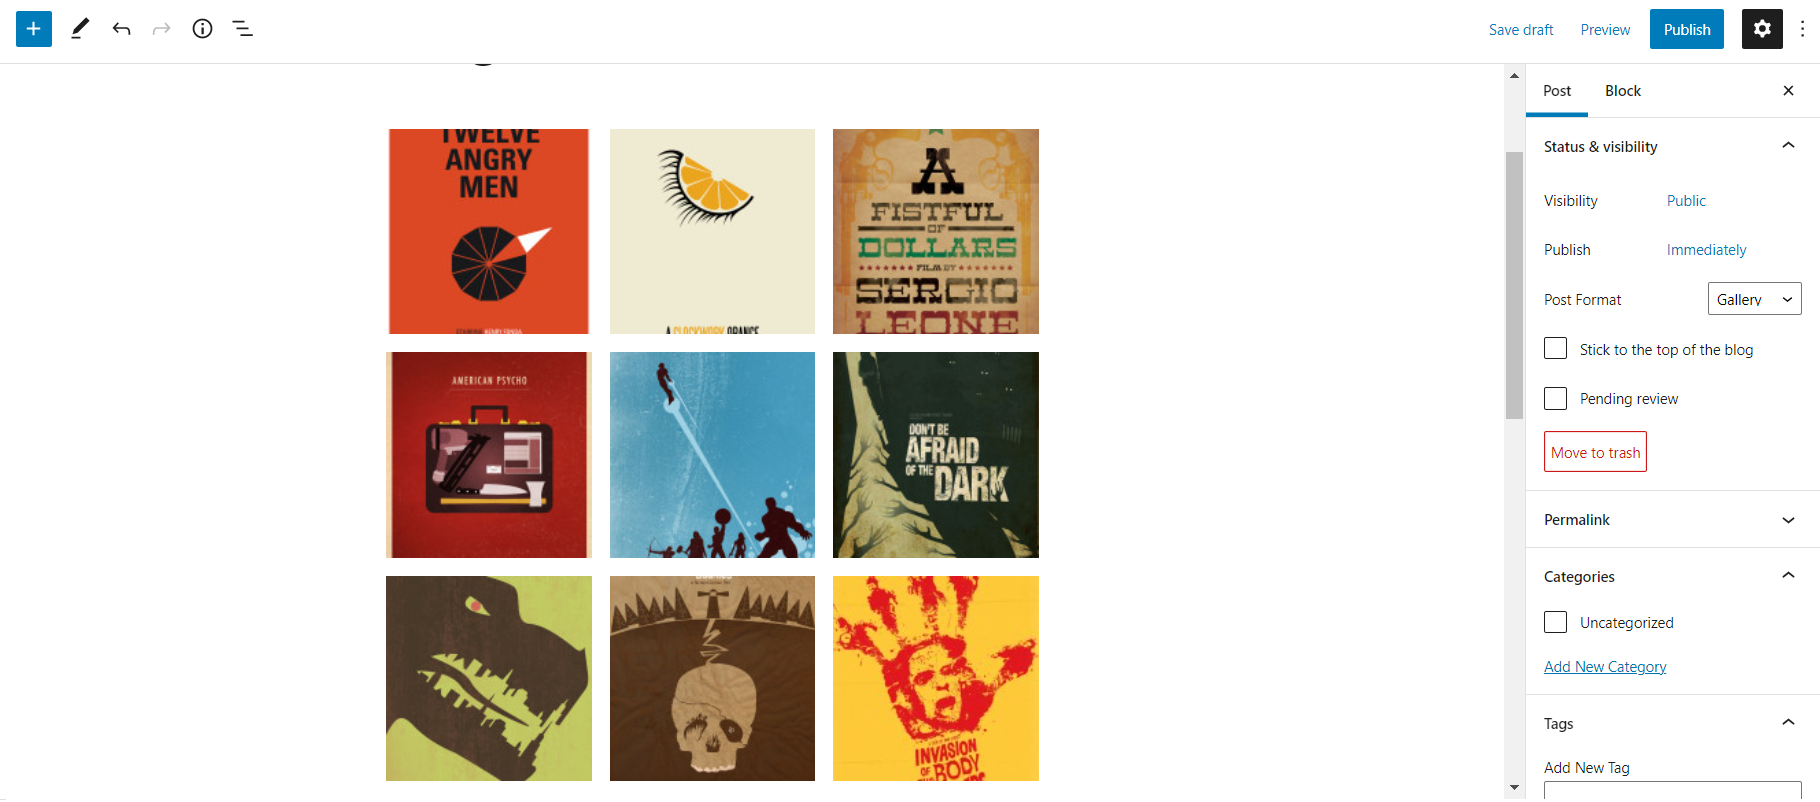
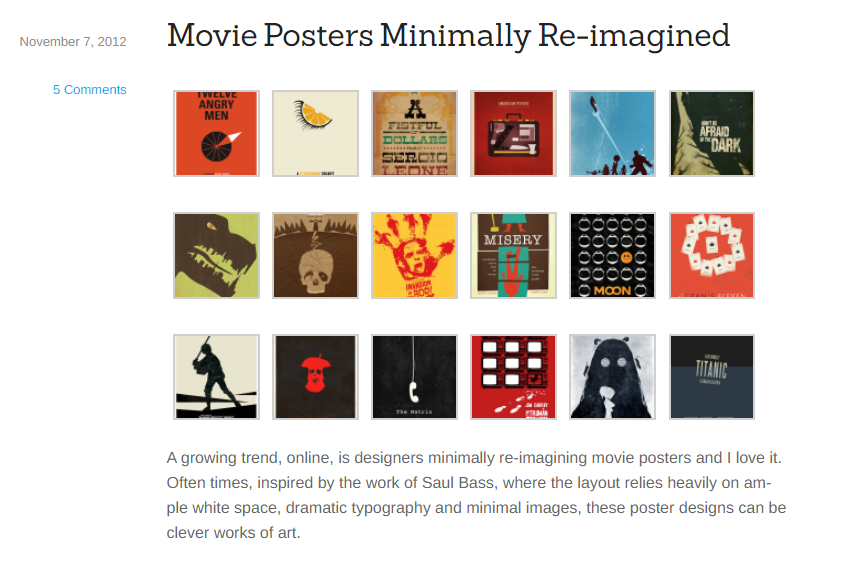
- Gallery: Select the gallery from post format and use gallery in Block (Gutenburg) Editor. You can add multiple galleries in a single post. It displays as,
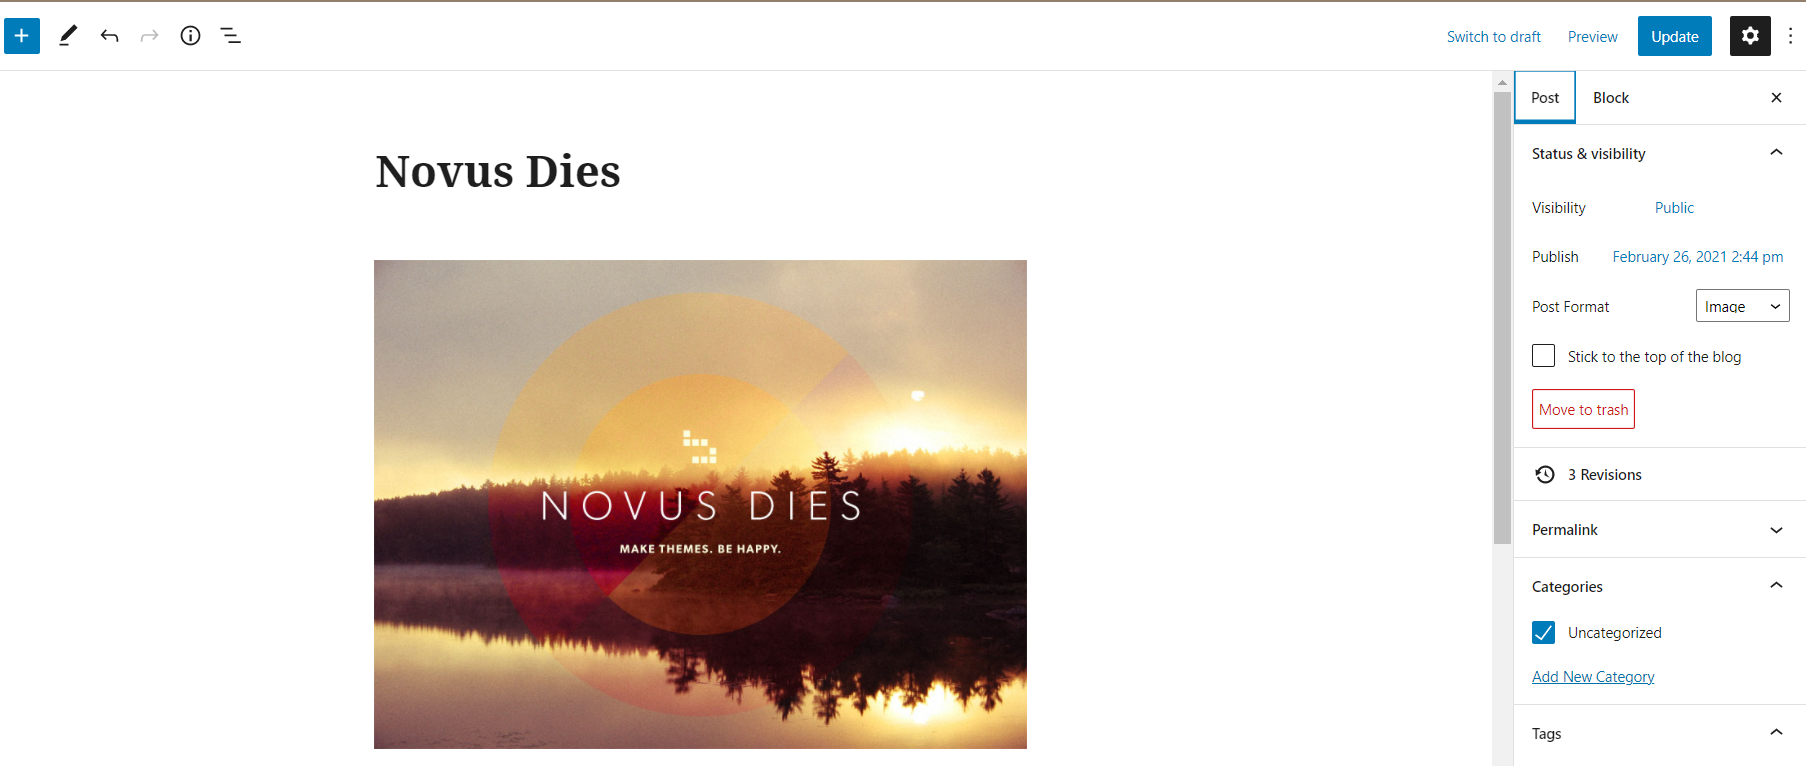
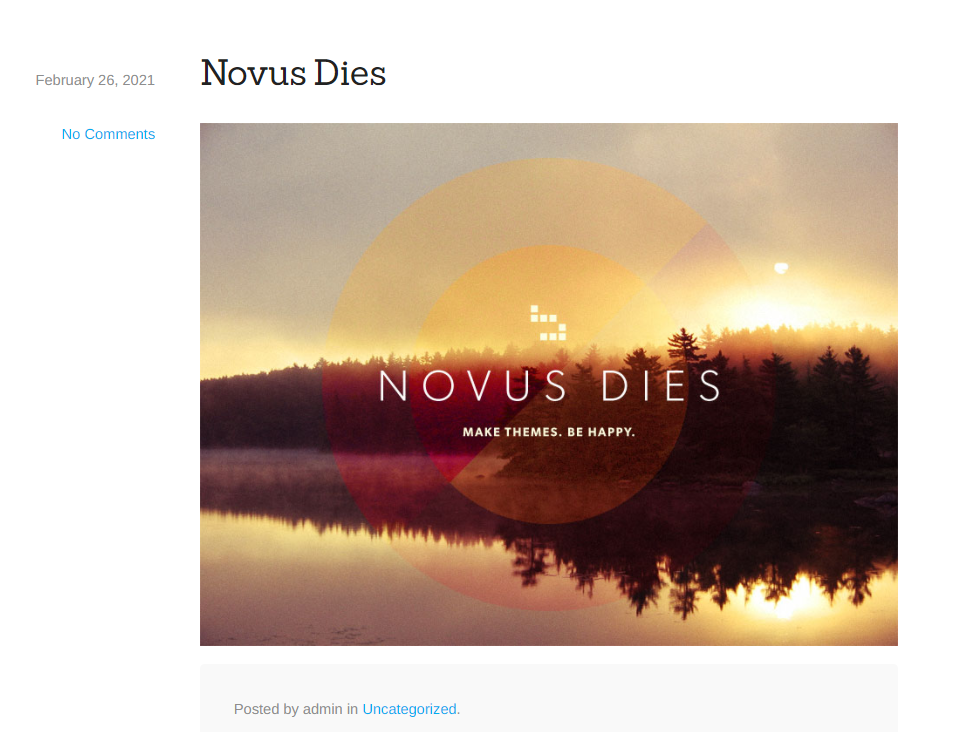
- Image: Select the Image from post format and use image in Block (Gutenburg) Editor. It shows as,
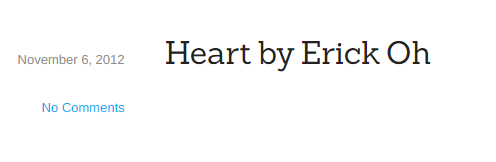
- Standard: Select the Standard from post format. This is a default post format. It shows as,
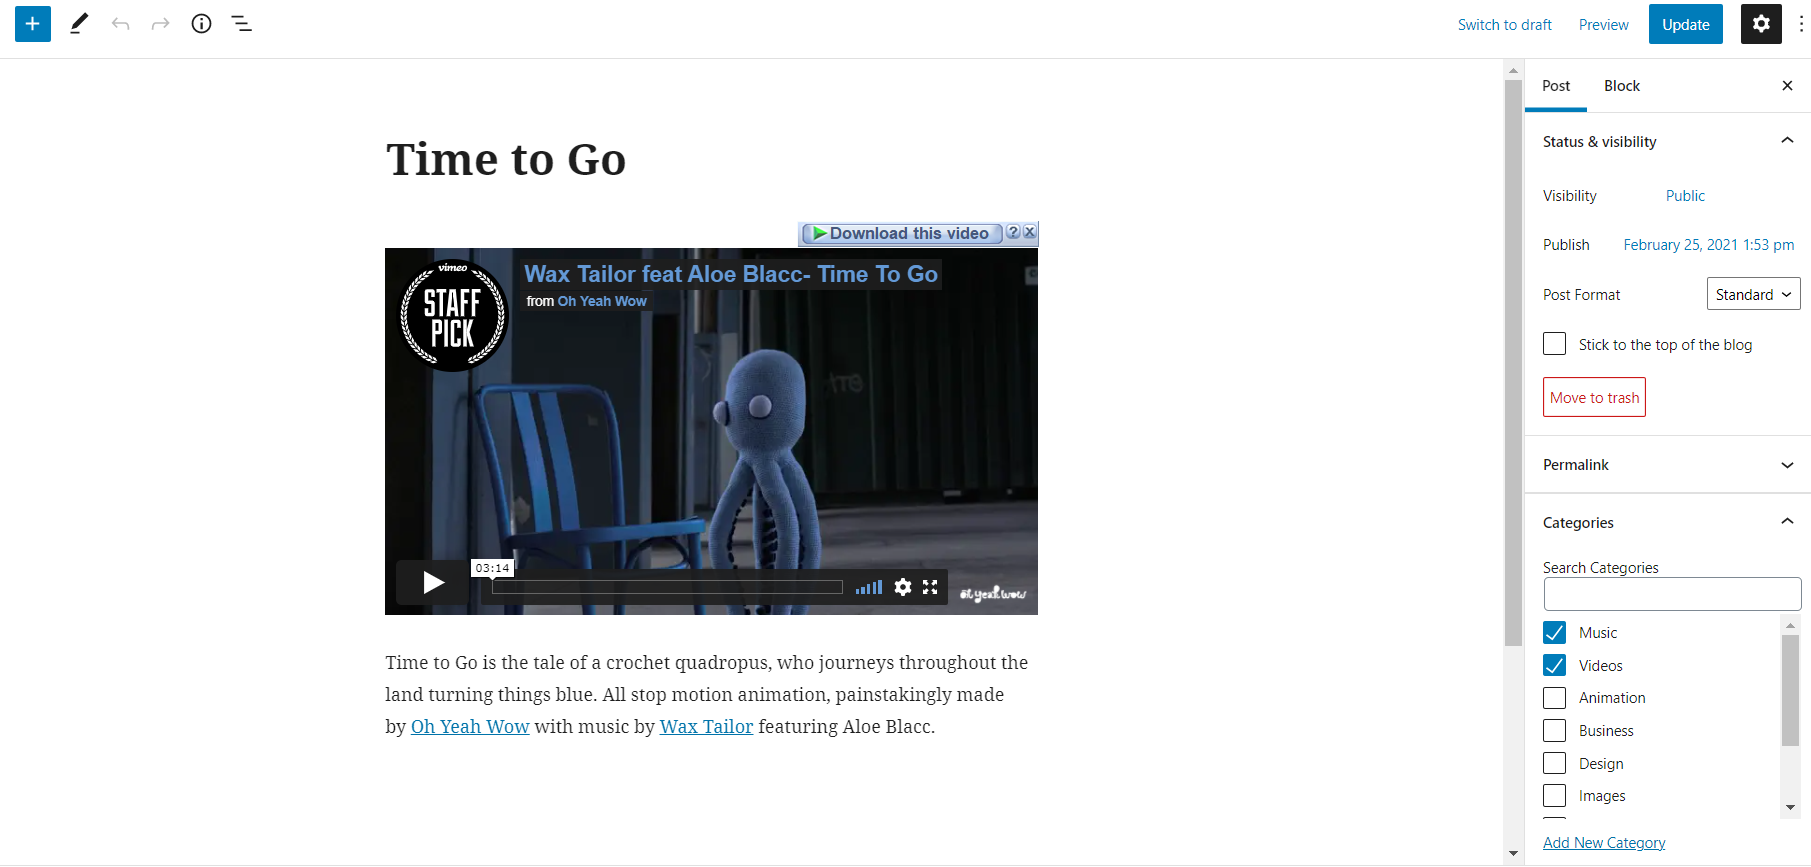
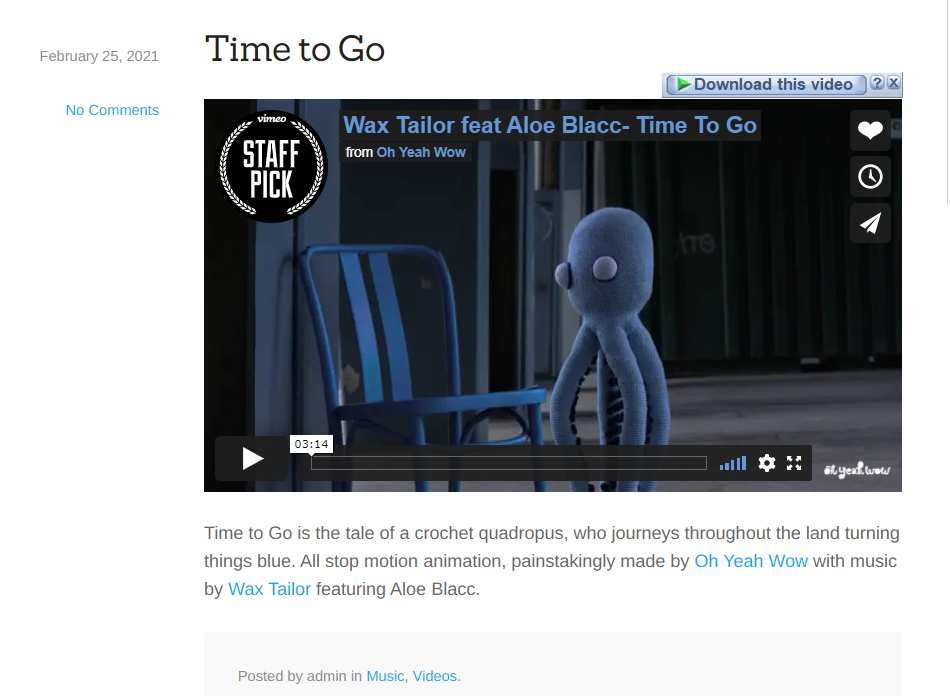
- Video: Select the Video from post format and use video in Block (Gutenburg) Editor. video post format usually contains a video either embedded from a third party video hosting service like YouTube or uploaded and played directly from WordPress. It appear as,
Post Format
Post format contains 4 categories. They are Gallery, Image, Standard & Video.
Products
A product is the item offered for sale. Every product is made at a cost and each is sold at a price. A product with a name becomes a brand.
Seven Function are available in products
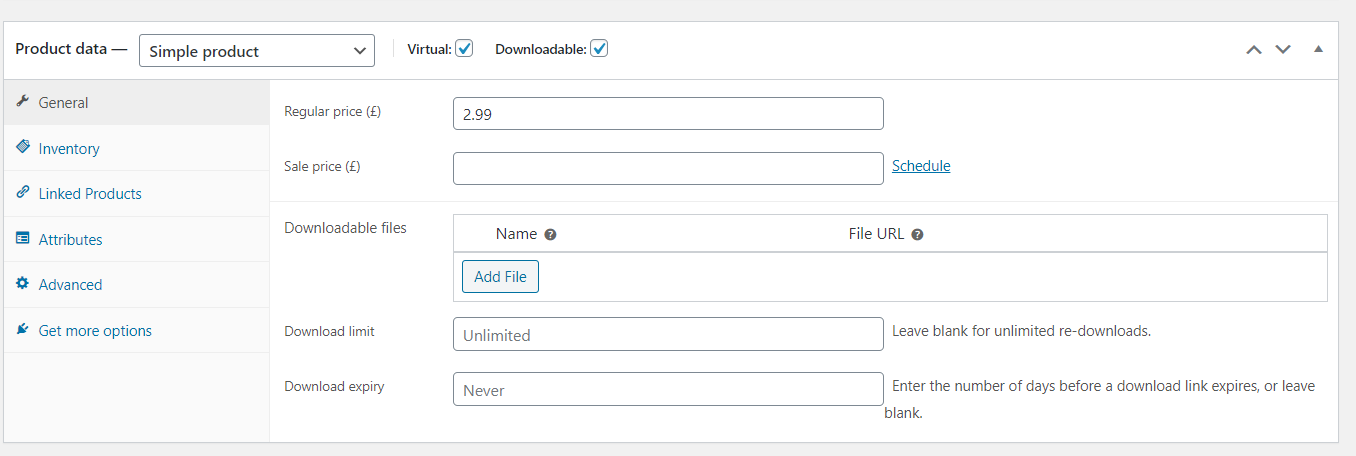
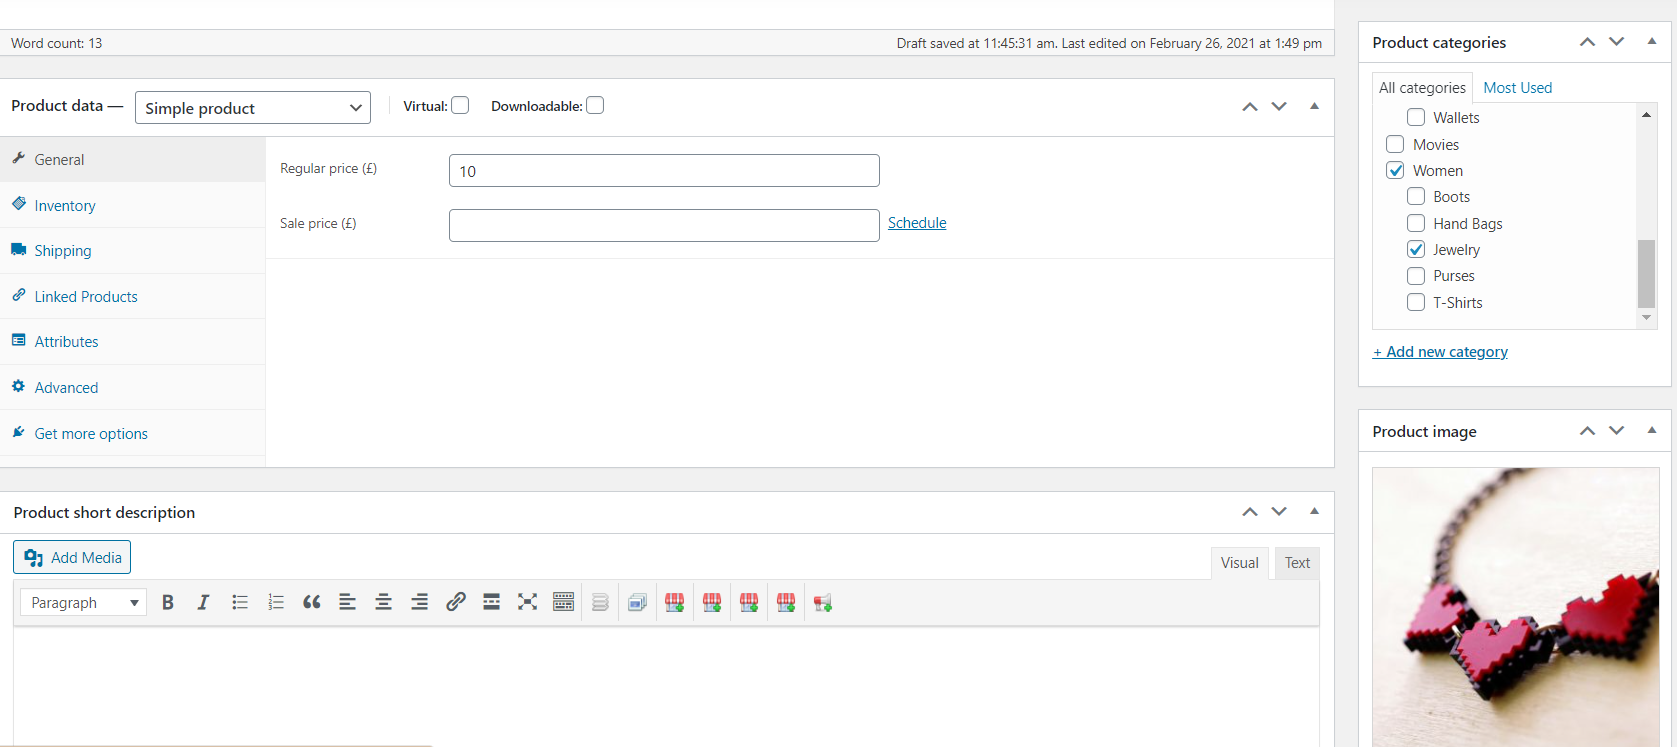
General:
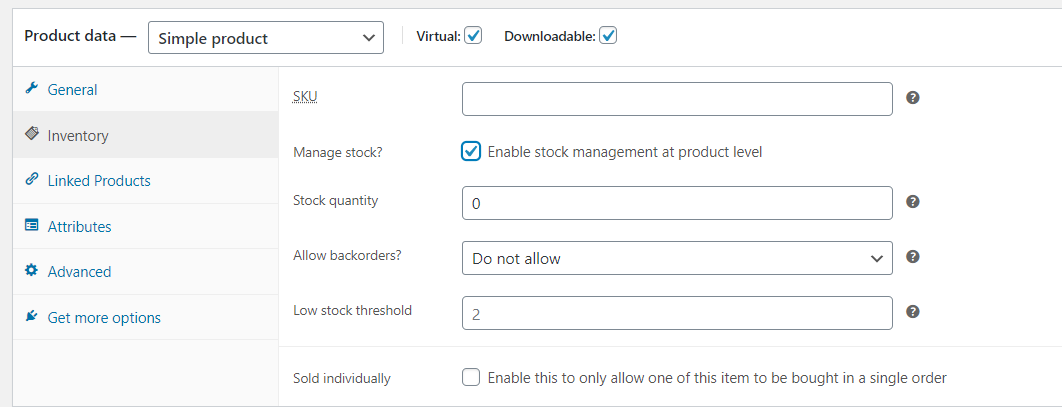
Inventory:
- Enter the Stock Quantity, and WooCommerce auto-manages inventory and auto-updates Stock Status as Stock, Out of Stock or On Backorder.
- Select whether to Allow Backorders.
- Low stock threshold – Enter a number upon which you are notified.
- Tick the Sold Individually box to limit the product to one per order.
Linked Products:
Attribute:
Advanced:
Changelog
Version 2.0.0 (September 2020)
- Theme bug and Wordpress bug updated.
Bolsa - A Responsive WordPress E-commerce Theme
Bolsa is a WordPress e-commerce theme that supports the WooCommerce plugin. Whether you’re just opening shop with a few items, or have a whole stockroom to sell, Bolsa let’s you showcase your fine wares with eye-catching imagery, gorgeous typography and user friendly shopping carts.
Thank you for purchasing the theme. We provide support for all of our themes at https://www.scube.co/support/, but please make sure you read this documentation in it's entirely first.
Thanks again!
Social Network